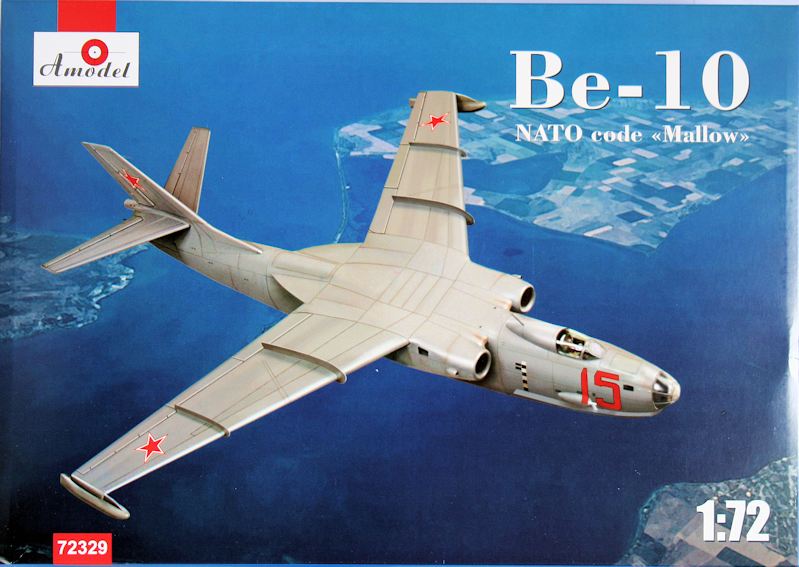
Amodel Be-10 'Mallow'
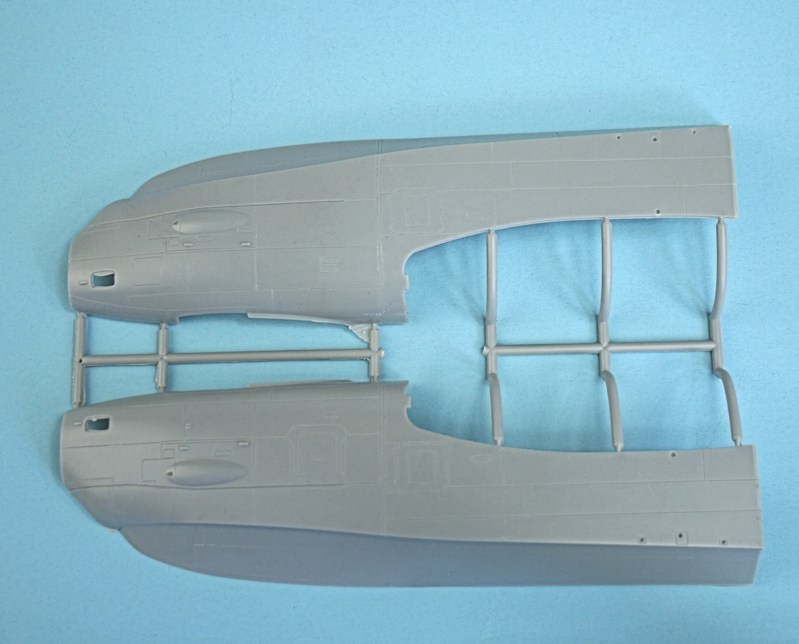
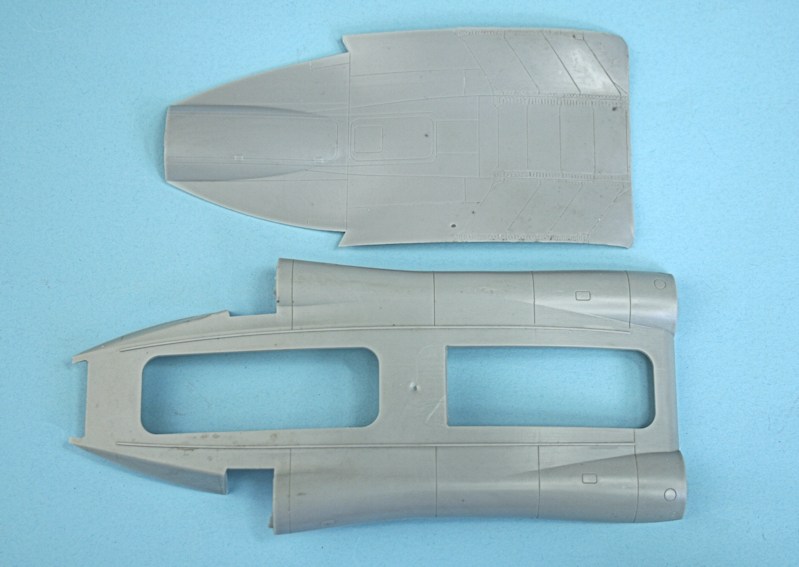
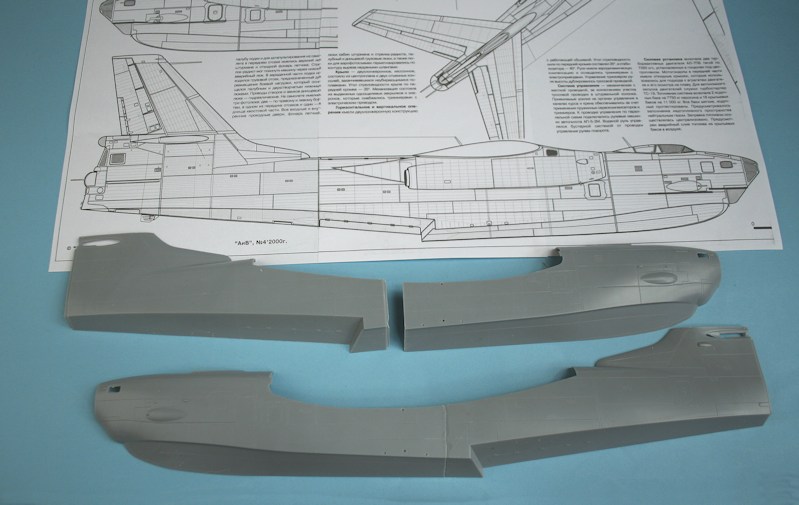
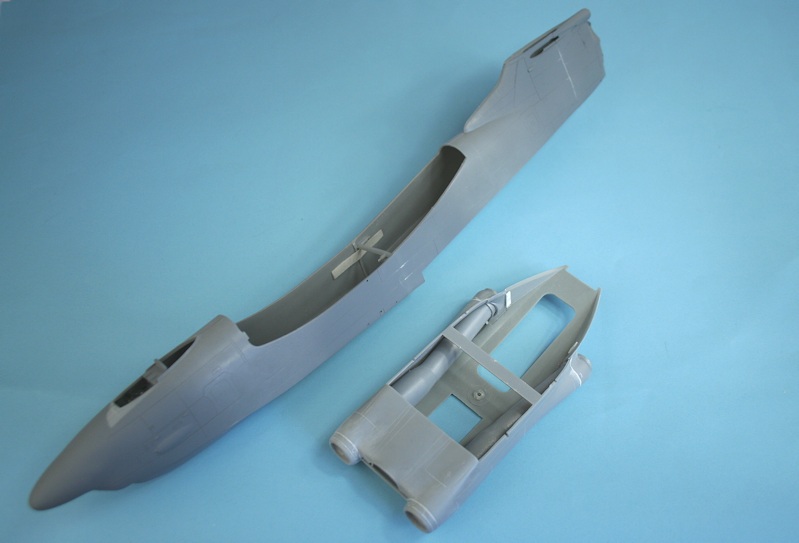
Front fuselage moulding
Rear fuselage moulding - the join should be interesting.
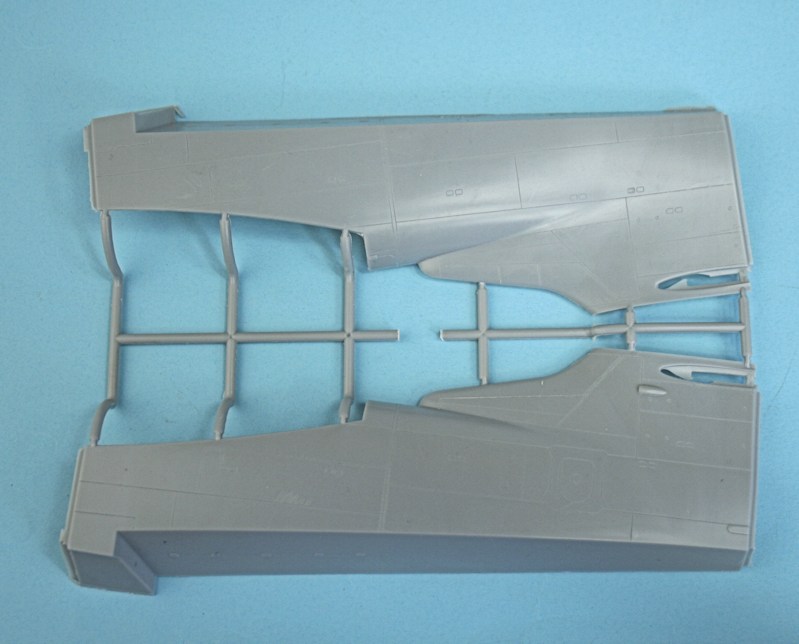
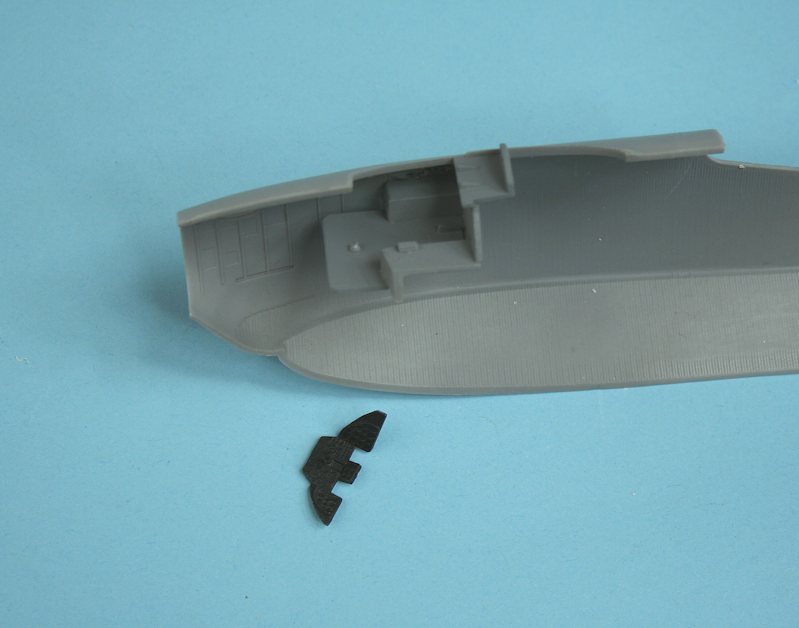
Tail gun position, wing fences and centre fuselage.
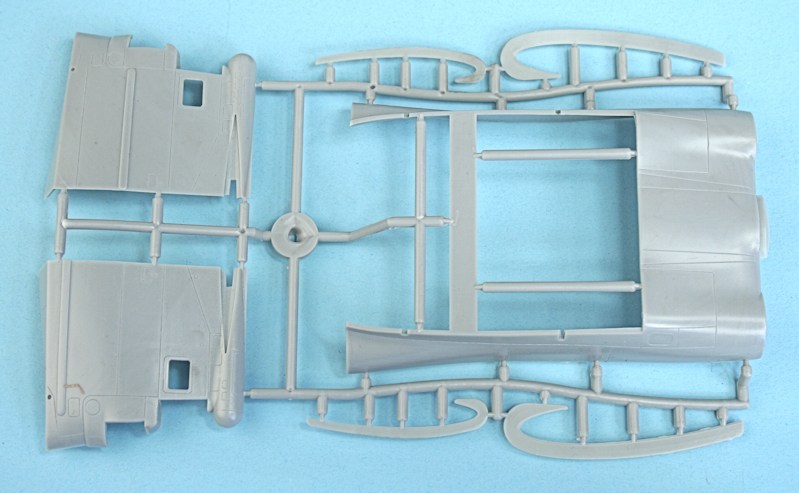
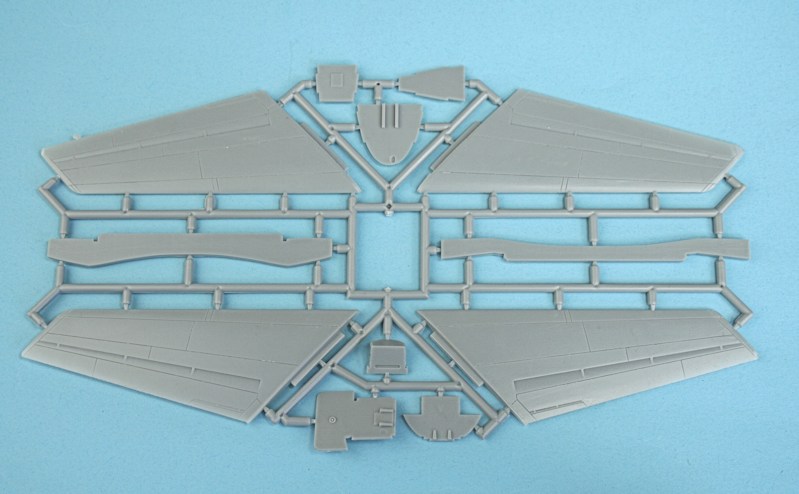
Upper and lower centre section.
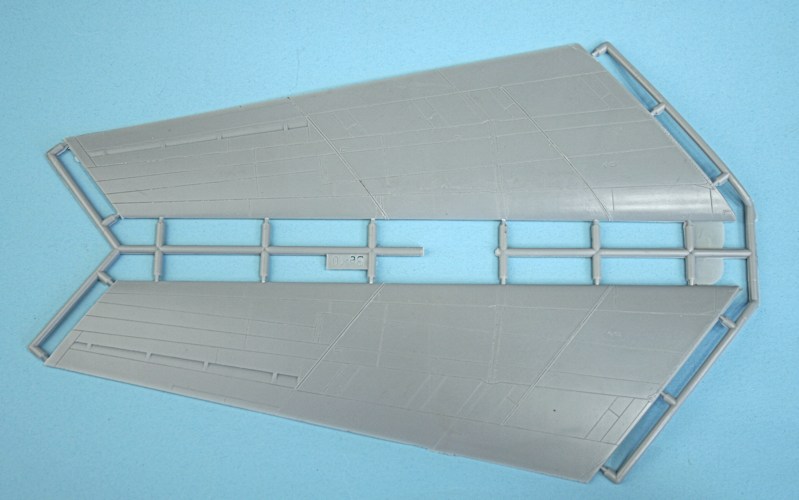
Upper.....
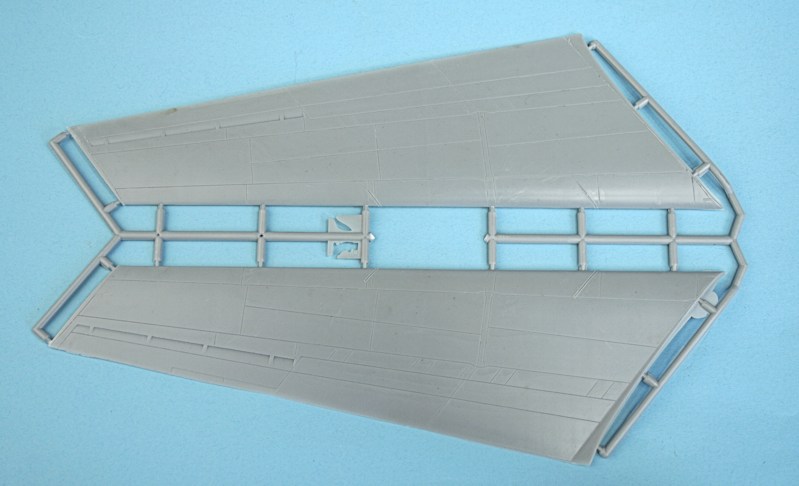
.... and lower wing halves.
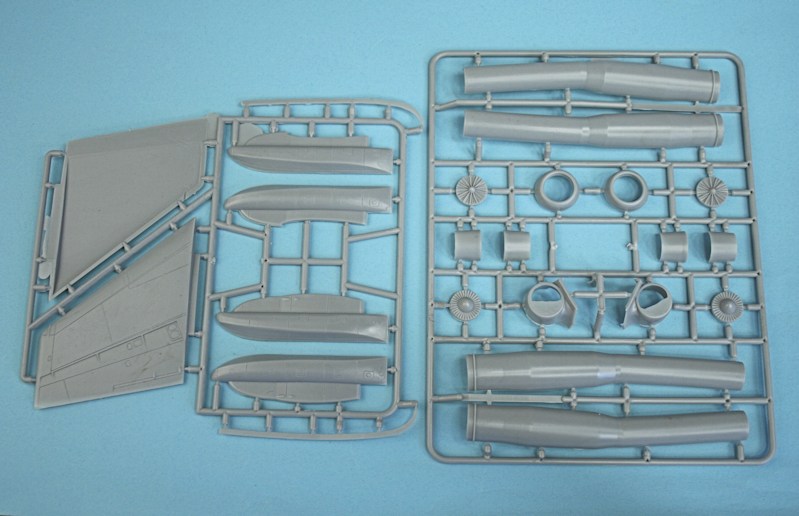
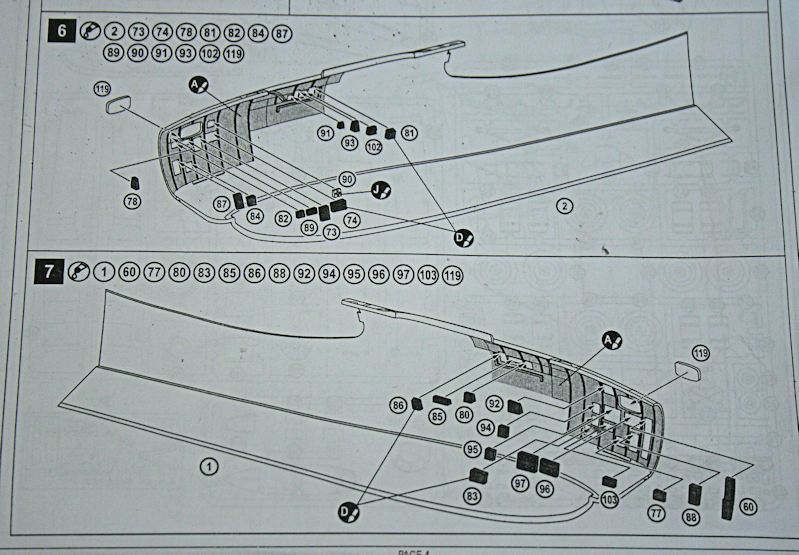
Upper fin and float halves - plus the engine trunks and intakes.
Tailplanes and cockpits - note the stub wing spars.
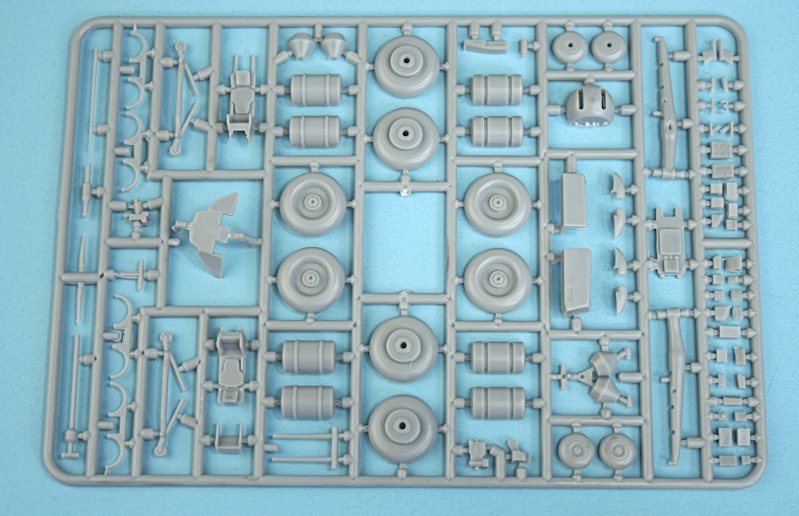
Ejection seats and beaching gear.
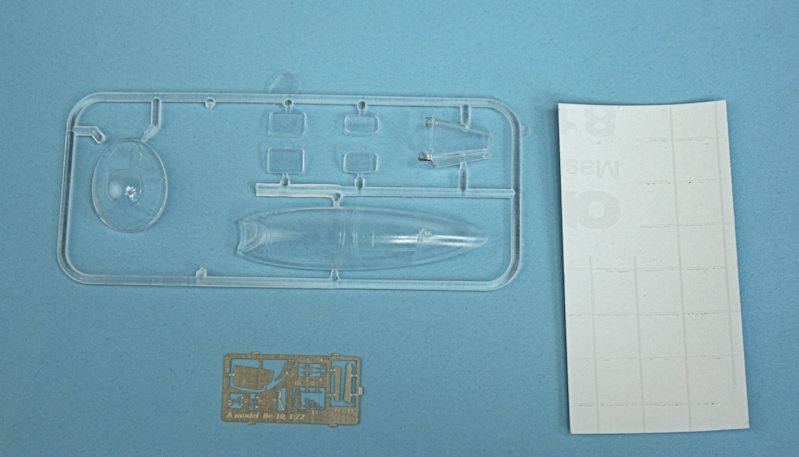
One-piece canopy, nose and gunners glazing, etched fret and self-adhesive masks.
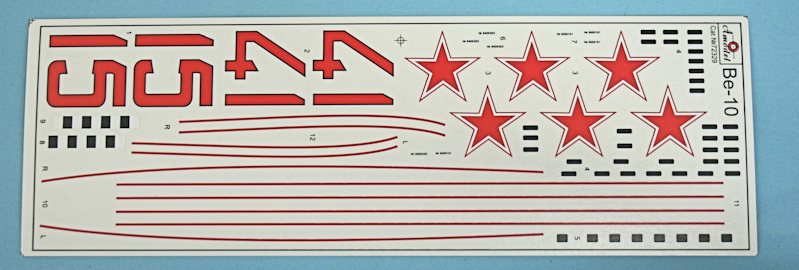
Decal sheet with two options.
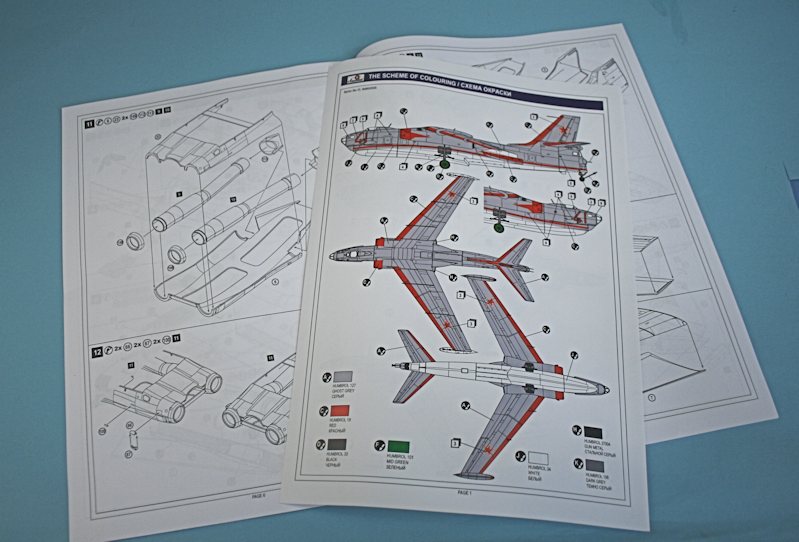
Instruction booklet - with one of the marking options.
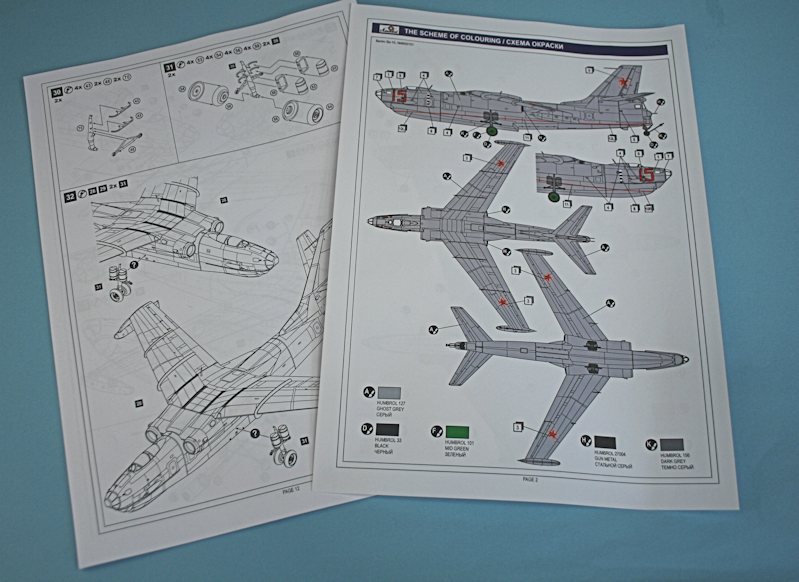
The other painting option - Plain Jane bort 'Red 15'
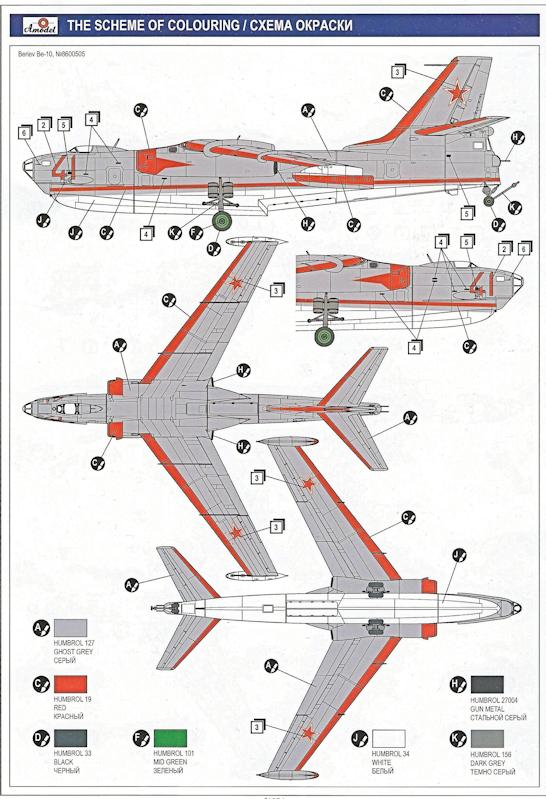
This colourful scheme was applied for a 'parade' at Leningrad and Tushino in 1961.
The bow section from a 1/350 scale submarine makes a good radome.
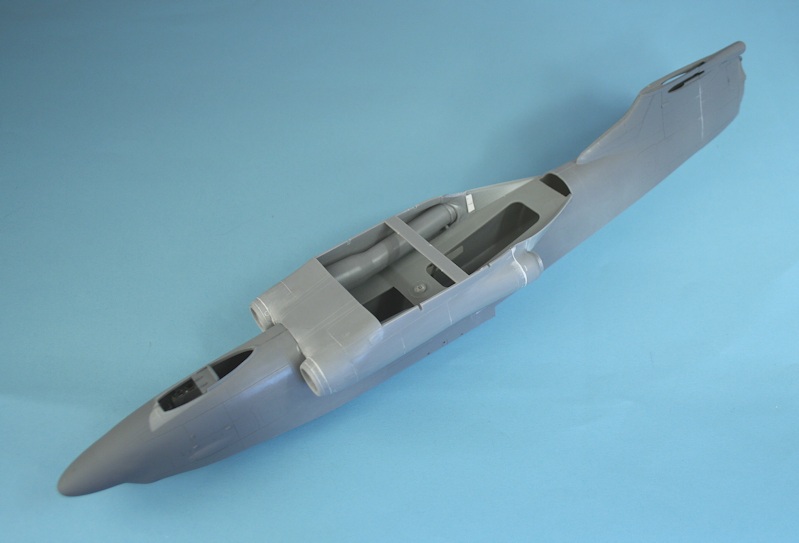
Front and rear port sides glued together, starboard side still to be done.
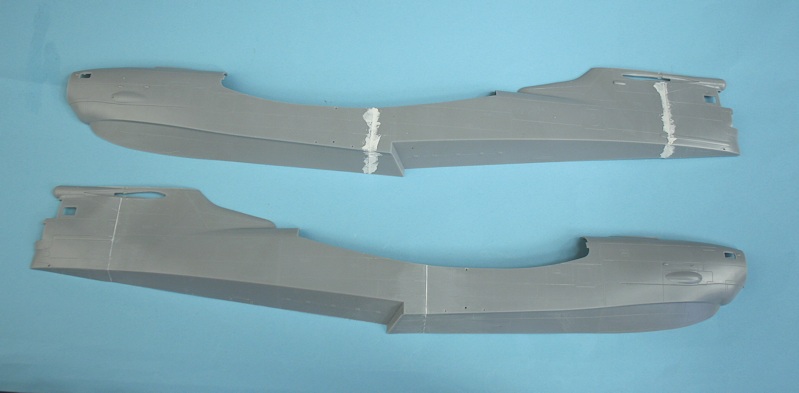
Joints filled - and sanded.
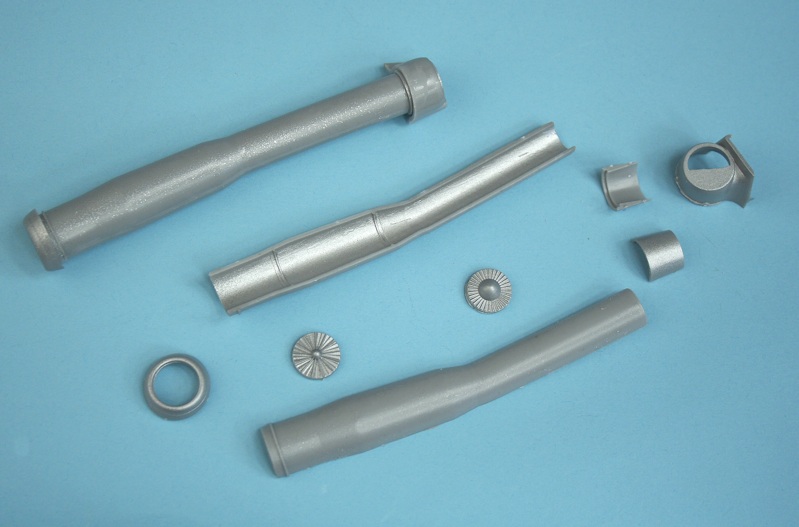
Engines and jetpipes - finished one at top, components at bottom. Note the amount of flash on the rear shroud section.
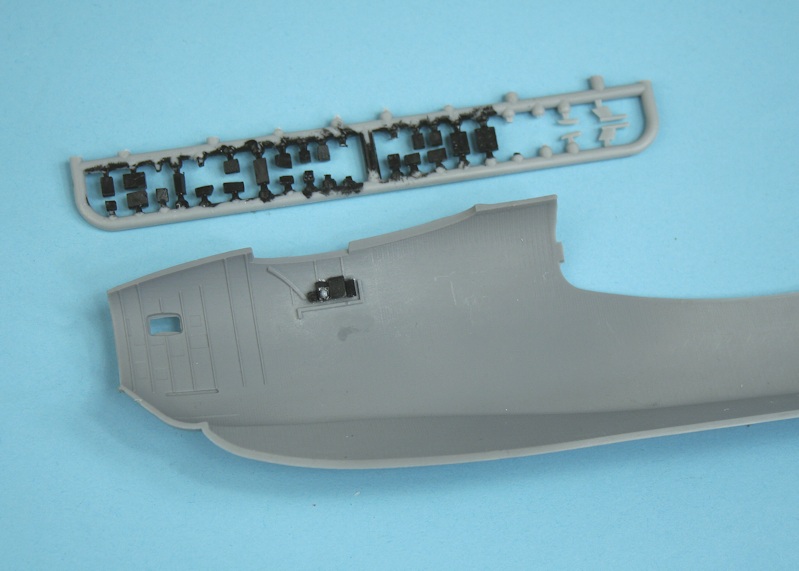
Dozens of 'black boxes' to be trimmed, painted and added to the fuselages side walls -
which then foul the mounting ledge for the cockpit floor!!!
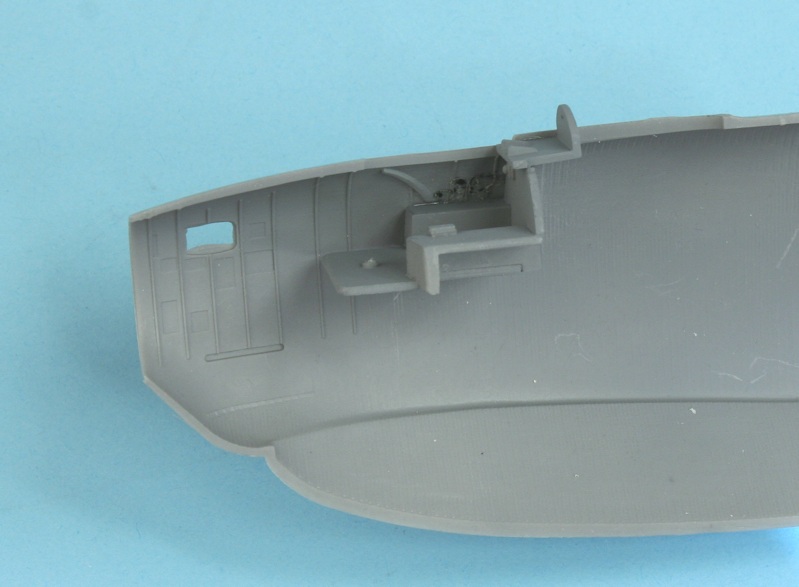
Built up cockpit in place - after black boxes have been removed.
In order to get the instrument panel to fit, the large cross bar with the rudder pedals attached has to be removed!!
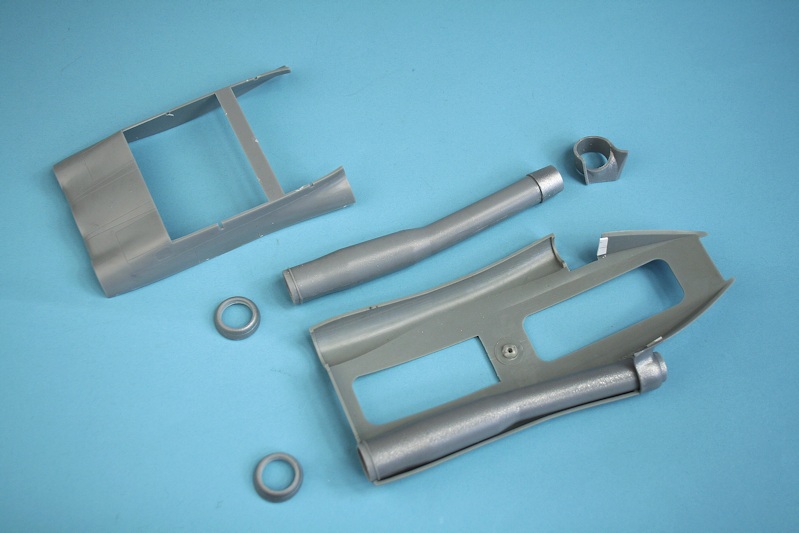
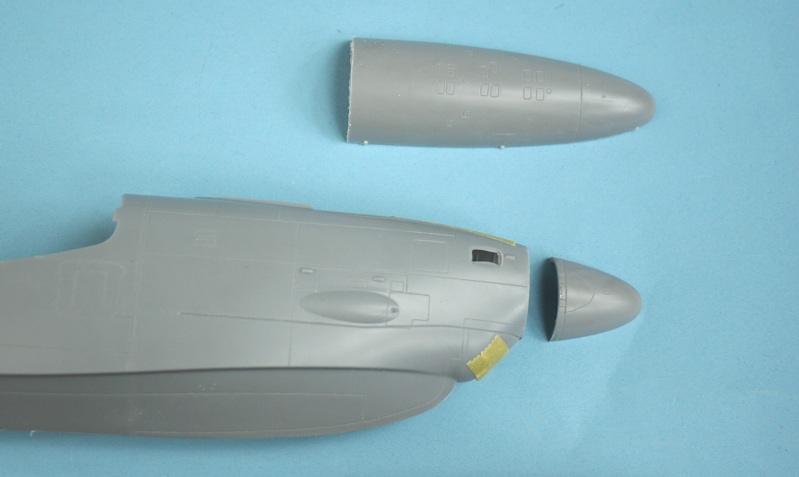
The component parts of the engine nacelle.
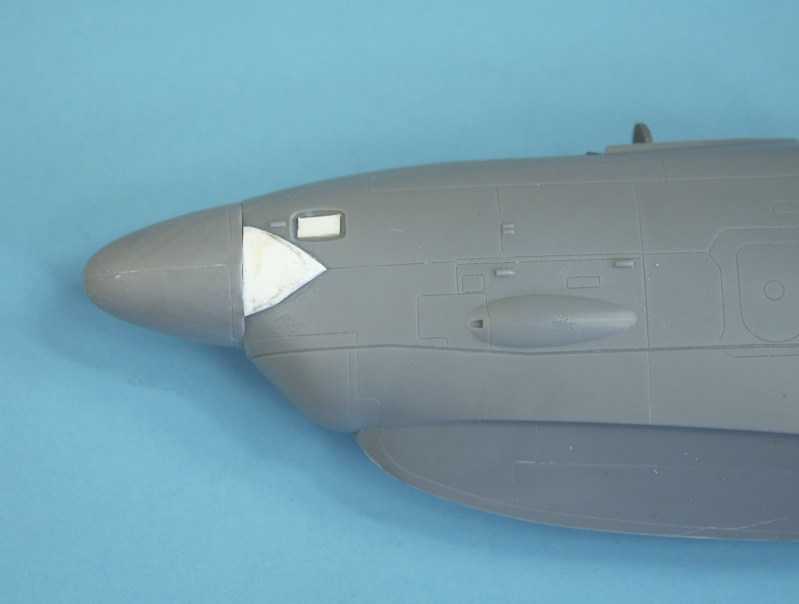
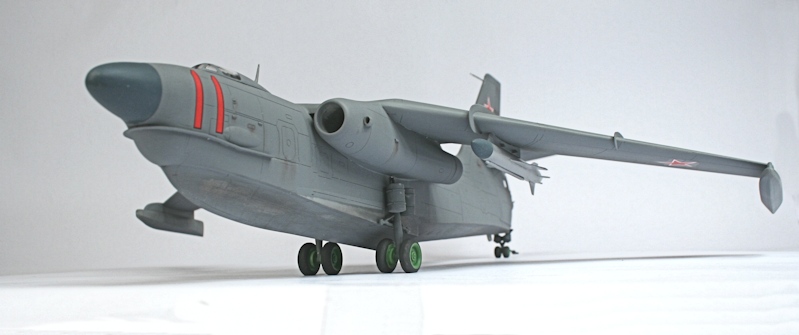
Adding the radar nose for the Be-10N - the depth is right, but the fuselage width needs packing out.
The former navigators window is blanked off with plastic card.
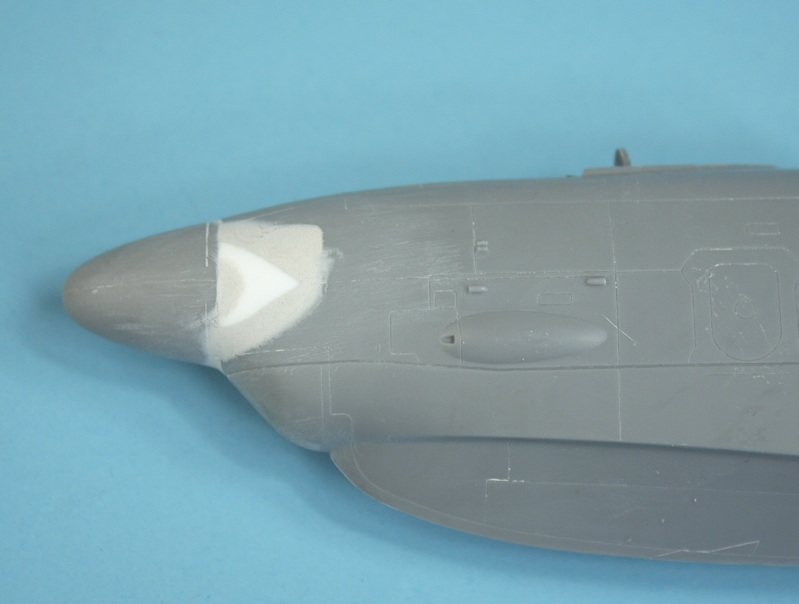
The new nose blended in with filler.
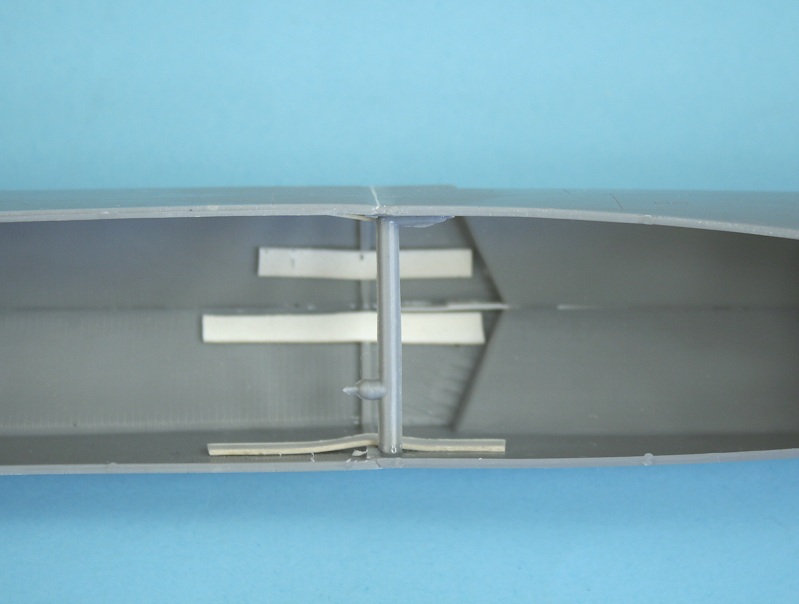
A spacer (I used plastic sprue) is needed because the fuselage is 'pinched in' at the join.
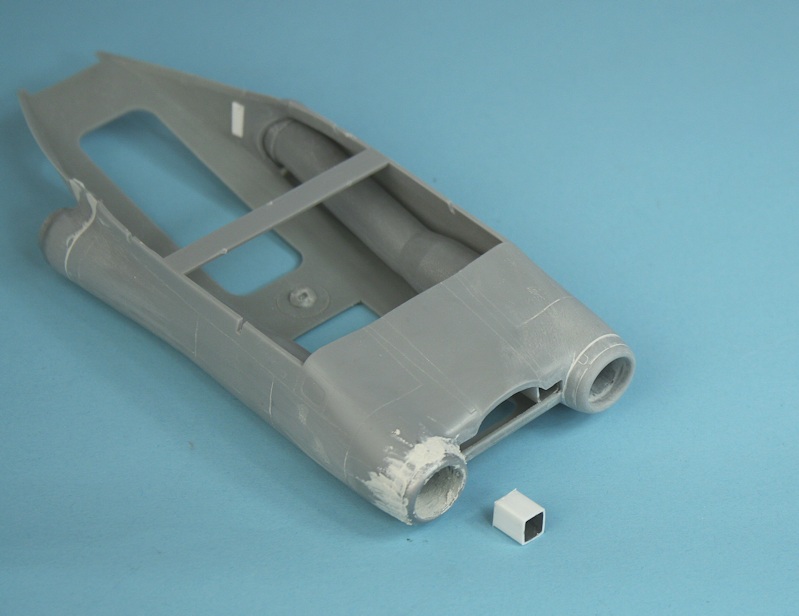
The engine assembly - lots of filler needed on all the joints! There are two triangular intakes between the jet intakes
and the fuselage - these are flashed over in the kit, so need opening out. I also 'boxed' them in with plastic card.
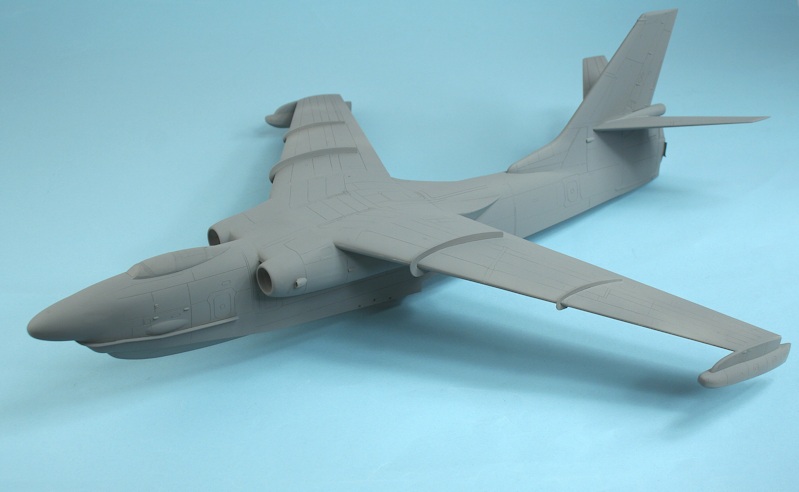
The engine assembly ready to be attached to the fuselage - unfortunately the curved cutout in the fuselage
doesn't exactly match the shape of the lower curve on the engine assembly ...........
Here it is glued in place.........
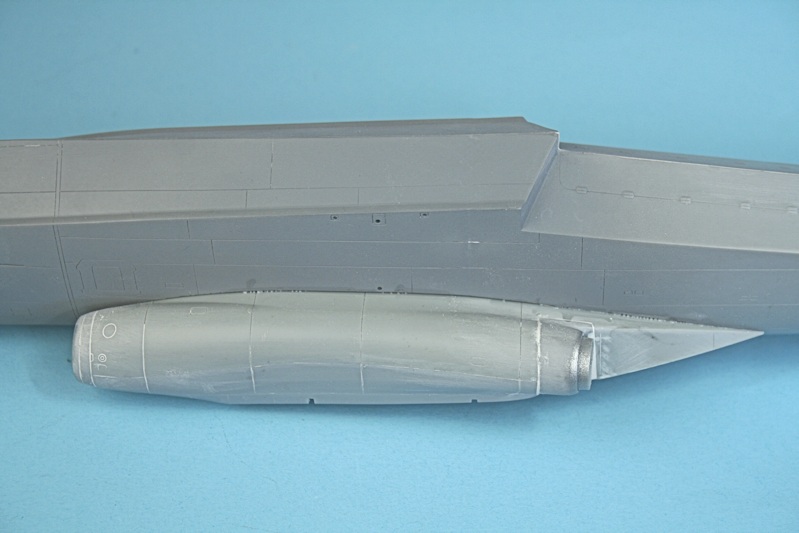
..... with more filler needed - in a really awkward place.
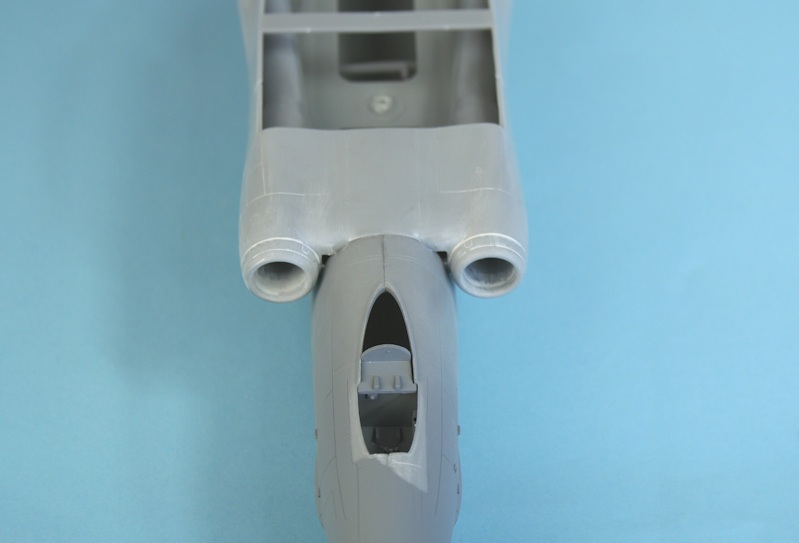
Front view showing those triangular intakes.
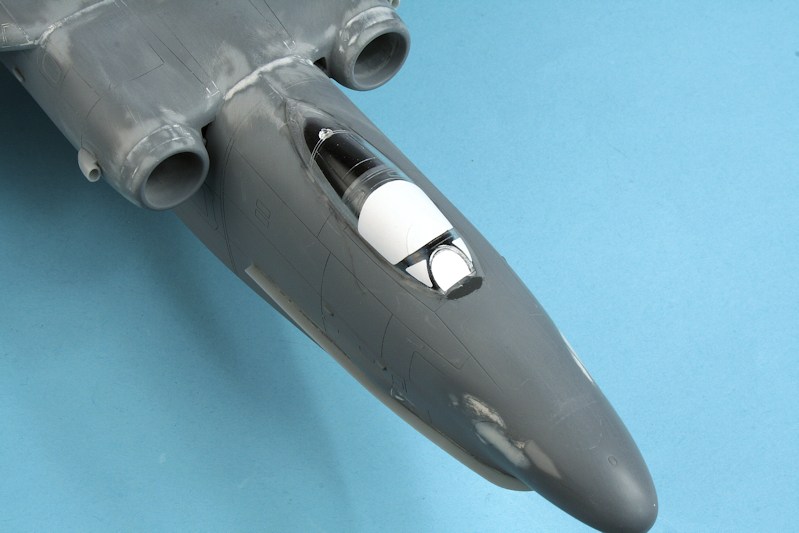
Canopy masks applied - to the cockpit......
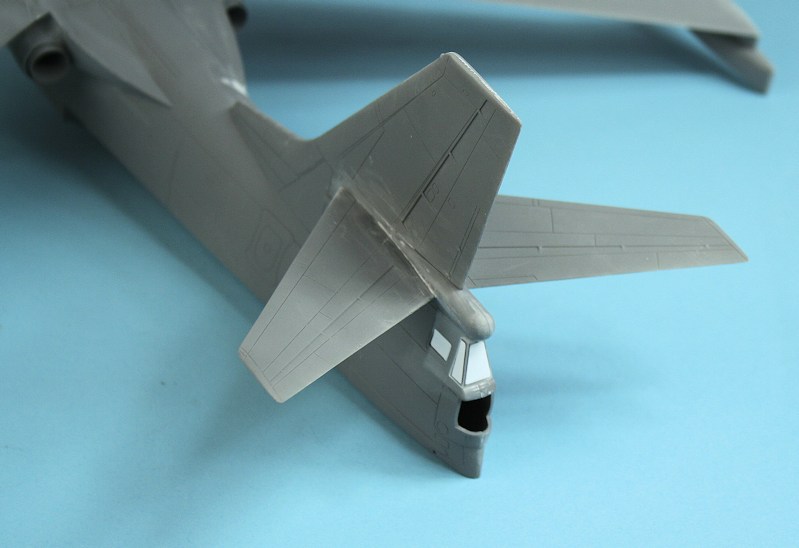
,,,,, and the tail gunners position.

Scratching the K-10BS misiles - from 9mm dia plastic knitting needle.
All primed up.
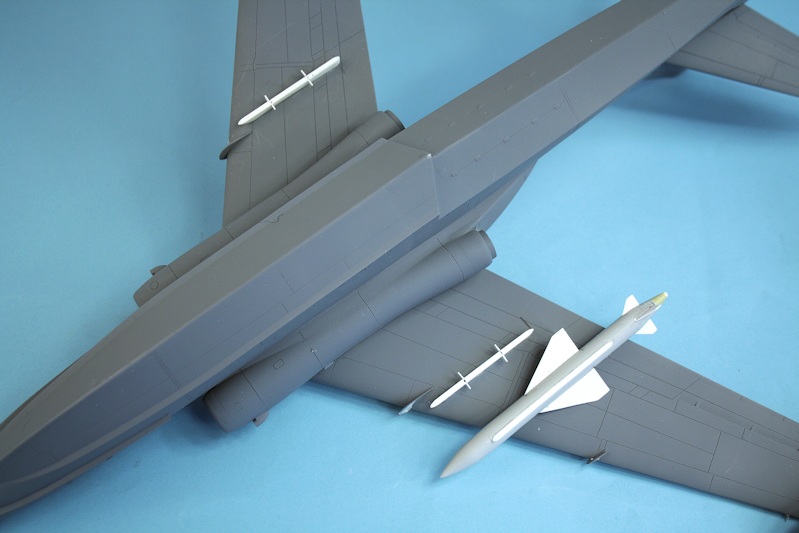
Home-made pylons for the K-10BS.
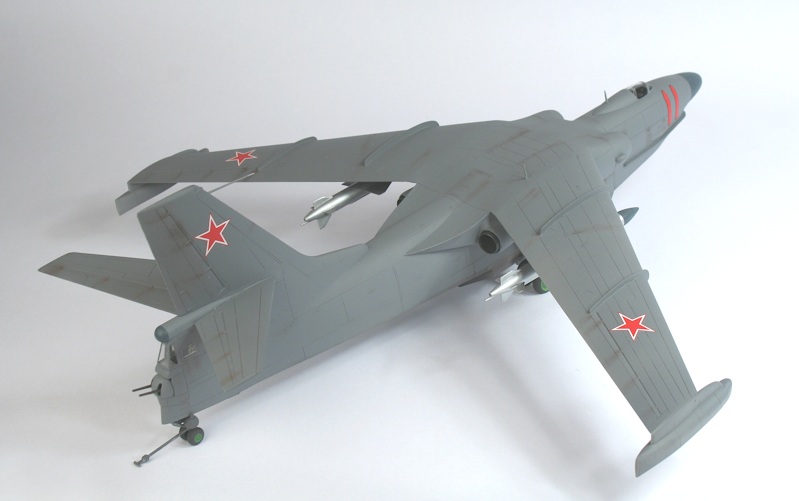
Almost finished - just awaiting the paint to dry on the two scratchbuilt K-10BS missiles....
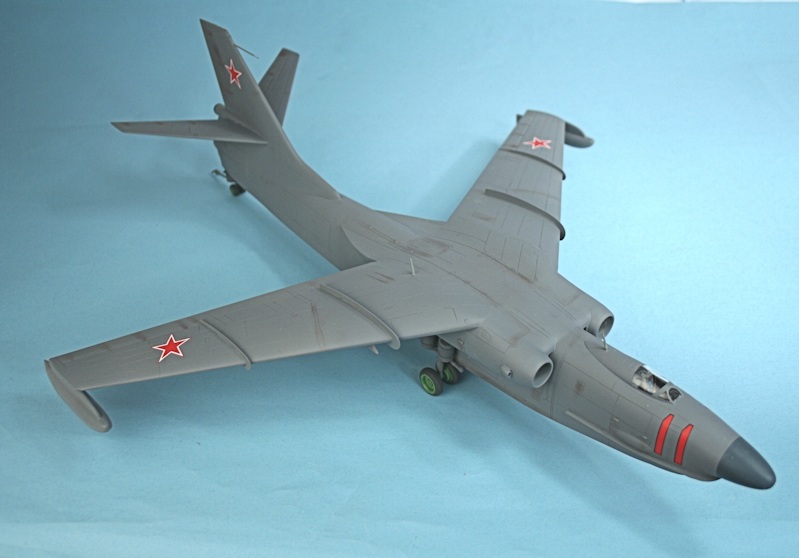
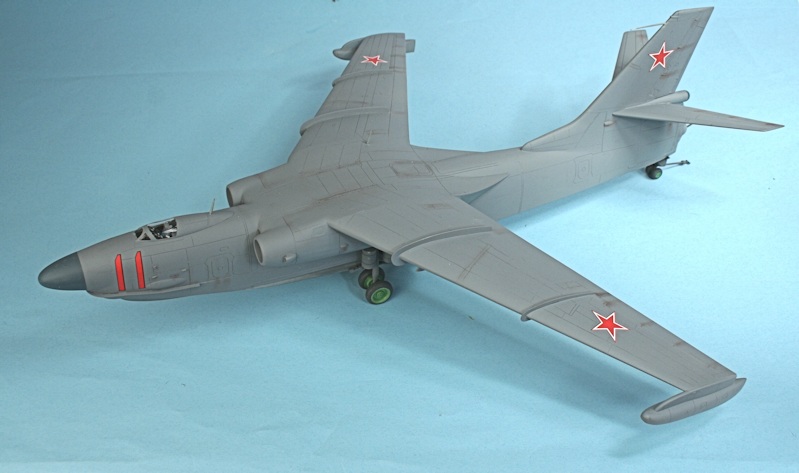
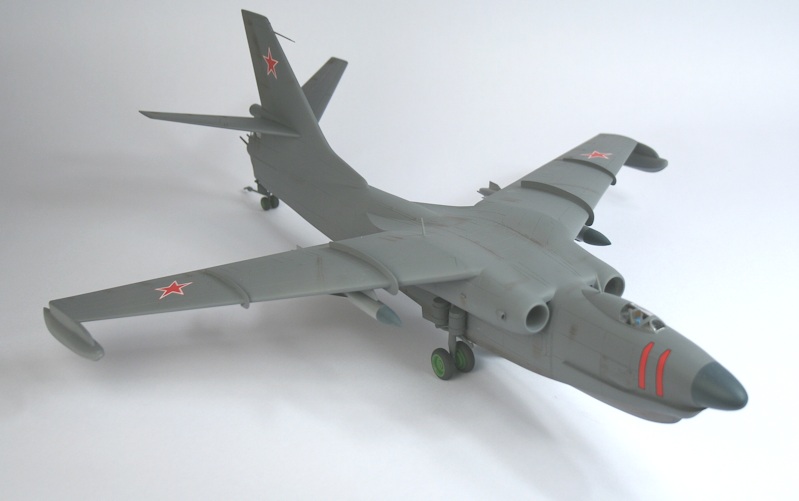
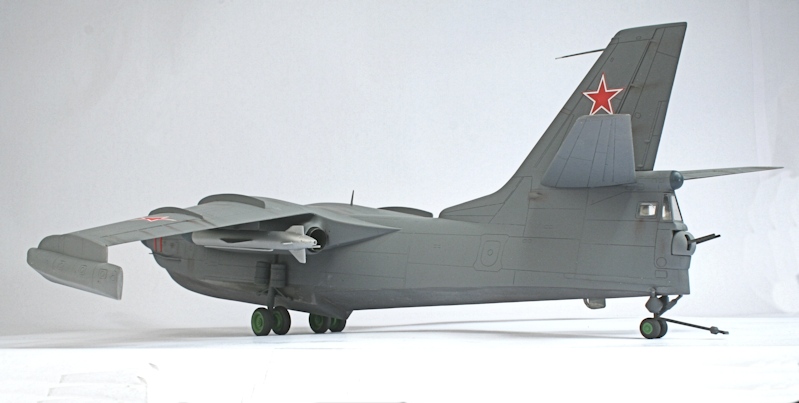
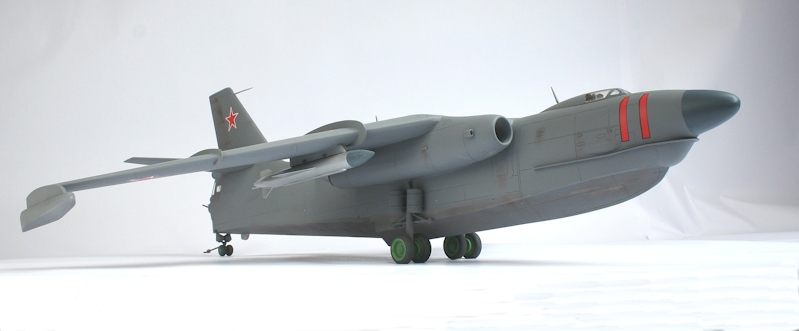
Beriev Be-10N missile carrier.
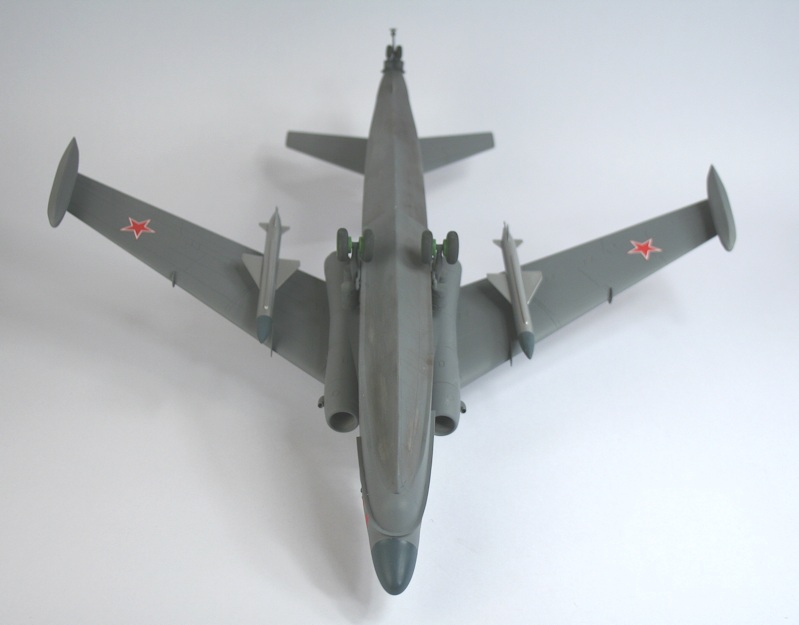
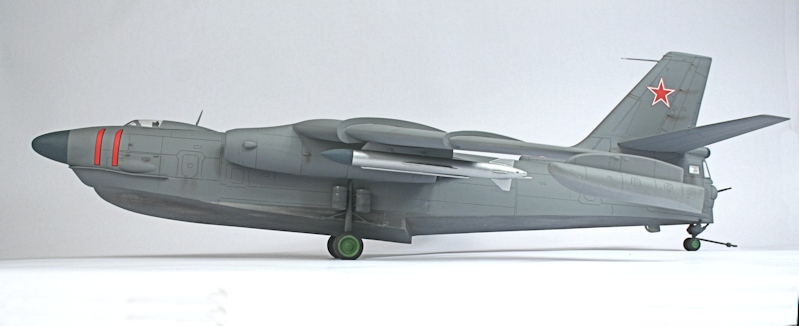
Finished Model
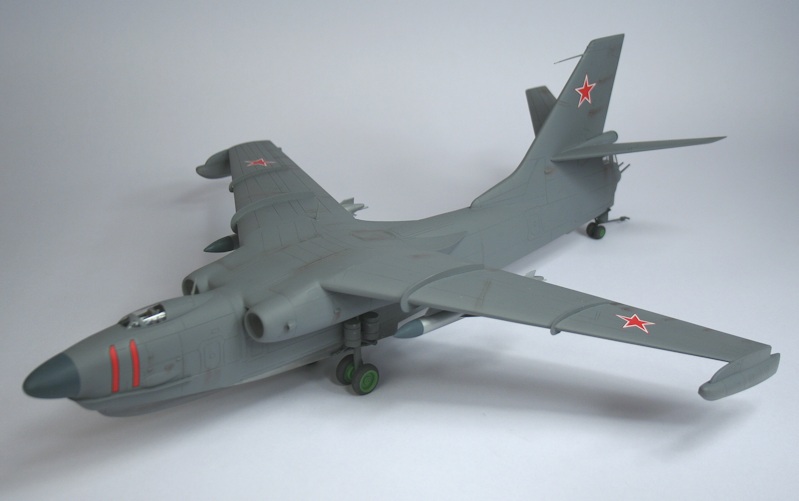
Finished Be-10N with K-10BS missiles attached.


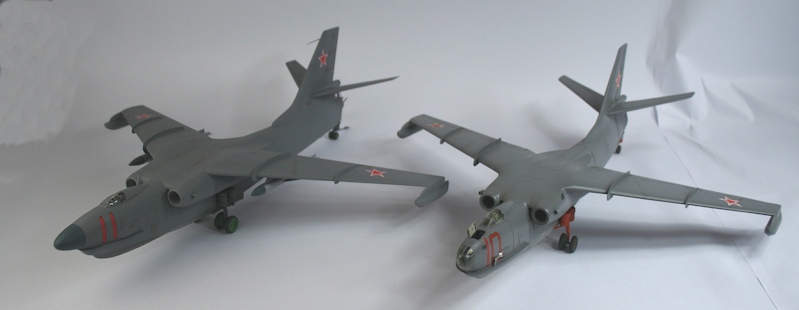
Amodel Be-10N (left) - compared to Deka vacform Be-10 (right)
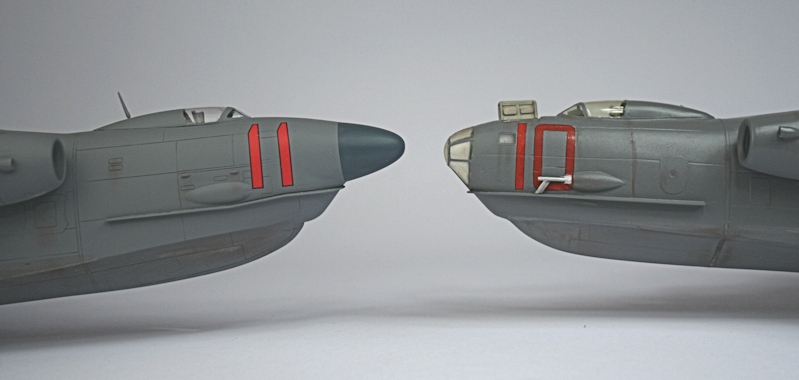
Nose job - radar-nosed Be-10N conversion - and how it was originally.
Ken Duffey
August 2016