MiG I-320
Modelsvit 1:72 scale kit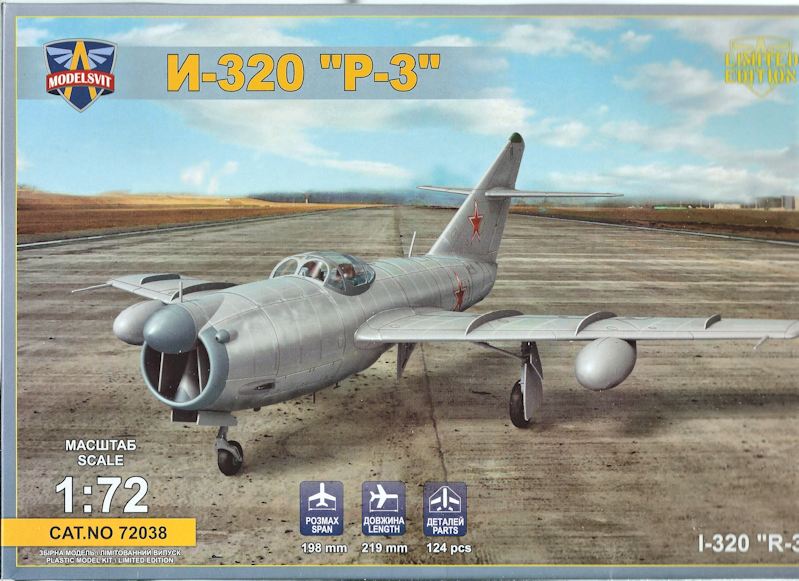
Modelsvit's always great box art.
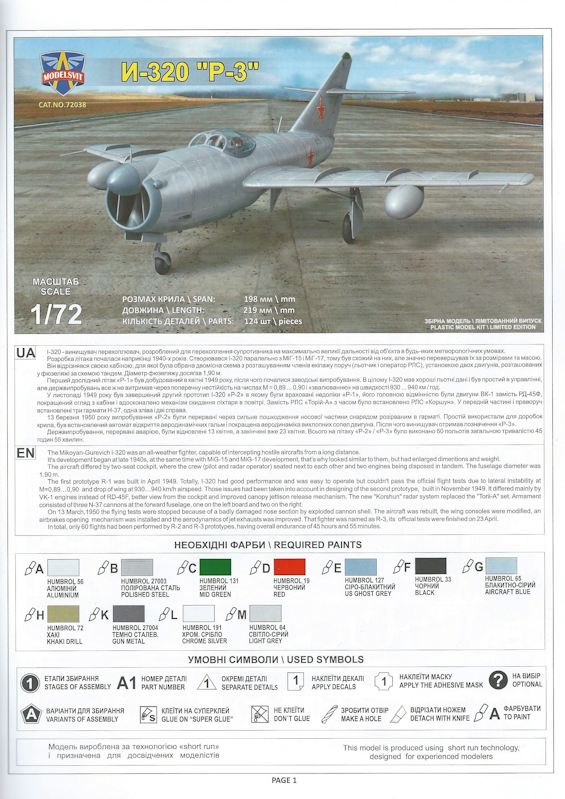
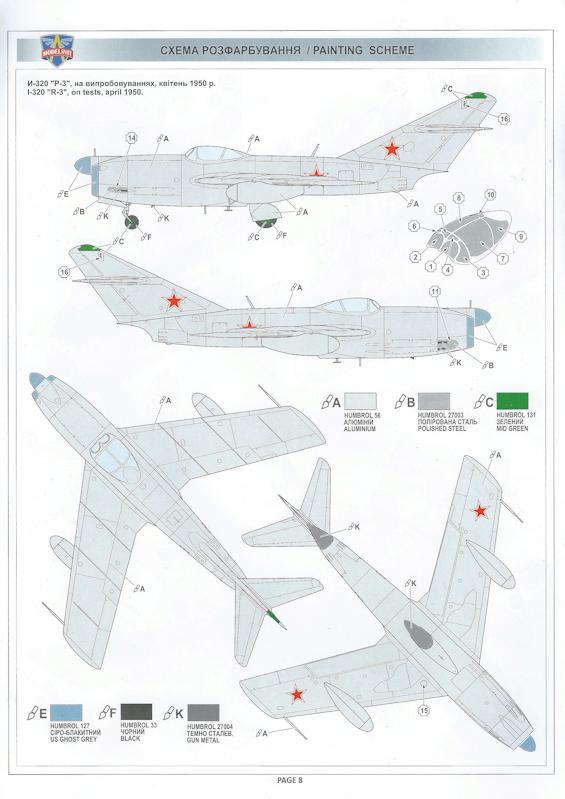
First page of the instruction booklet - with a brief history of the type and Humbrol paint matches.
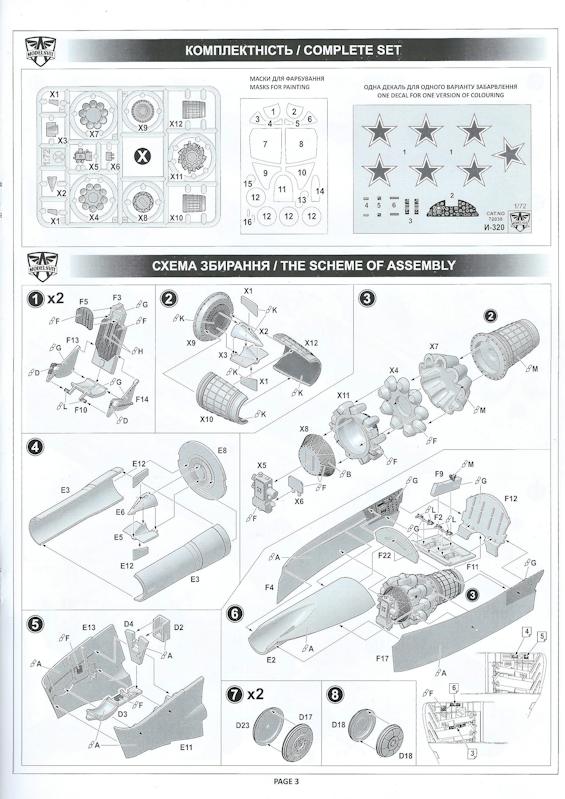
Last page of the instructions - note the canopy masks.
The fullyl-detailed VK-1 engine, ejection seats and cockpit/nose intake.
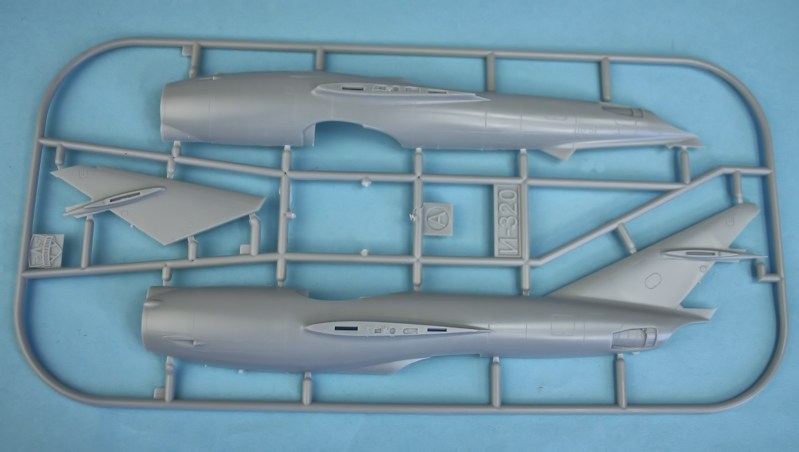
Fuselage halves.
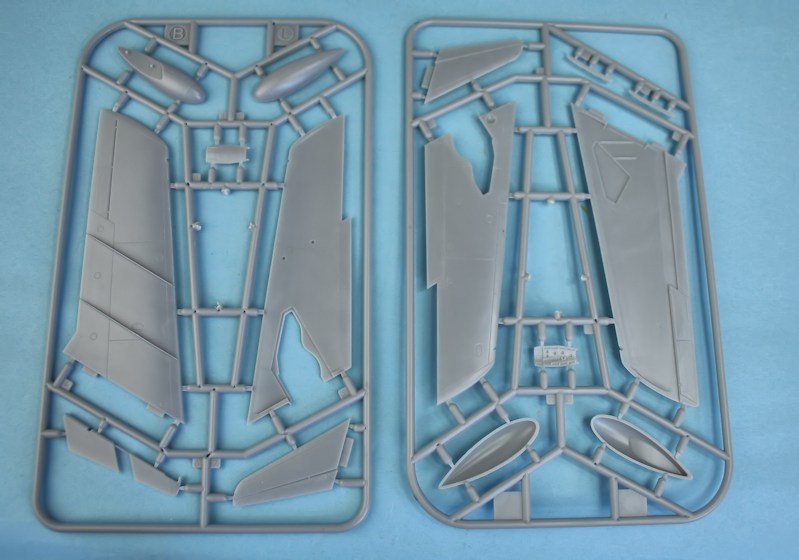
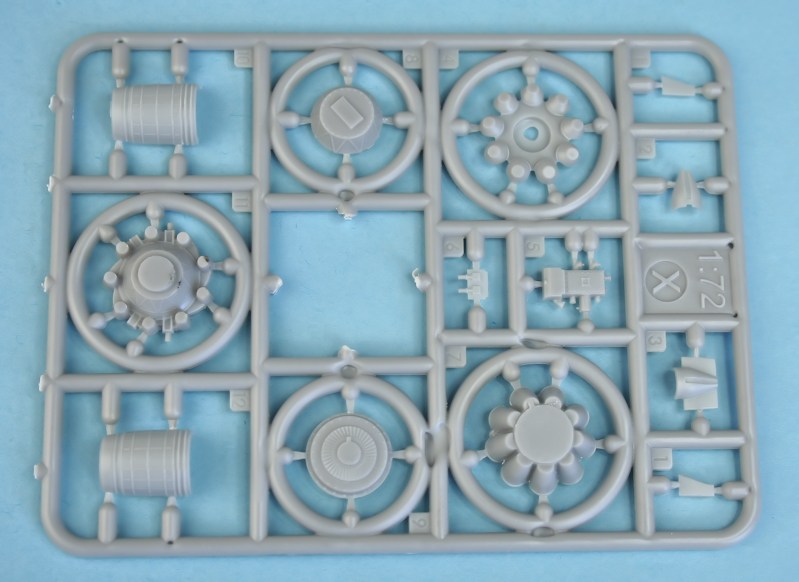
Wings, tailplanes and slipper tanks.
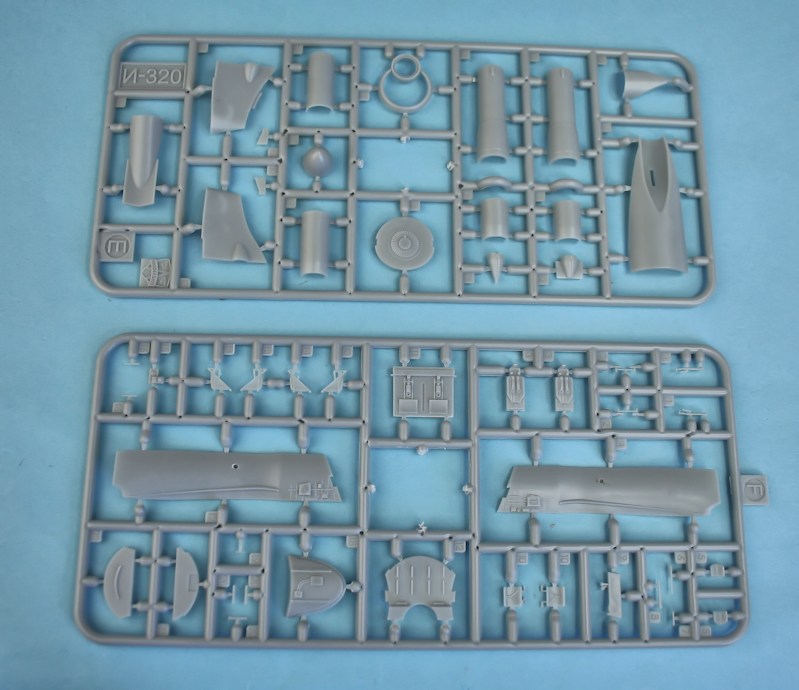
Cockpit parts (lower) with intake and jetpipes (upper).
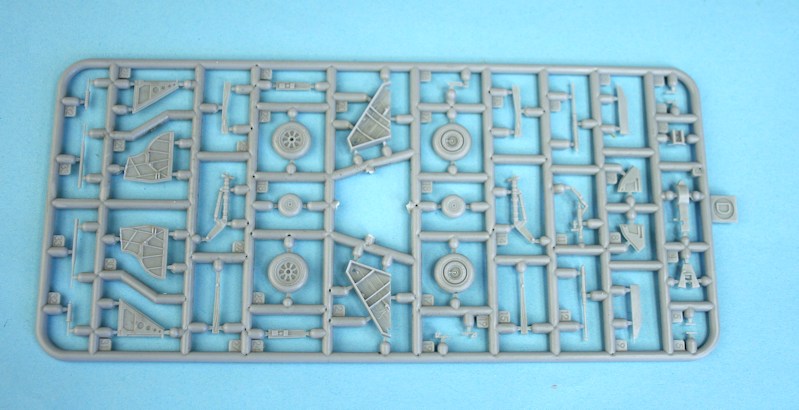
Undercarriage parts - look at the detail on those doors!
Parts for the VK-1 engine.
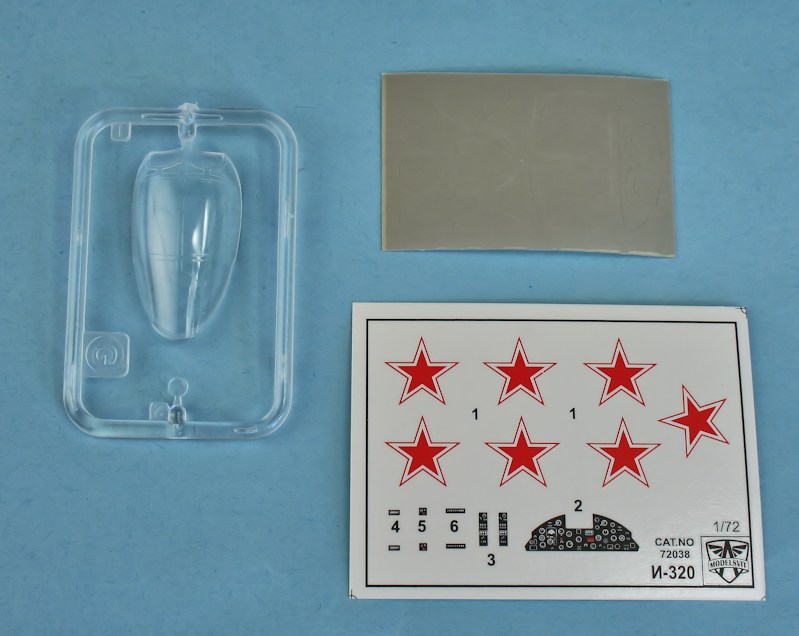
One-piece clear canopy, canopy & wheel masks and decal sheet.
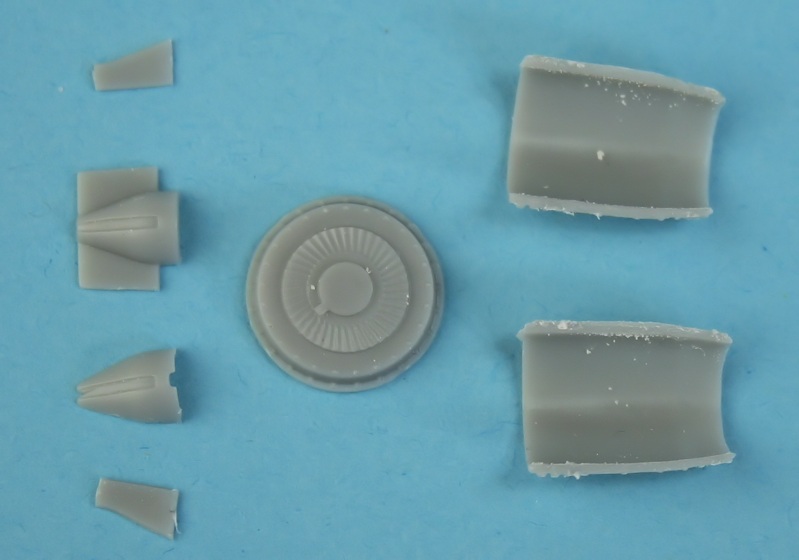
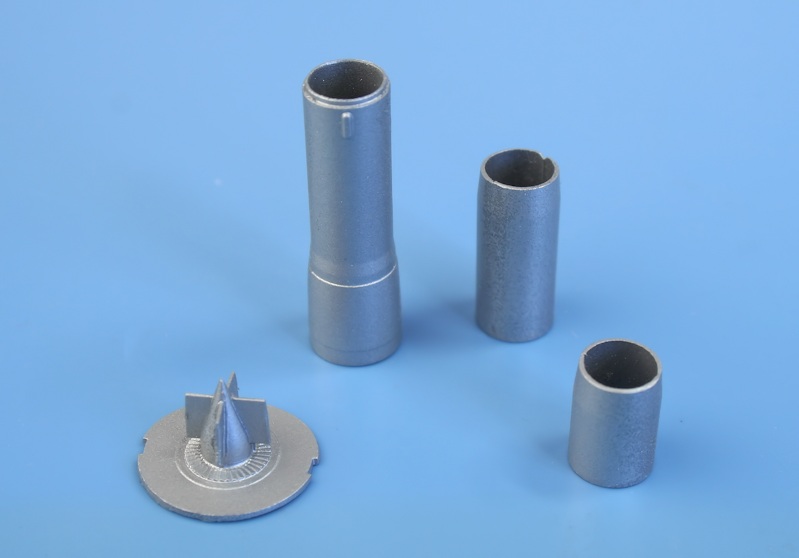
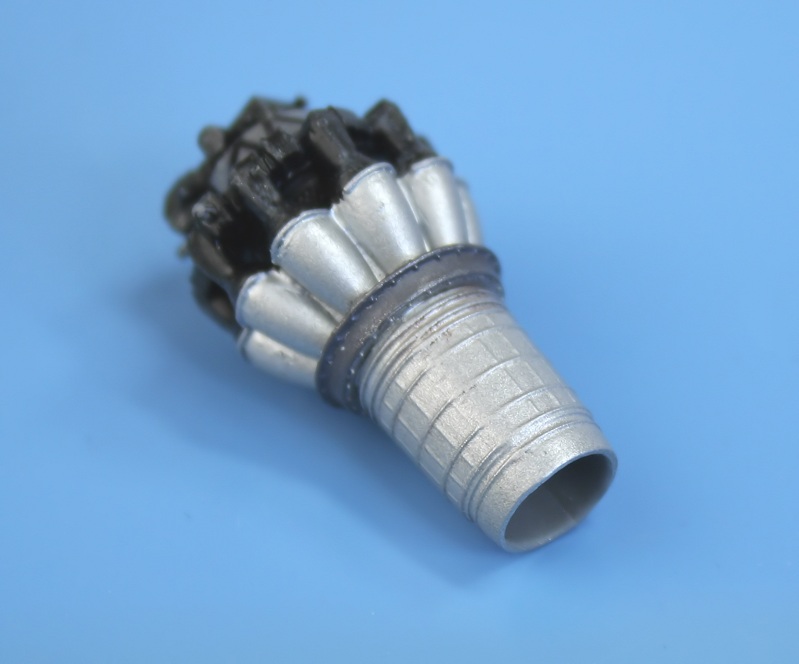
Seven parts make up the jetpipe....
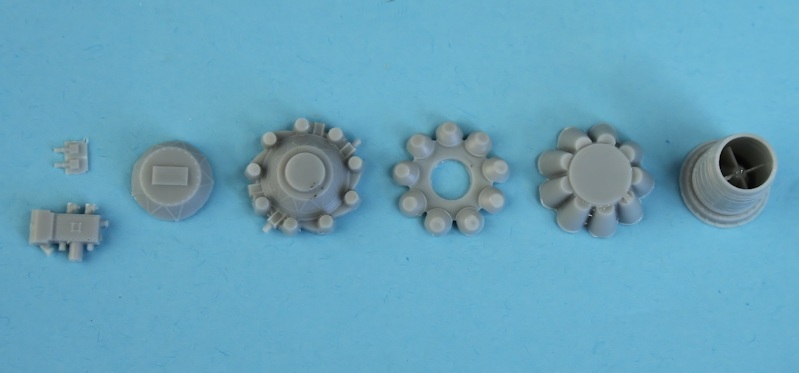
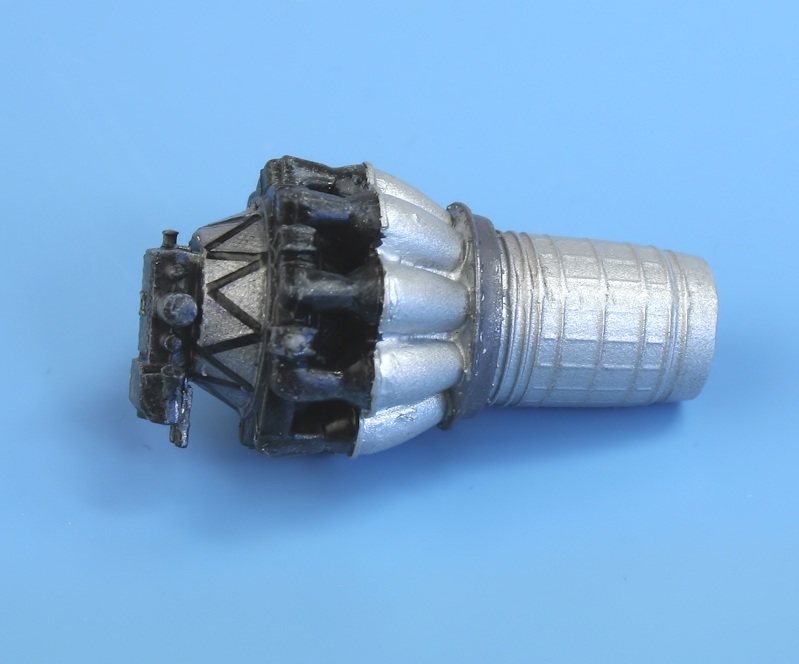
... with six parts for the VK-1 centrifugal-flow jet engine - the assembled jetpipe on the right.

This is what it looks like when completed.......
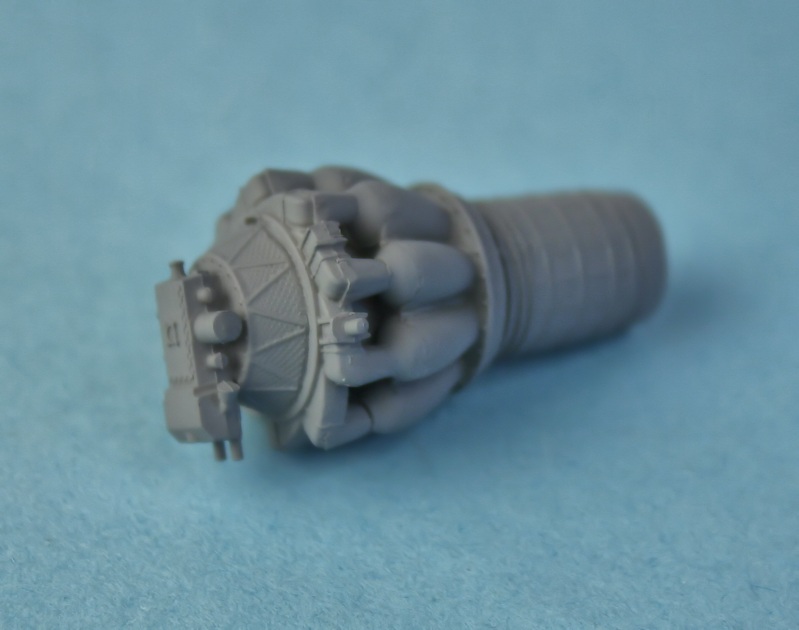
... and primed.
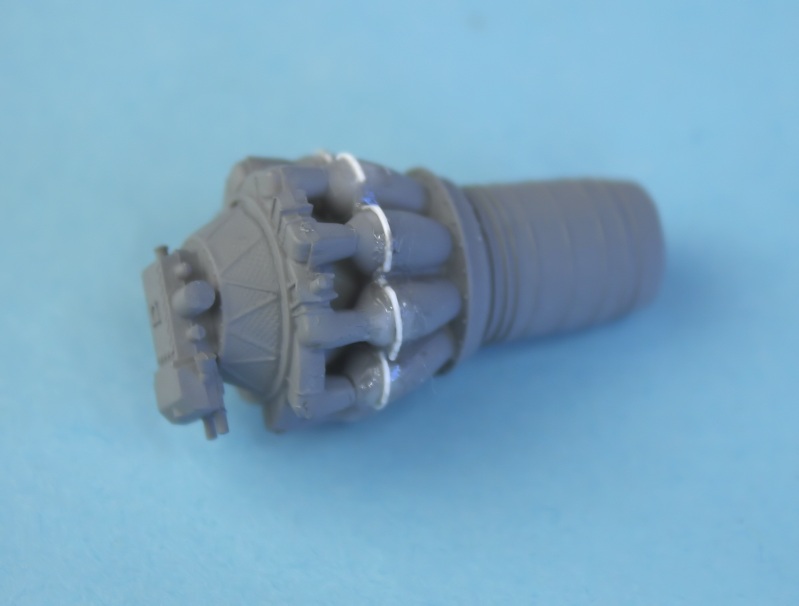
After mistakenly sanding off what I thought was flash, I had to re-instate the flanges on the annular cans !!!
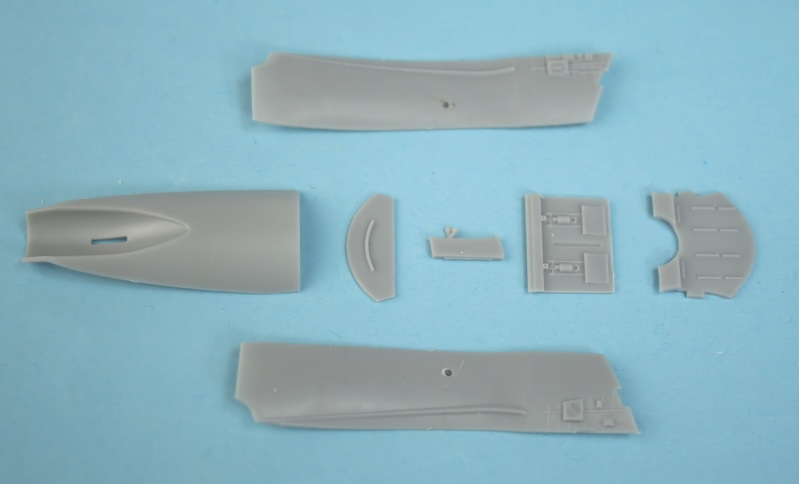
Parts for the cockpit and intake trunking.
Jetpipes assembled - almost seamless! Yes, there are only two engines.
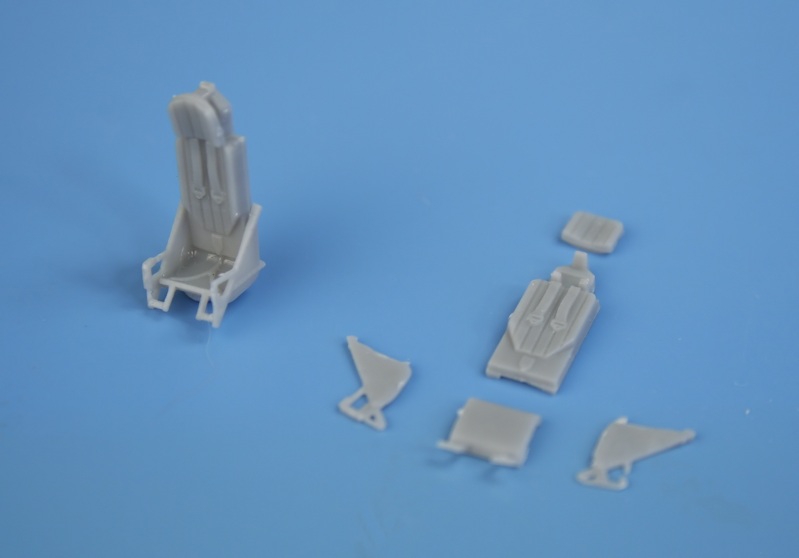
The ejection seats are exqusite mouldings - each seat is made up from five parts.

Cockpit parts painted and decalled. Not yet fitted are the seats, rudder pedals and control columns - it really is very detailed.
Despite my best efforts to ruin it, the VK-1 engine has turned out OK.
With a little bit more care - plus some super-detailing and a display stand, it could be made into a model in its own right.
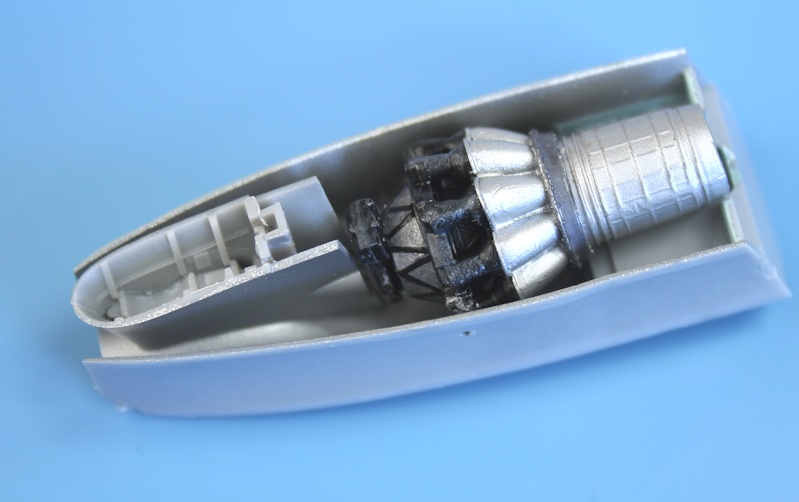
Nosewheel undercarriage bay and front VK-1 jet engine fitted inside the intake sidewalls - it's a tight fit!
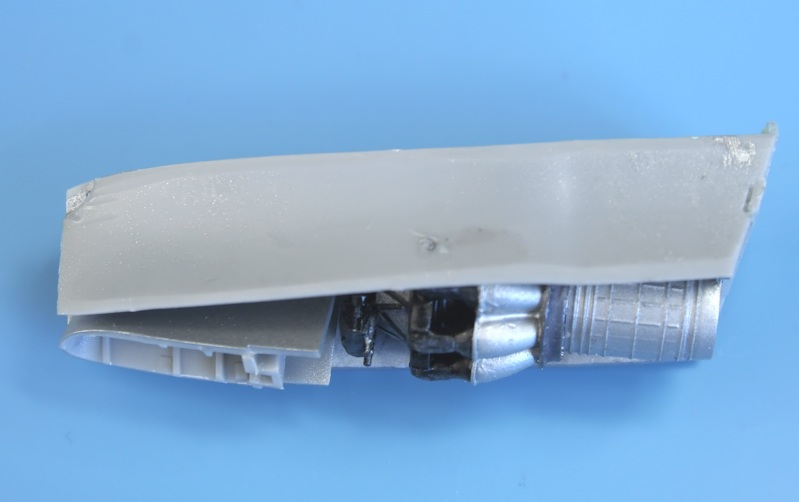
The air for the front engine passes either side of the front undercarriage bay -
the air for the rear engine passes between the intake walls and outer skin, by-passing the cockpit tub.
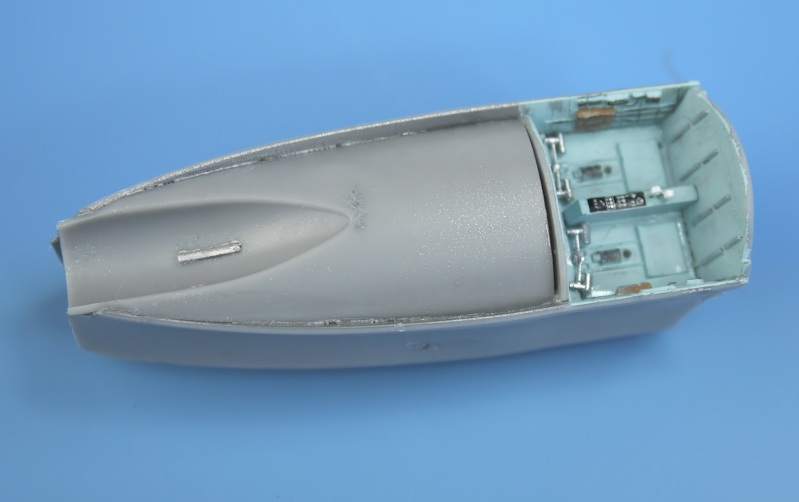
Top view of the assembled cockpit tub, sidewalls, undercarriage bay and jet engine.
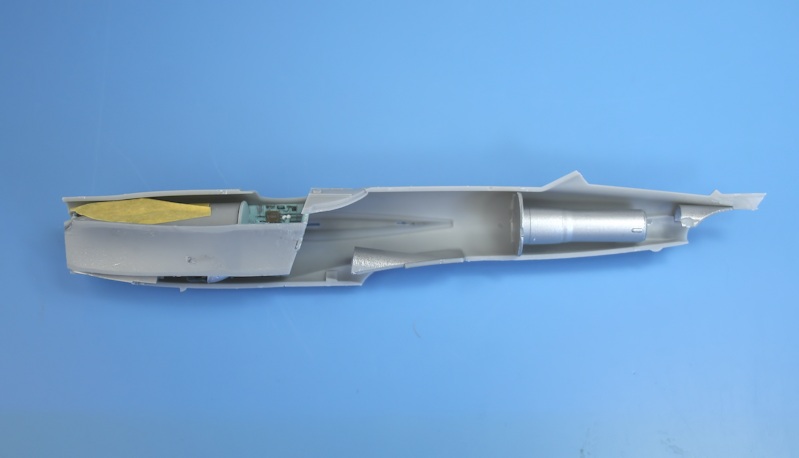
From front to rear - intake/cockpit assembly, upper rear cockpit decking, front engine 'pen nib' fairing, rear engine jetpipe, rear pen nib fairing.
The yellow tape is covering a couple of pieces of lead weight.
The two fuselage halves only just join - after a lot of 'fettling of the front assembly - scraping plastic away/sanding etc.
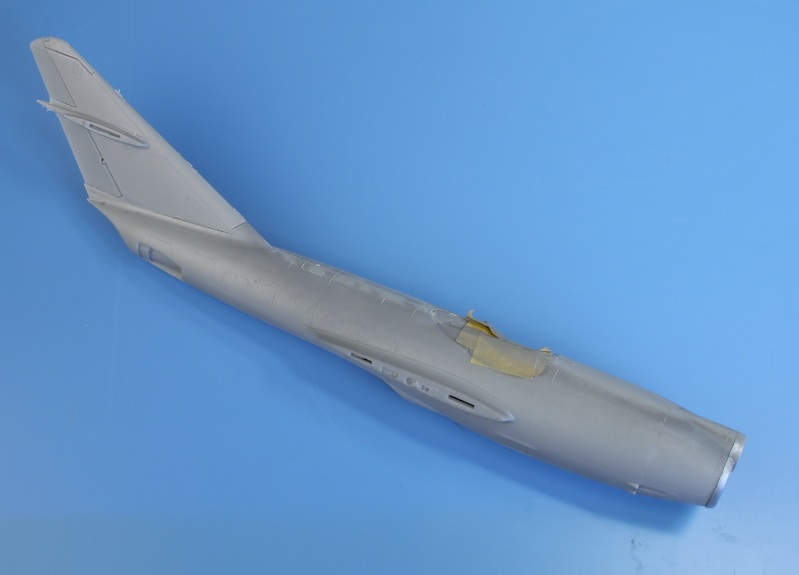
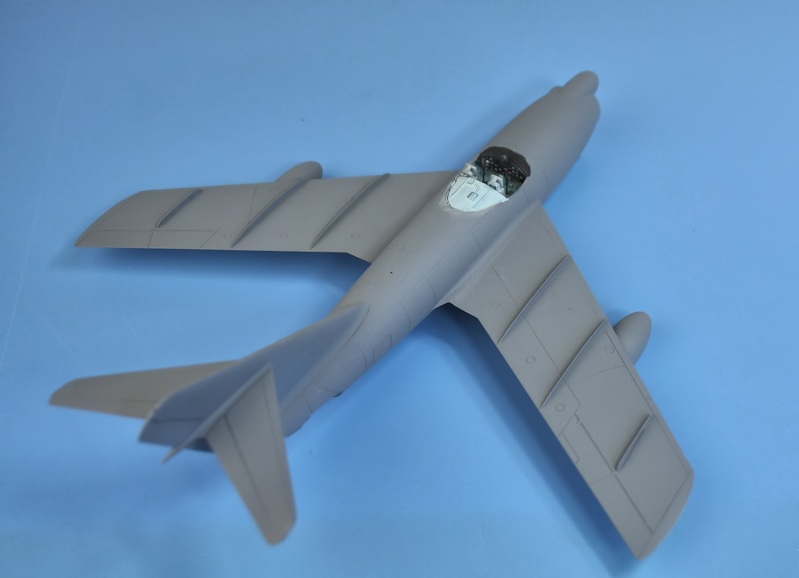
Fuselage halves together, fin and nose intake ring added. A first primer coat reveals the upper and lower fuselage joints.
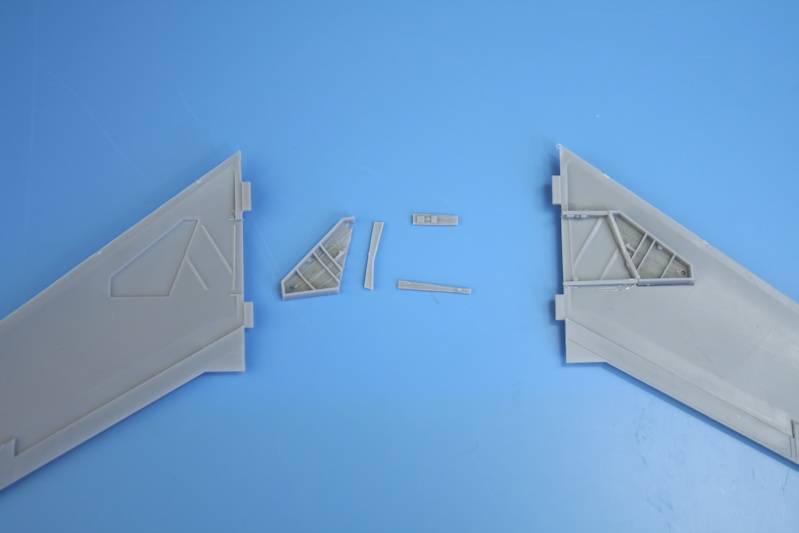
Four parts to box in the main wheel wells.
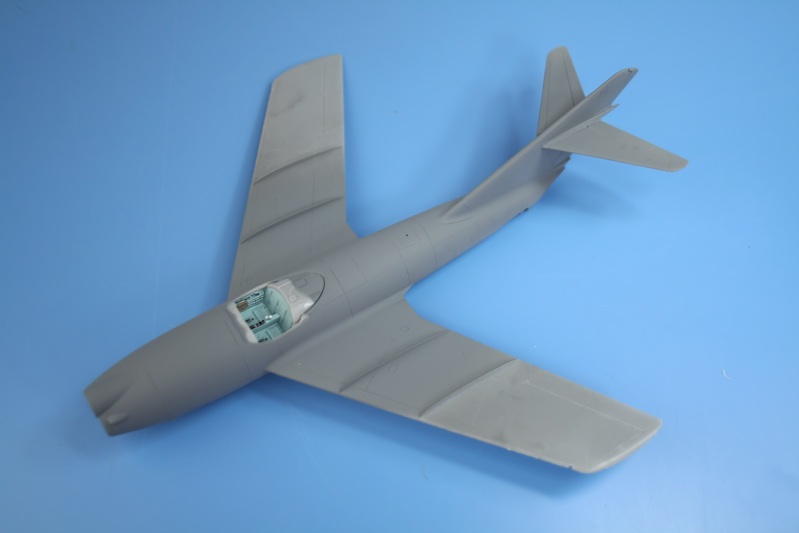
Wings attached - followed by a couple of sessions of filler/sanding/primer/sanding to eliminate all the joints.
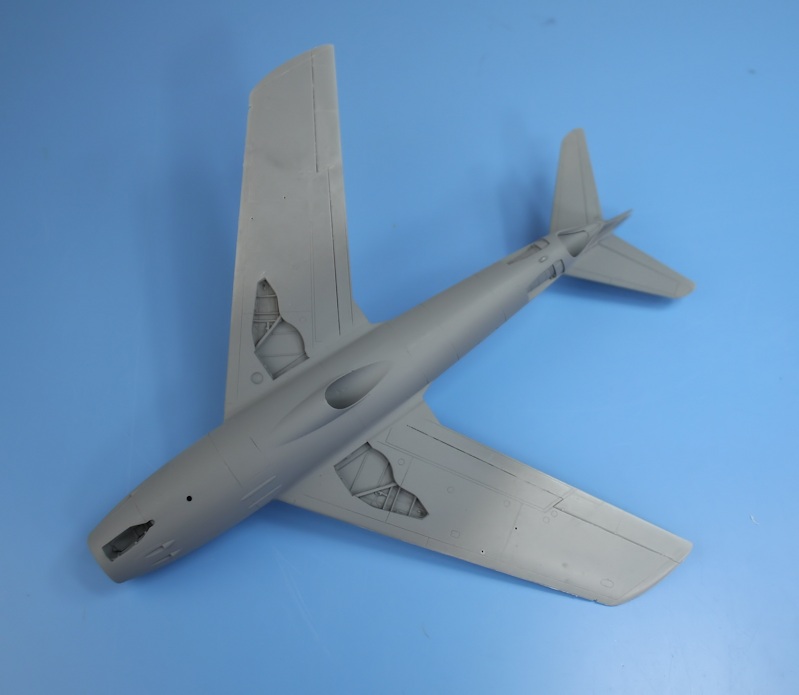
Underside view - note the ventral jet exhaust of the front VK-1 engine.
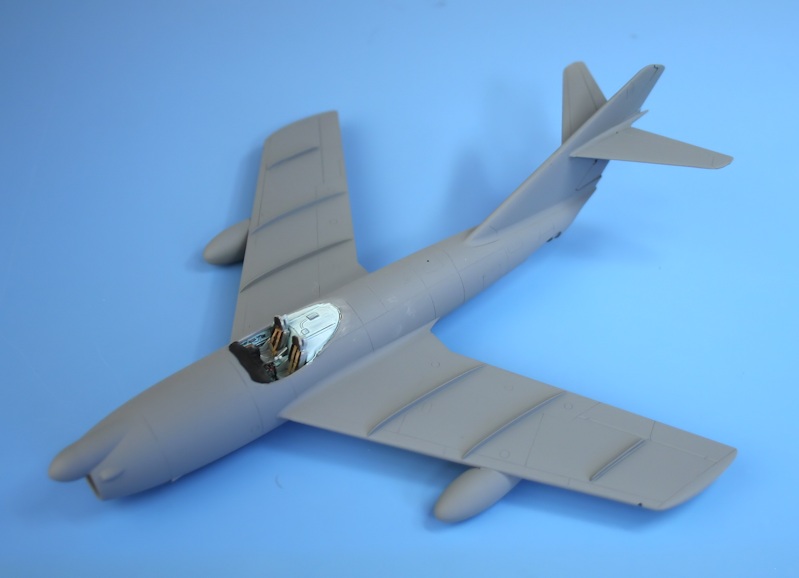
Outer wing fence, slipper tanks, nose radome and ejection seats added.
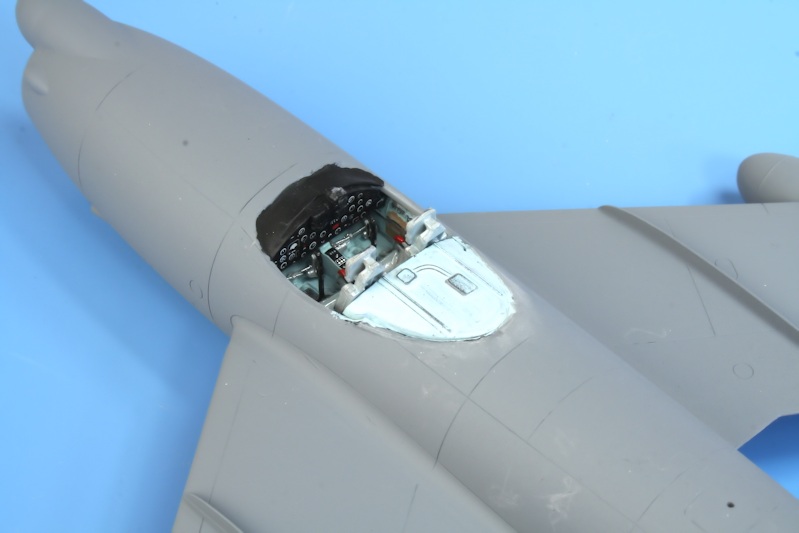
The cockpit is superbly detailed - as are the ejection seats.
Next job is to attach the one-piece canopy.
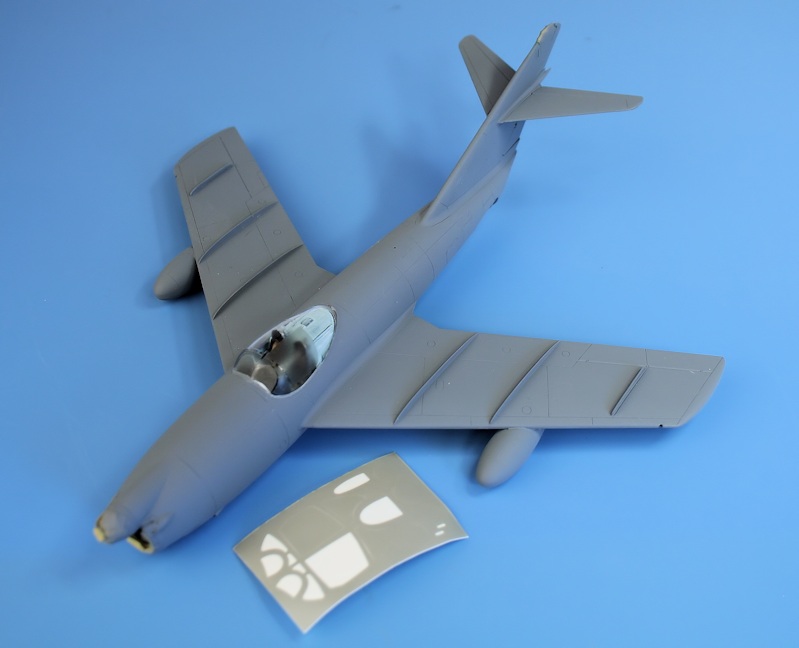
Applying the self-adhesive canopy masks - they are translucent (to aid placement?)
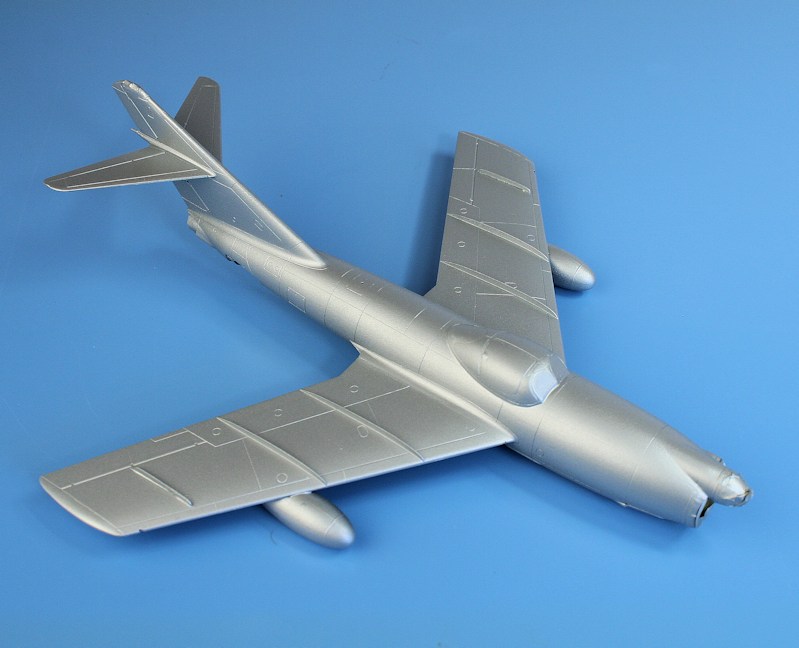
Nosecone and fin tip masked with Tamiya tape - and a coat of 'Aluminium' from a rattle can.
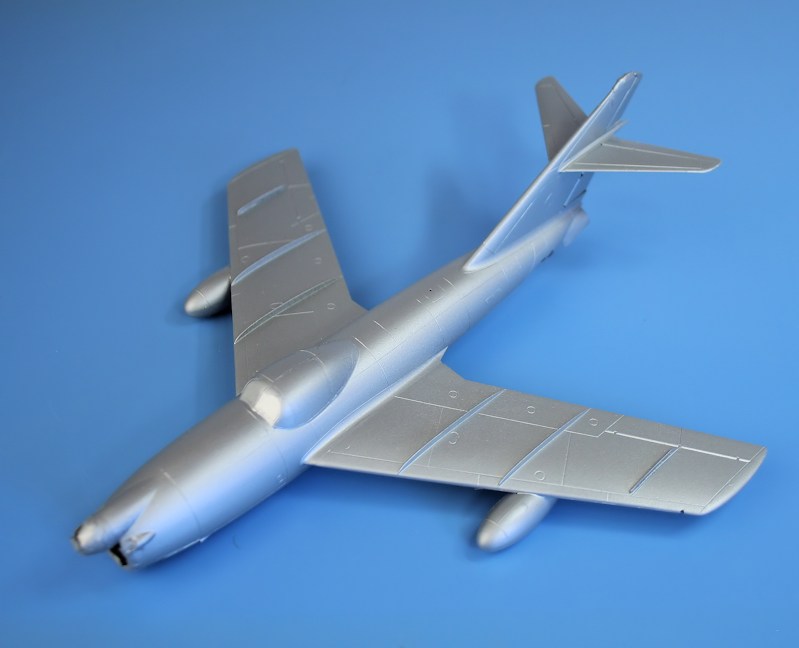
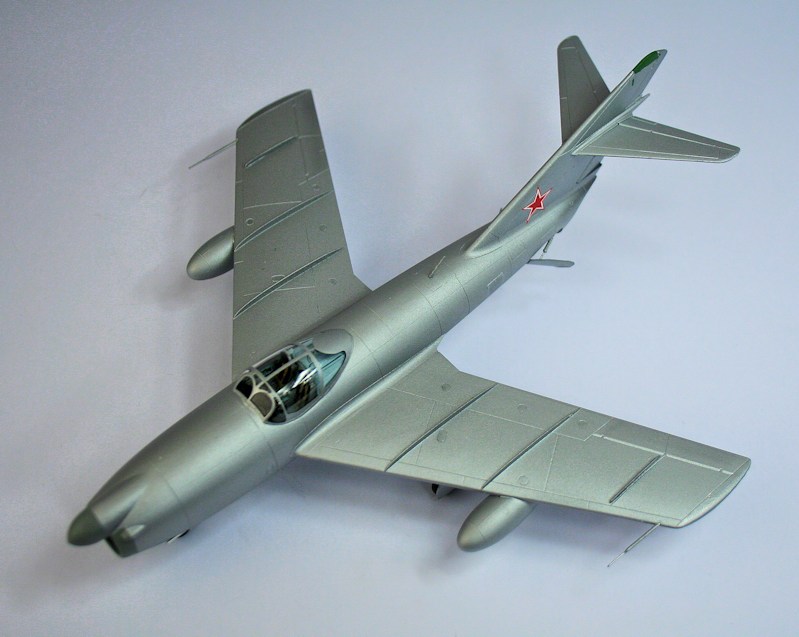
Overall painted aluminium.
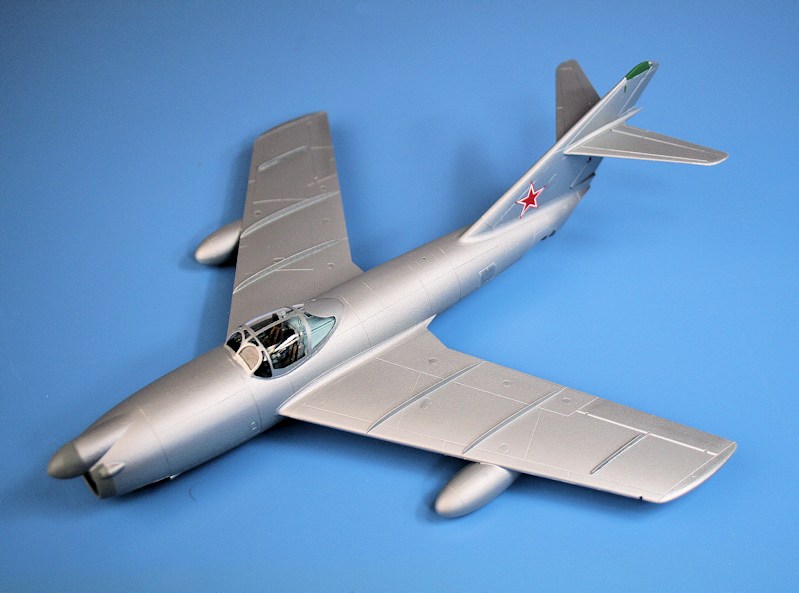
Masking removed and decals applied (red stars on fin and underwing only).
Without the supplied masks, that complex canopy frame would be a nightmare.
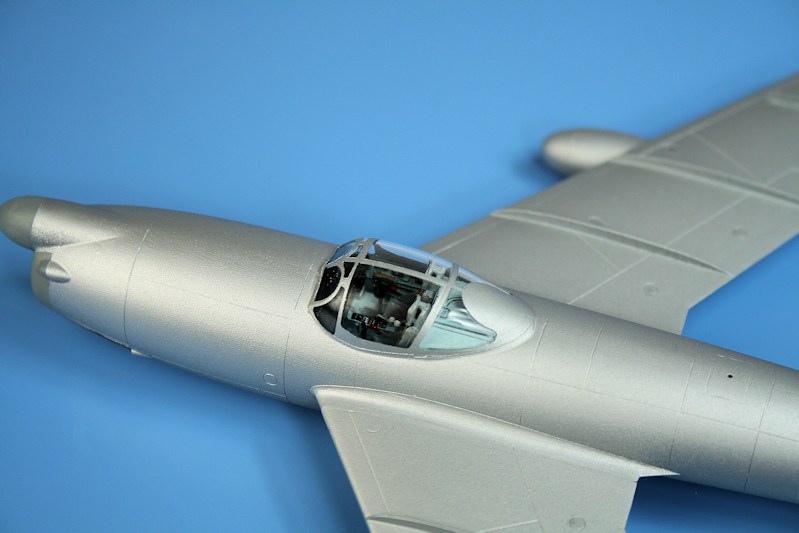
That cockpit and canopy is a work of art - Modelsvit's, not mine!
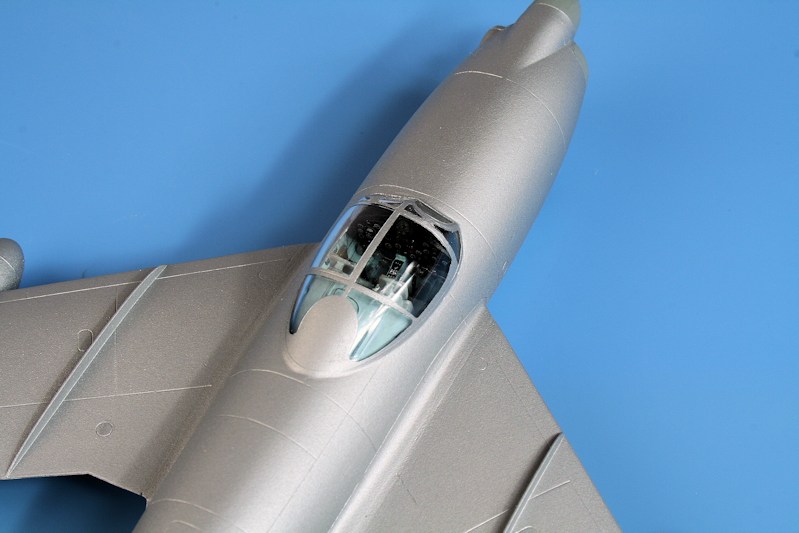
Closeup of the cockpit area.
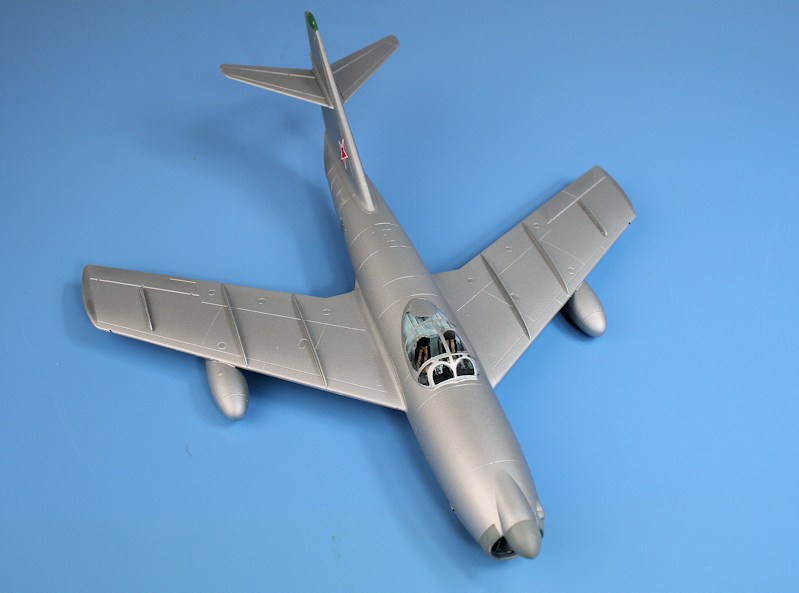
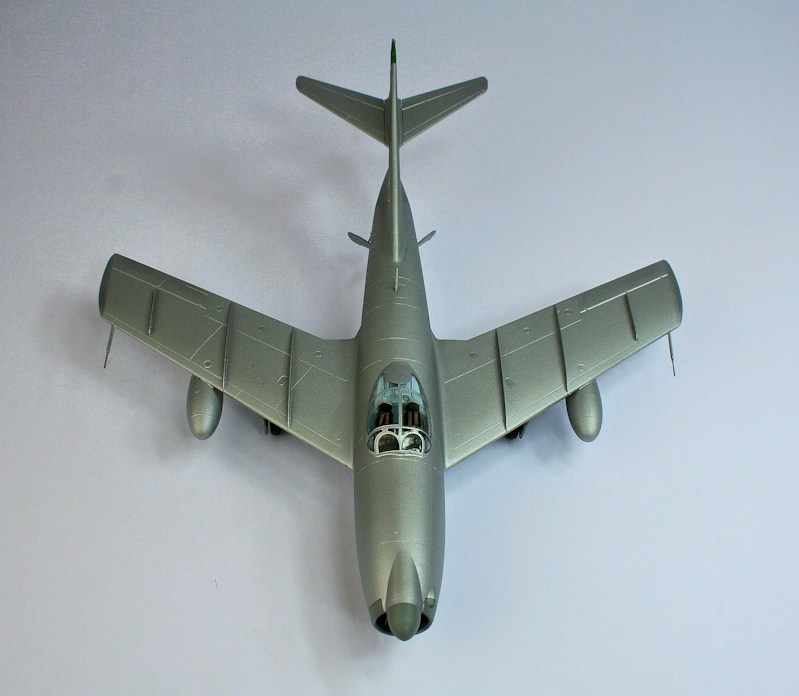
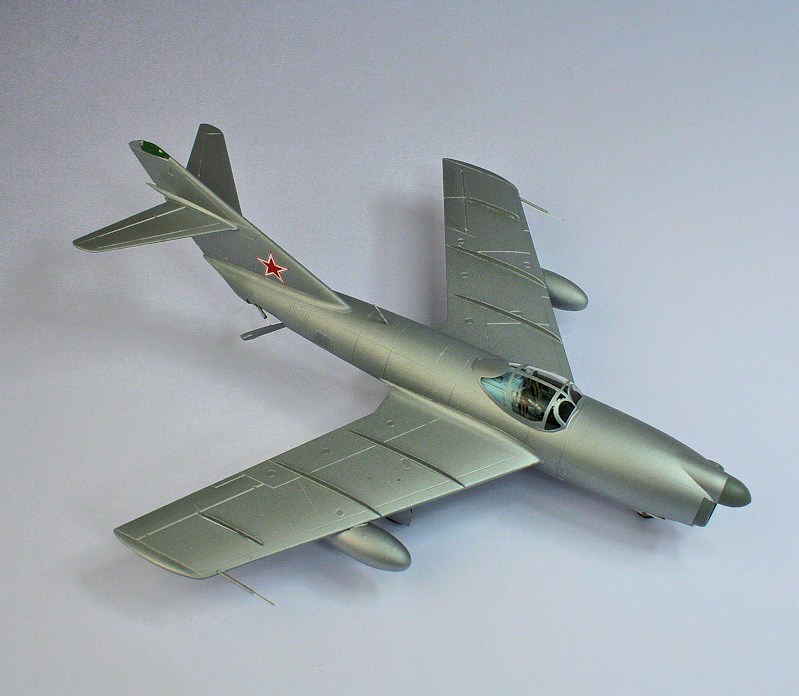
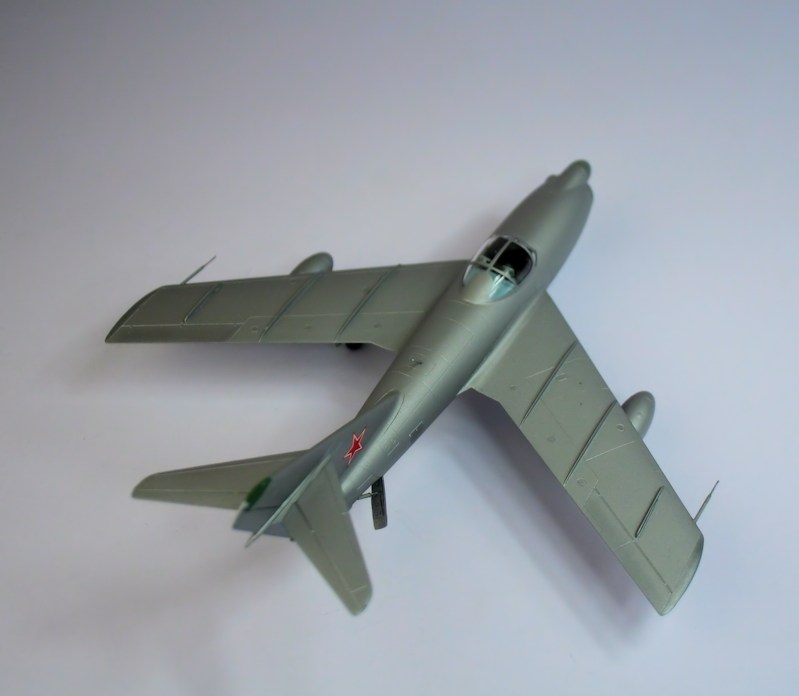
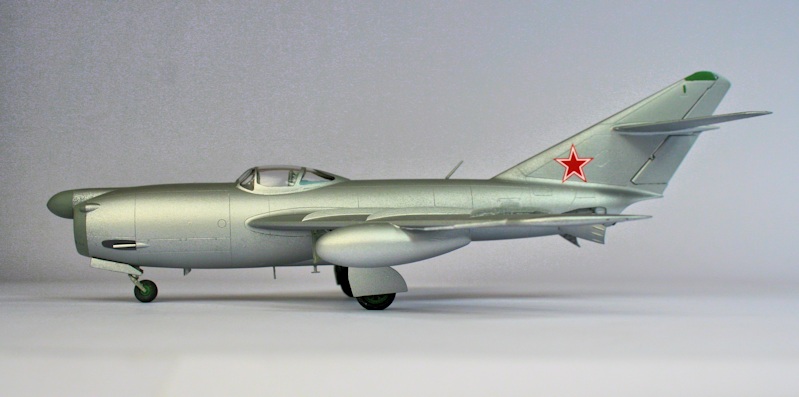
Finished Model
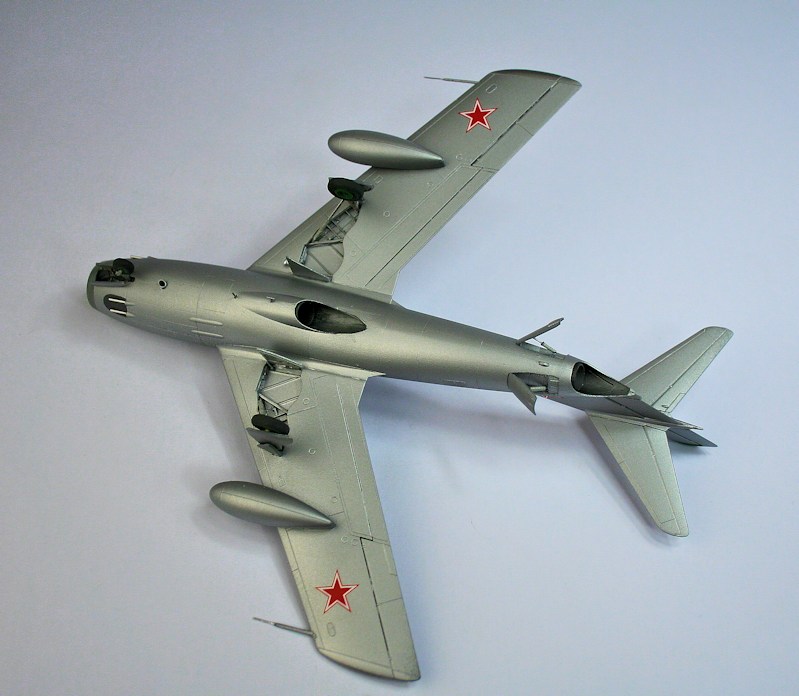
Underside view showing the tandem engine exhausts.


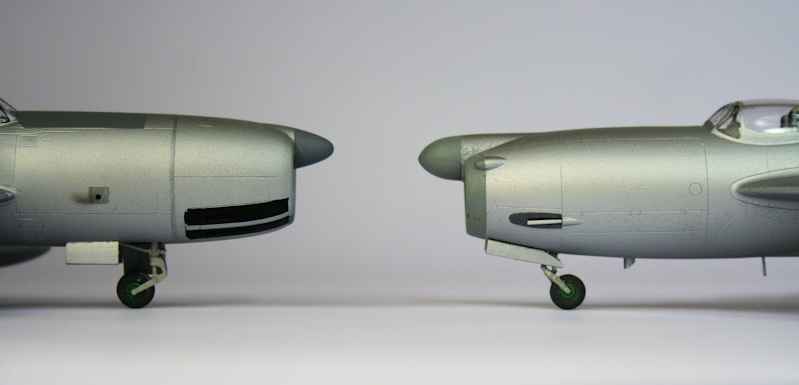
Single NR-37 cannon to port

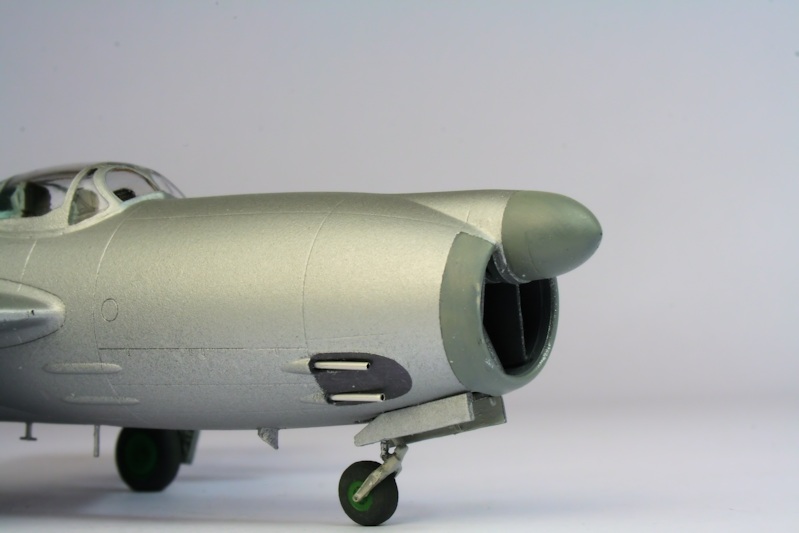
Starboard pair of 37mm NR-37 cannon
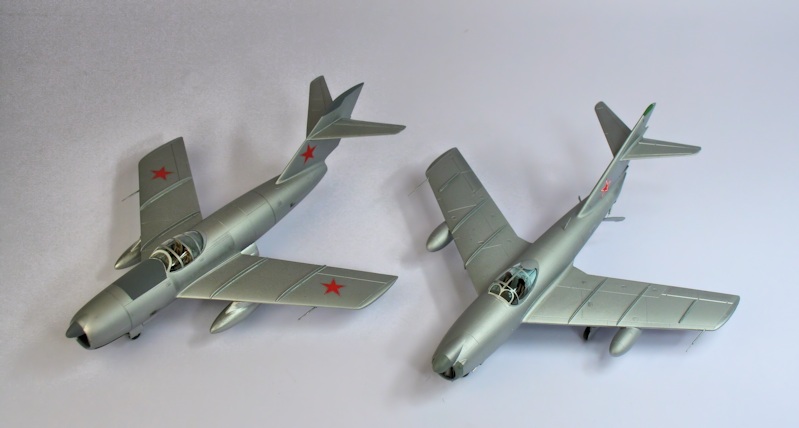
Rival night fighters - Lavochkin La-200 (left) and MiG I-320 (right)
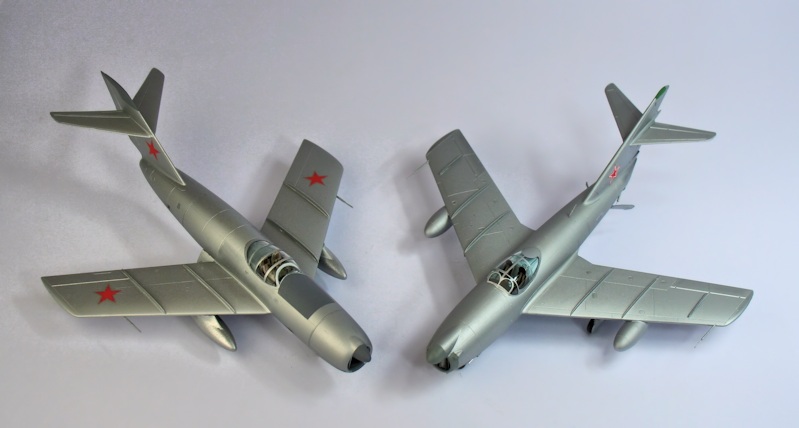
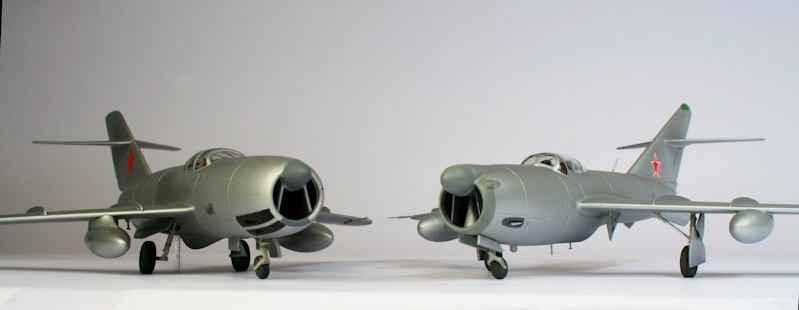
Same Tandem VK-1 engines, same side-by-side seating, same 3 X 37mm cannons.
Ken Duffey
Jun 2017