Tupolev Tu-22 Blinder
Modelsvit 1:72 scale kit
Kit contents
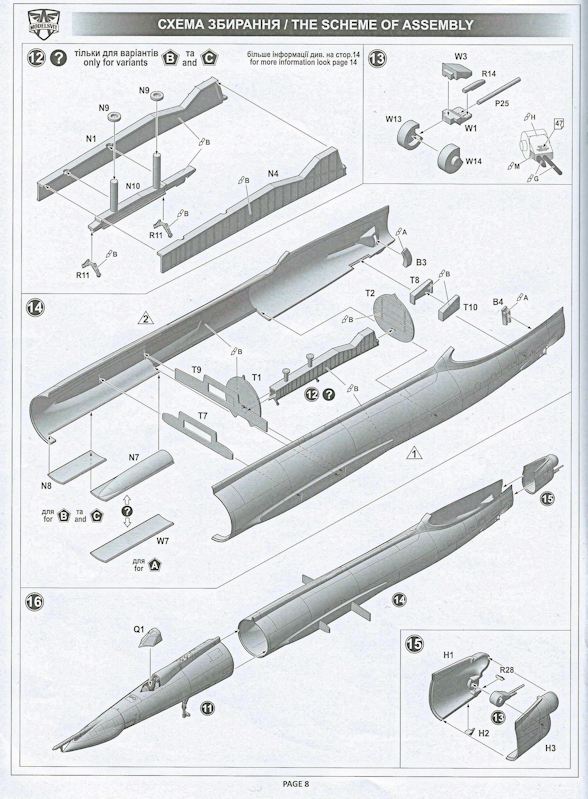
Instruction sheet - note carry beam for Kh-22 missile and separate tail end with cannon.
Note different weapons bay doors - free fall bombs or missile carrier.
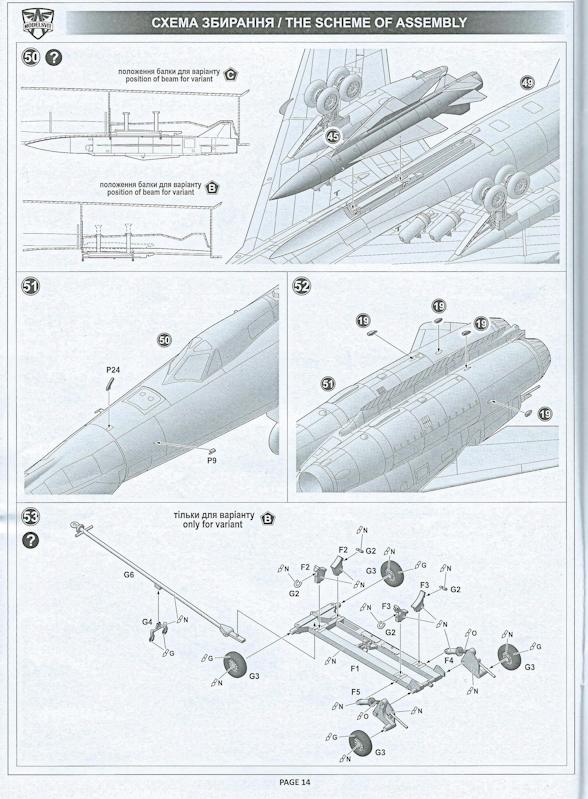
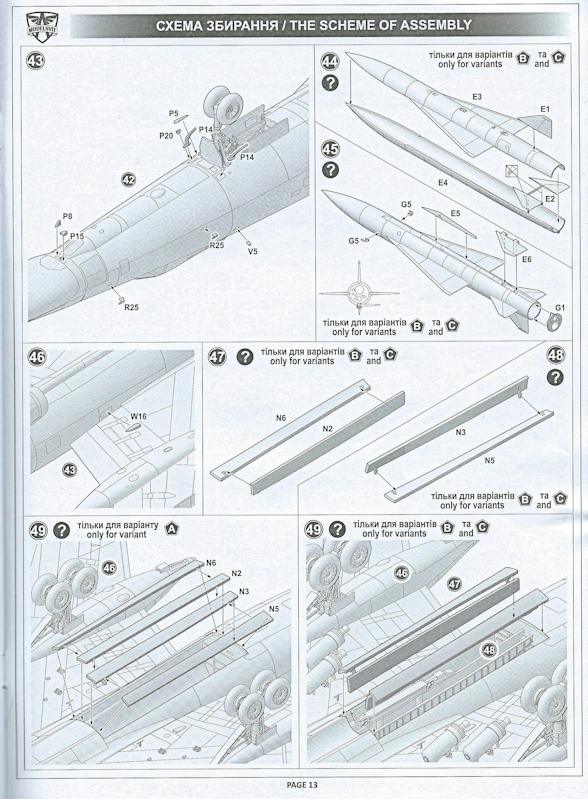
Mounting the Kh-22 - or on its wheeled dolly.
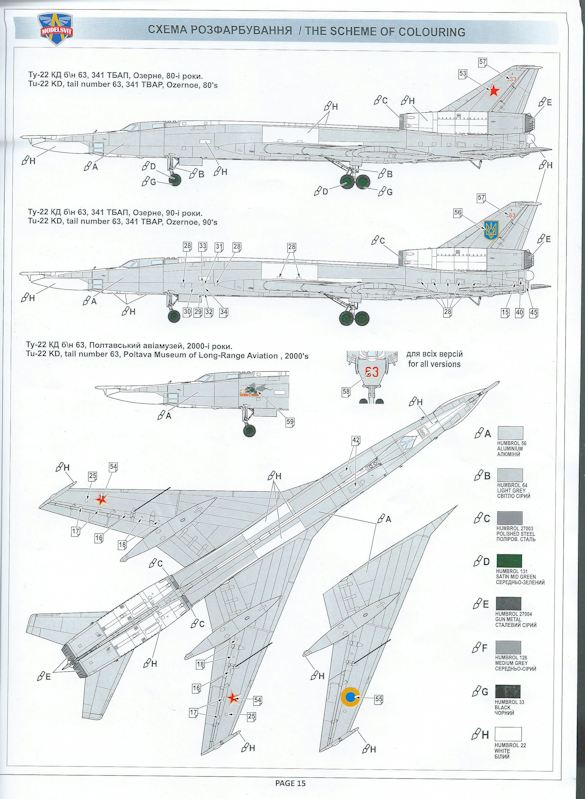
Marking options - same airframe, 3 different markings.
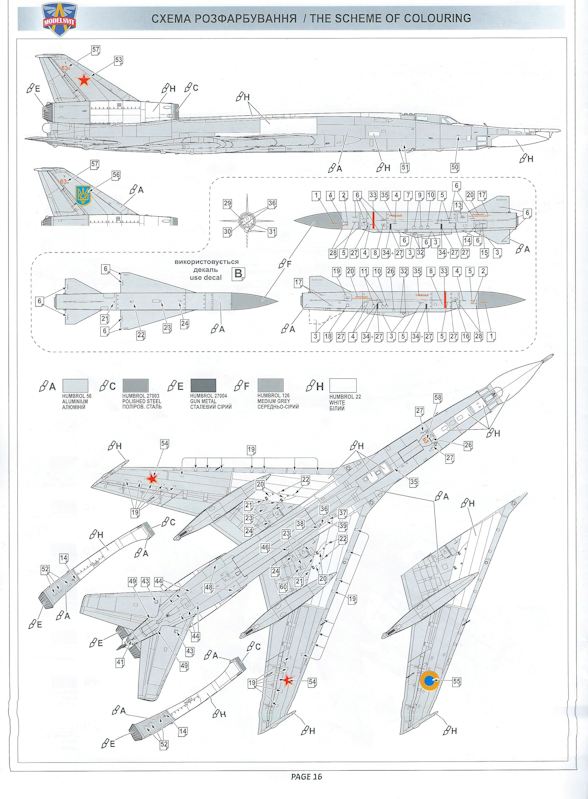
Very comprehensive stencil data.
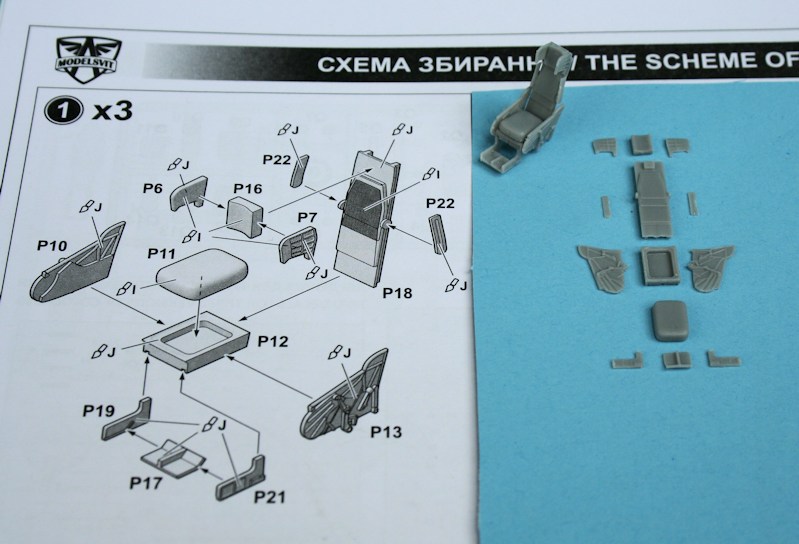
The three ejection seats are very accurate - and made up from 13 parts each.
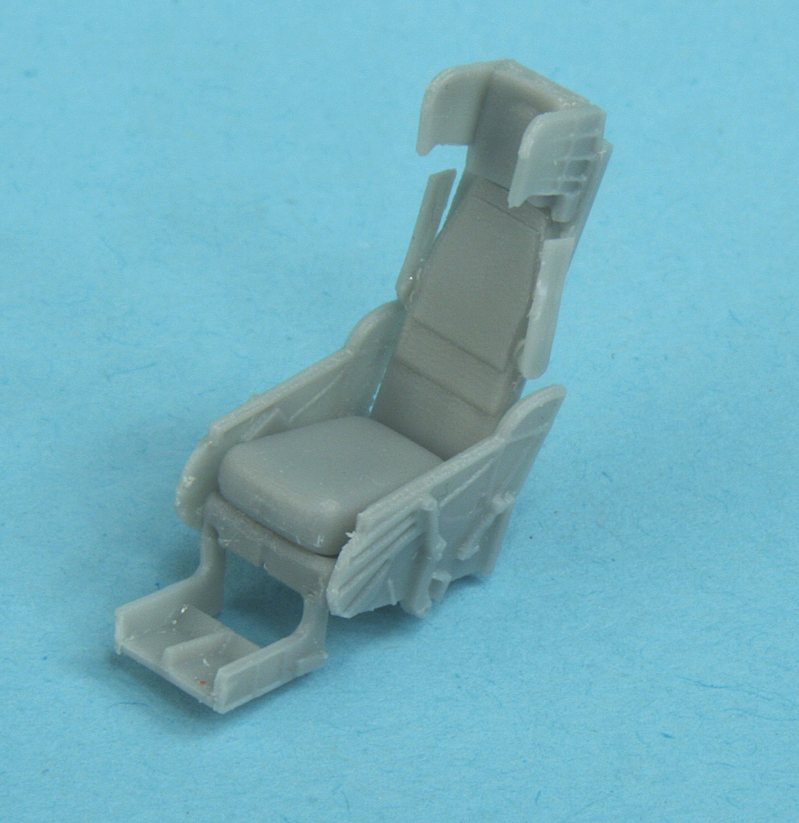
Assembled KT-? ejection seat.
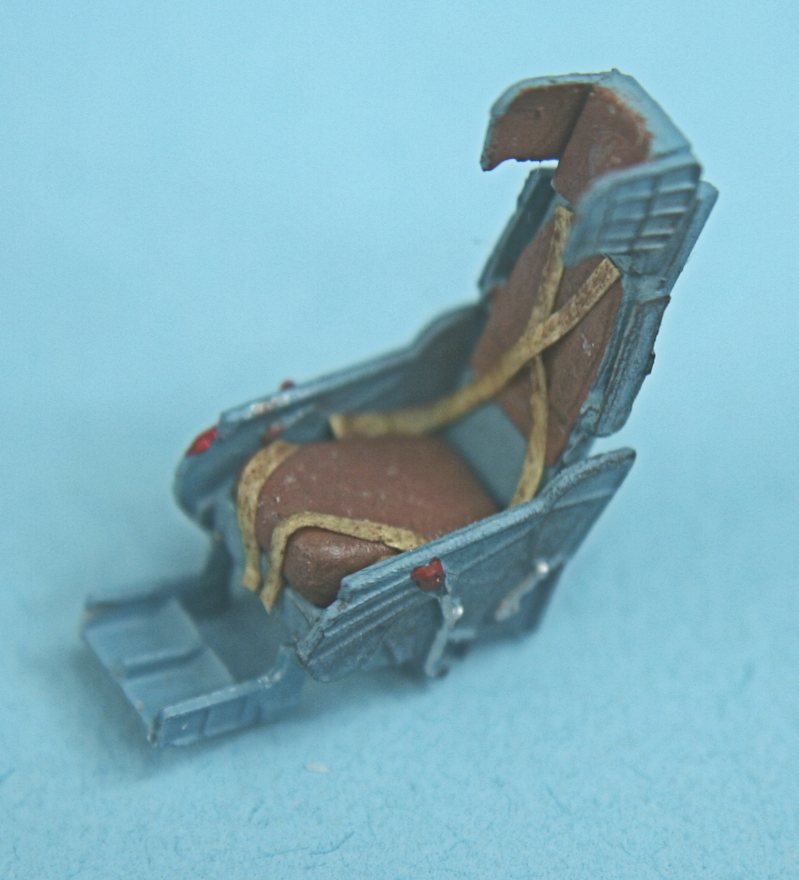
Painted blue (correct!) - with straps from tape.
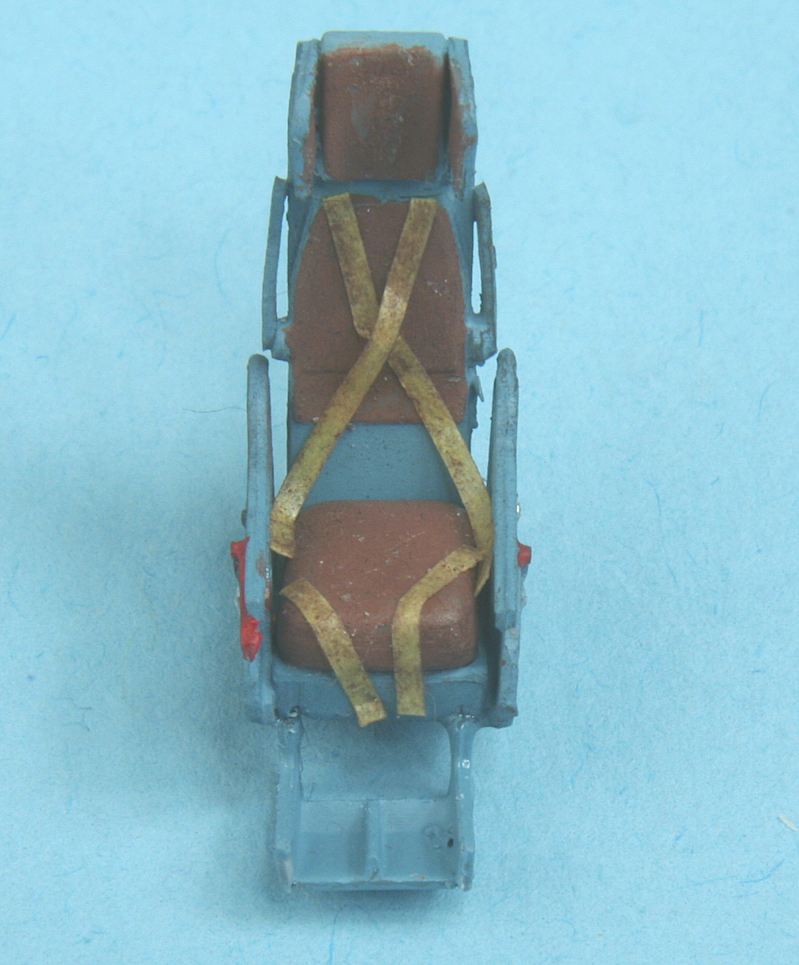
The seat cannot be seen once inside the fuselage - but its a good one.
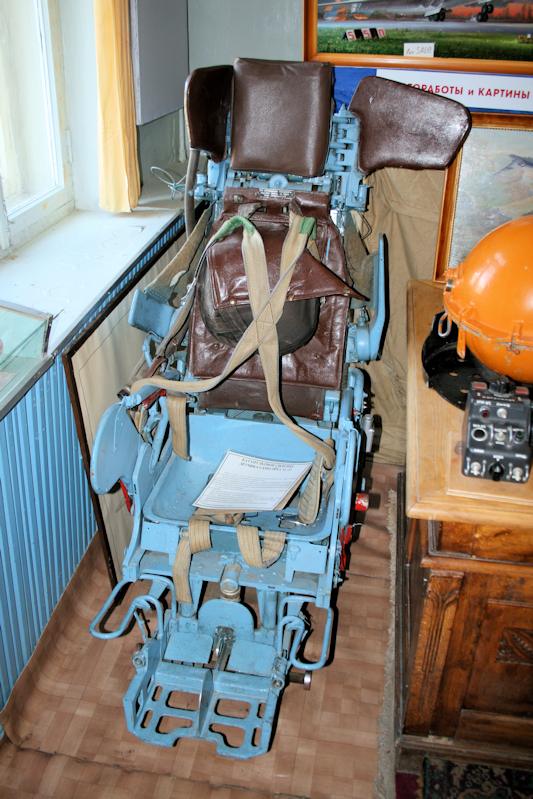
I photographed the real thing at Engels - this is the navigators seat and is missing the seat cushion.
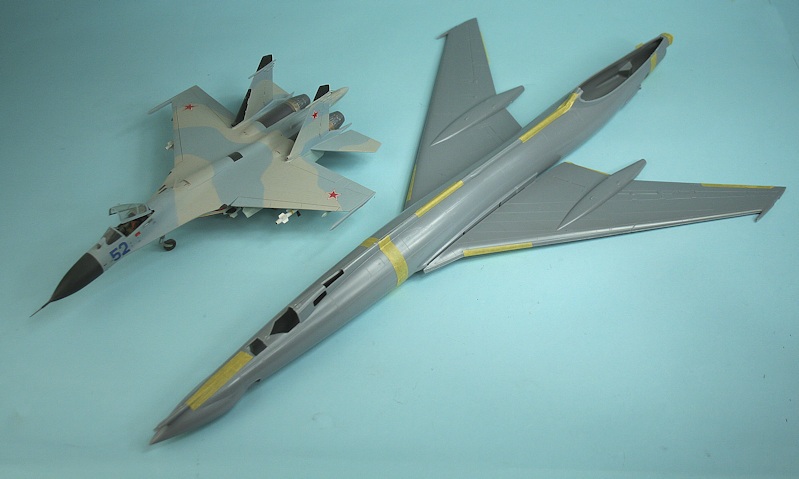
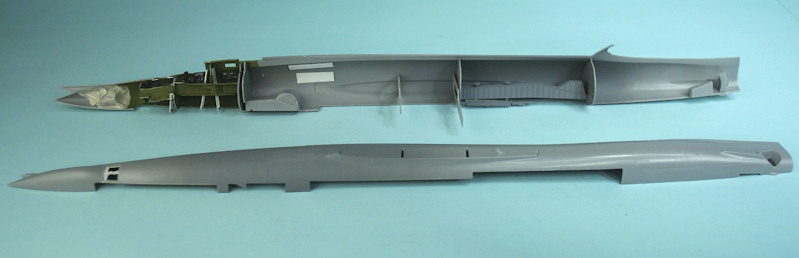
It's a large model - span 322mm (12.6in), length 592mm (23.3in)
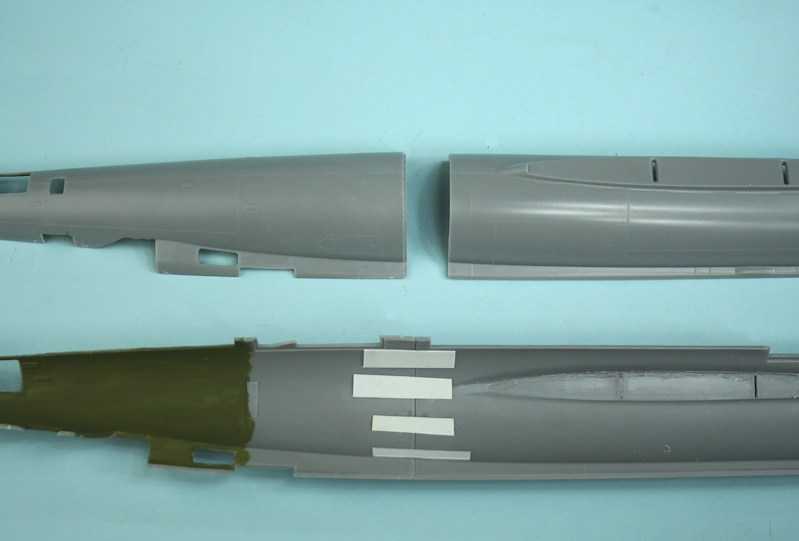
Front and rear fuselage halves joined and strengthened.
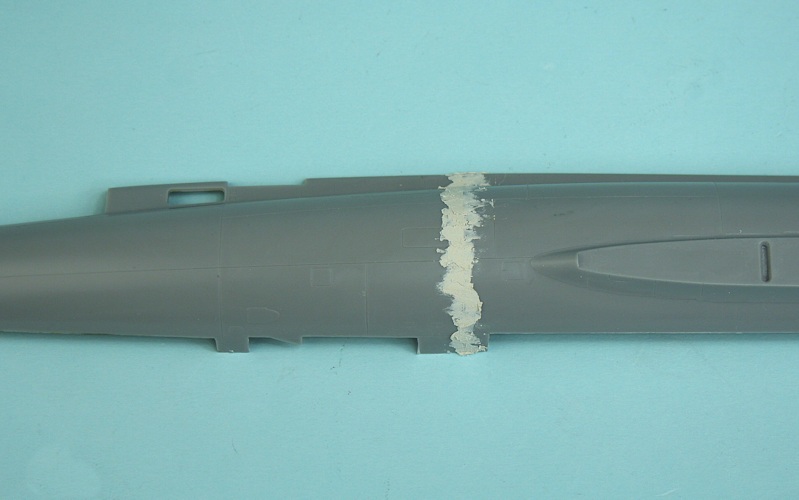
Filler applied - before a long sanding session.
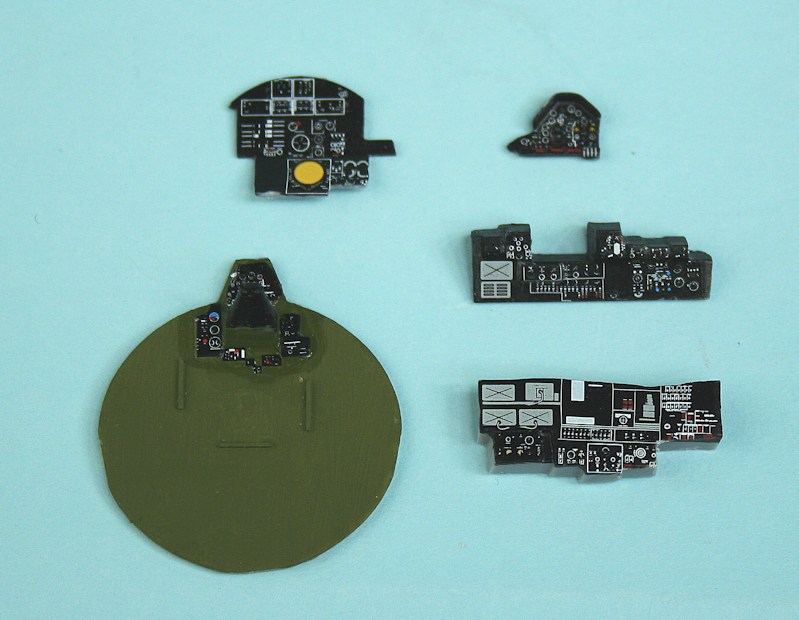
Instrument panel decals applied.
Pilot and WSO tub.
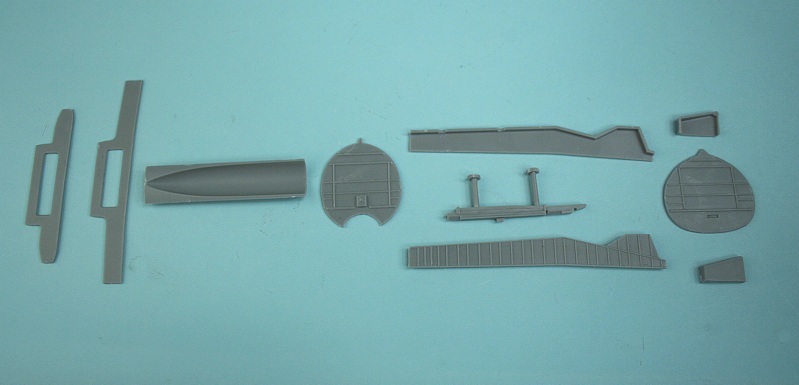
Weapons bay parts.
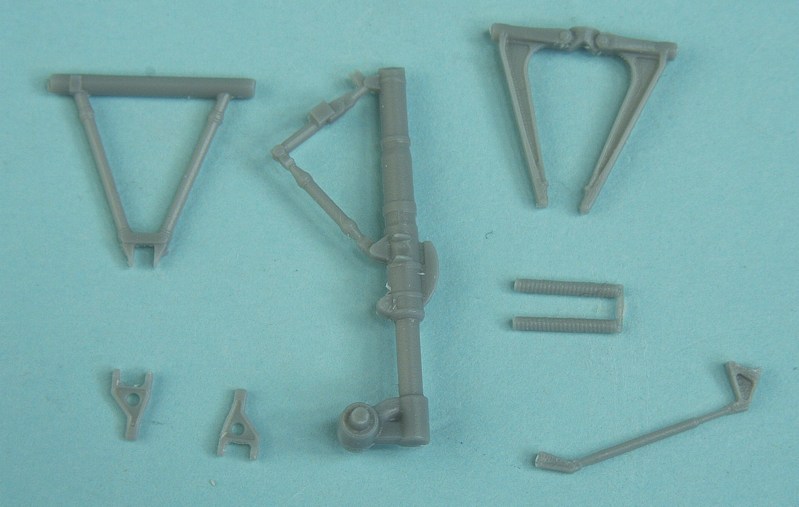
Nose gear parts - note the very short stub axles.
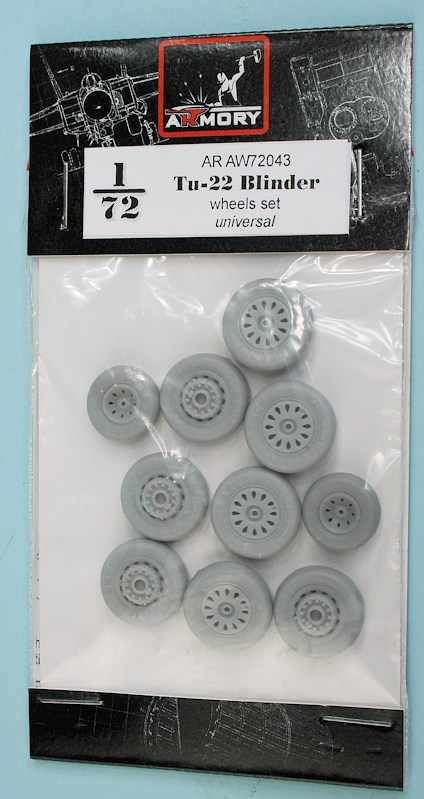
Armory resin wheel set.
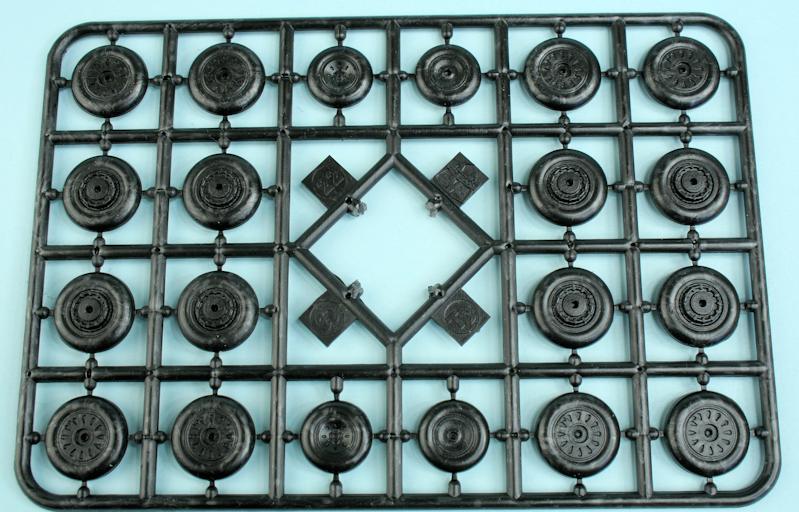
Kit wheels.
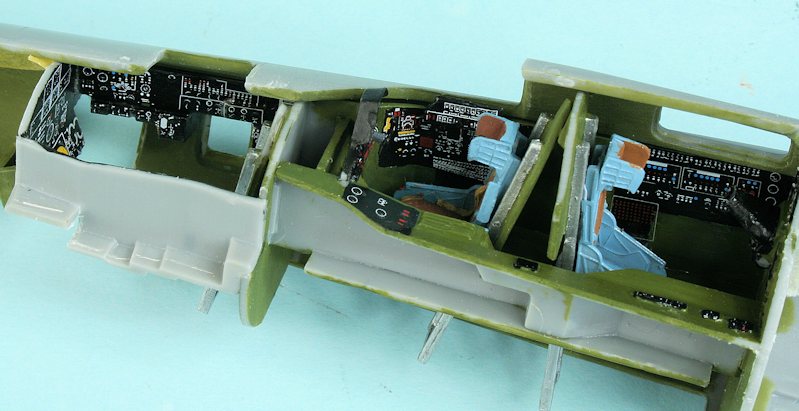
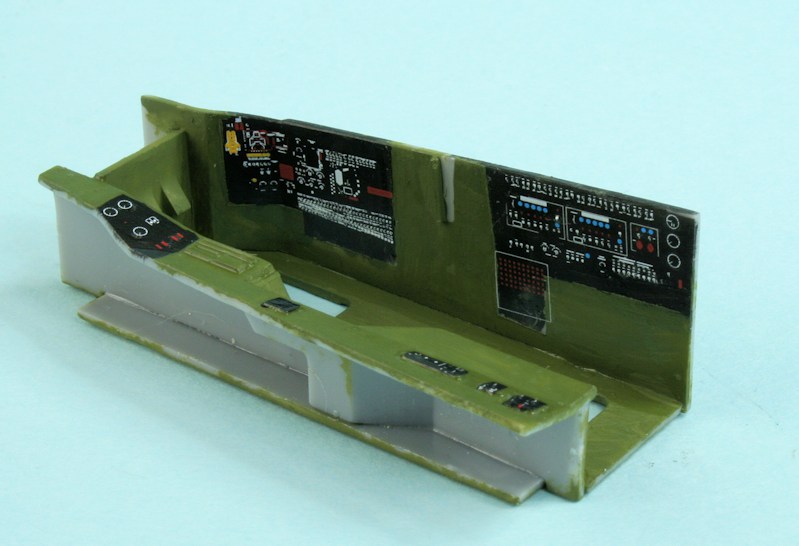
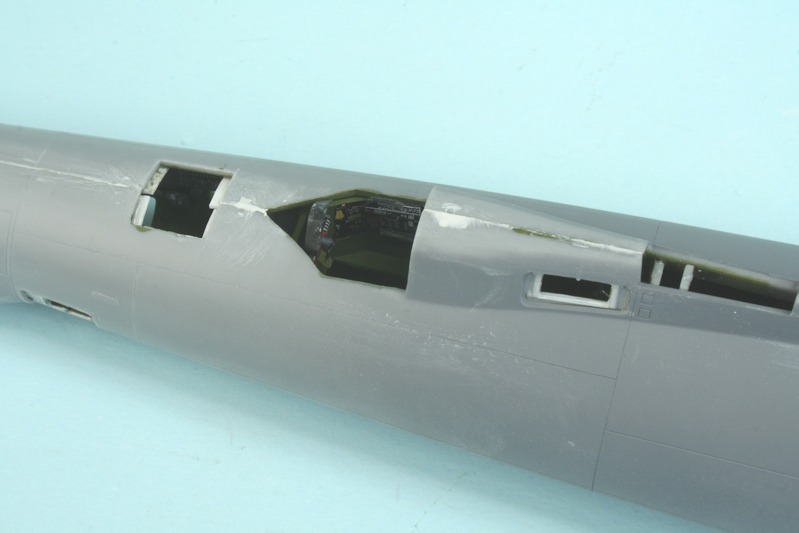
Temporary test fit of the assembled cockpit.
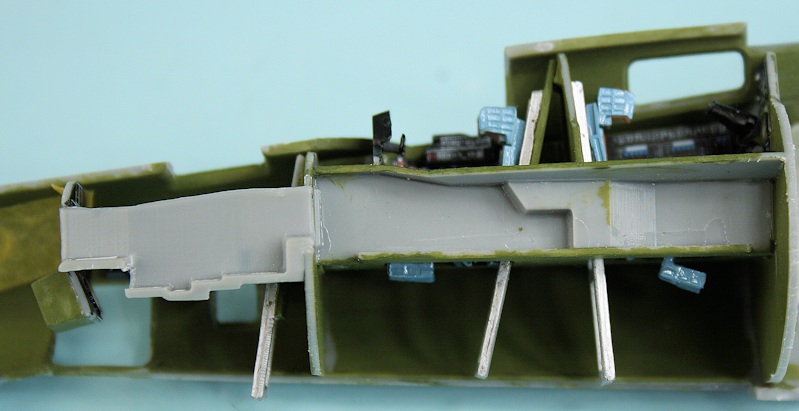
View from side-on showing the angled rails for raising and lowering the seats.
Bottom view - with the lower insert - the doors are pencilled in.
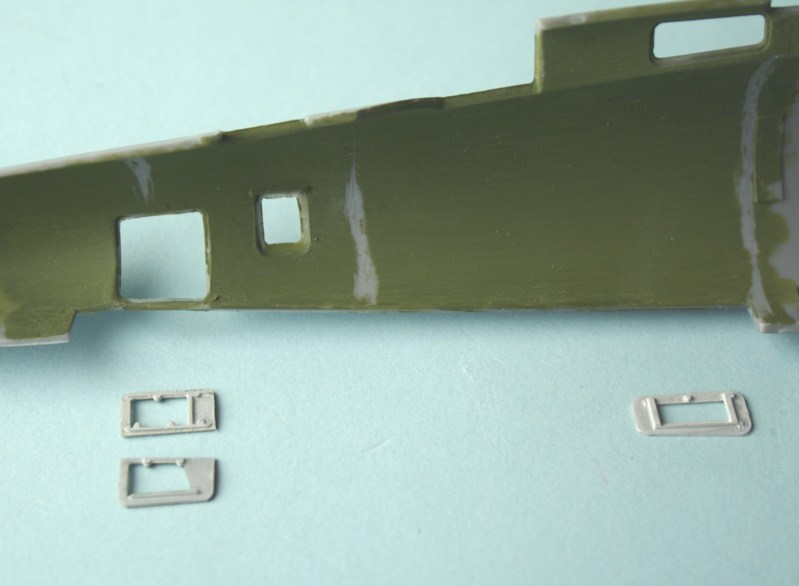
Interior window blinds.
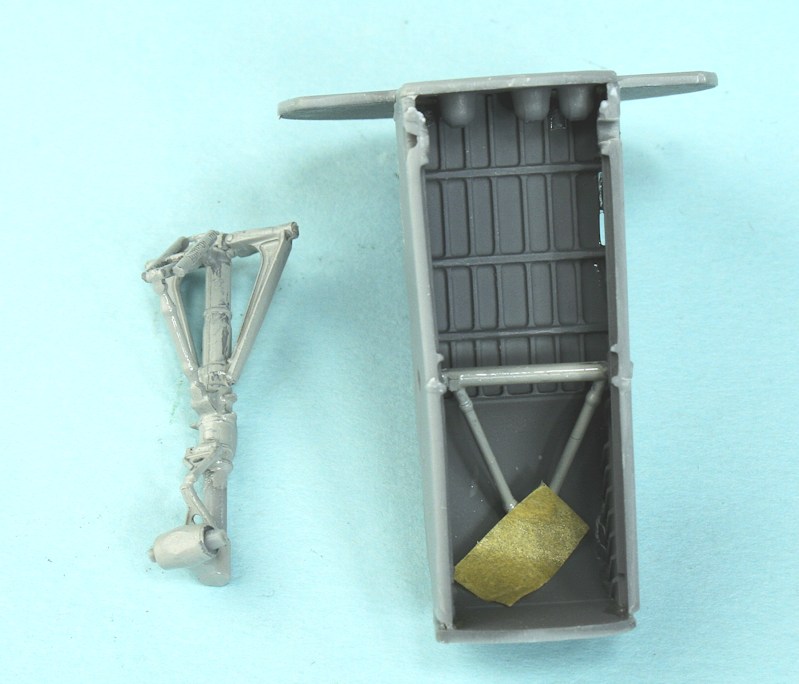
Modified nosewheel to allow for fitting later.
All the interior parts in place.....
Al1 the interior fittings prior to cementing the fuselage halves together.
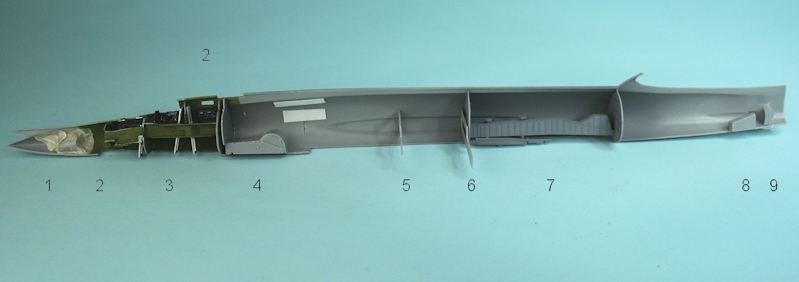
1.Noseweight (just in case). 2. Interior window blinds. 3. Pre-assembled cockpits. 4. Pre-assembled nosewheel bay.
5. Front spar. 6. rear spar. 7. Pre-assembled weapons bay. 8. Tail skid bay. 9. Tailplane actuator slot.
All that interior detail is lost when the fuselage is joined.
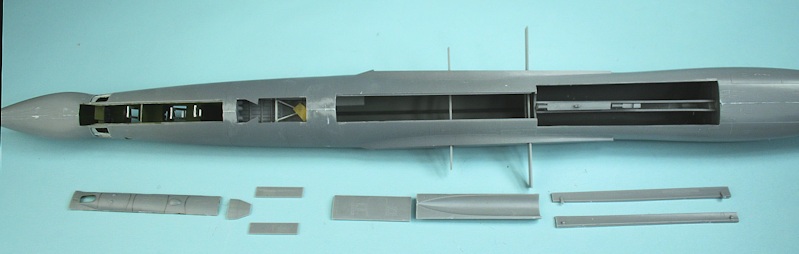
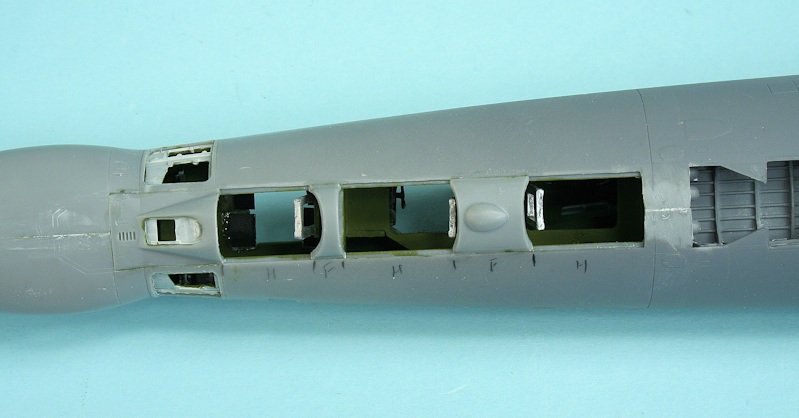
The underside showing all the parts to be added.
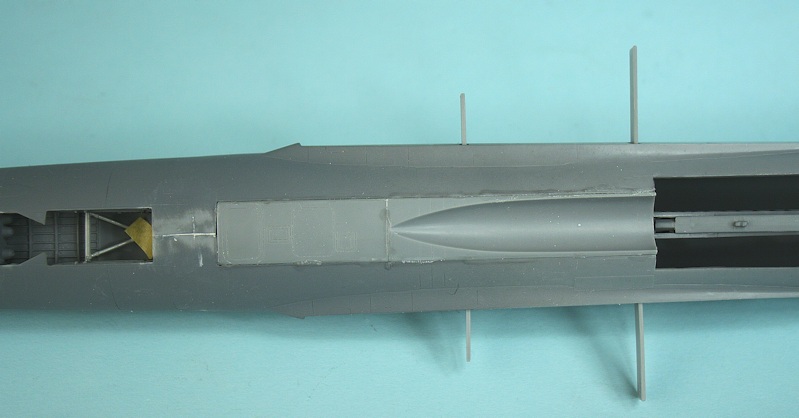
The weapons bay underside inserts are not the best of fits.....
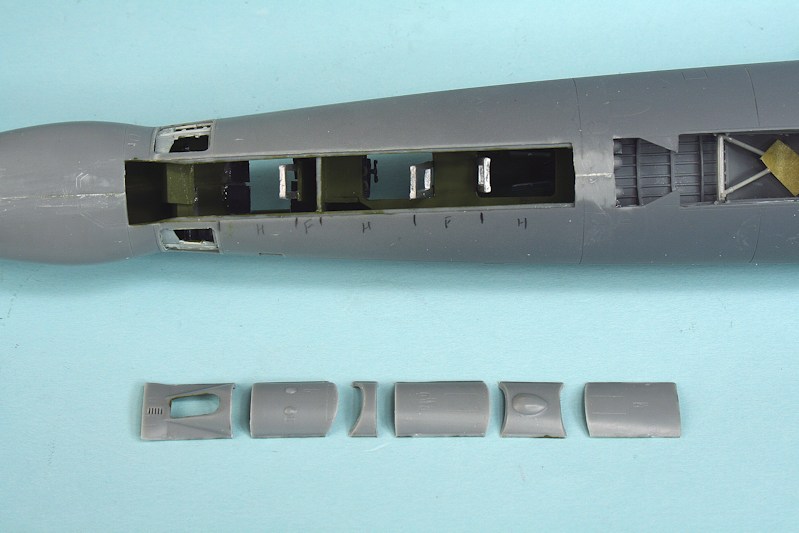
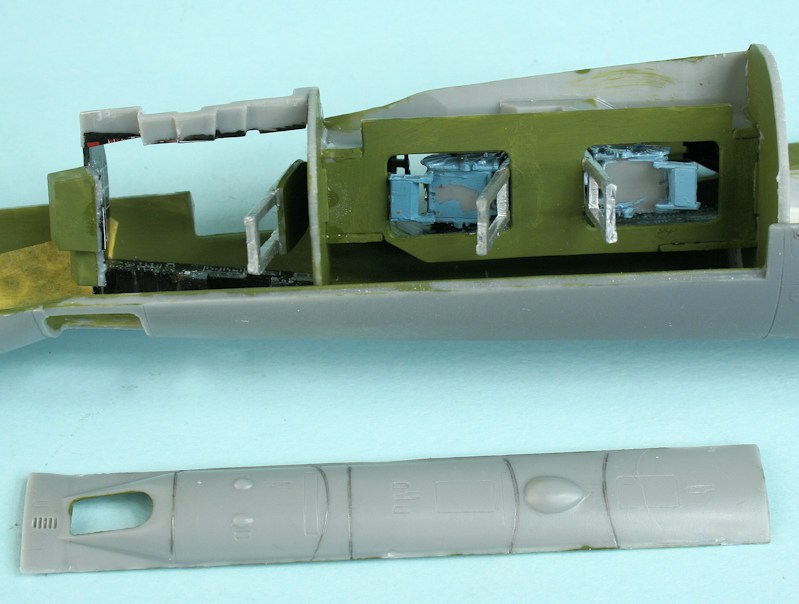
The cockpit underside insert cut into 6 parts - to allow the seats to be modelled in the open position.......
.......and the 'fixed' sections cemented in place.
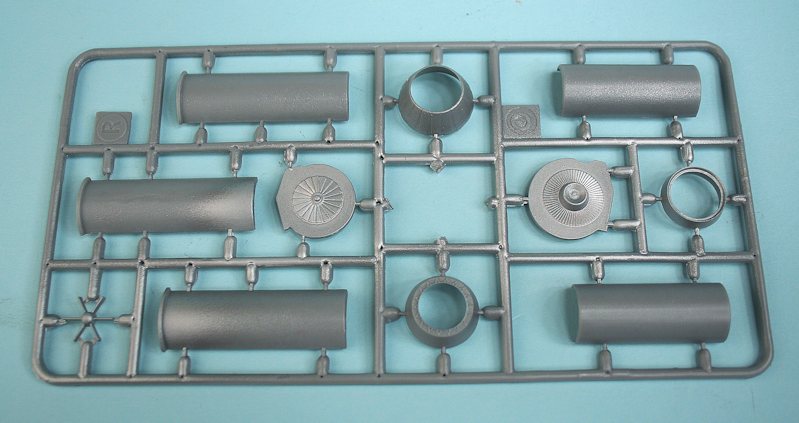
One of two sprues of engine parts.
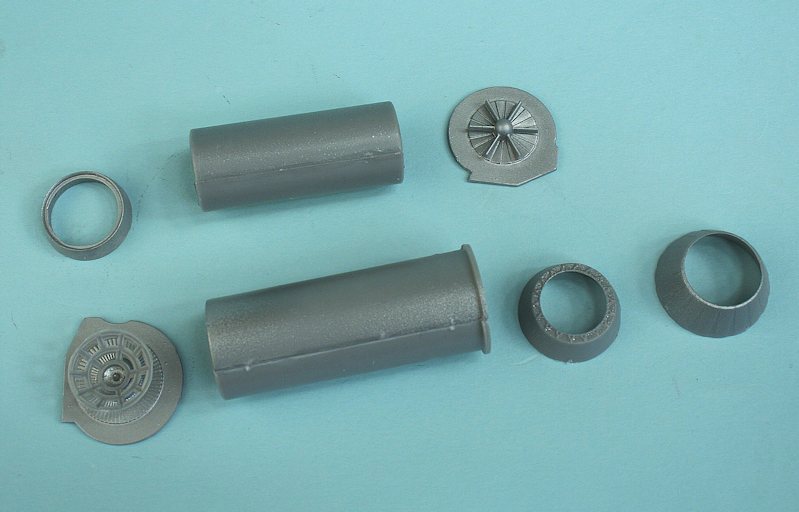
The intake tube (top) is made from 2 halves - the exhaust section is in 3 segments.
Putting the raised rim inside - or outside?? - the instructions are not very clear.

The engine sections in place inside the lower nacelle half......
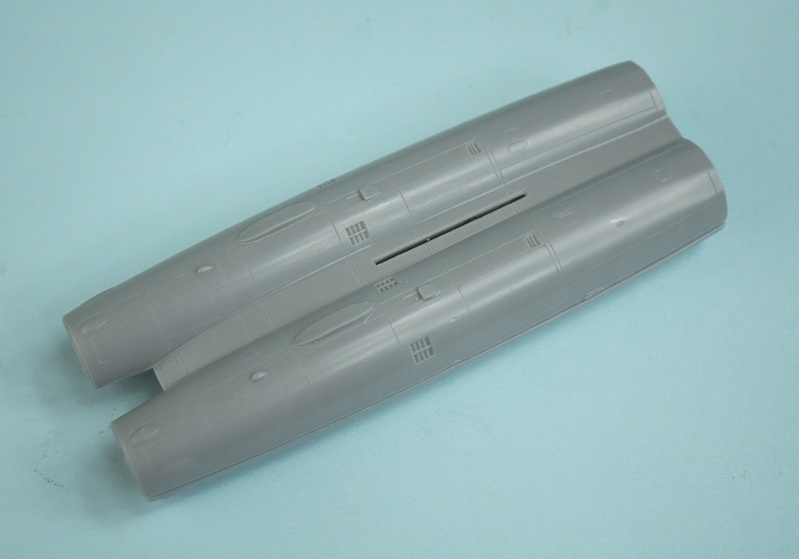
.... and the top half in place.
Undercarriage nacelle - I have mistakenly used two left hand halves with the RWR antenna -
I need to remove one of them and add a new one on the opposite nacelle.
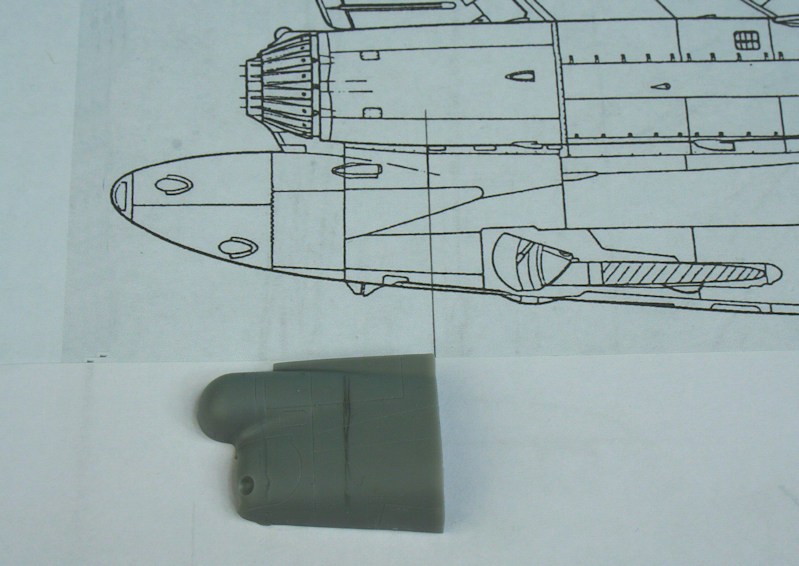
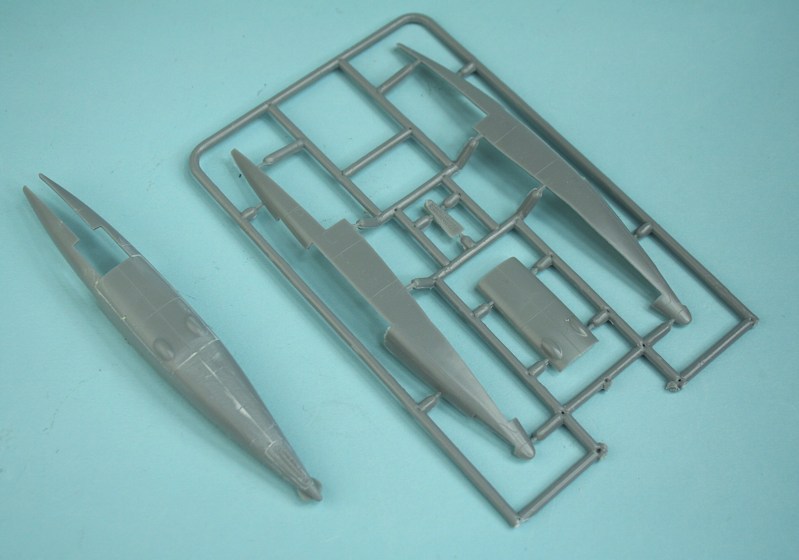
How to make a replacement tailcone?
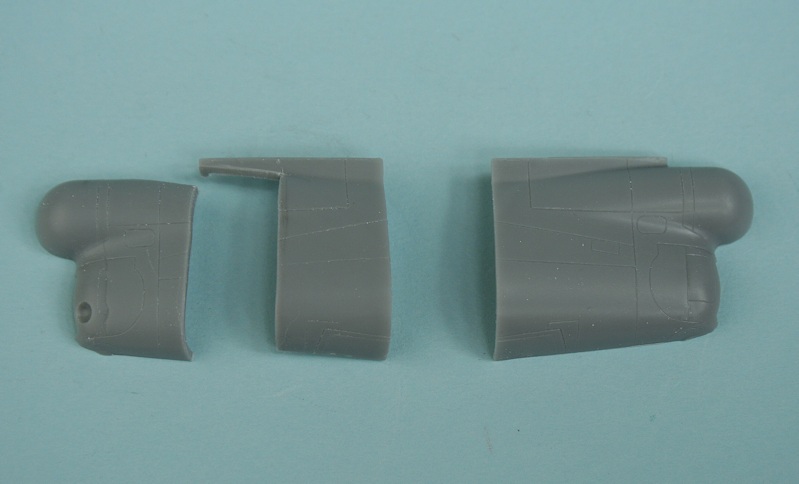
First, cut off the rear end (as at left).
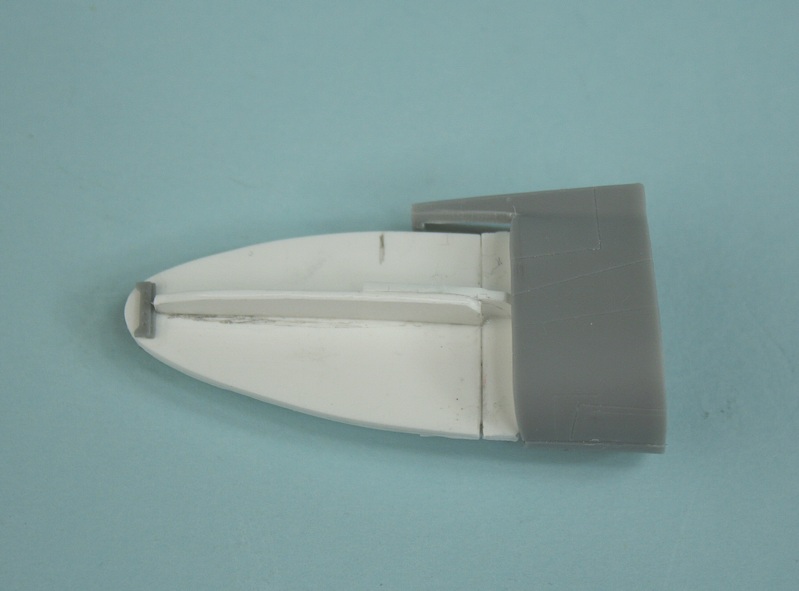
Cut the outline shape from thick plastic card.
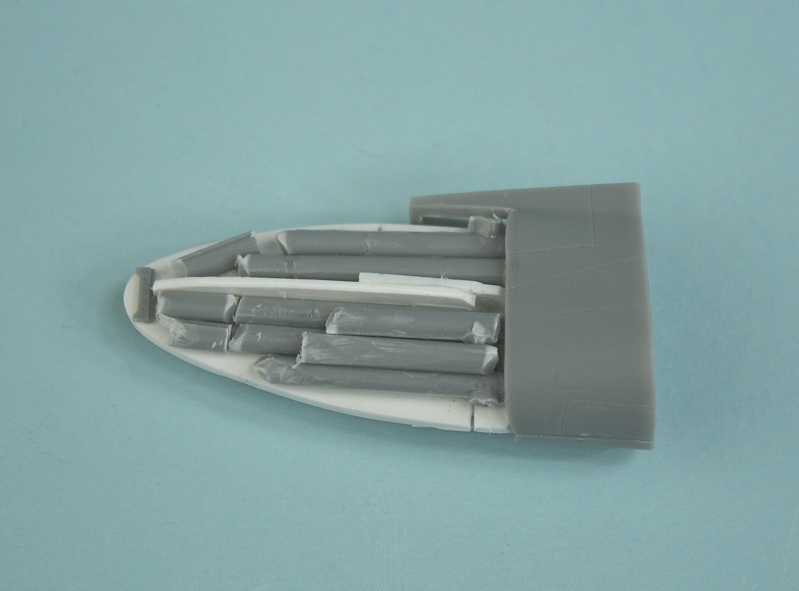
Fill with scrap plastic......
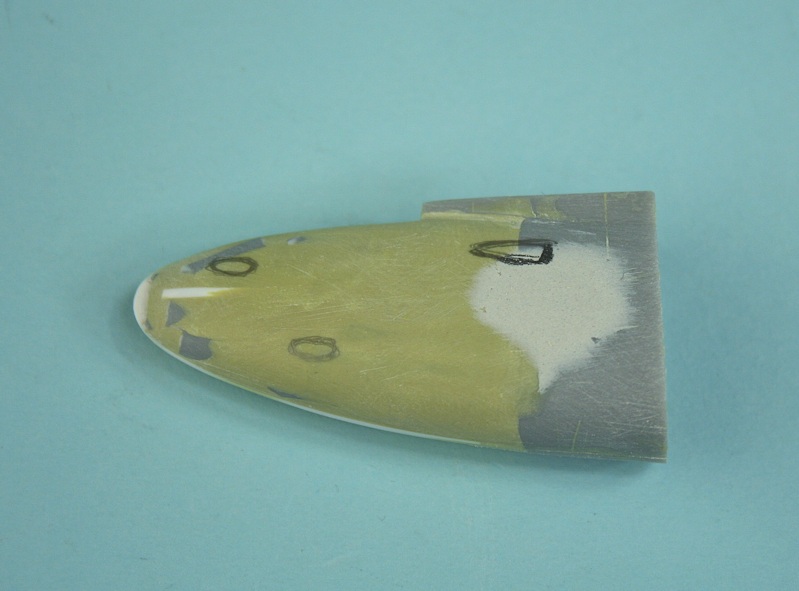
.... then Milliput. Lots of sanding/filling/sandin later......
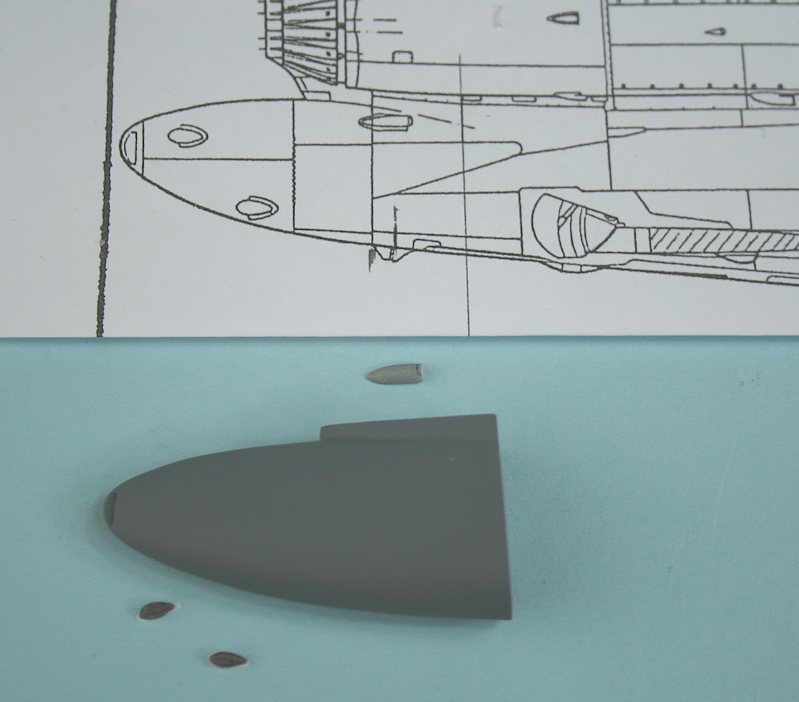
Replacement tailcone for the SPS-100 Reseda active jamming system - with the aerials and intake (to be fitted later).
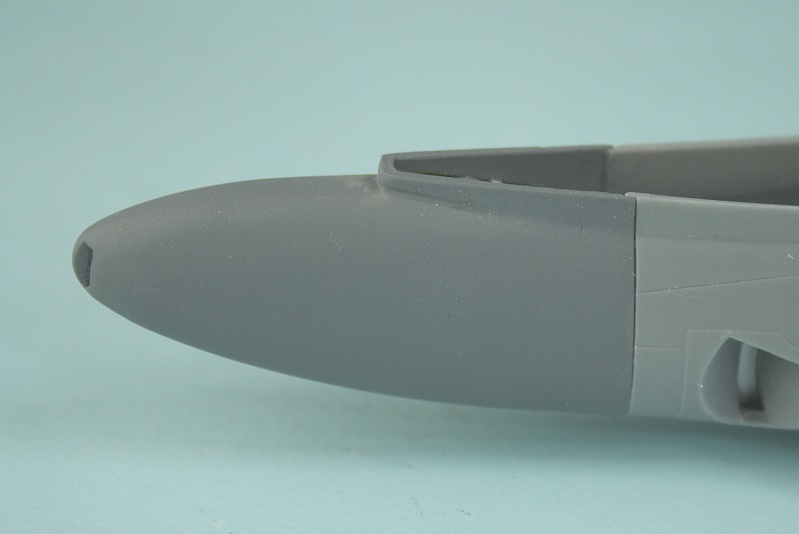
The new tailcone cemented in place on the rear fuselage.
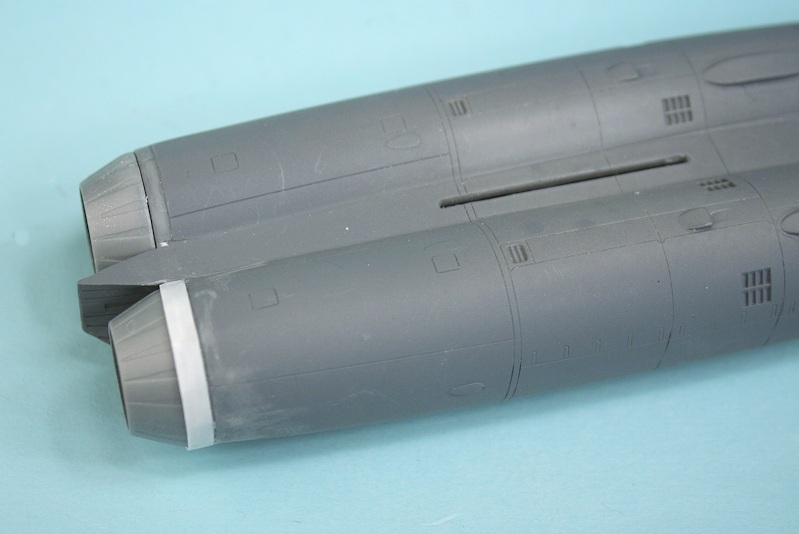
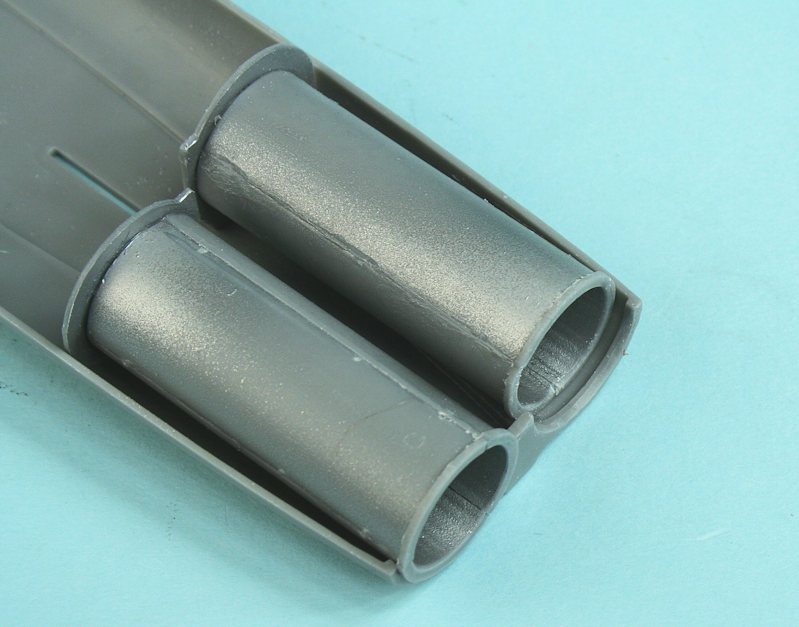
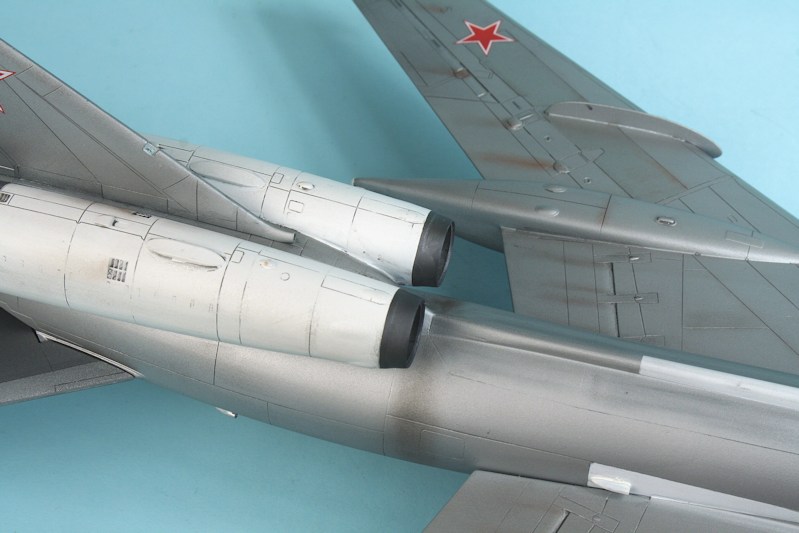
Making the 'shroud' for the rear nozzles.....
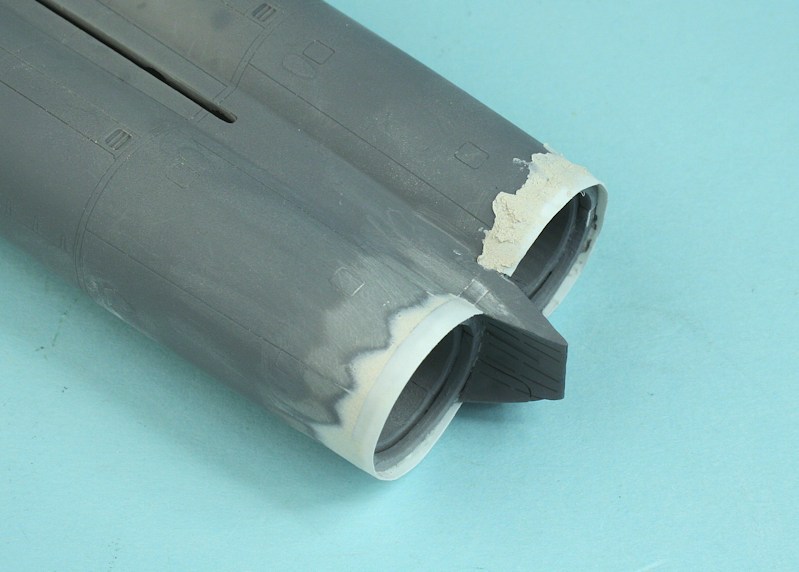
..... and blending them in.
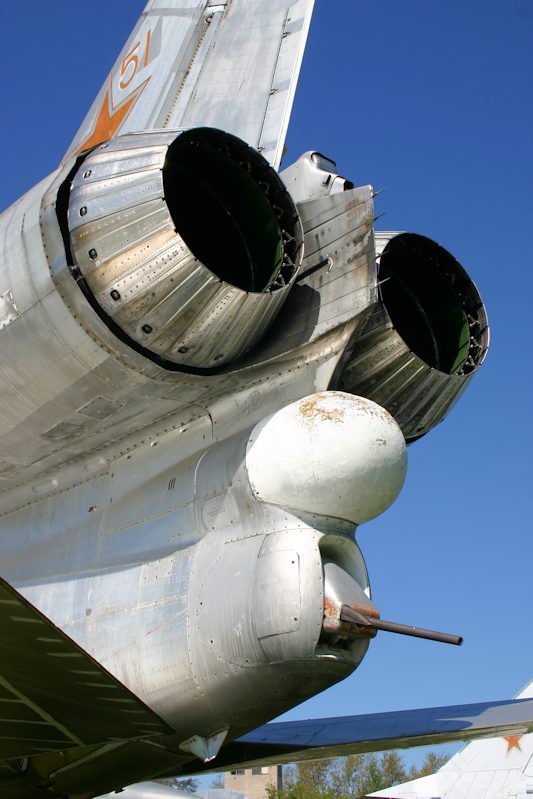
The real thing.
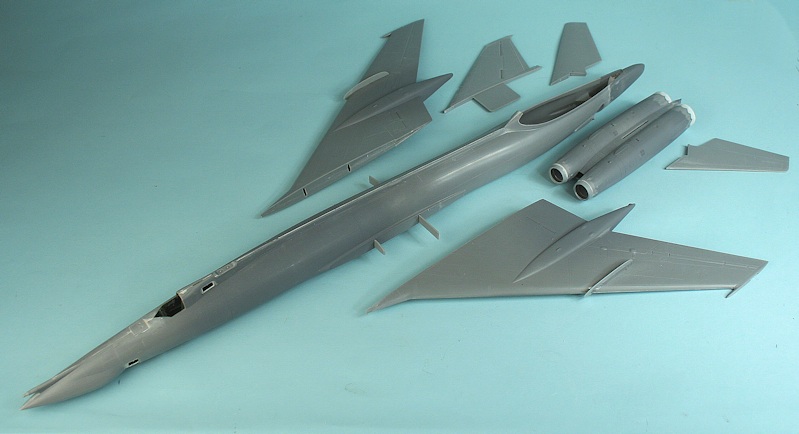
All the major components ready for assembly.
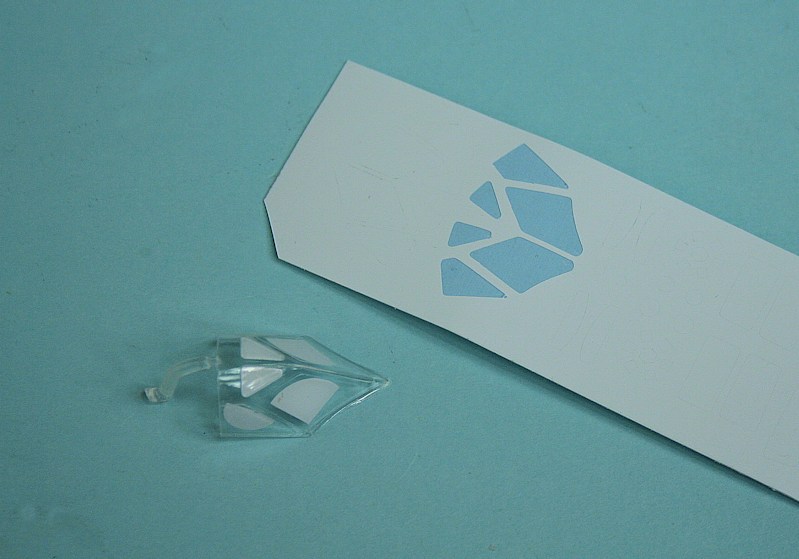
Modelsvit supply masks for the inside of the cockpit glazing.

The masks fills the whole window - then the edges are removed to give the clear segment.
The inside can then be painted in the interior colour.
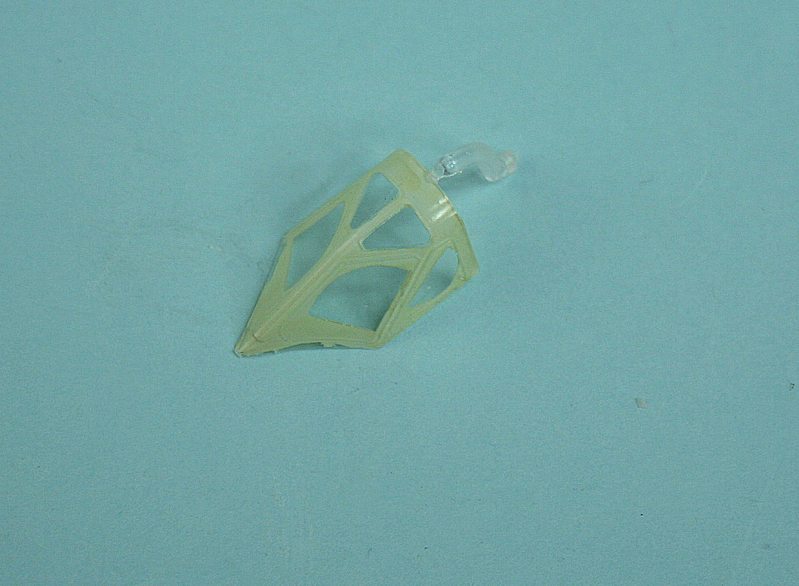
Once the glazing mask is removed you have the shutters on the inside.
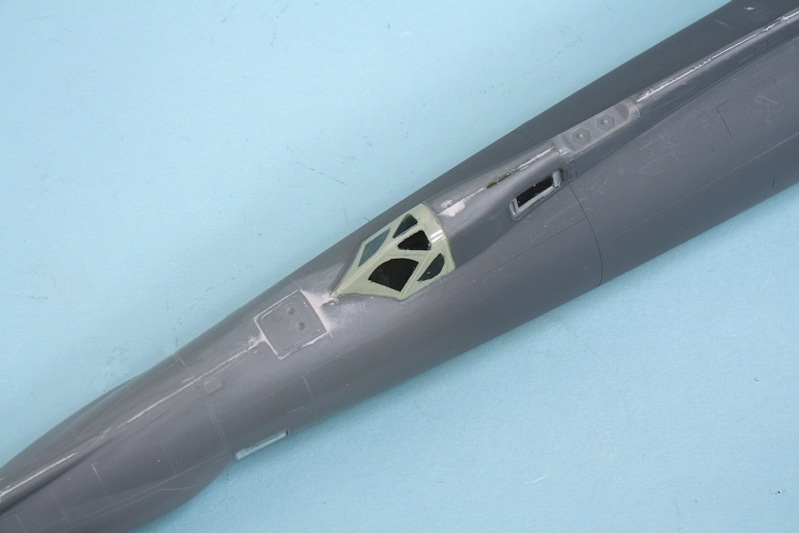
The canopy in place - further masks are provided for the outside framing.
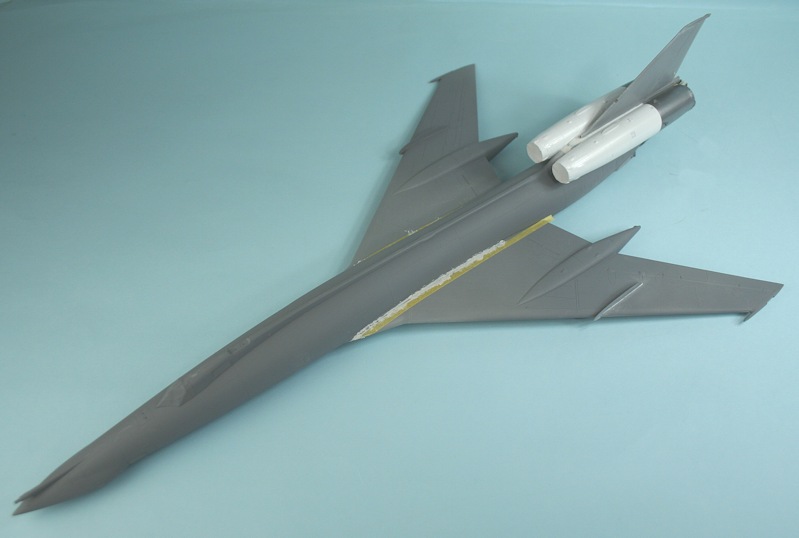
'Awl' coming together! - lots of filler/sanding needed.
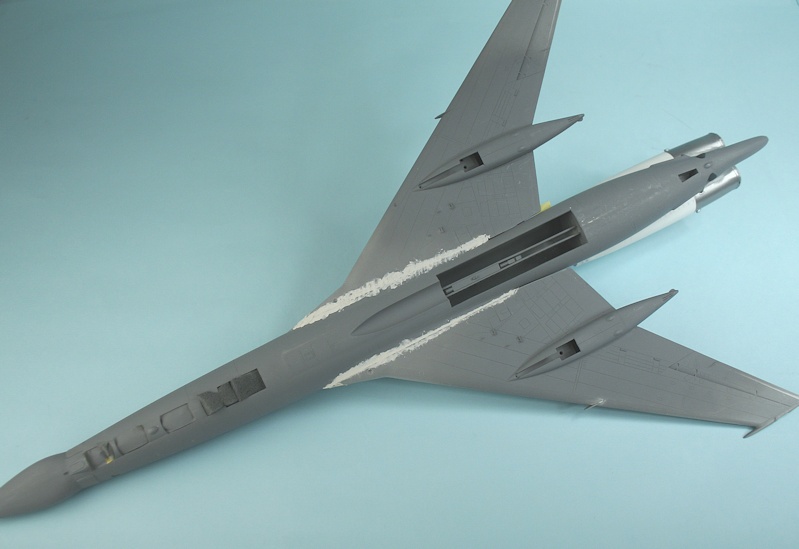
Underside showing wing/fuselage joint.
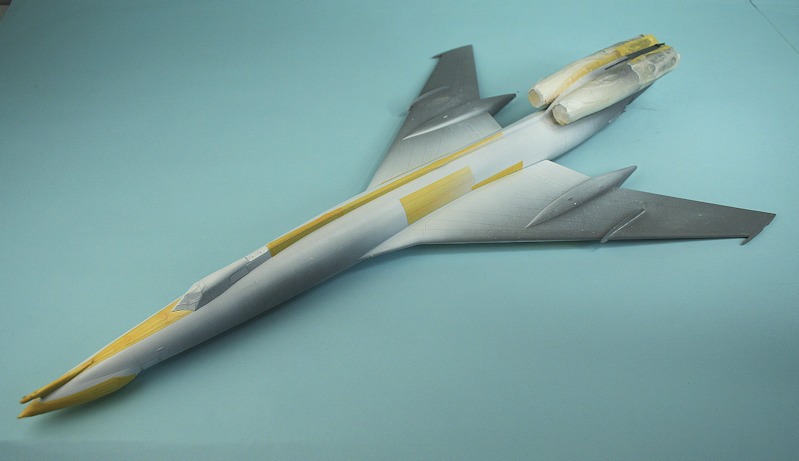
White areas sprayed - and masked.......
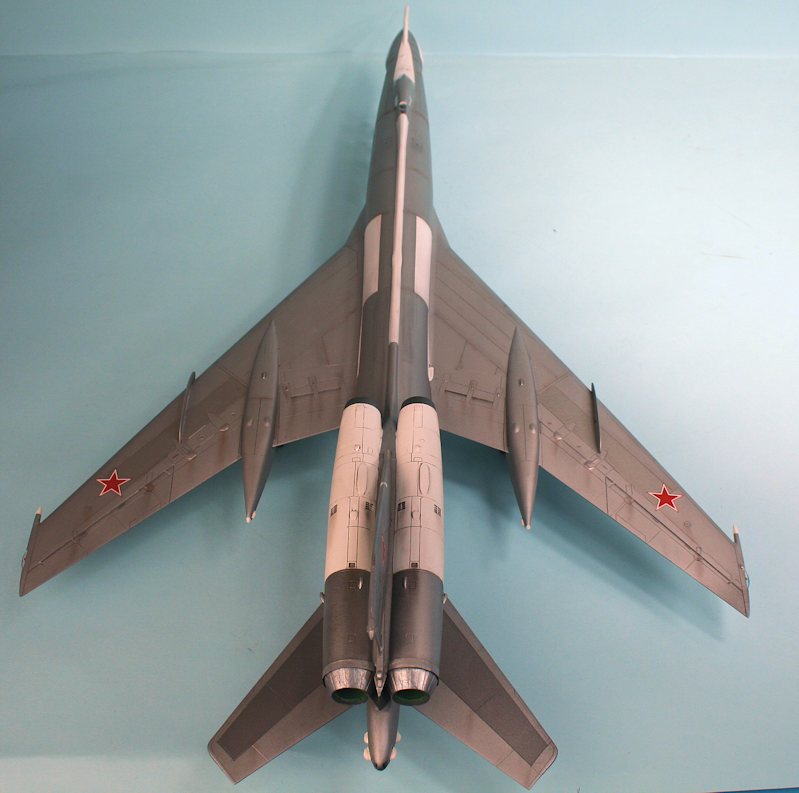
.... underside view.

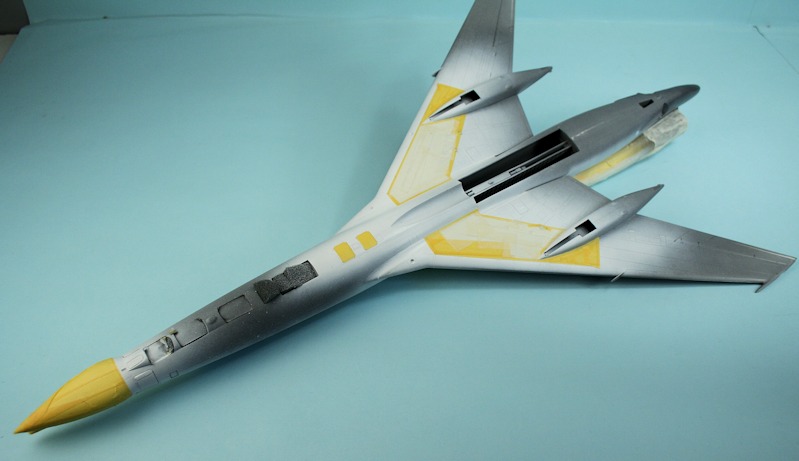
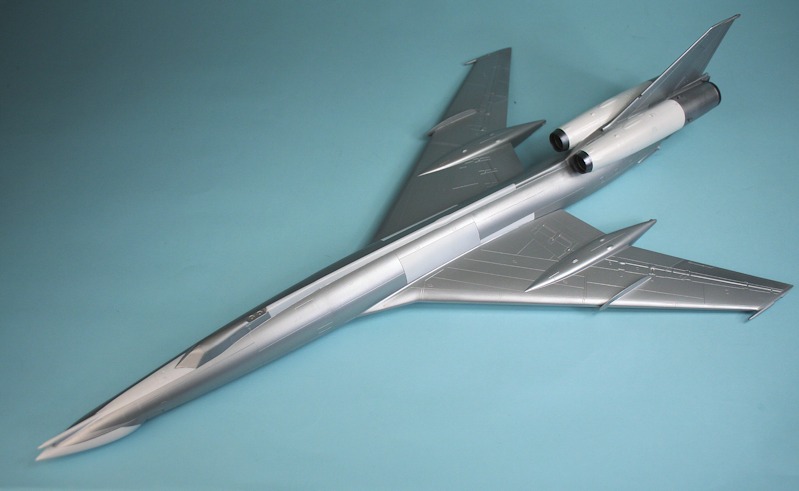
After an overall coat of grey primer and a polish, the final window masks are applied and a silver finish sprayed on.
Removing the masking from the white areas and engine nacelles reveals.......
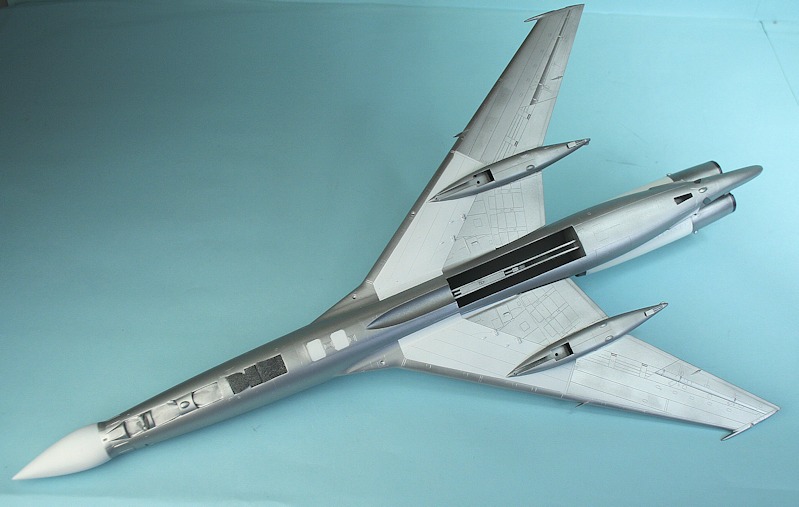
... undersides.
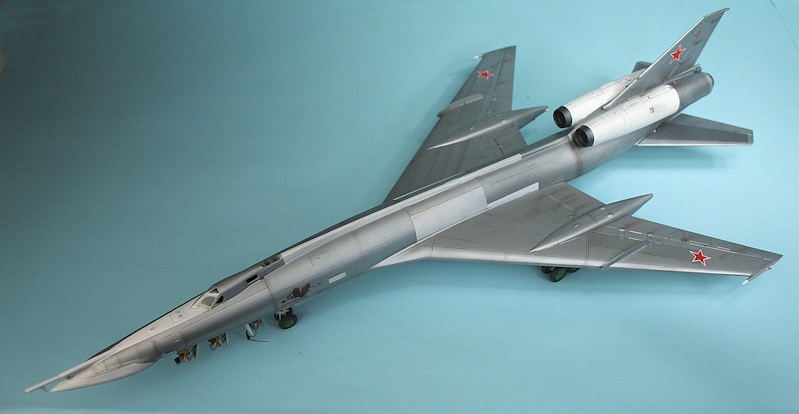
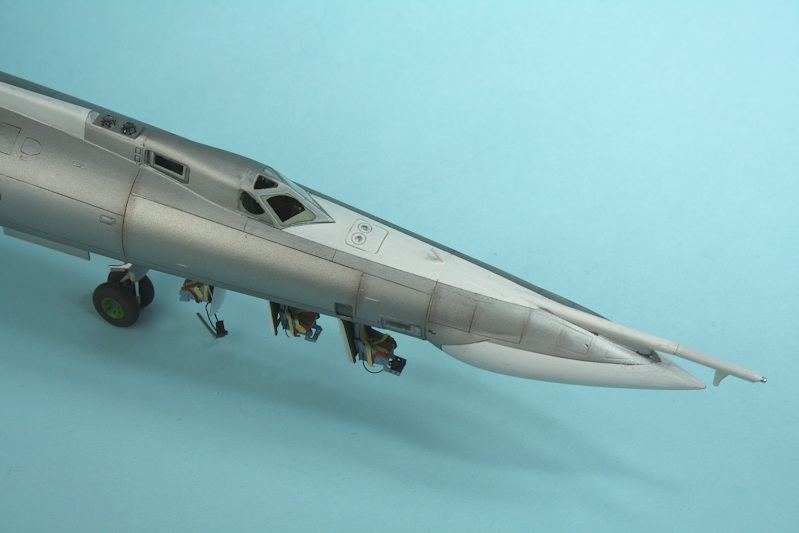
Finished Model


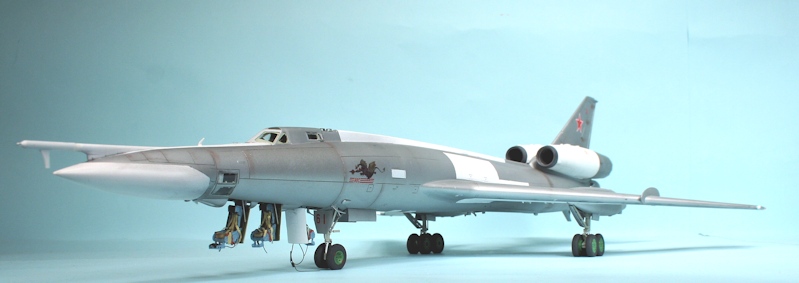
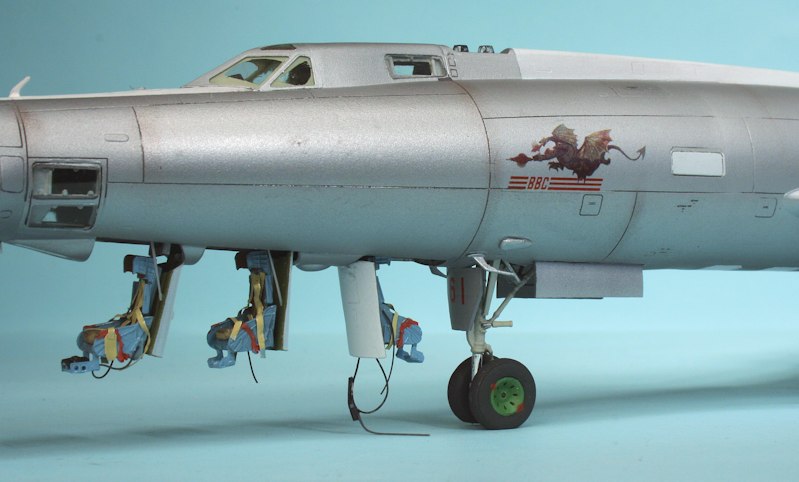
The dragon decal is from Begemot.
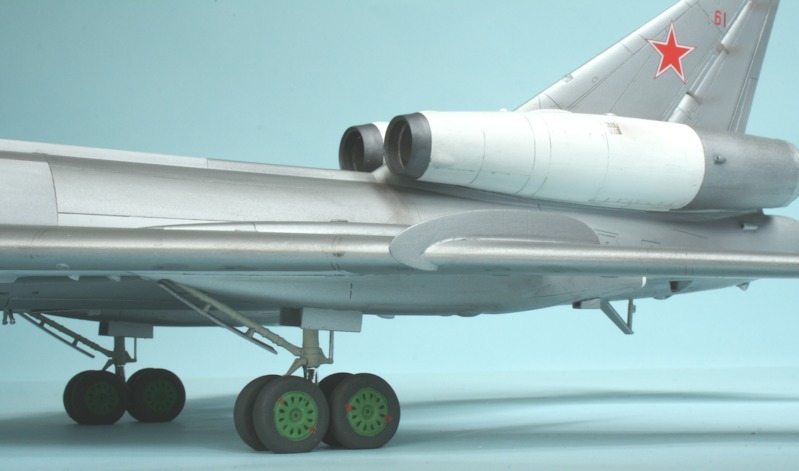
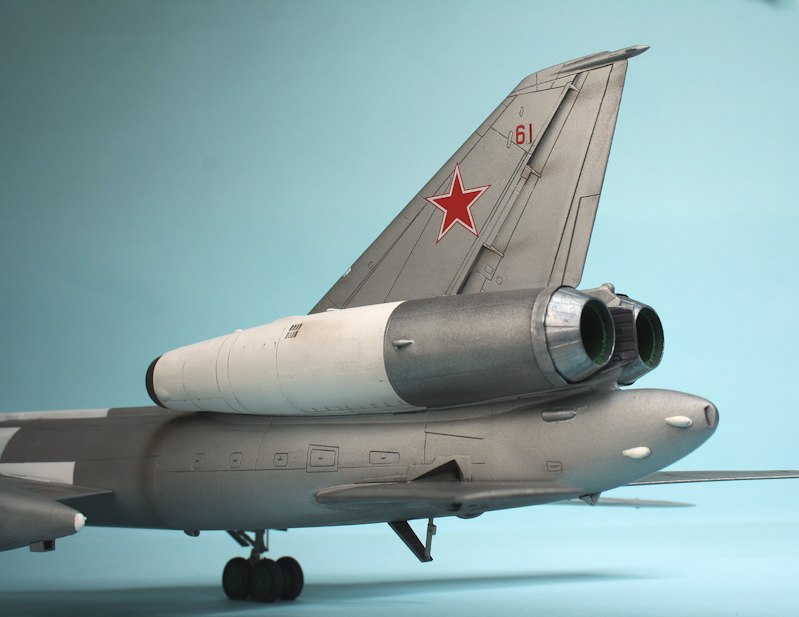
The tailcone is scratch-built.
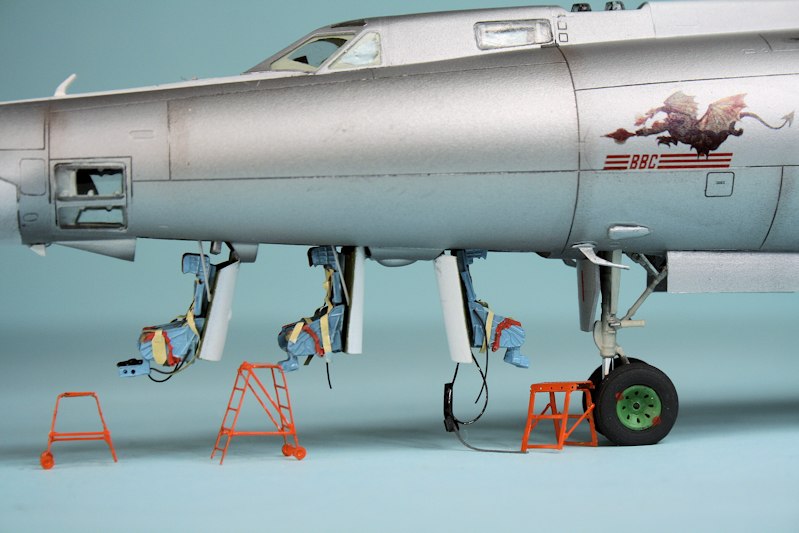
Lowered ejection seats.

Orange stands are cut-down etch ladders.
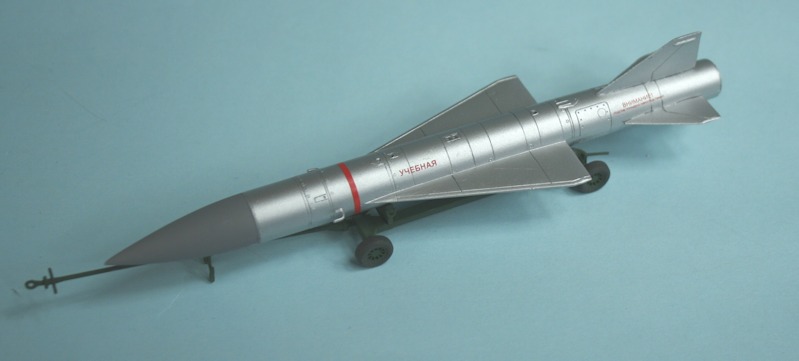
Kh-22 missile on its loading dolly.
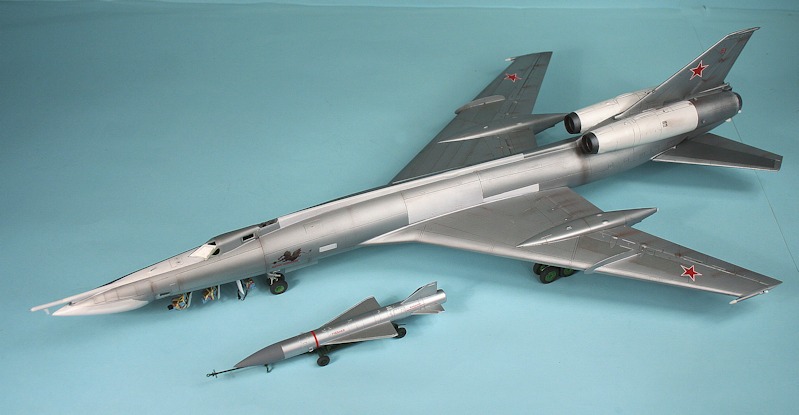
Tu-22KD.
Ken Duffey
November 2015