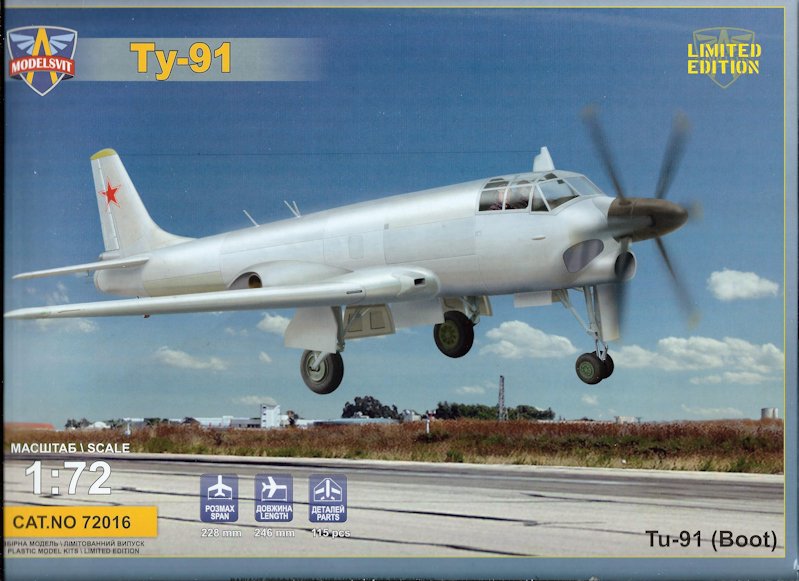
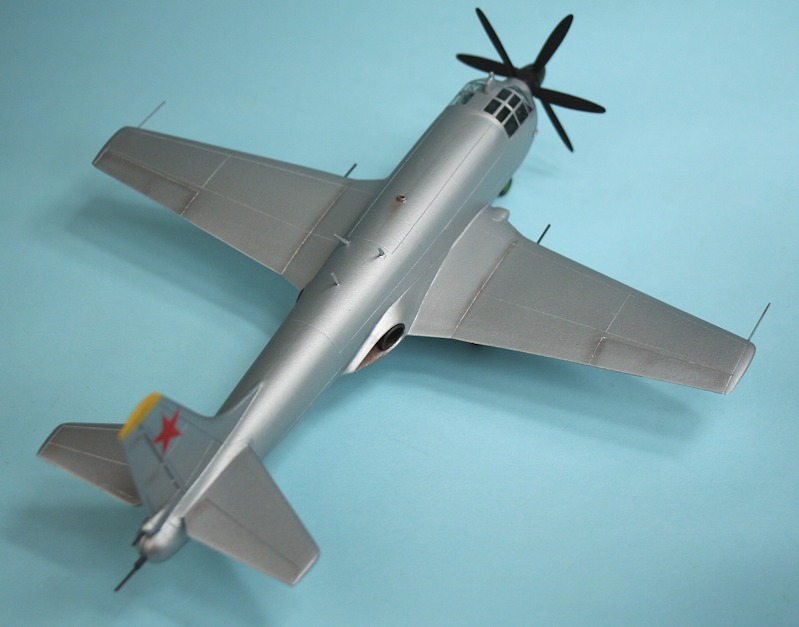
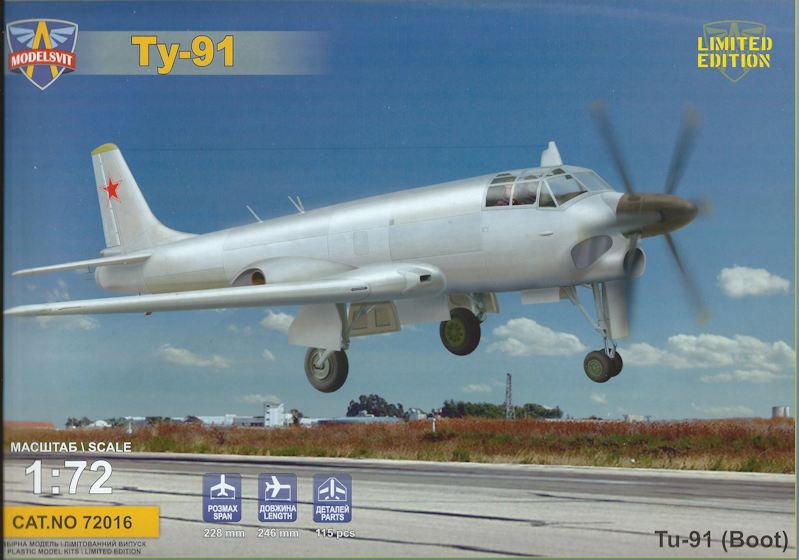
Tupolev Tu-91 Boot
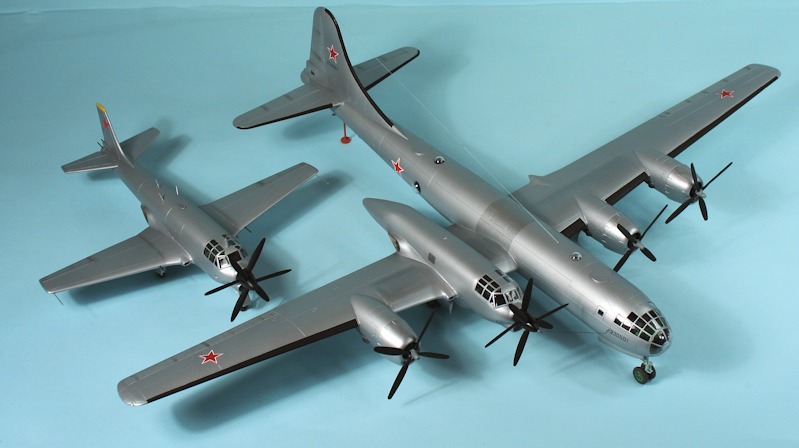
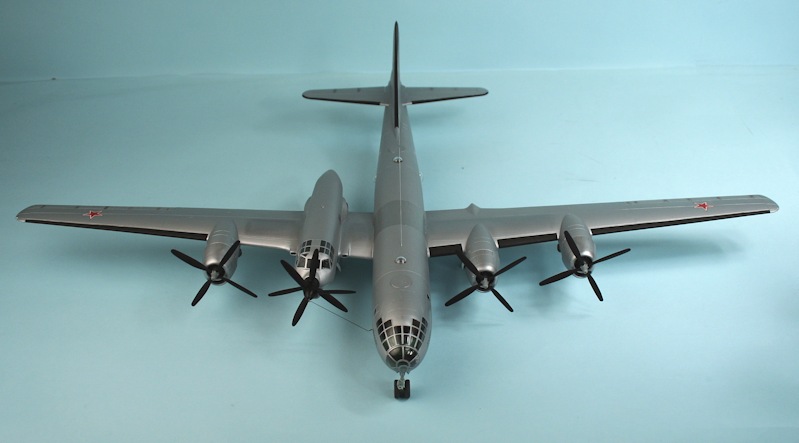
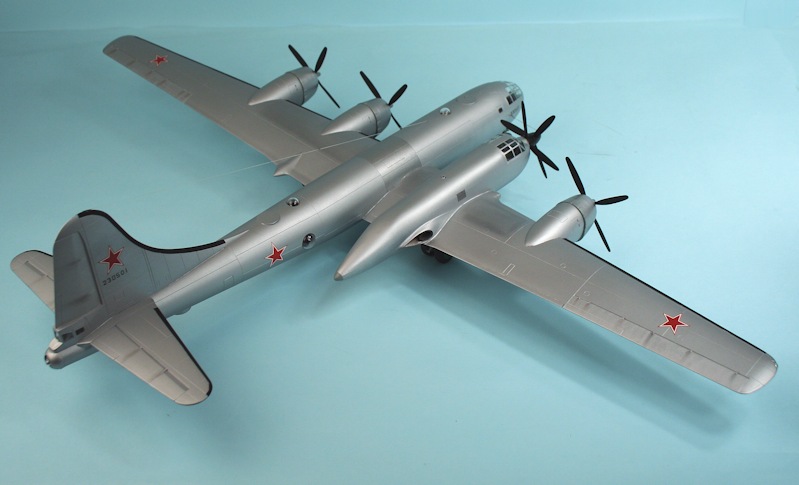
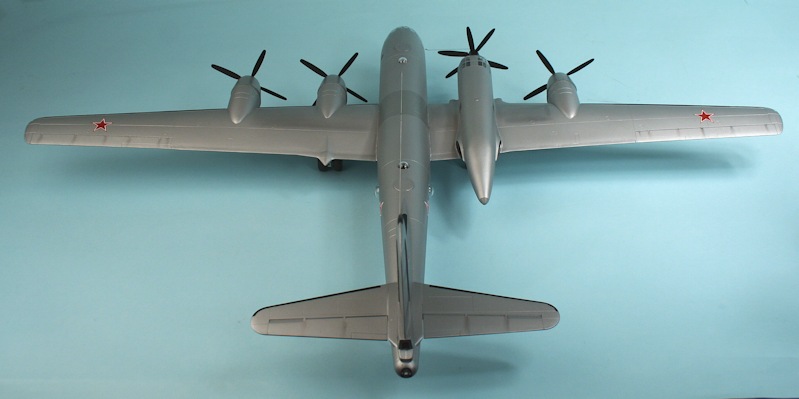
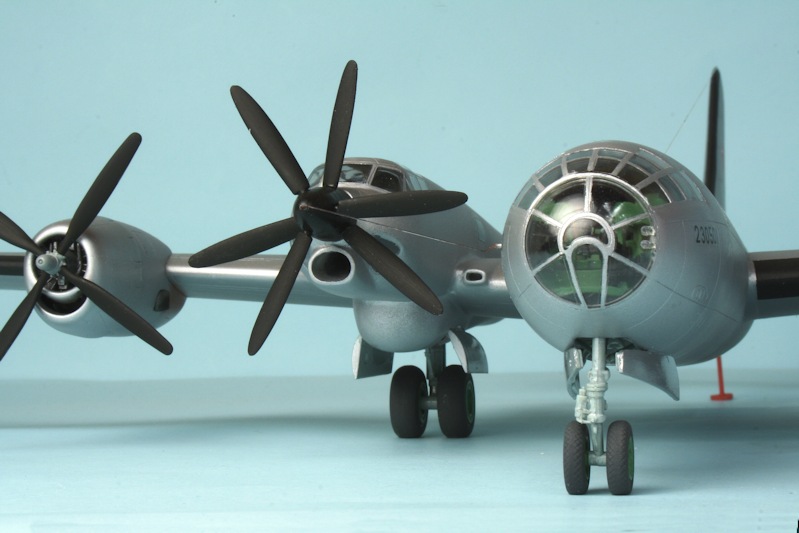
Modelsvit 1:72 scale kitTu-4 with Tu-91 Testbed
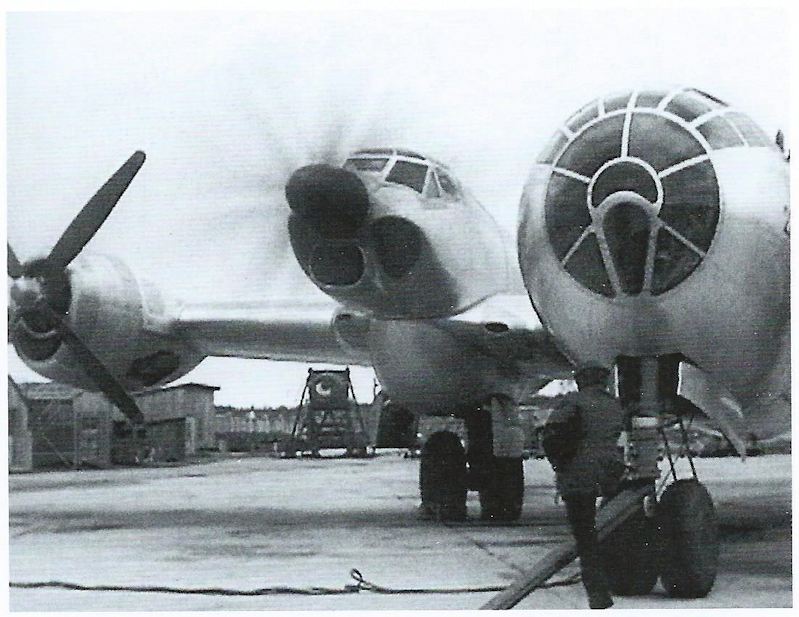
A product of the 'Ugly OKB'
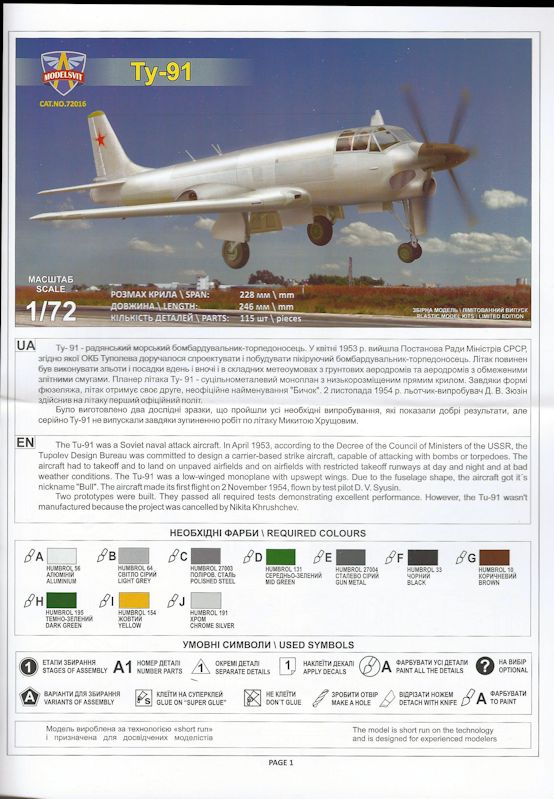
Instruction sheet with reference to Humbrol paints
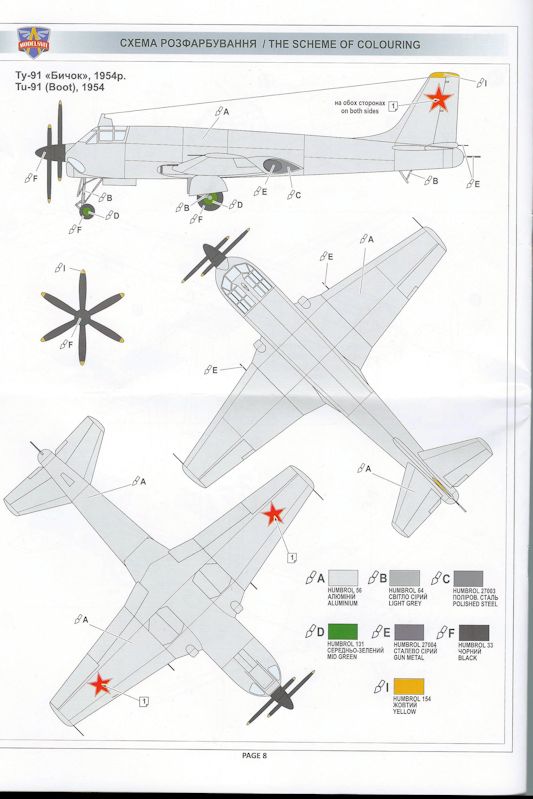
Comprehensive(!) painting guide.
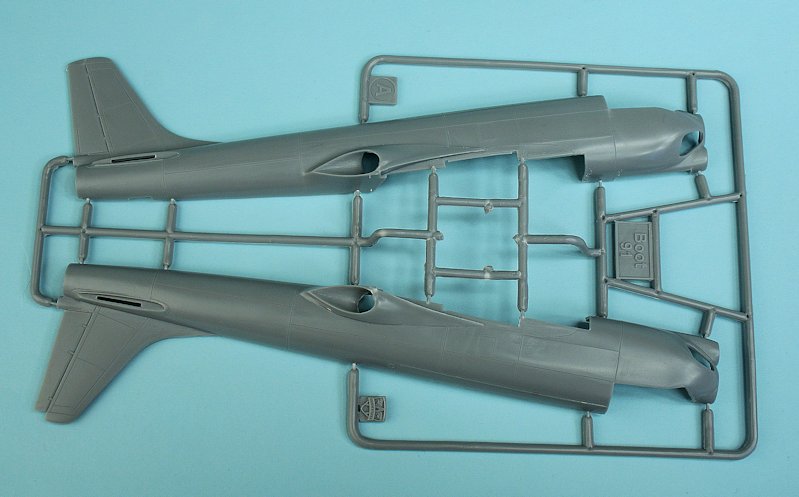
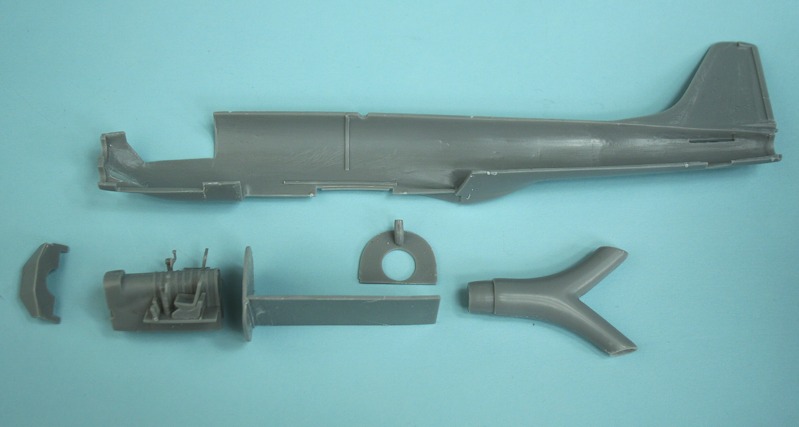
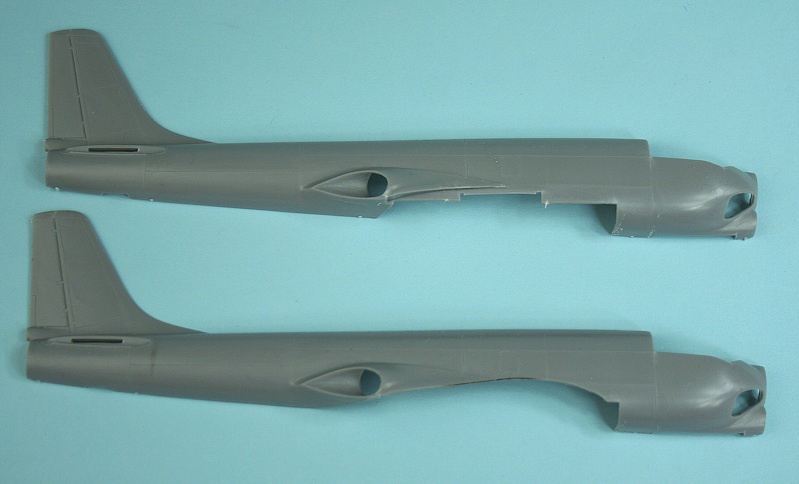
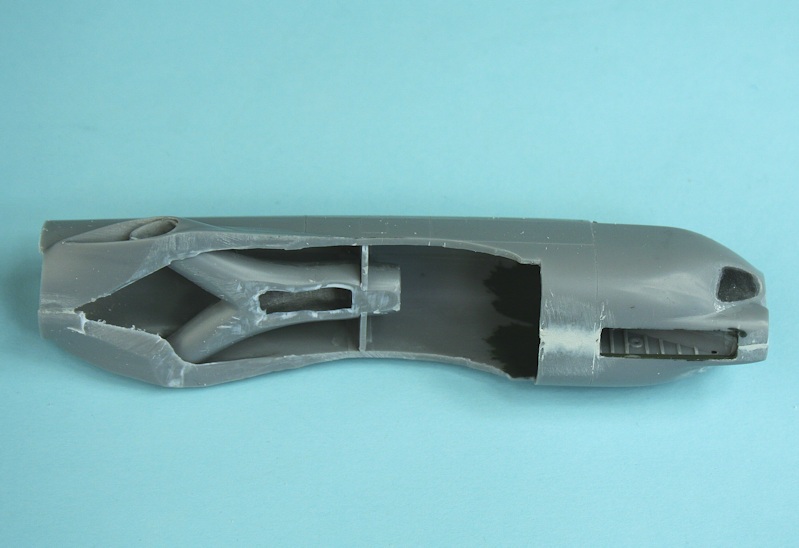
Fuselage halves.
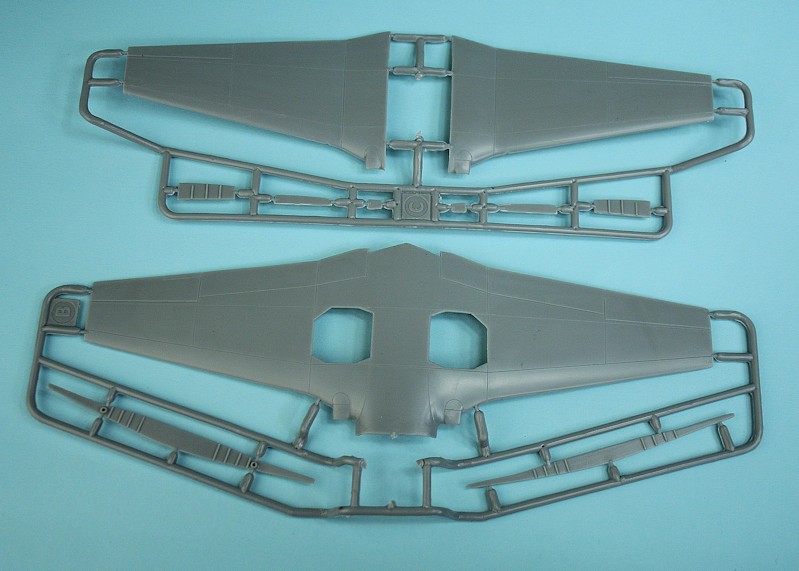
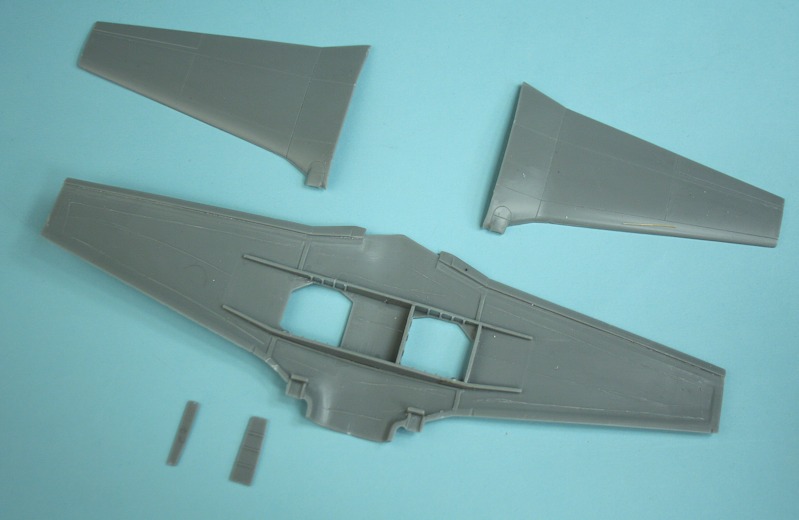
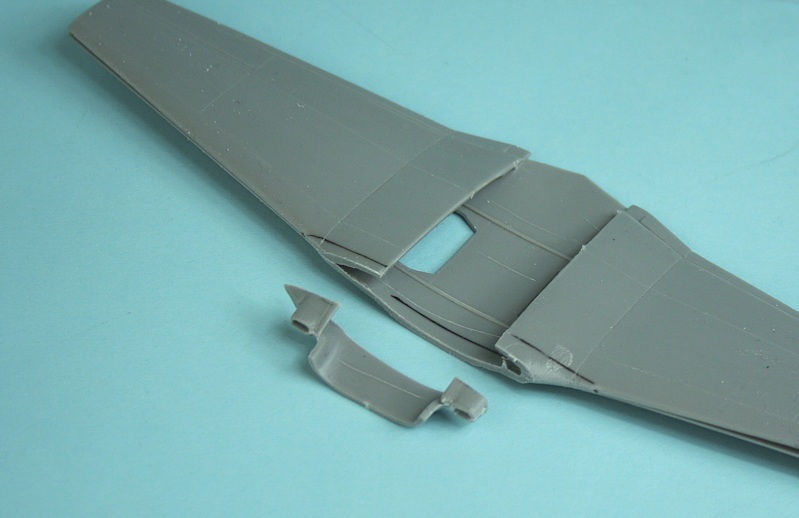
Upper and lower wings.
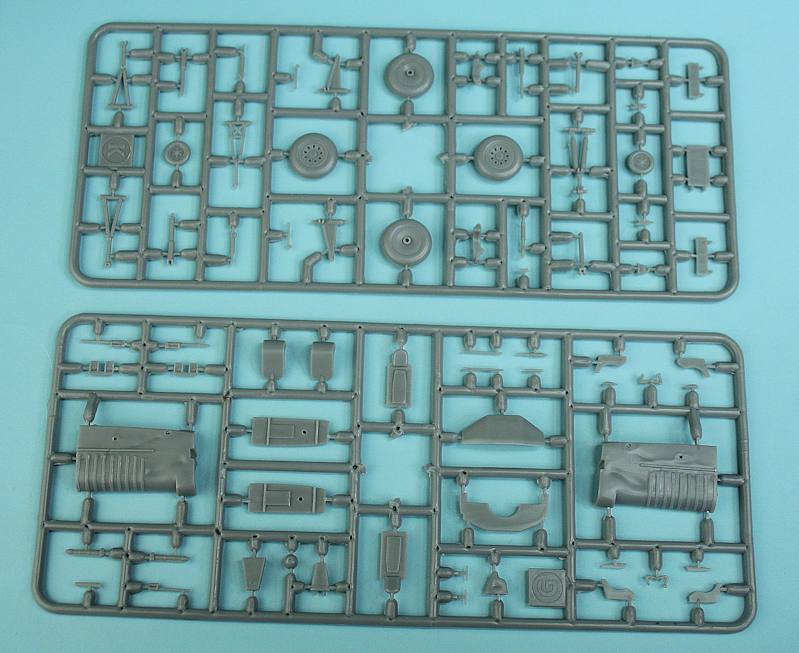
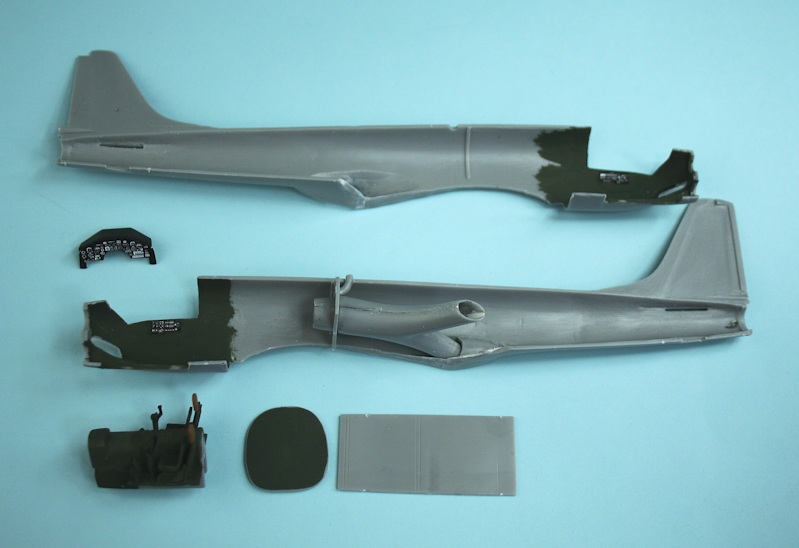
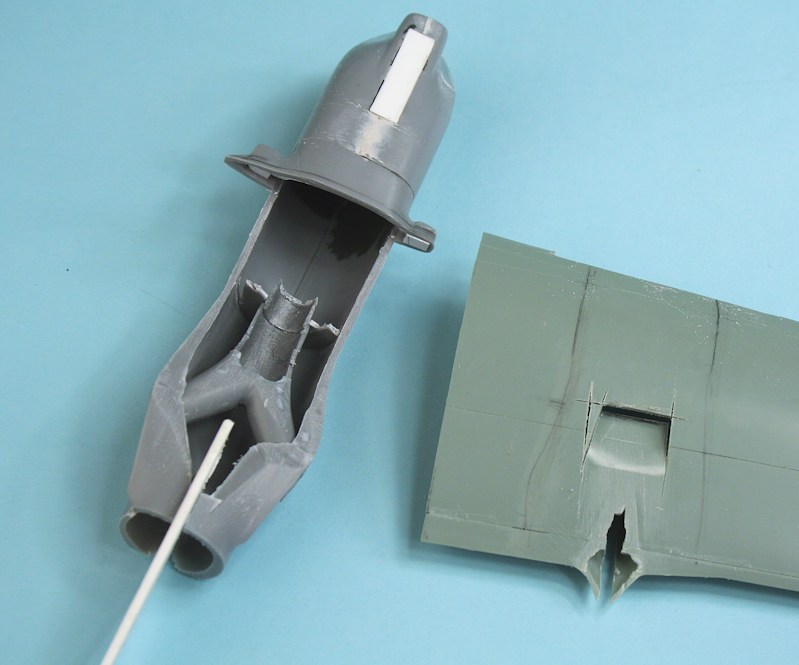
Interior parts and undercarriage.
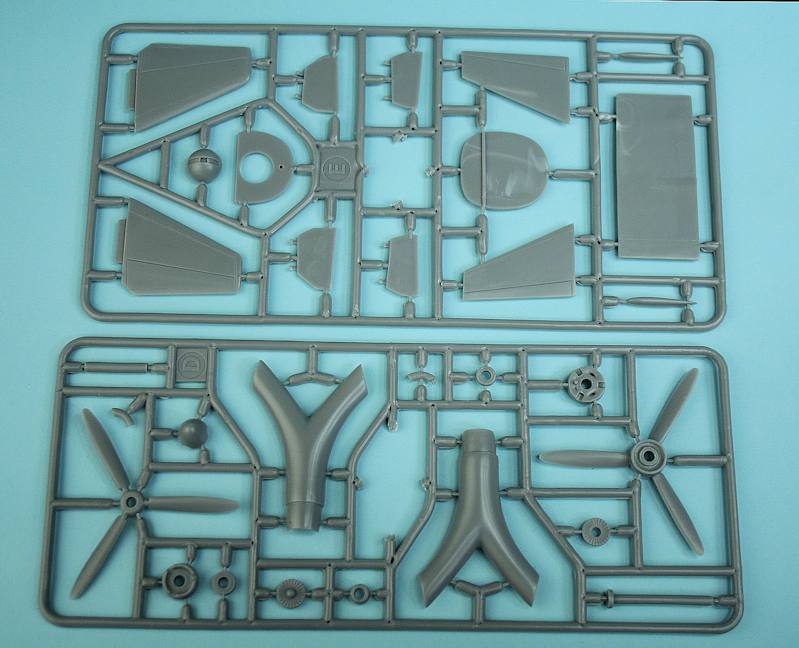
Exhaust trunking, props and tail surfaces.
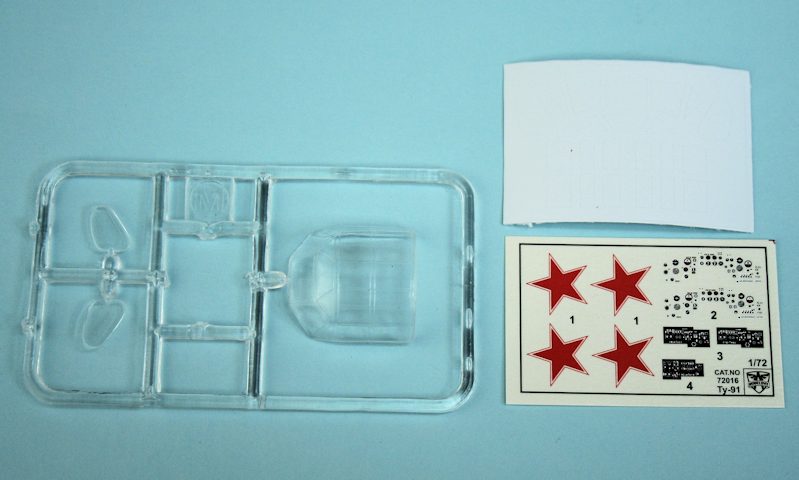
Clear sprue, adhesive masks and decal sheet.
Cockpit assembly, bulkheads and jetpipe.
Wing spars and undercarriage bays under construction.
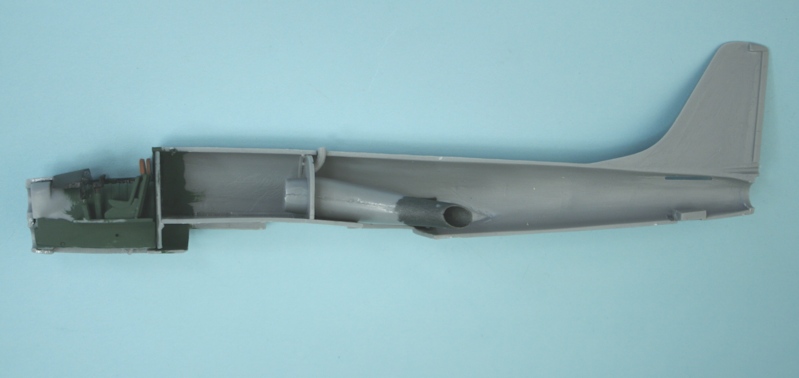
Interior parts in place - lots of room aft of the cockpit to place weights inside.
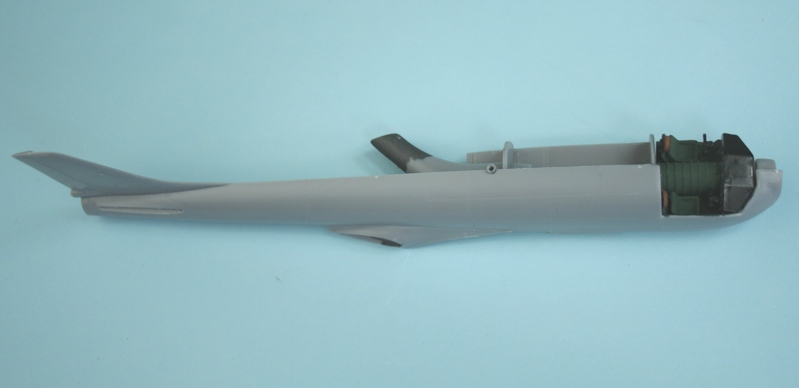
Ready for the port fuselage half to be attached.
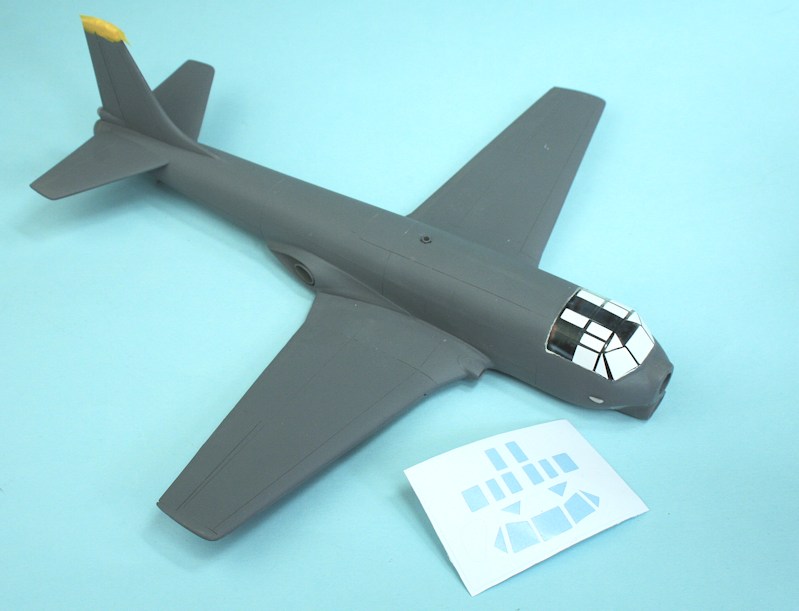
Cockpit masks being applied to a primed airframe.
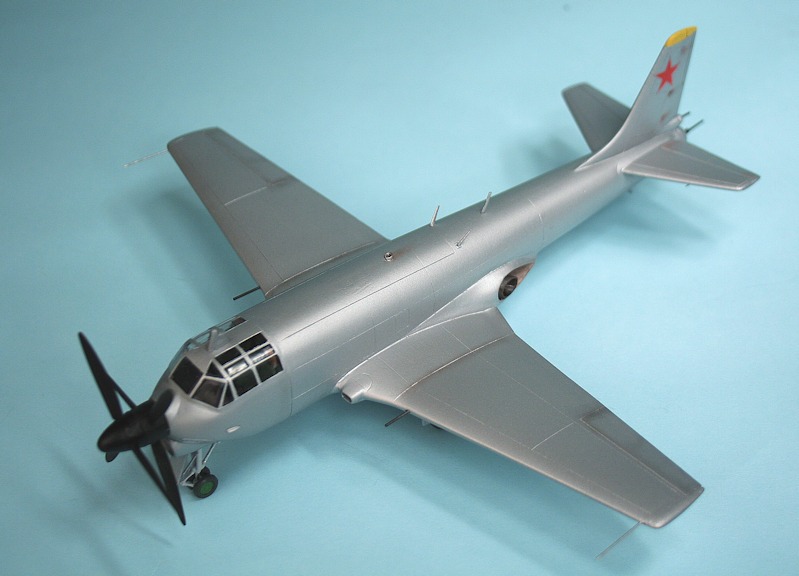
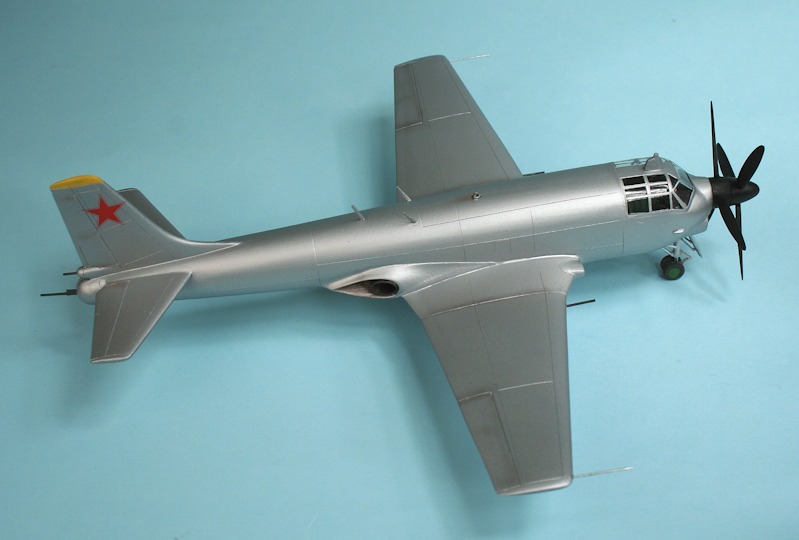
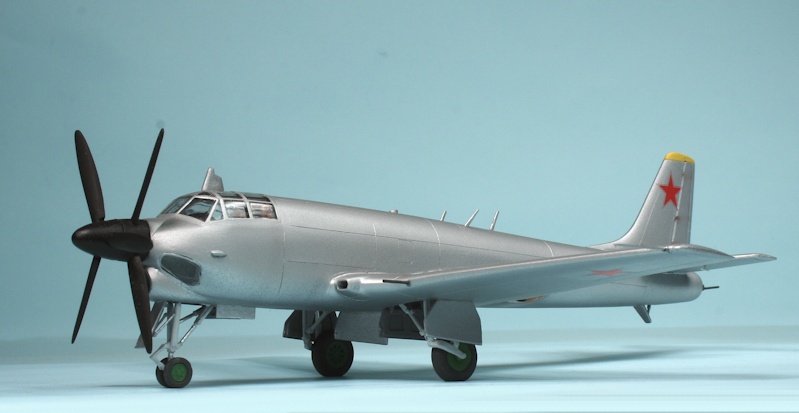
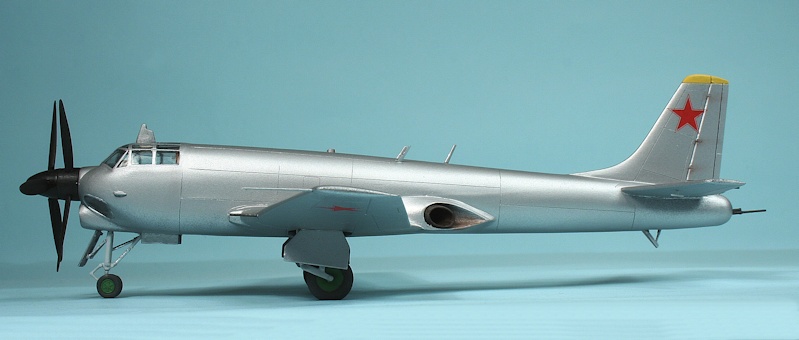
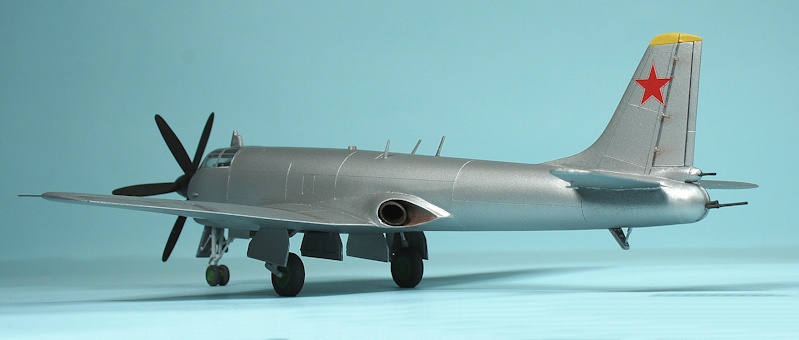
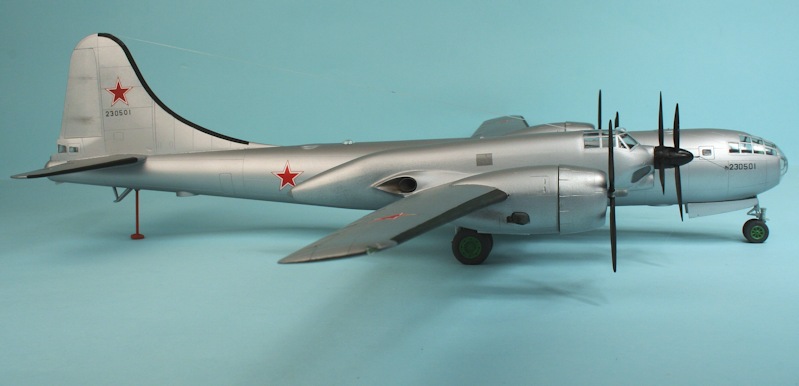
Finished Model
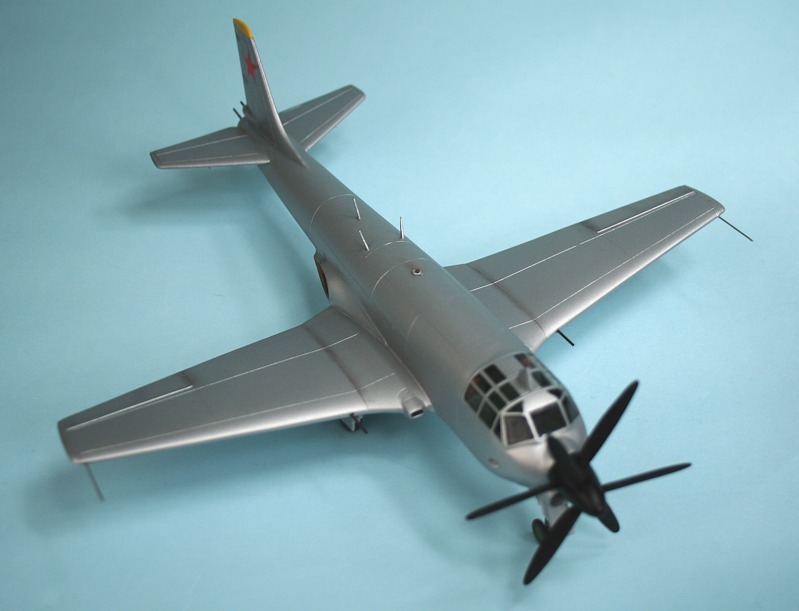
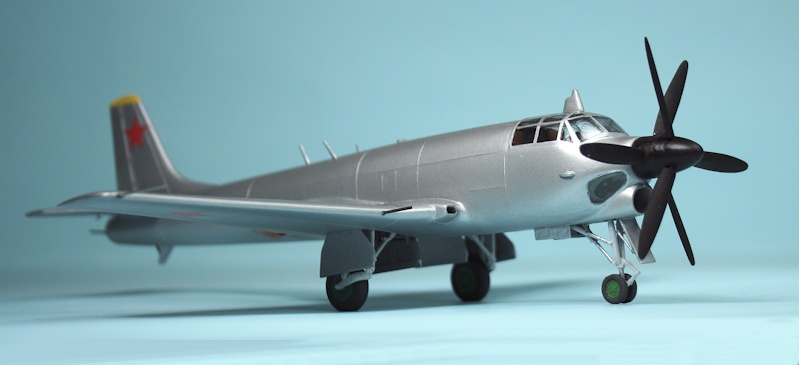
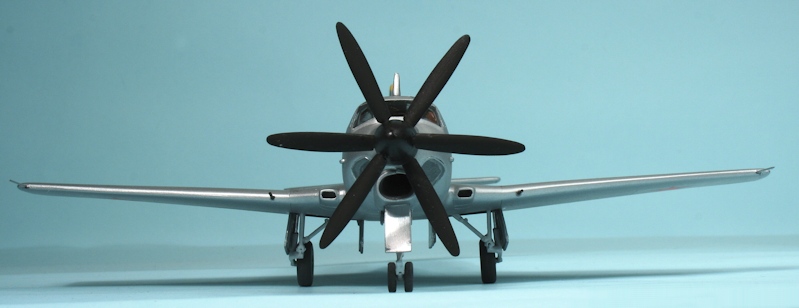
A Boot and a half.
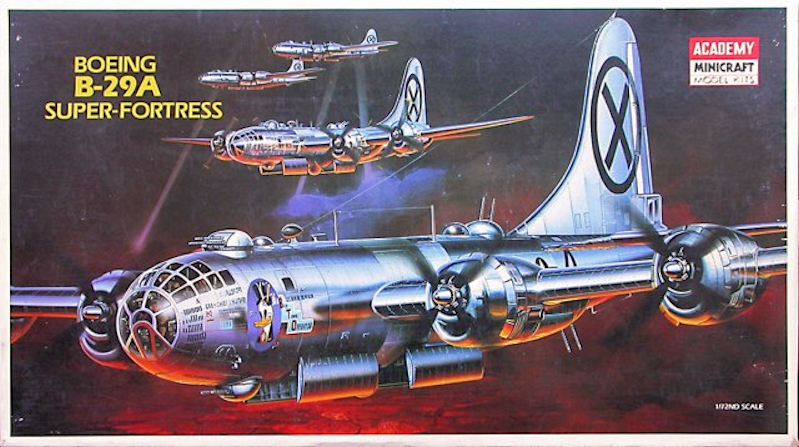
Tu-4 with Tu-91
Testbed
Take this......
Add in one of these....
Mix with one of these......
... and hopefully end up with one of these.
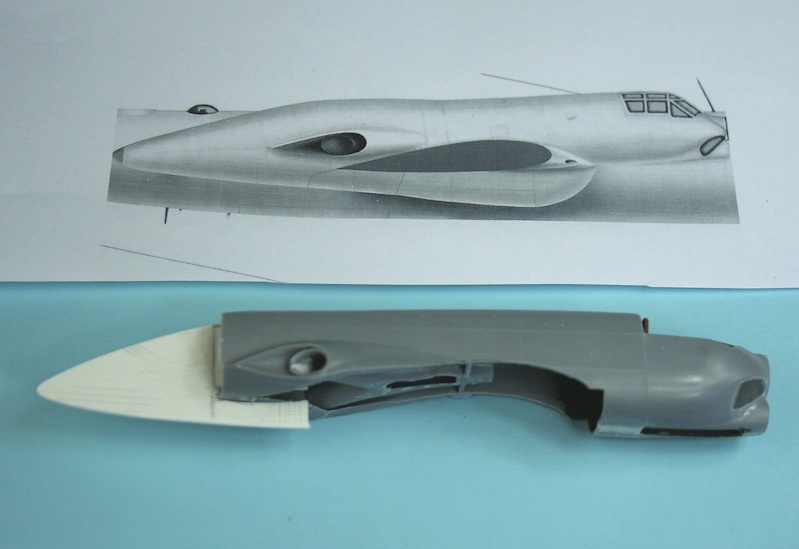
Cutting the B-29 wing profile from the Tu-91 fuselage - unmodified fuselage at top.
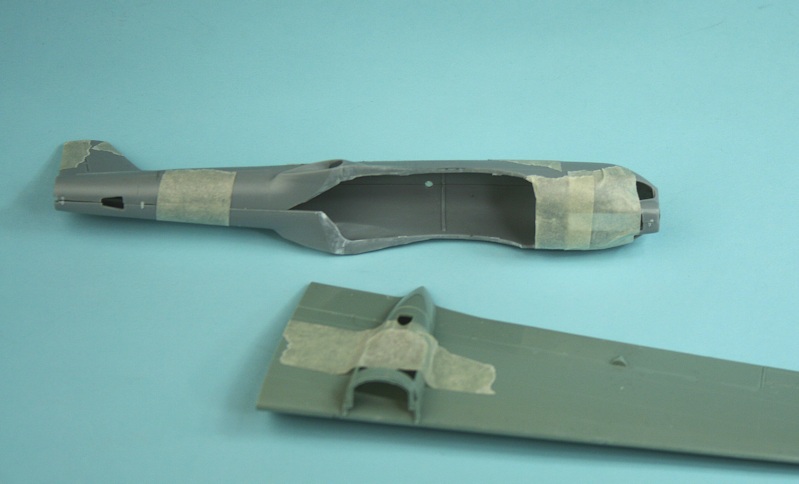
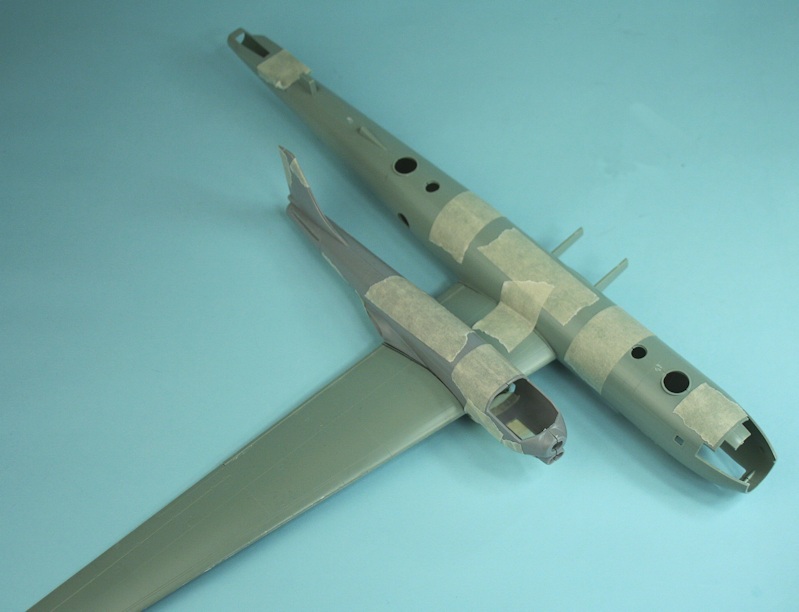
Cutaway B-29 engine nacelle taped in place - Tu-91 fuselage halves taped together.
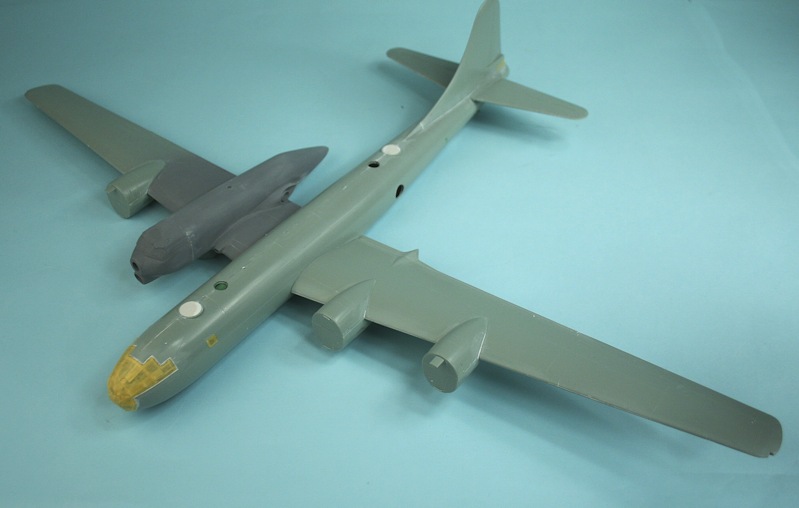
Tu-91 fuselage and B-29 wing.
Wing and fuselage taped together.
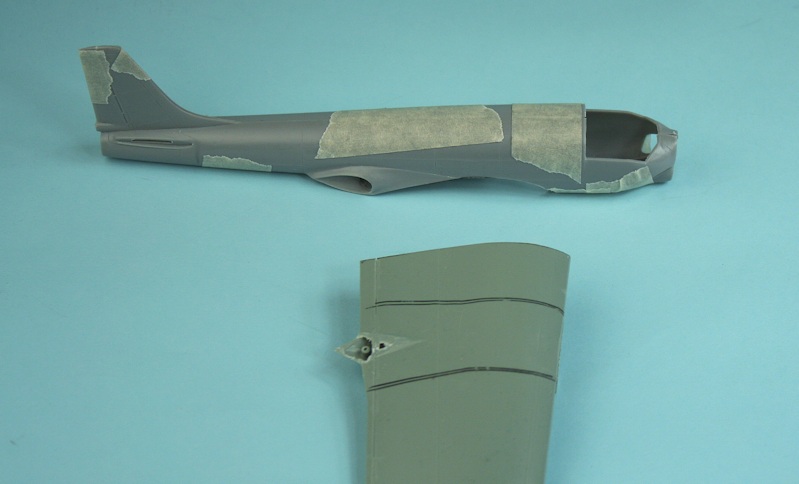
Top view - the rear fuselage of the Tu-91 needs to be cut down.
All taped up for positioning...... the fin and rear fuselage of the Tu-91 will be removed later.
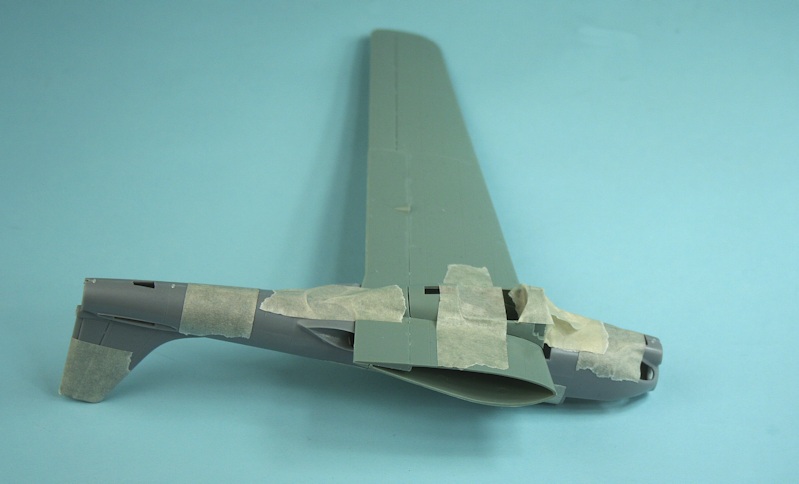
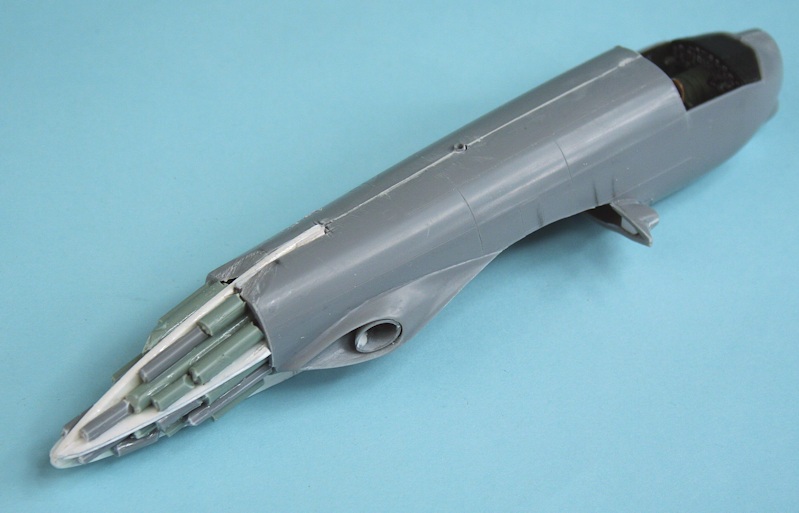
Tu-91 being assembled - because of the huge wing cutout, I had to leave out the rectangular 'floor' part.
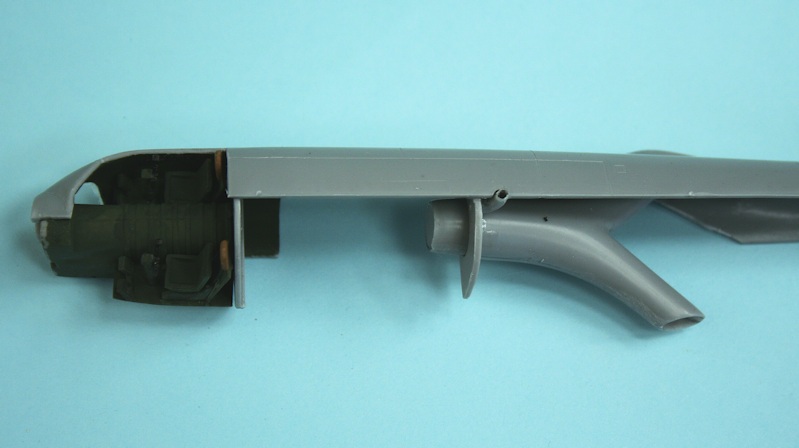
The completed cockpit and bifurcated jetpipe in place.
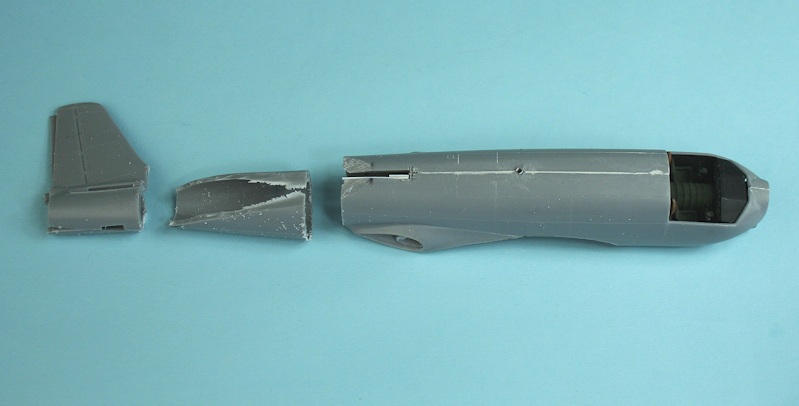
Tail sections removed.
I had to cut away the jetpipe to clear the B-29 wing profile.
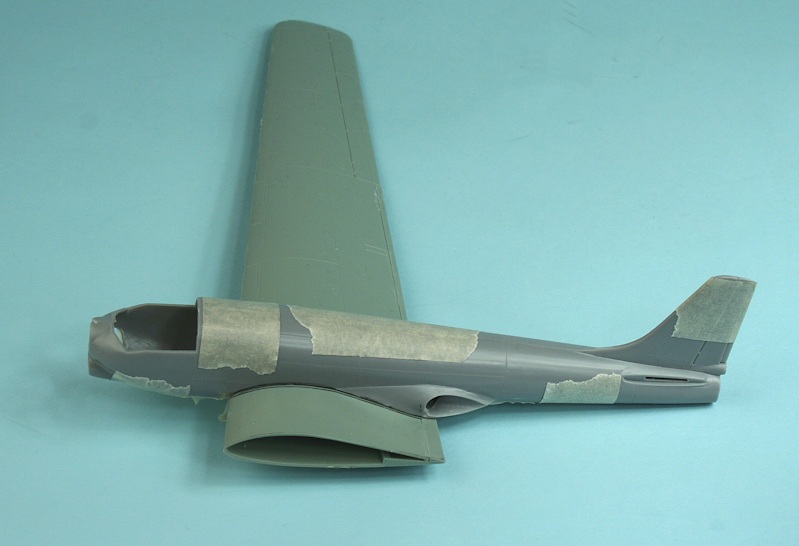
Thick plastic card used to get the rear side profile shape.
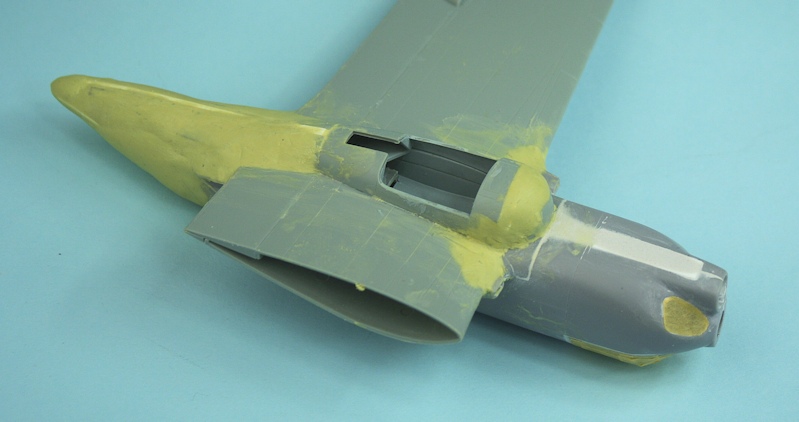
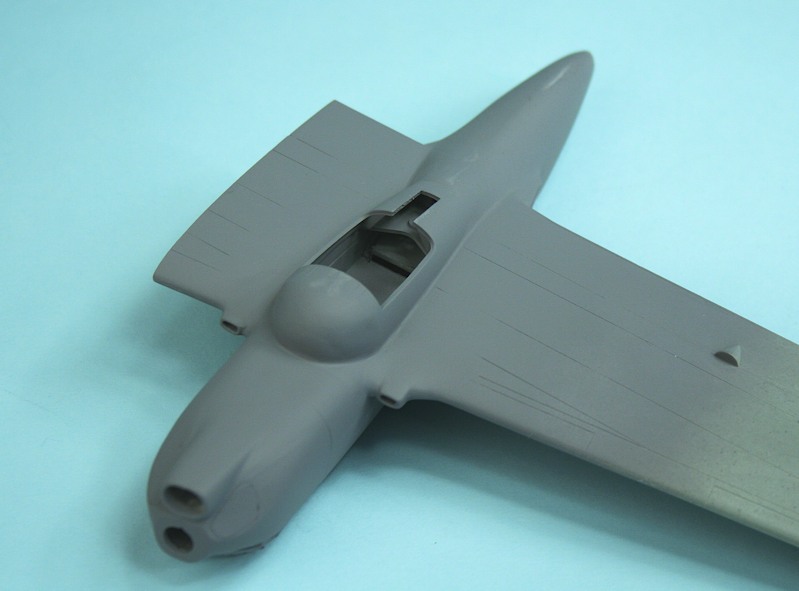
Intakes and lower fuselage cut from Tu-91 wing leading edge.
Despite hacking away at the jetpipe - a recess is still needed in the B-29 wing upper surface.
Scraps of plastic sprue used to fill the rear end.
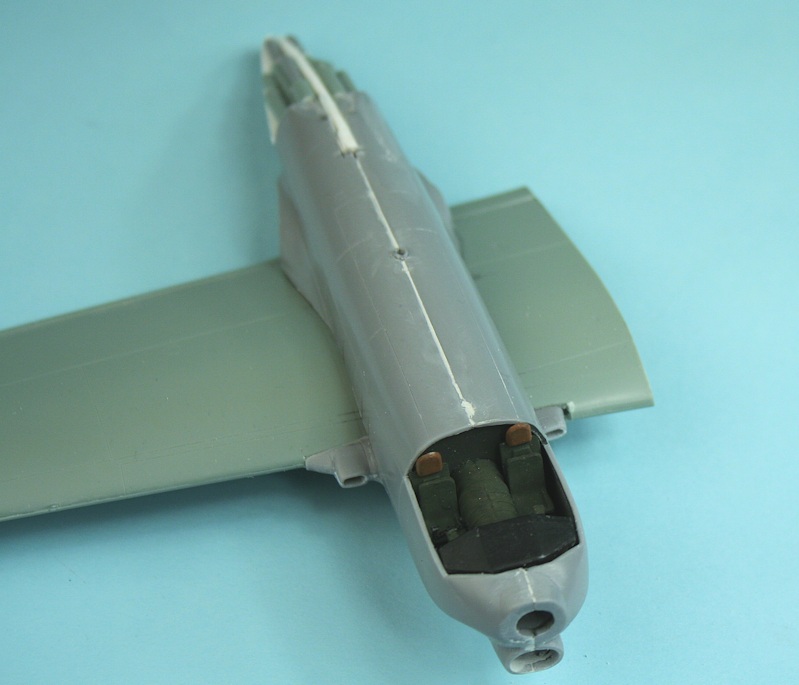
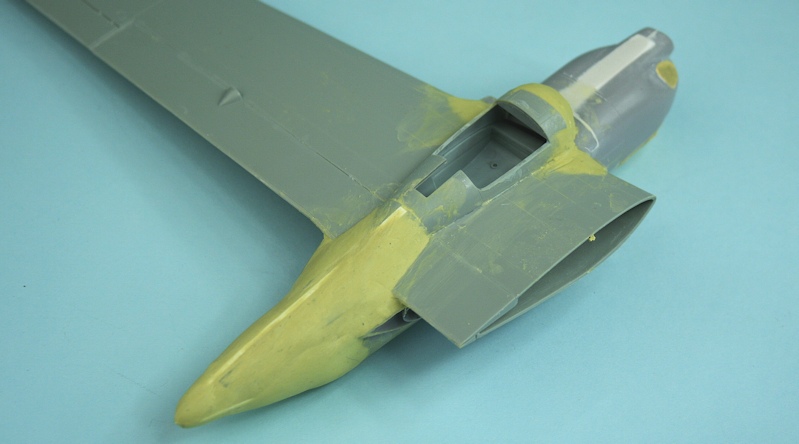
Test fit of Tu-91 fuselage on B-29 wing - with intakes in place.
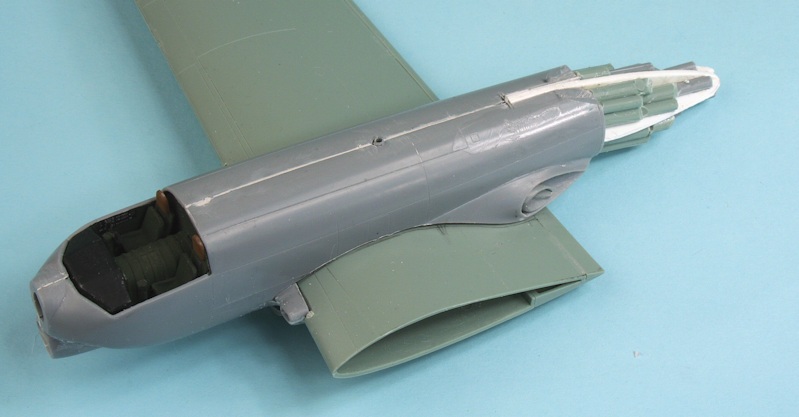
Another view of the test fit.
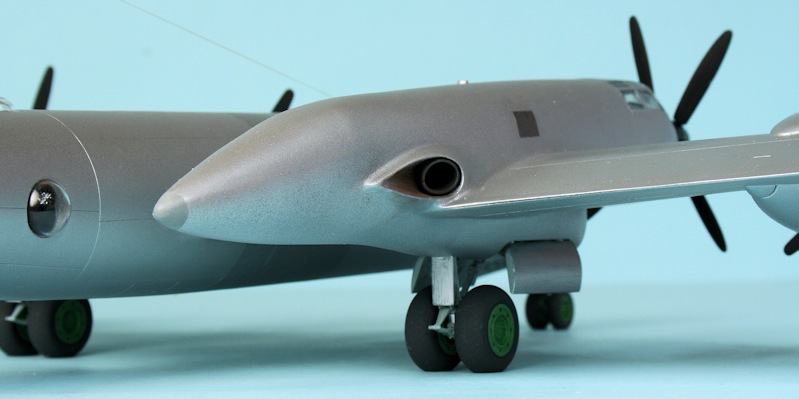
The B-29 kit belly radome makes a good base for the engine nacelle front fairing.
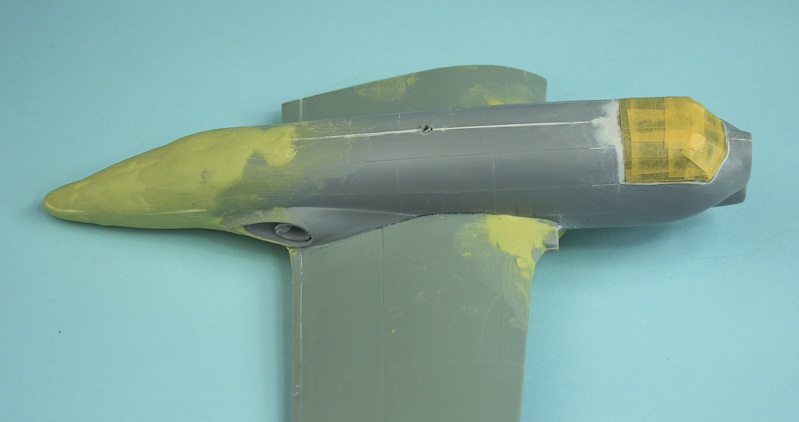
First application of Milliput - smoothed down with a wet finger.
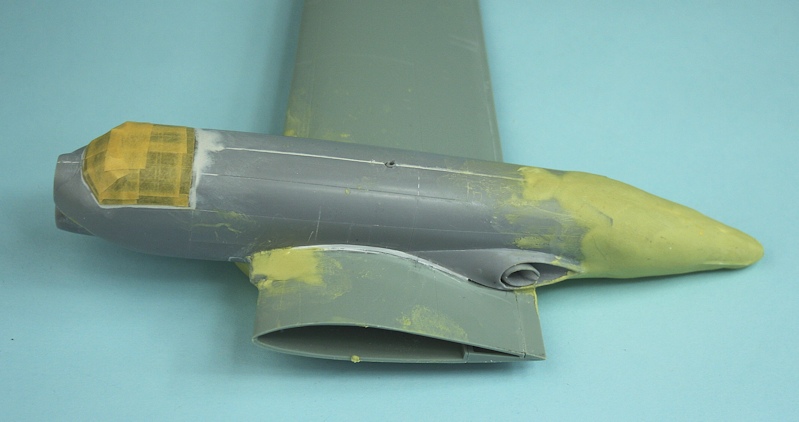
Underside view.
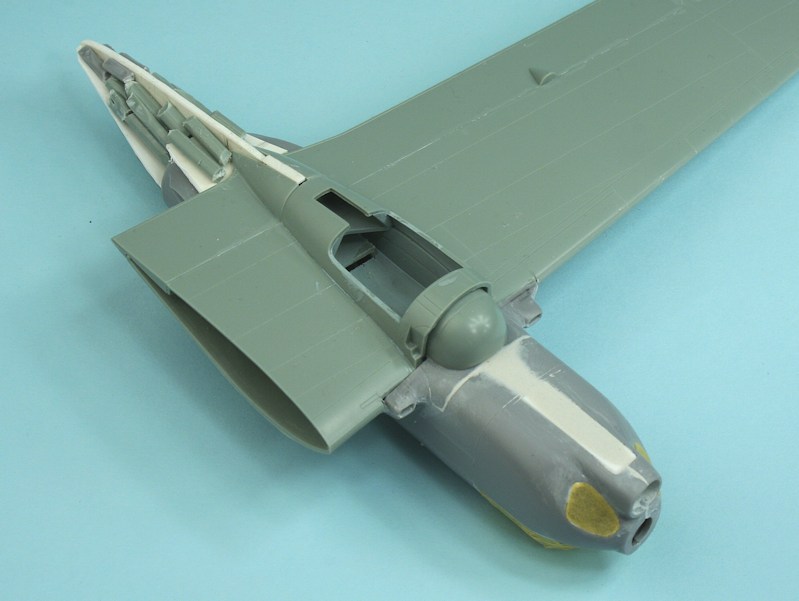
I'm not sure how the flaps would have worked??
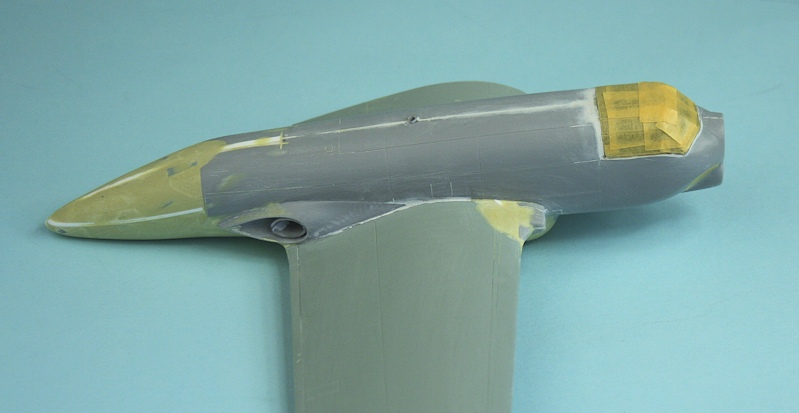
After the first major sanding session...
... the basic shape emerges.
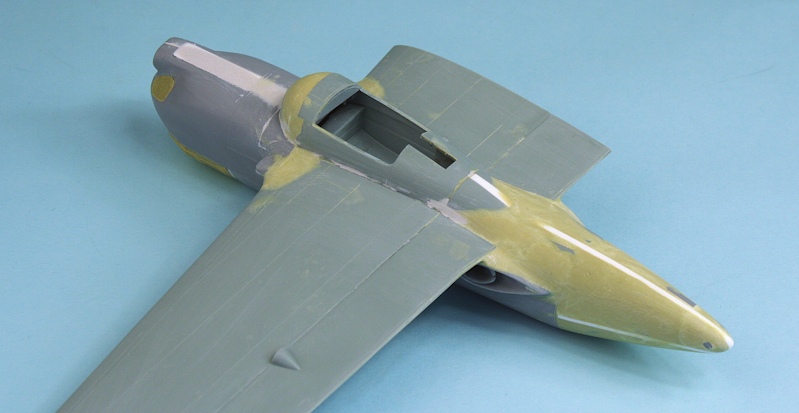
The results of a few filling/sanding/priming sessions....
... I think its almost done.
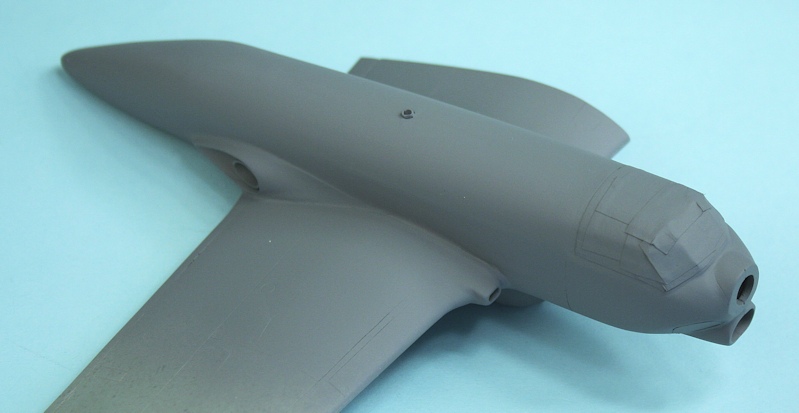
Some re-scribing needed.

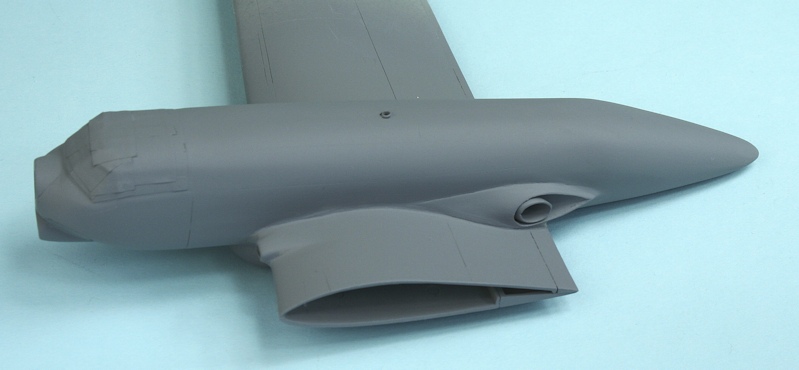
On final approach now.....
... it just needs a wash an a coat of primer.
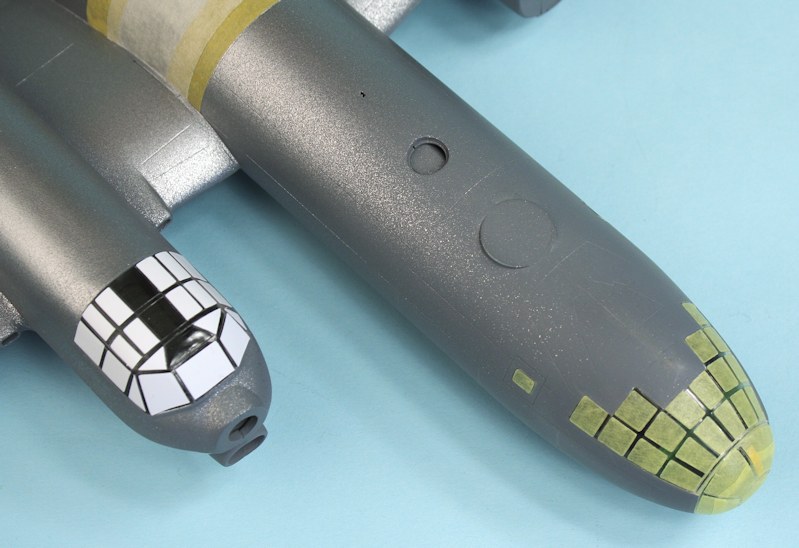
Kit masks on the Tu-91, Eduard maks on the Tu-4
Finished Model
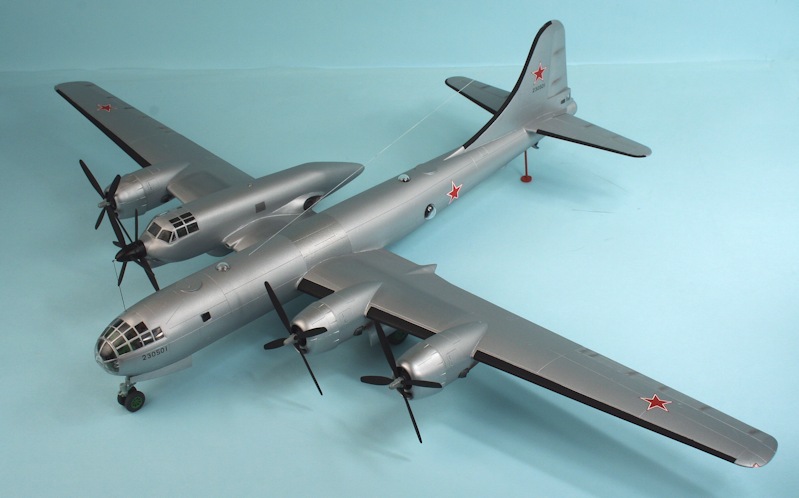
Due to the weight of the Tu-91 rear fuselage I had to make a tail prop.


Ken Duffey
February 2016