Myasishchev 3MD 'Bison'
Modelling the Amodel kit
I don't have the boxtop - so this photo will have to do...
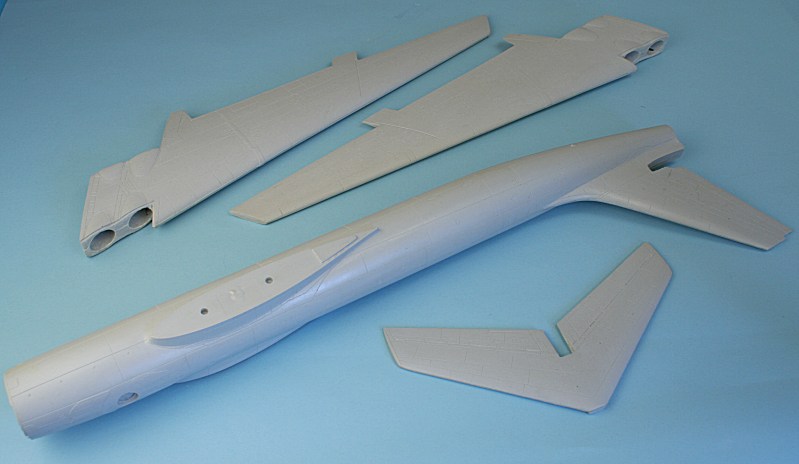
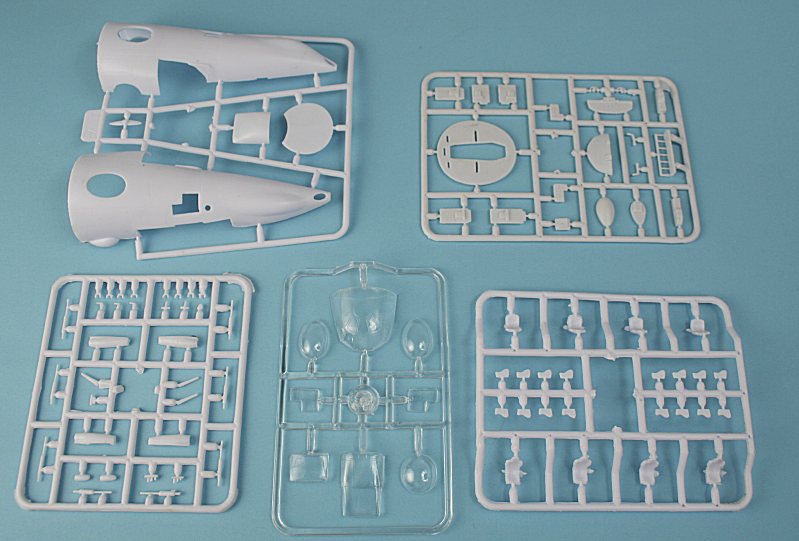
The major components are made from pre-formed fibreglass resin........
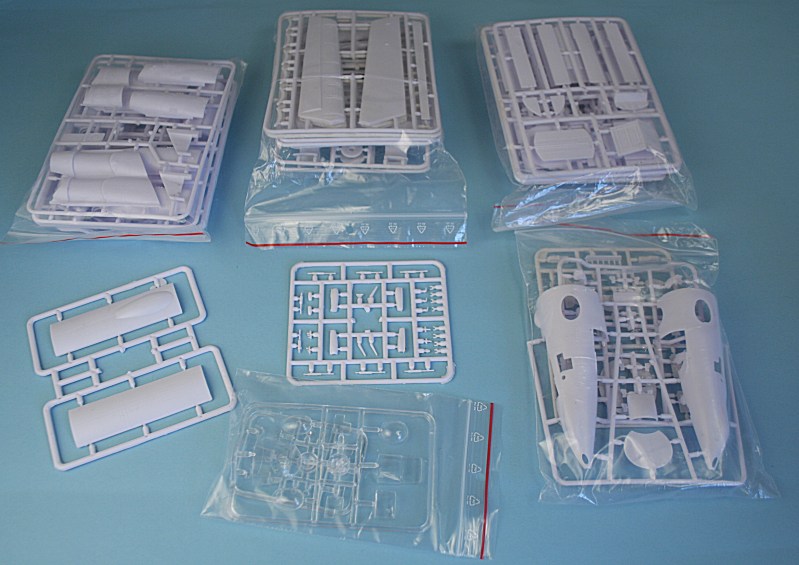
....with the rest in injection-moulded plastic - tons of it!
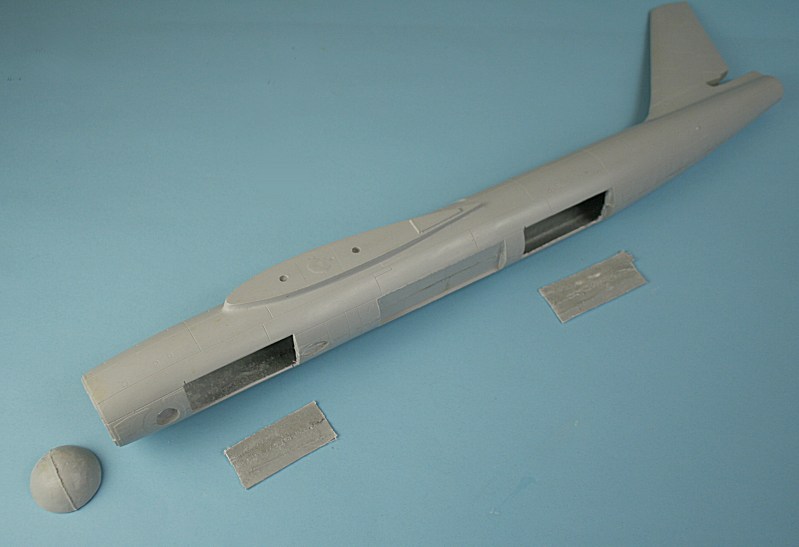
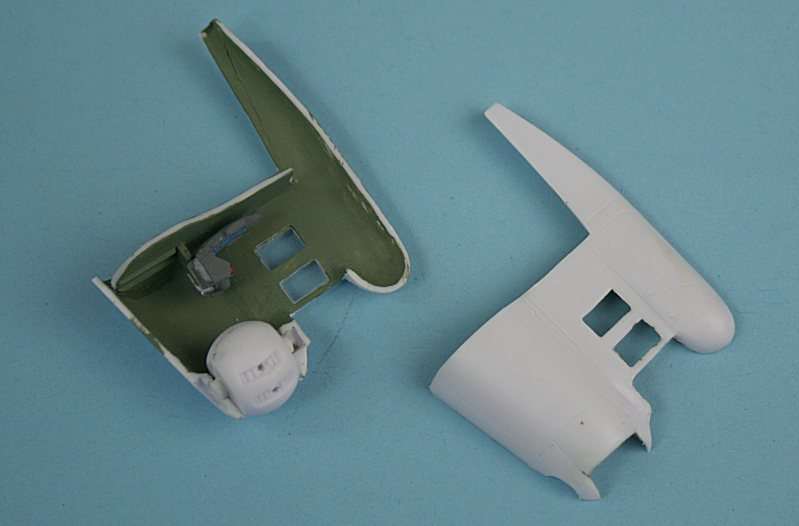
The first job is to remove the nose 'dome' - and open up the wheel bays.
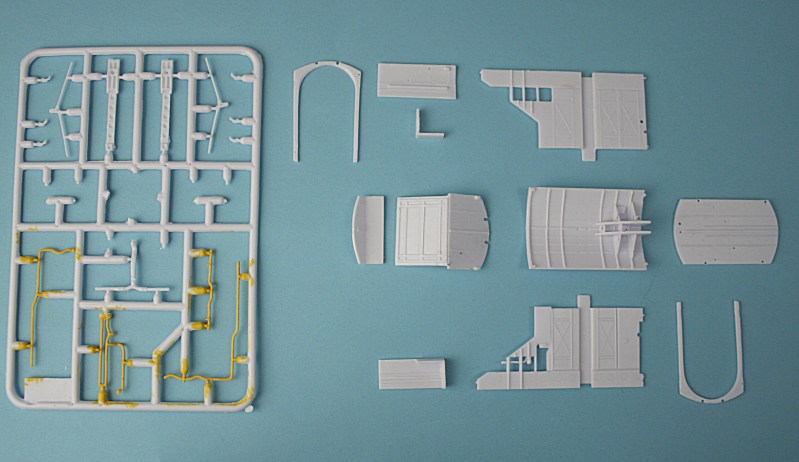
Some of the parts for the rear wheel bay - very comprehensive...... and fiddly!!
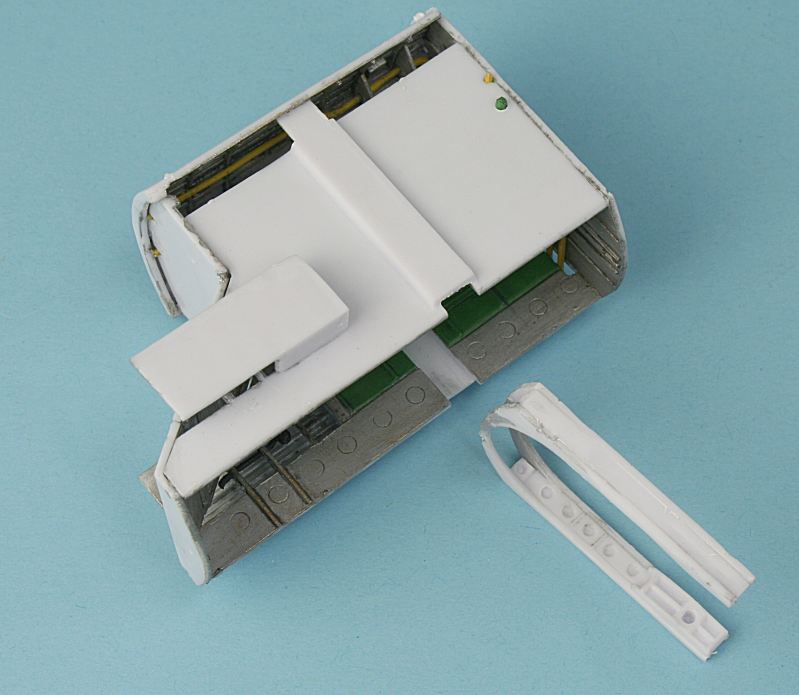
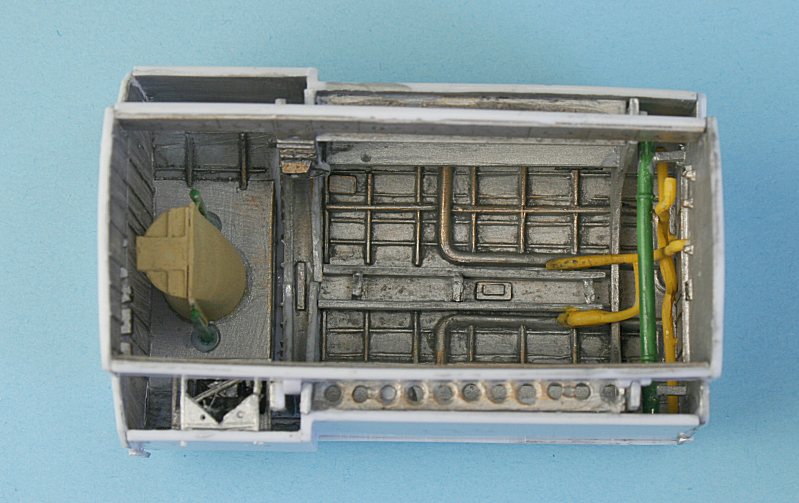
The rear wheelbay 'box' constructed. The unpainted 'arch' holds the undercarriage truck - and should slot in at the end.
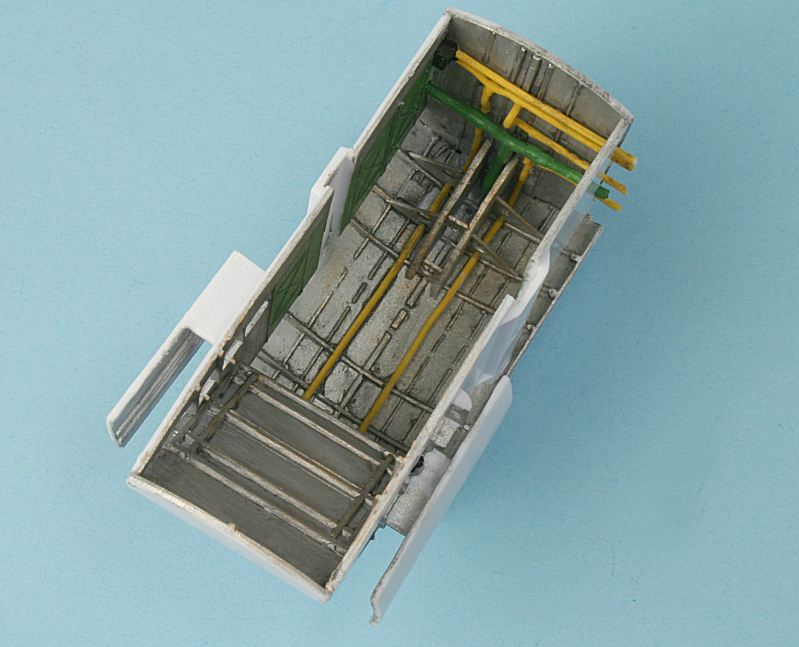
Amodel provide plenty of detail inside the bay - but most of it will not be very visible on the finished model.
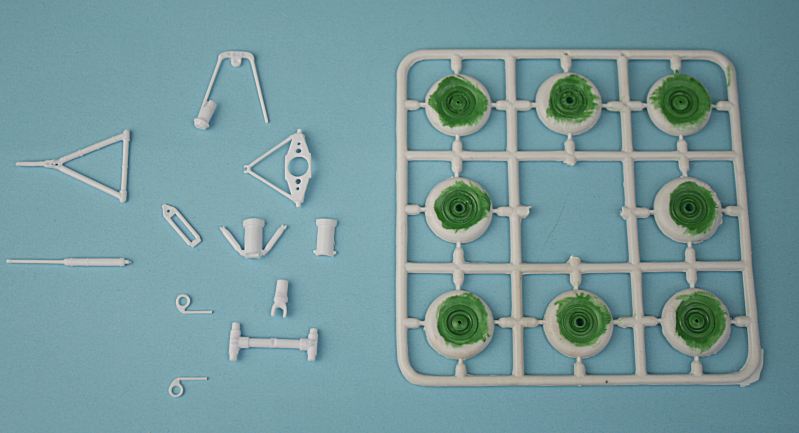
The parts for the rear undercarriage. The axles are not very substantial - they need to be strengthened.
Some of the wheel hubs are not very well moulded - fortunately it's on the inside hubs.

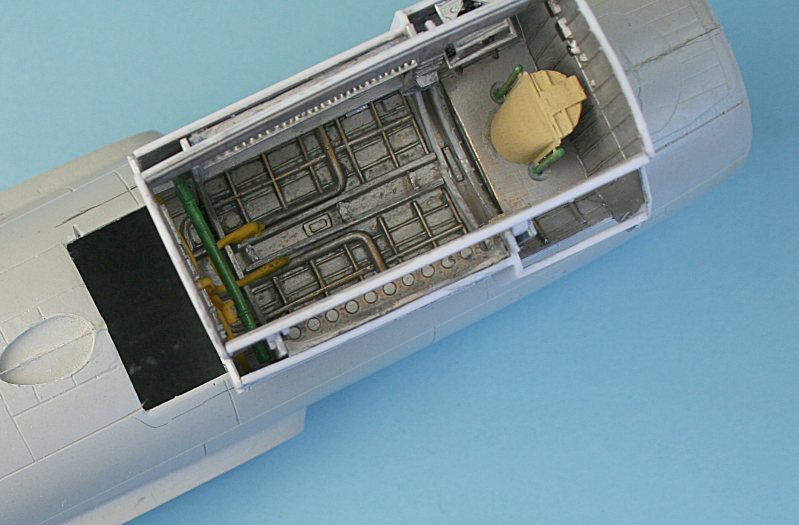
The aperture in the fibreglass resin fuselage has to be widened to allow the made-up wheel bay 'box' to fit in from the outside.
The front wheel bay made up from no less than 37 parts - all of which have to be cleaned up to make them fit.
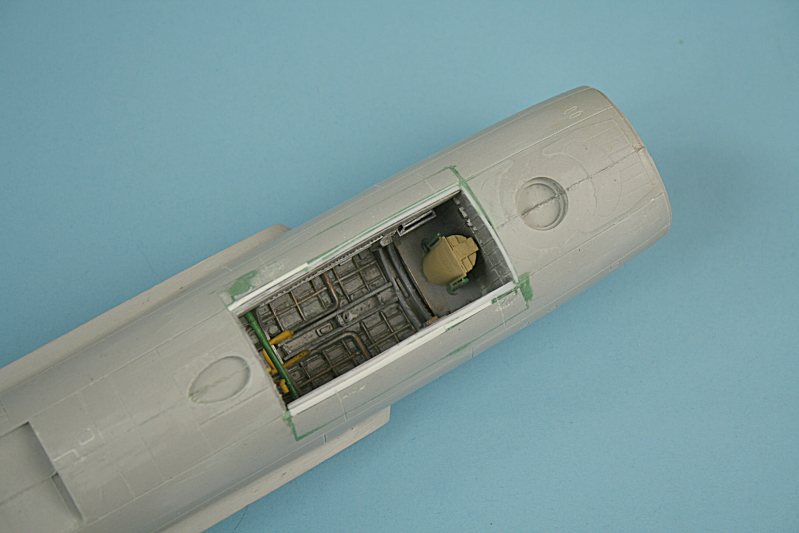
The front bay is much bigger than its corresponding hole - so that will have to be made wider as well.
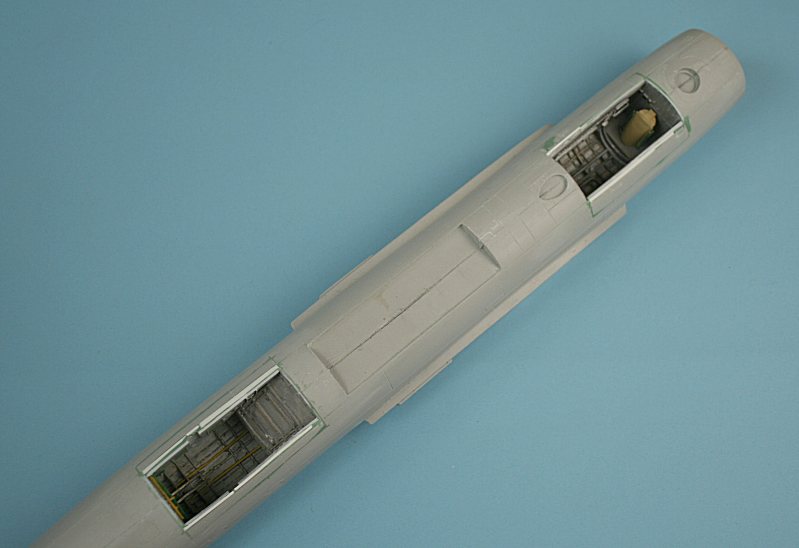
Front and rear wells made good.
It all needs fairing in - but much better than Amodel's method....
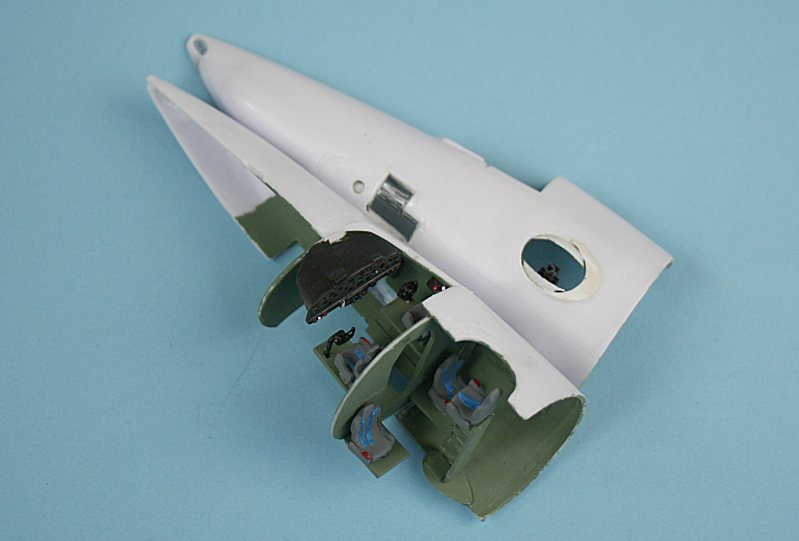
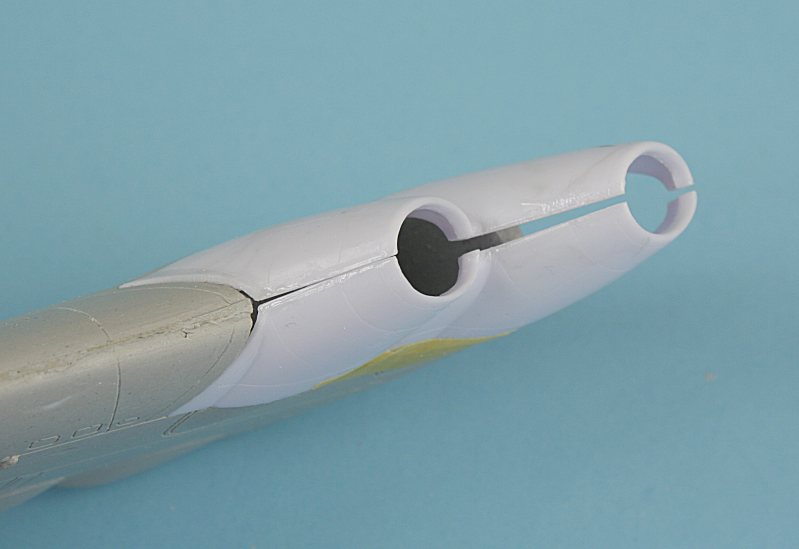
Parts for the front fuselage/cockpit section.
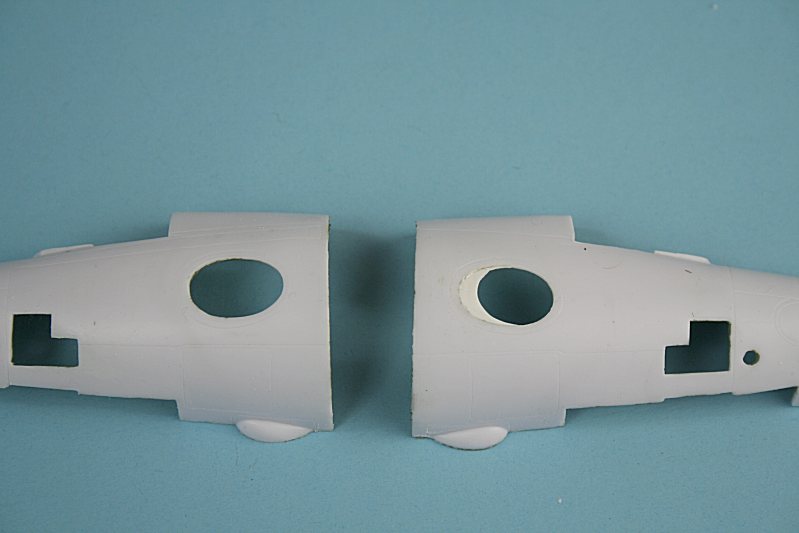
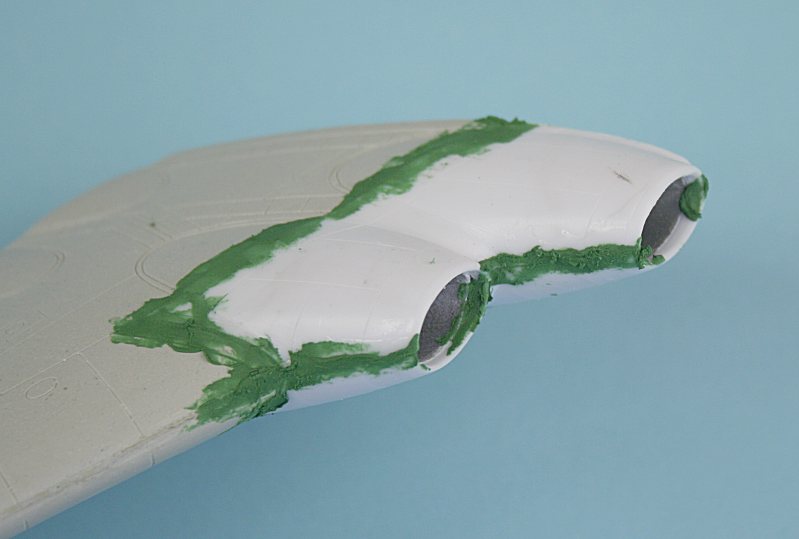
The elliptical opening needs filling in to make it more rounded.
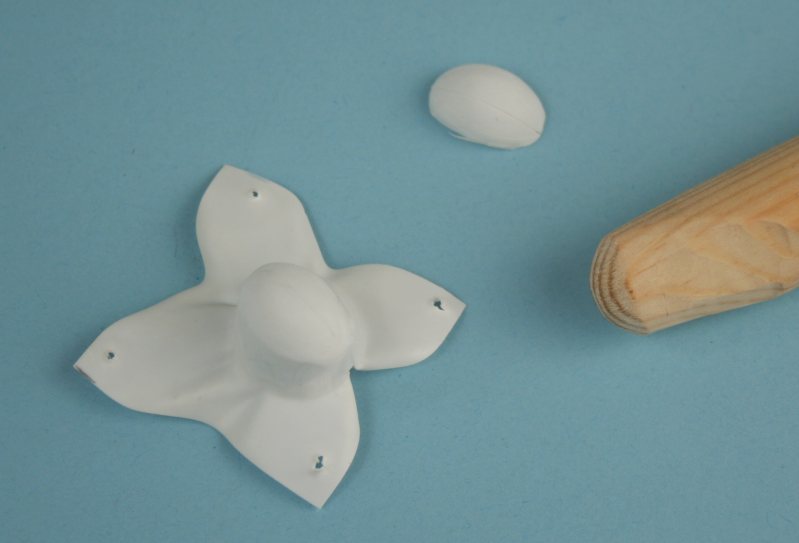
Making the 'eyelid' shutter........
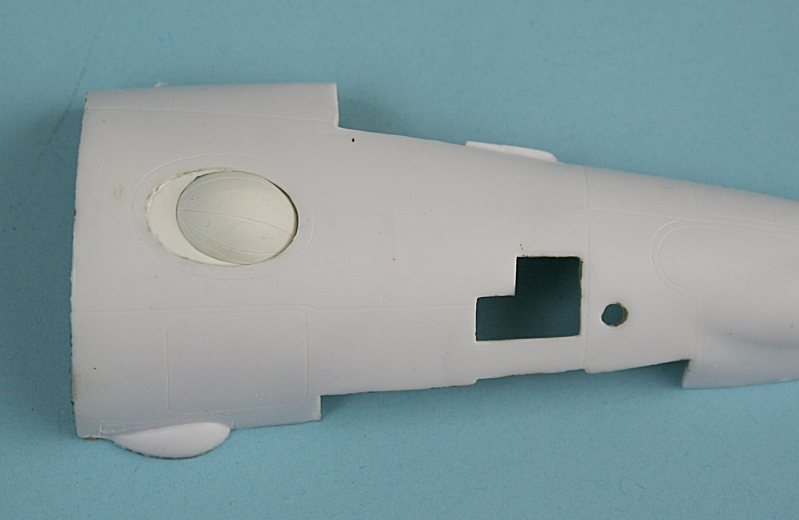
Shutter in place..
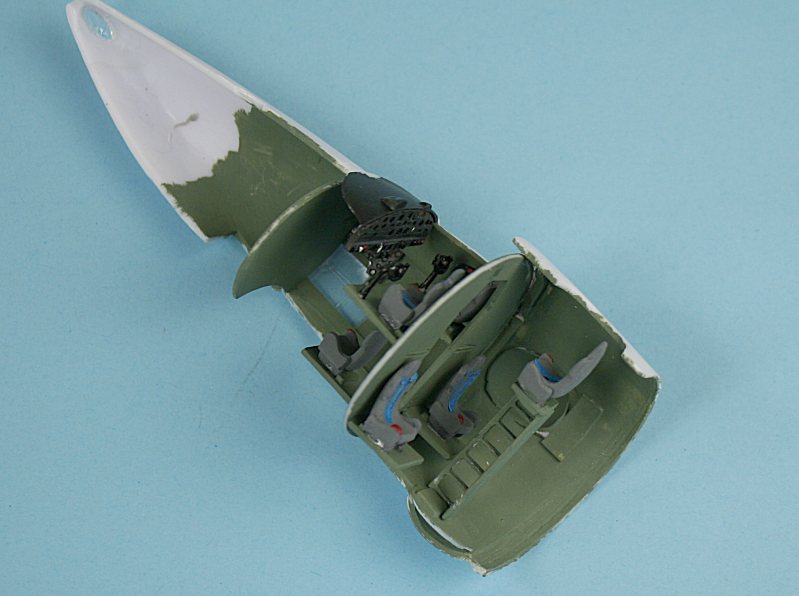
Crew compartment.
Note the open 'eyelid' in the port fuselage half - complete with sighting device.
Rear turret assembly - with rotating (but not elevating) ball turret.
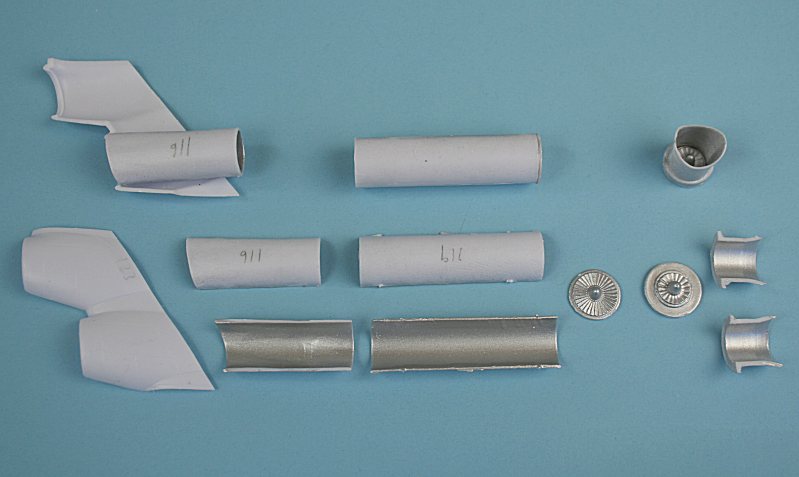
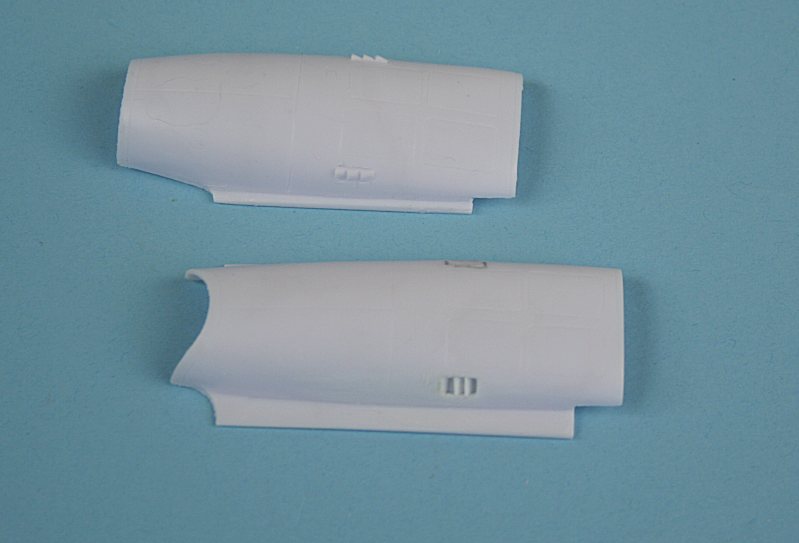
The parts for the engines, intakes and exhausts...
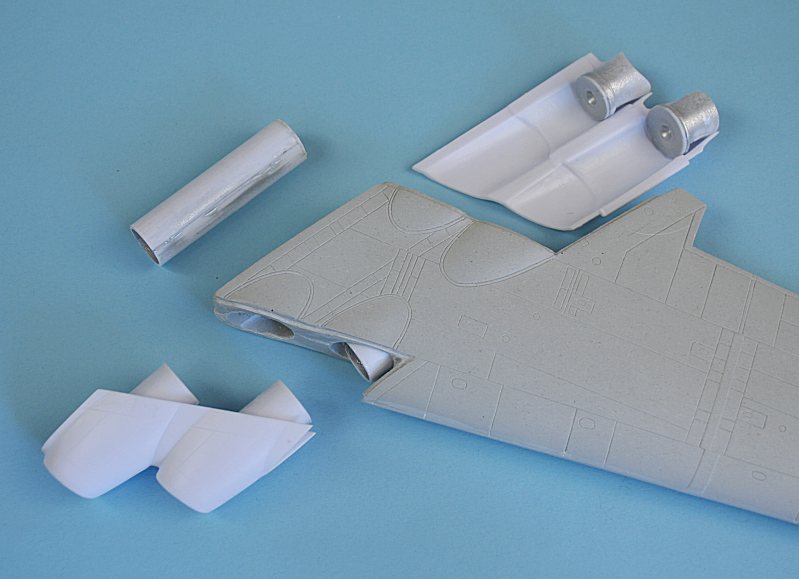
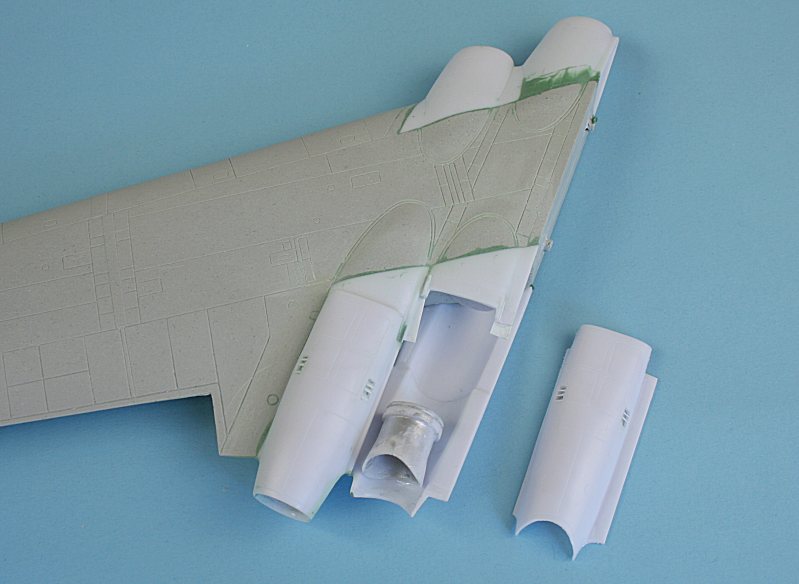
... showing how they fit into the fibreglass-resin wing.....
The intake will fit - but it has to be forced into place.
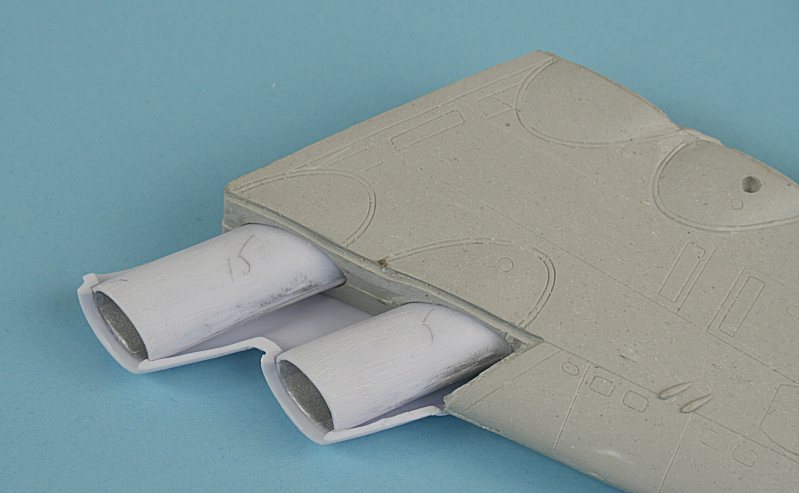
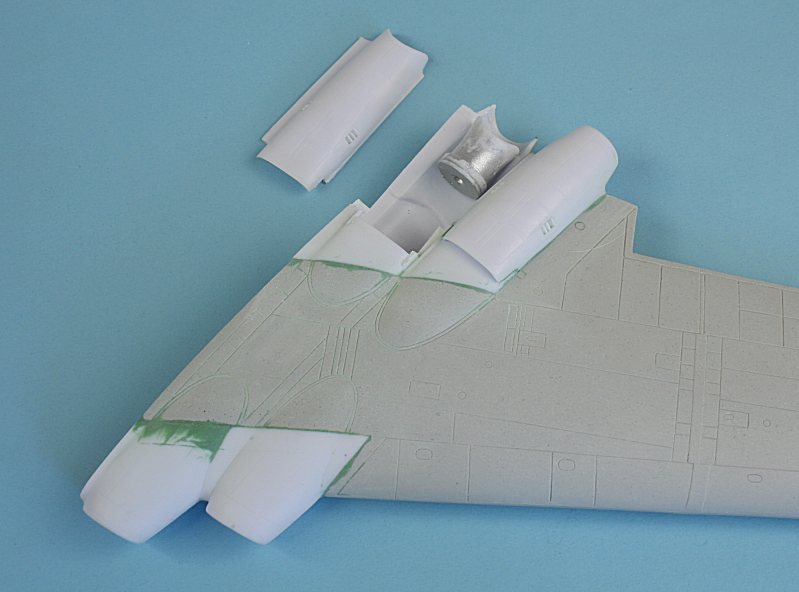
I tried a different approach on the starboard side - first fitting the lower intake part, followed by the separate trunks....
Adding the top intake part resulted in these gaps !!
....which required even more squeezing together and filling.
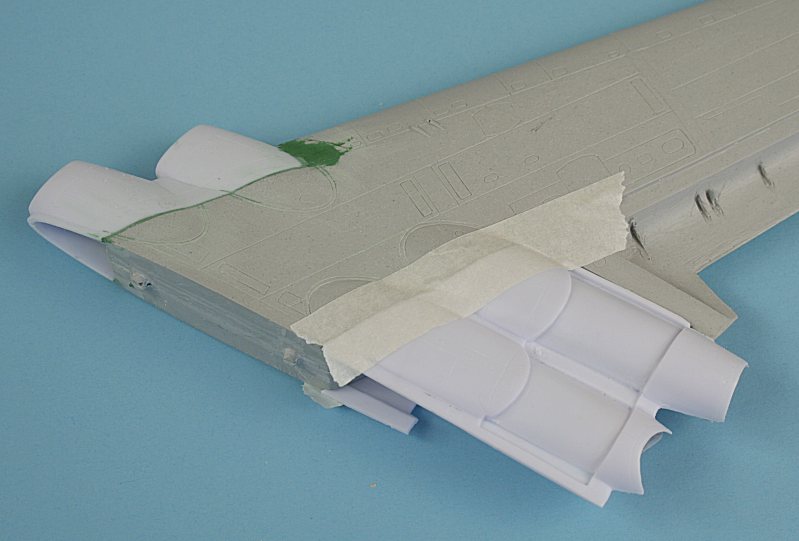
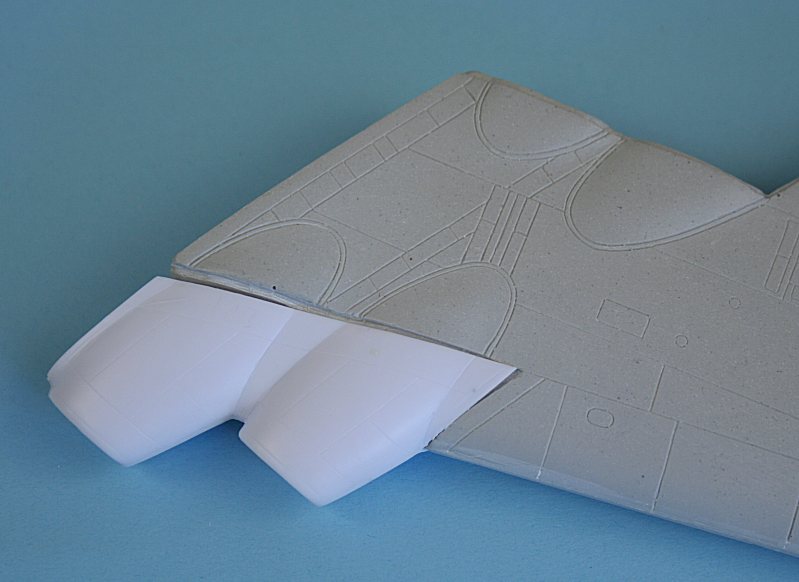
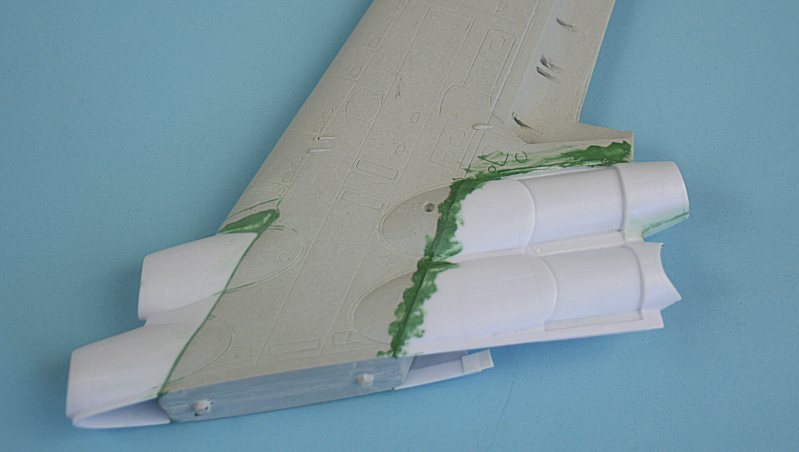
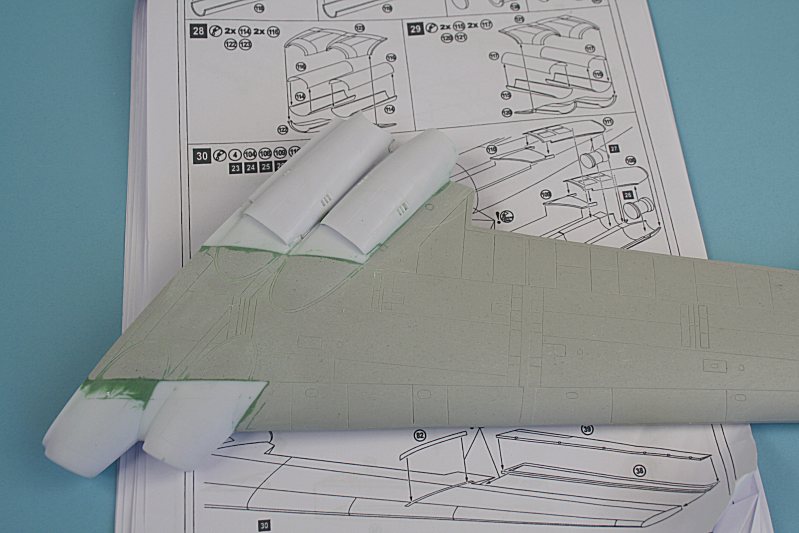
The port side underside rear engine exhaust deck temporarily taped in place.
View from the top showing the exhaust nozzles in place.....and the front sections of the upper decking.
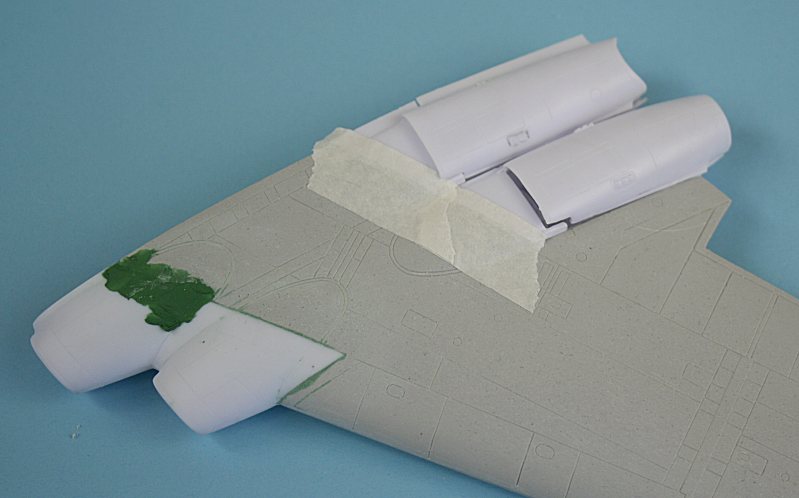
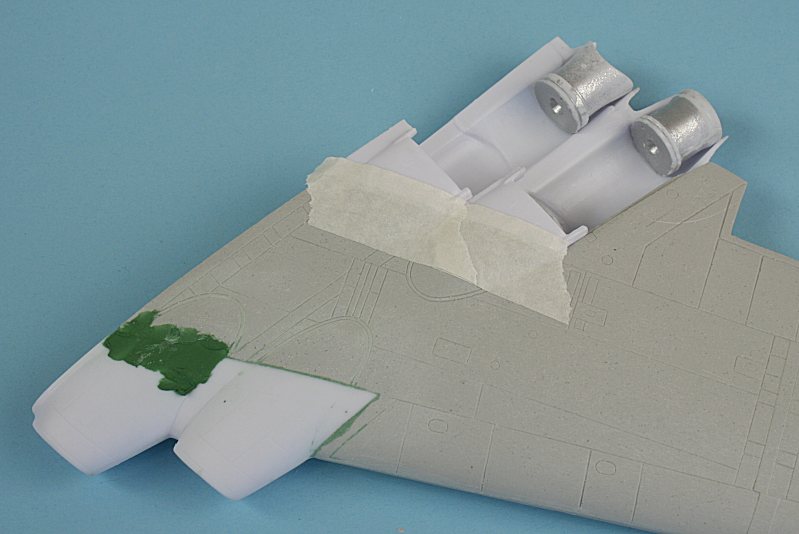
The rear engine exhaust decking temporarily in place - lots more fettling and filling!
The exhaust outlets in the rear engine decking need to be opened up.
The interior exhaust nozzles have to moved forward......
.... in order to get the upper decking to fit at the rear end.
The underside of the port wing showing the large amount of filler needed.
The upper decking in place - but it needed lots of fettling!!
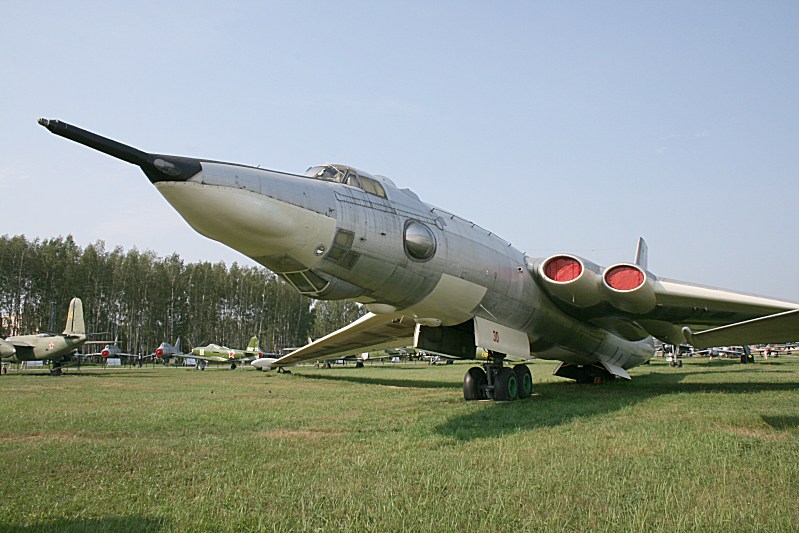
The Real Thing....
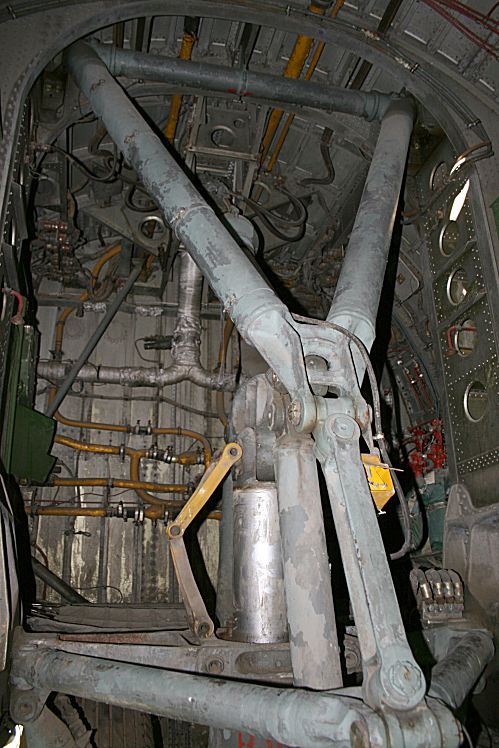
Front Wheel Bay
Front wheel truck - looking aft.
Looking up at the roof and rear bulkhead.
Starboard side wall.
Starboard side front end.
Port side.
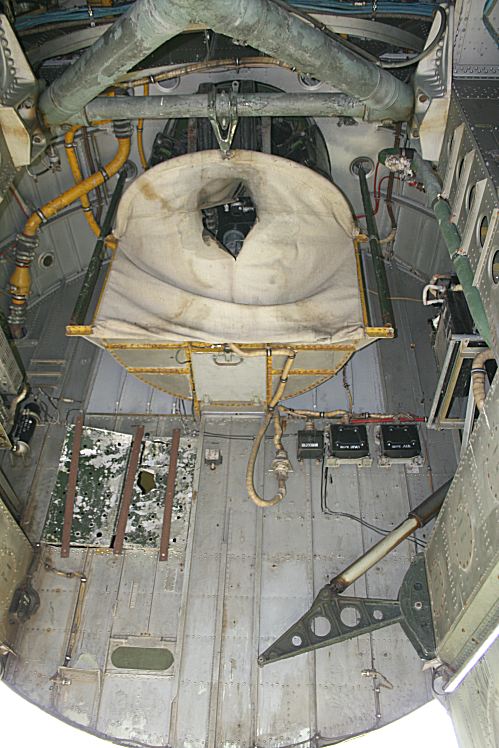
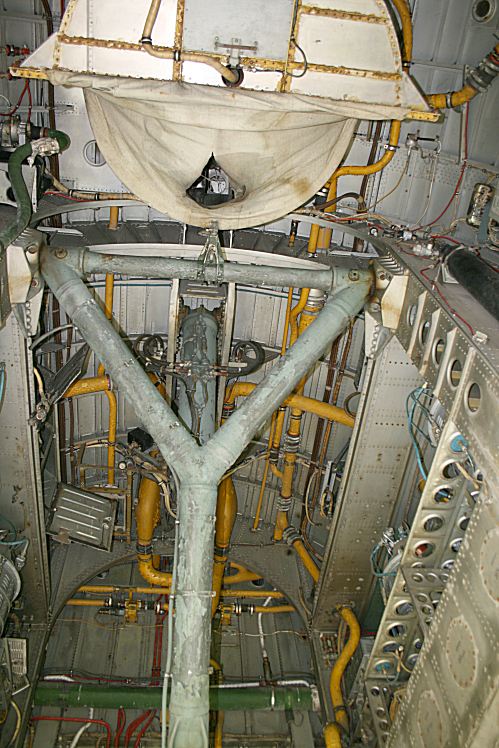
Front bulkhead - I'm not sure what the canvas tube is - but it is directly below the upper gun turret.
It looks like it covers the turret mechanism - and is a means of servicing the turret.
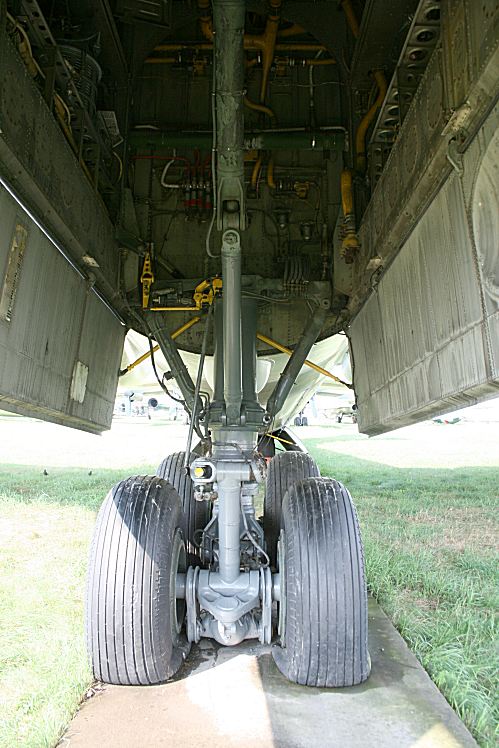
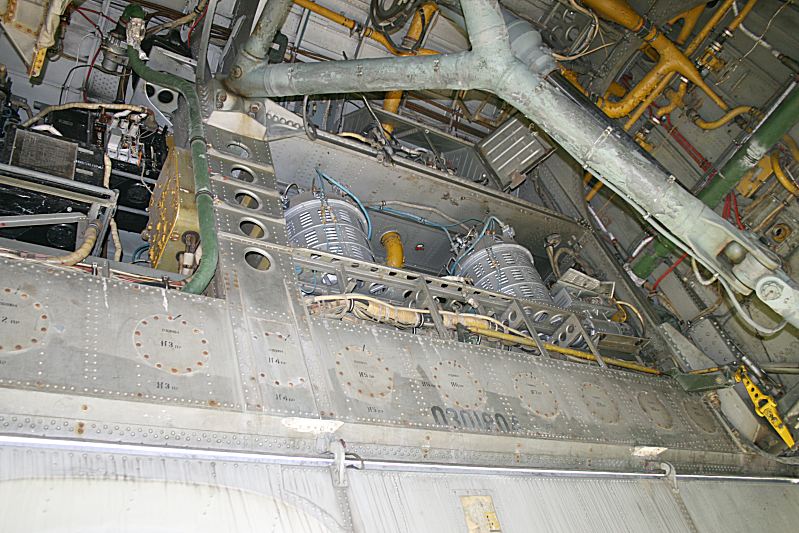
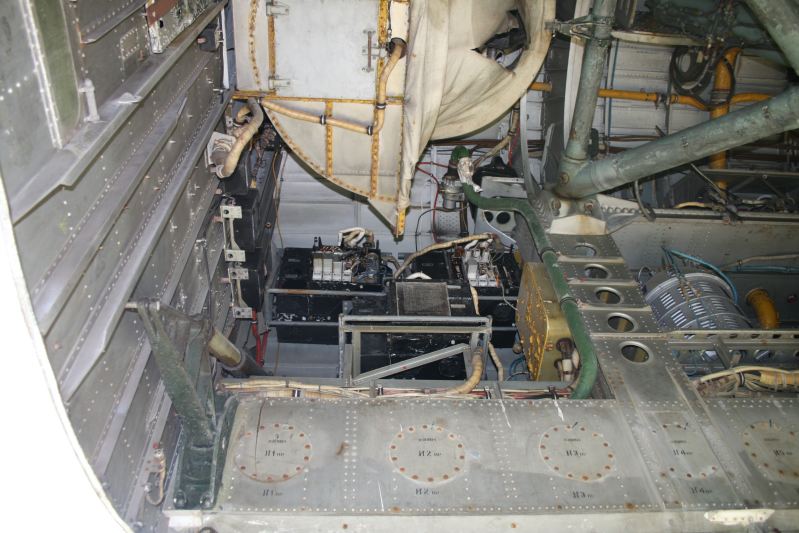
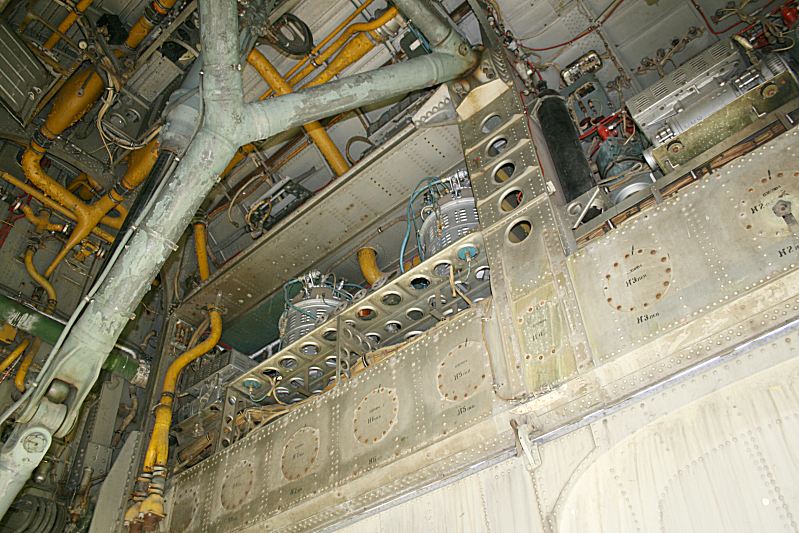
Rear Wheel Bay
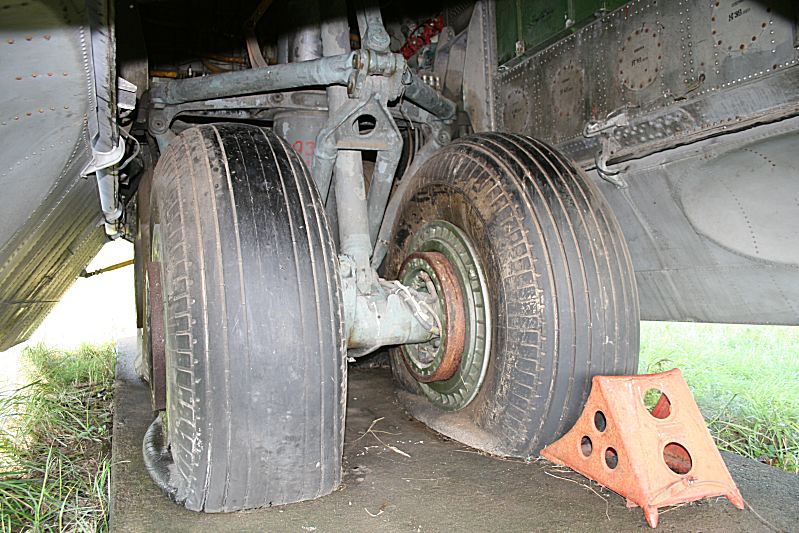
Rear wheel truck looking aft.
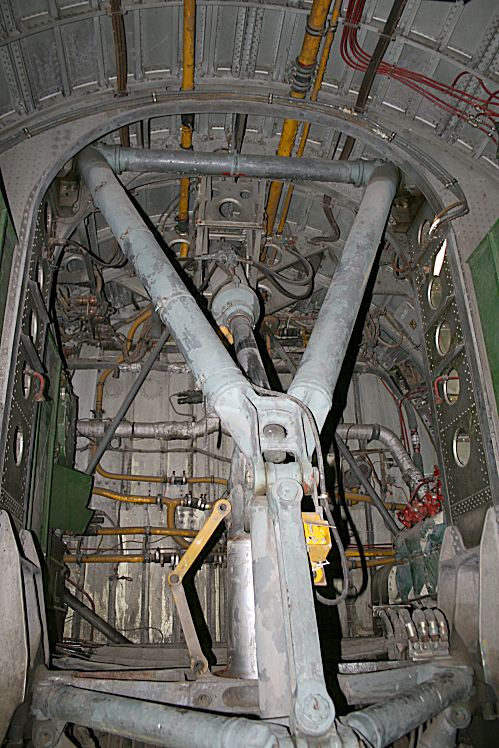
Rear bulkhead.
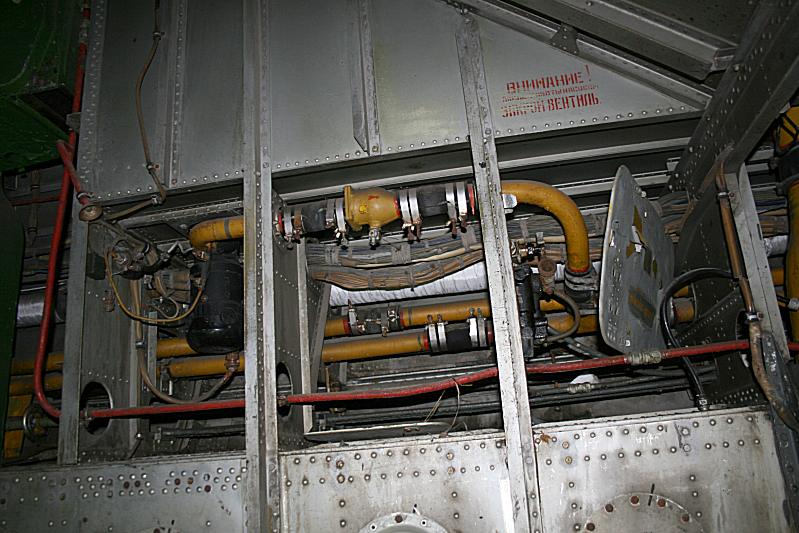
Port sidewall.
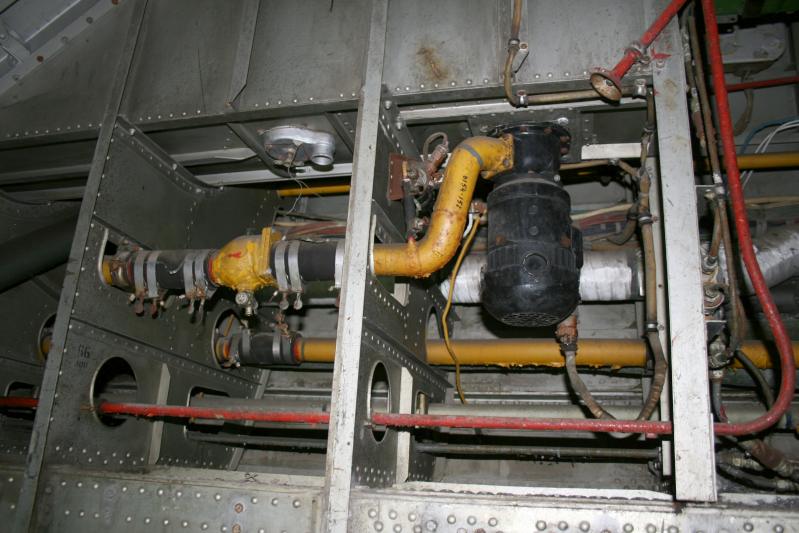
Starboard sidewall.
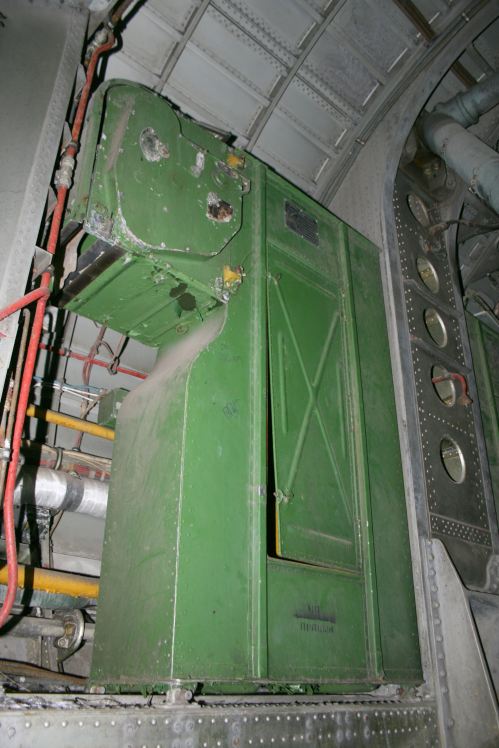
Starboard side further aft.
Rear bulkhead and roof.
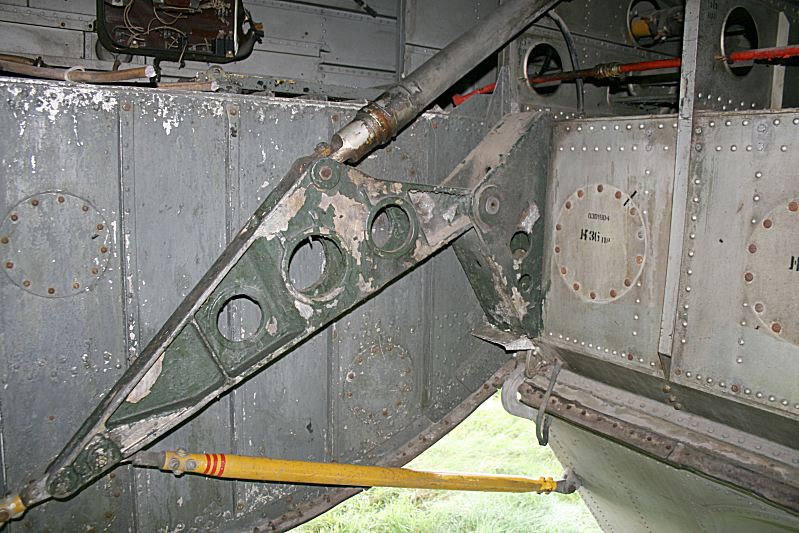
Front bulkhead with door operating arm.
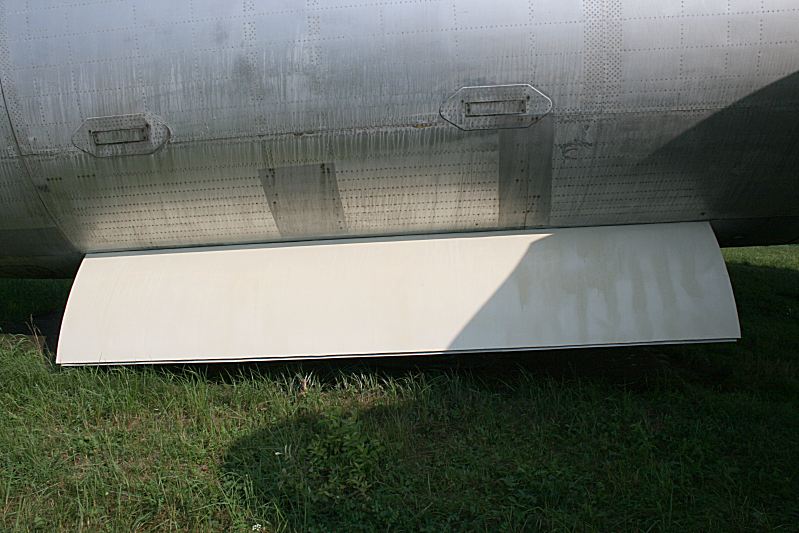
Wheel bay door.
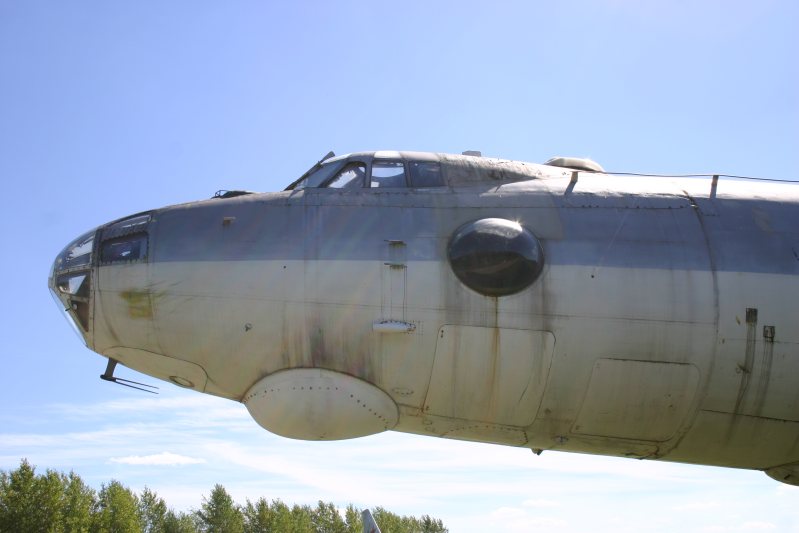
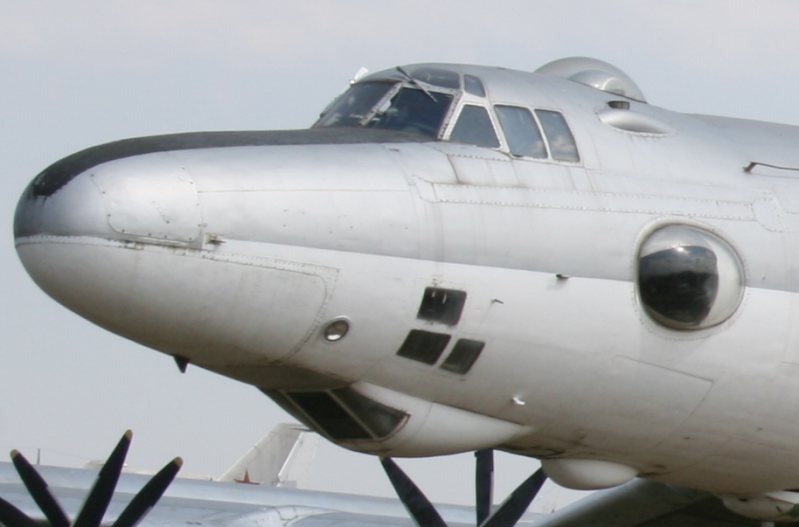
M-4 Bison at Dyagilevo - not the almost circular side blister.
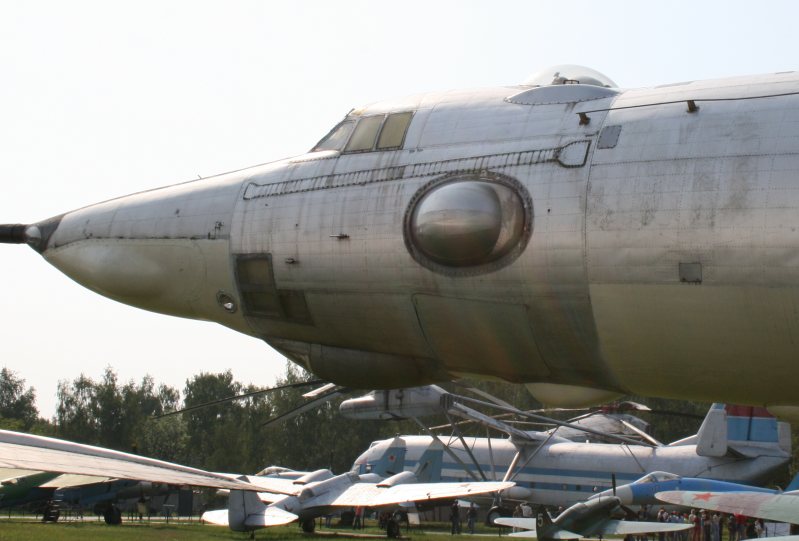
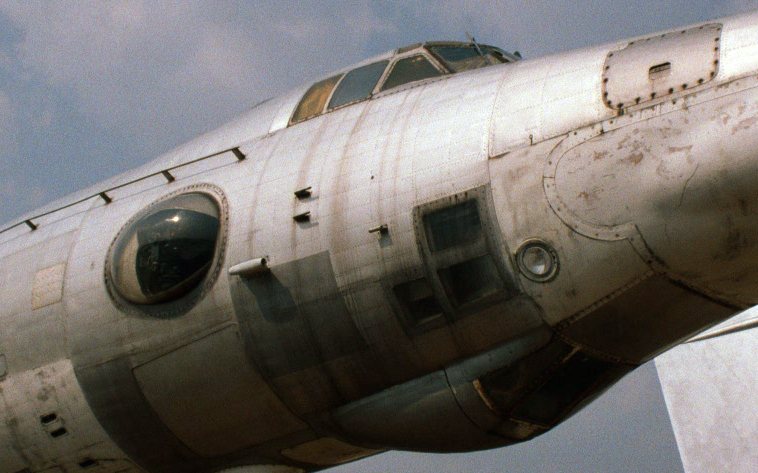
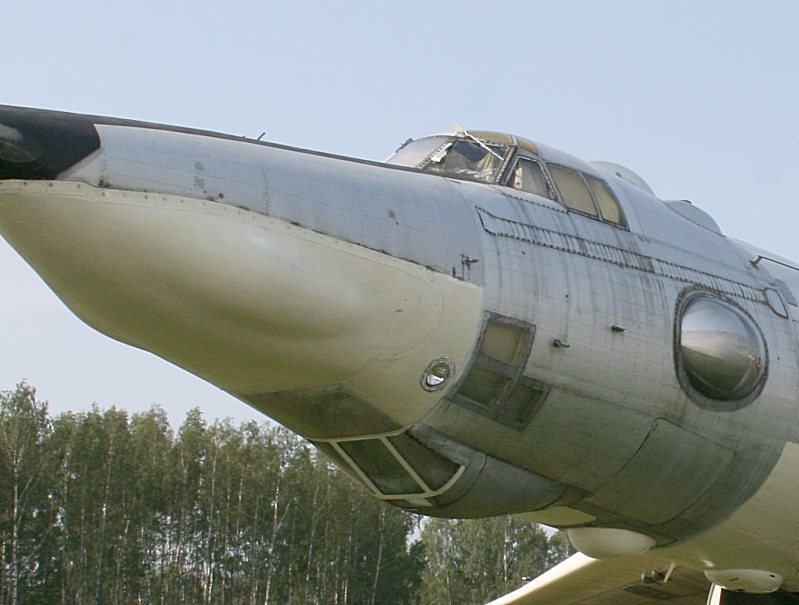
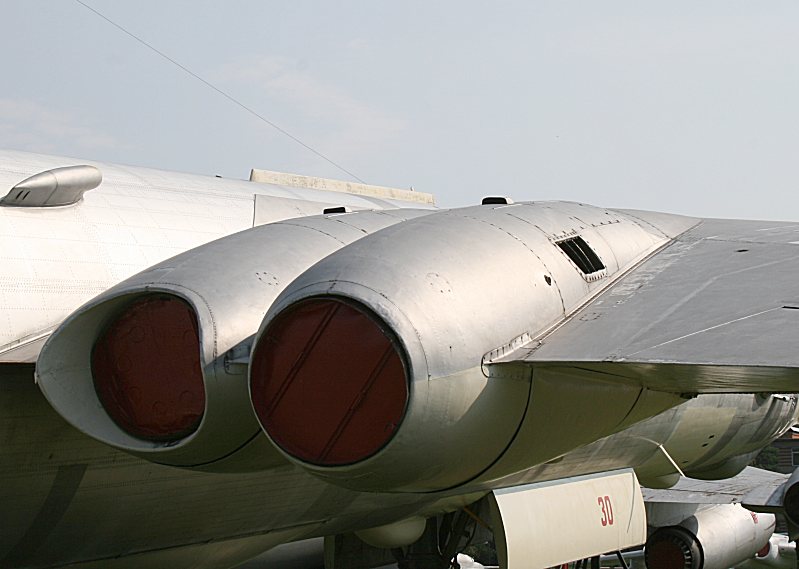
The blister glazing on the 3MD at Monino is more elliptical - but the aperture inside is still circular. Note the closed 'eyelid'.
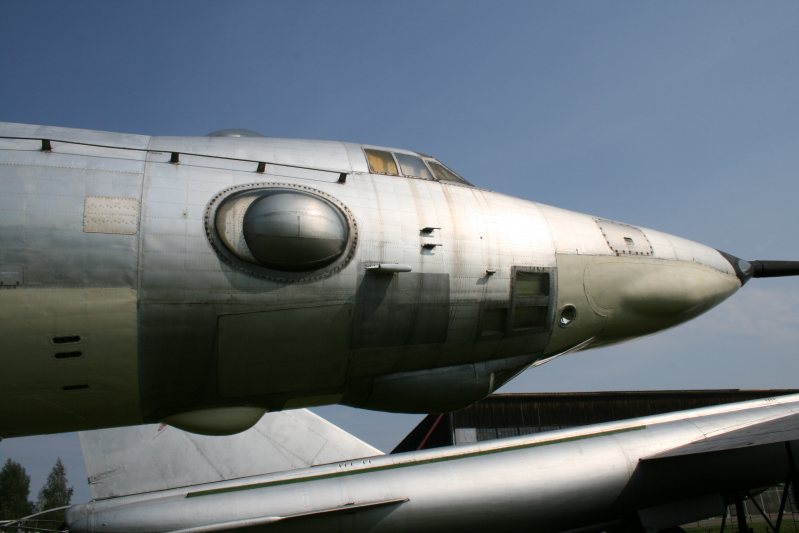
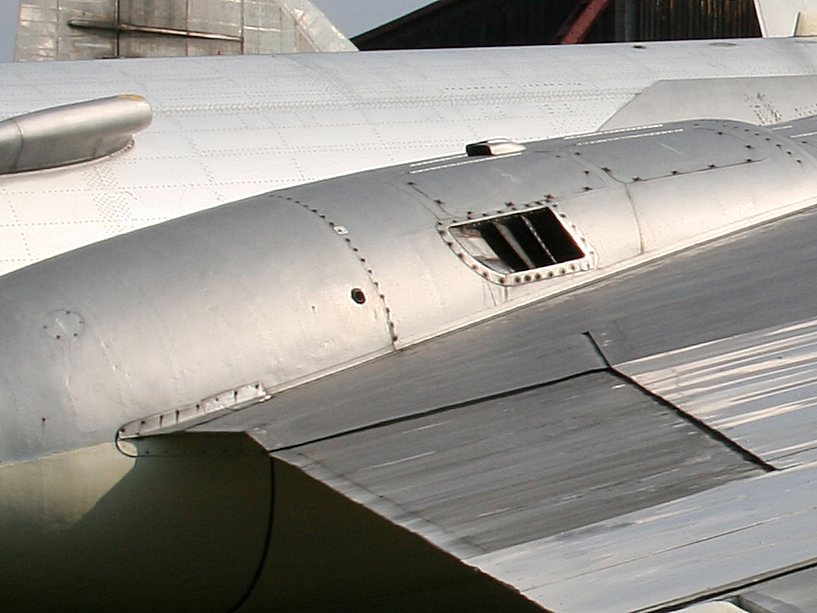
Starboard side sighting blister on the 3MD at Monino.
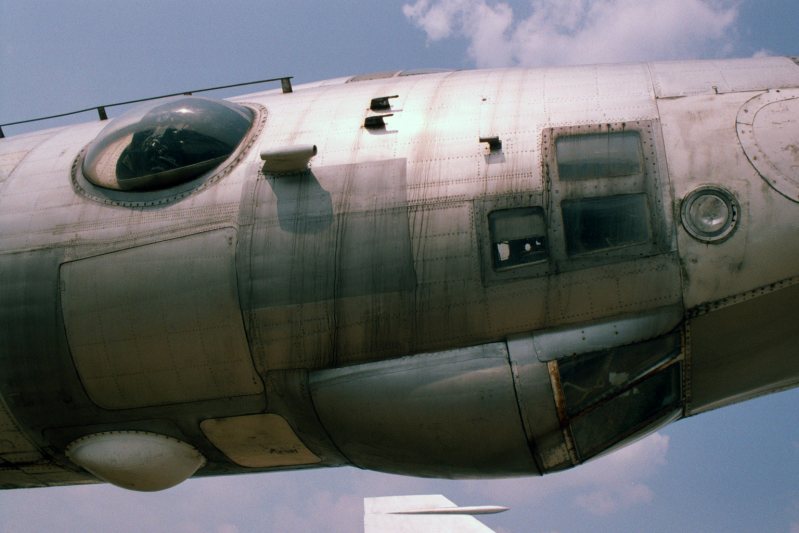
Taken on an earlier visit to Monino - the eyelid is open, showing the sighting equipment.
Another view of the open eyelid...
Sighting blister with open eyelid on a 3M at Engels.
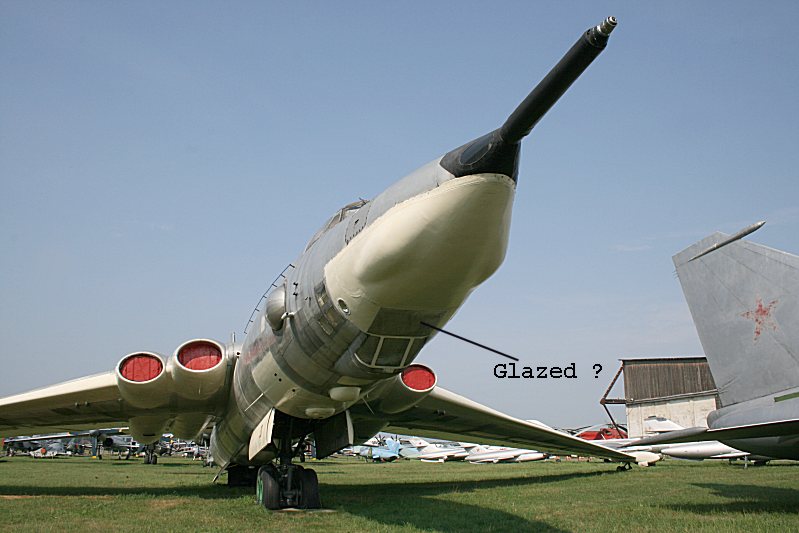
Nose Glazing

Ken Duffey
May 2010