
What you get for your money - fibreglass resin fuselage & wings, all the rest is injection-moulded.
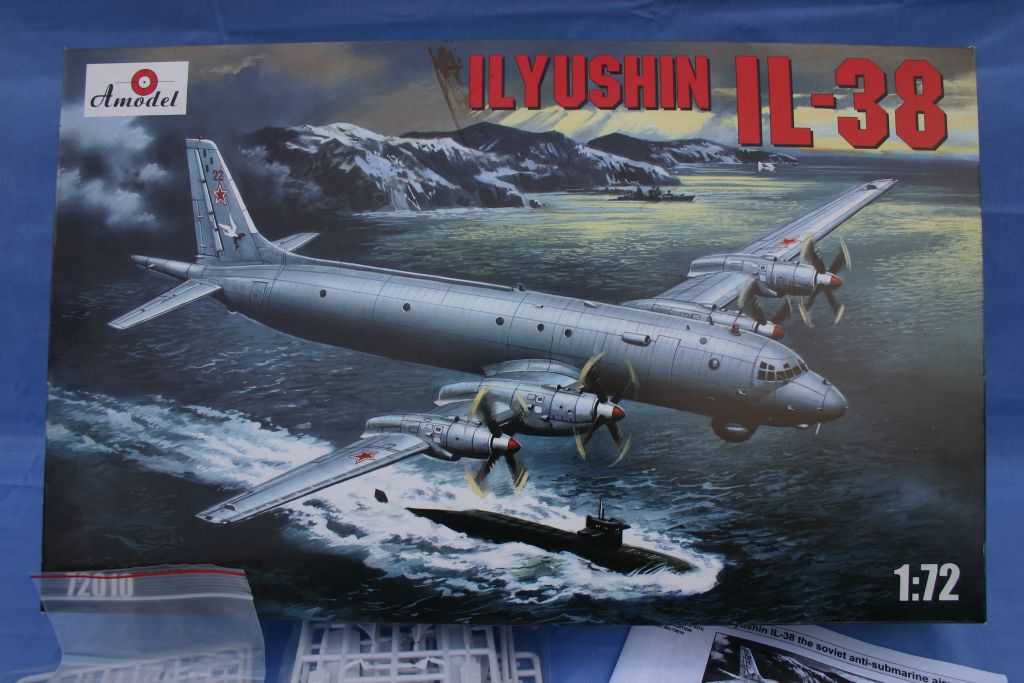
Dramatic box-art showing a Soviet AVMF Il-38 of the Northern Fleet shadowing a US Boomer....
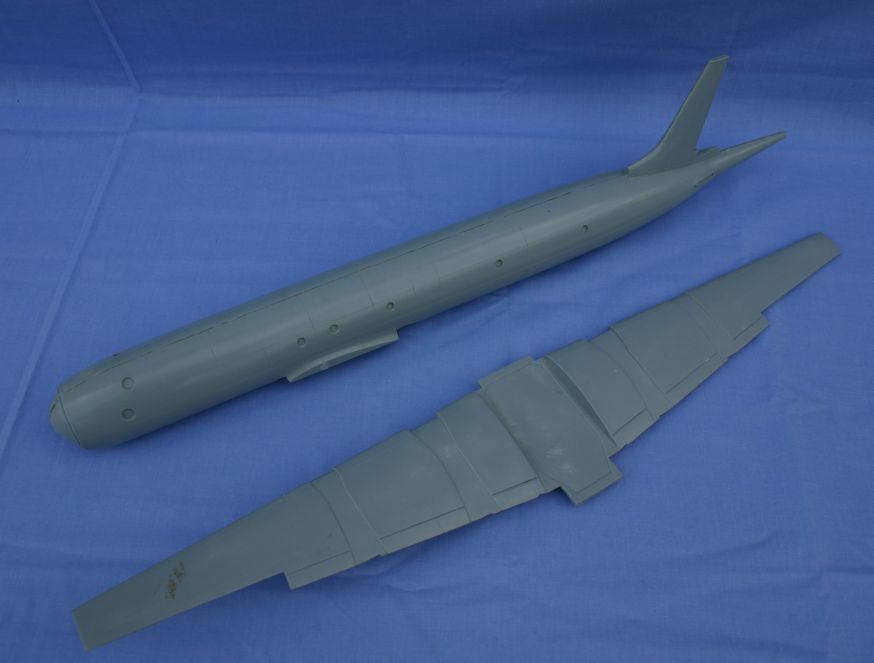
The fuselage and wings are solid fibreglass resin - with superb surface detail. There is a prominent join between the fuselage halves that has to
be dealt with, but after that it is plain sailing...
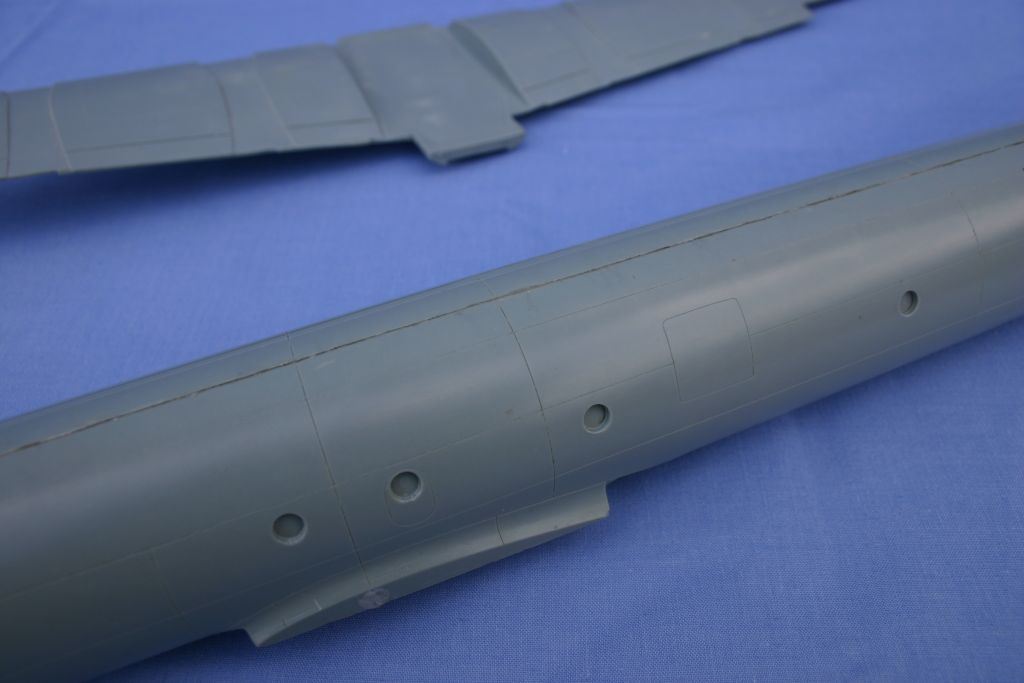
A close-up of the fuselage panel detail - as good as some injection-moulded kits. The surface finish is very good - and gets better with each new kit.
This medium is ideal for large subjects and Amodel have mastered the technique perfectly.
Panel detail on the wings is just as good.....
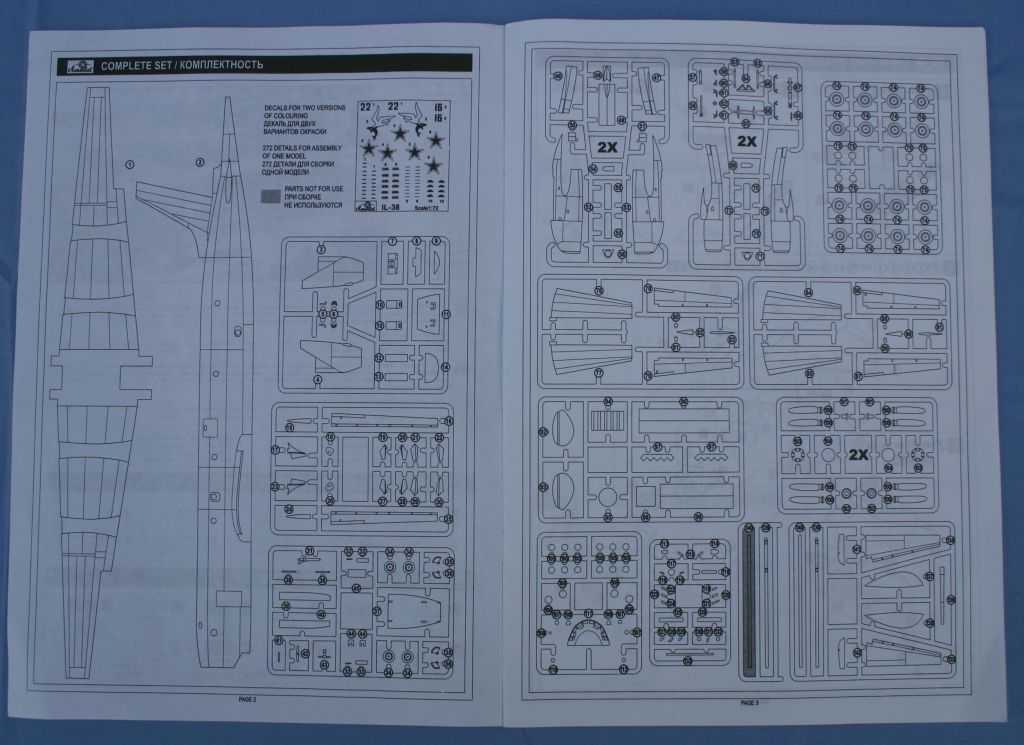
Pages from the instruction sheet
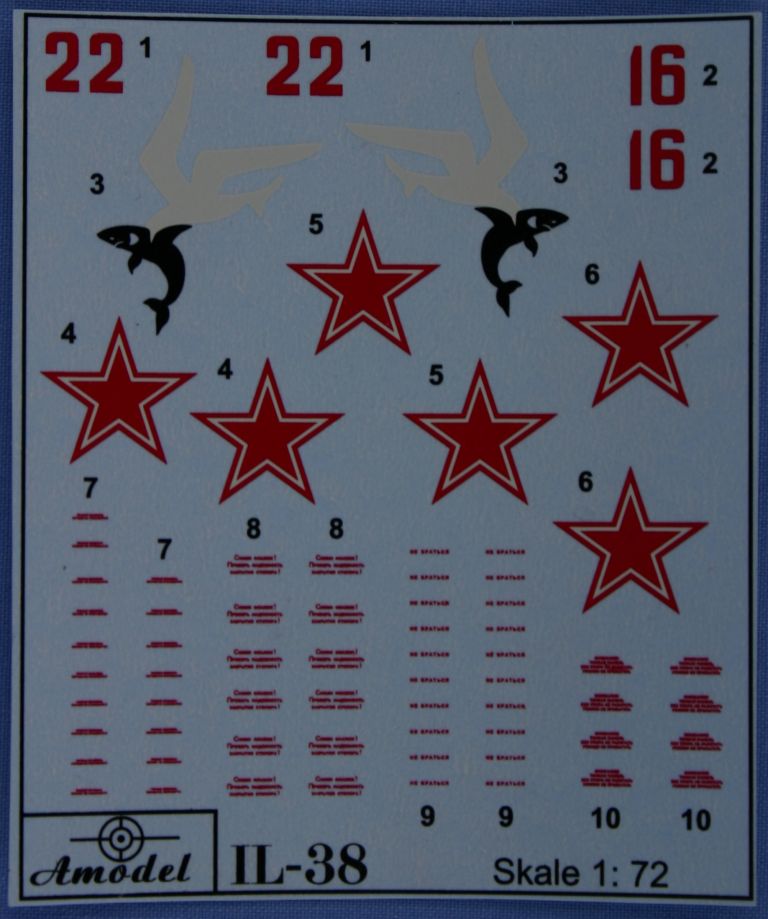
The decal sheet provides markings for two machines - bort 22 with the 'Seagull catching a Shark' logo on the fin
and a 'plain Jane' example coded 'red 16'.

The injection moulded parts come in 'sets' of sprues grouped together in their own poly-bag. This set is for the engine nacelles, props & wheels.
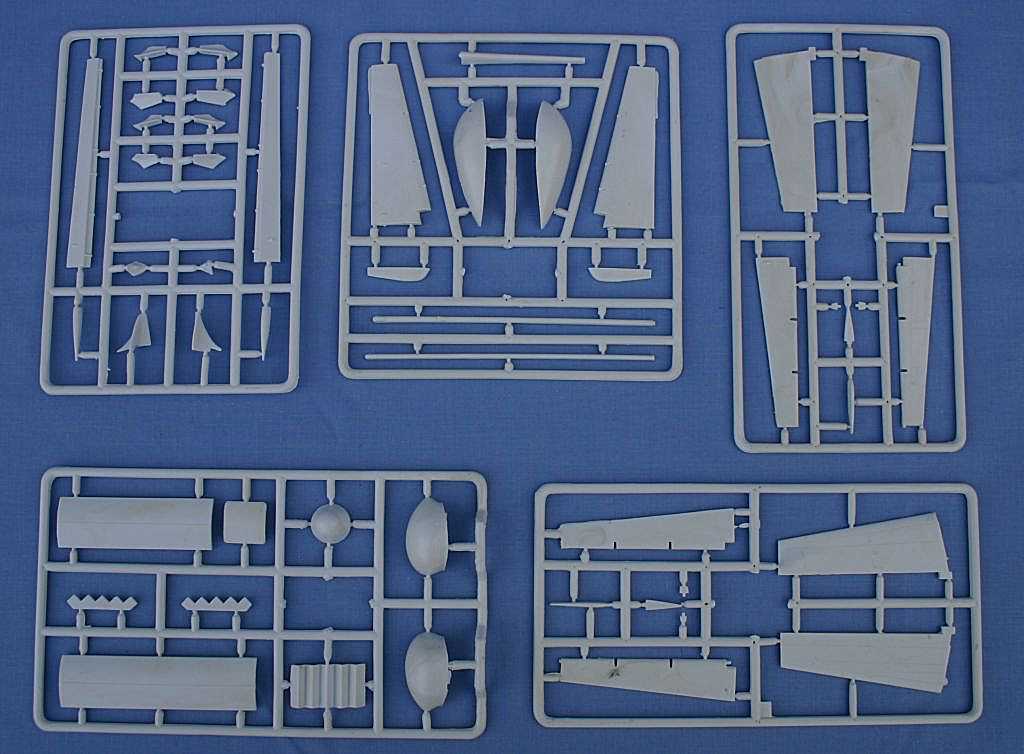
This set is the horozontal tailplanes, radomes, crew steps, rudder & weapons bay doors.
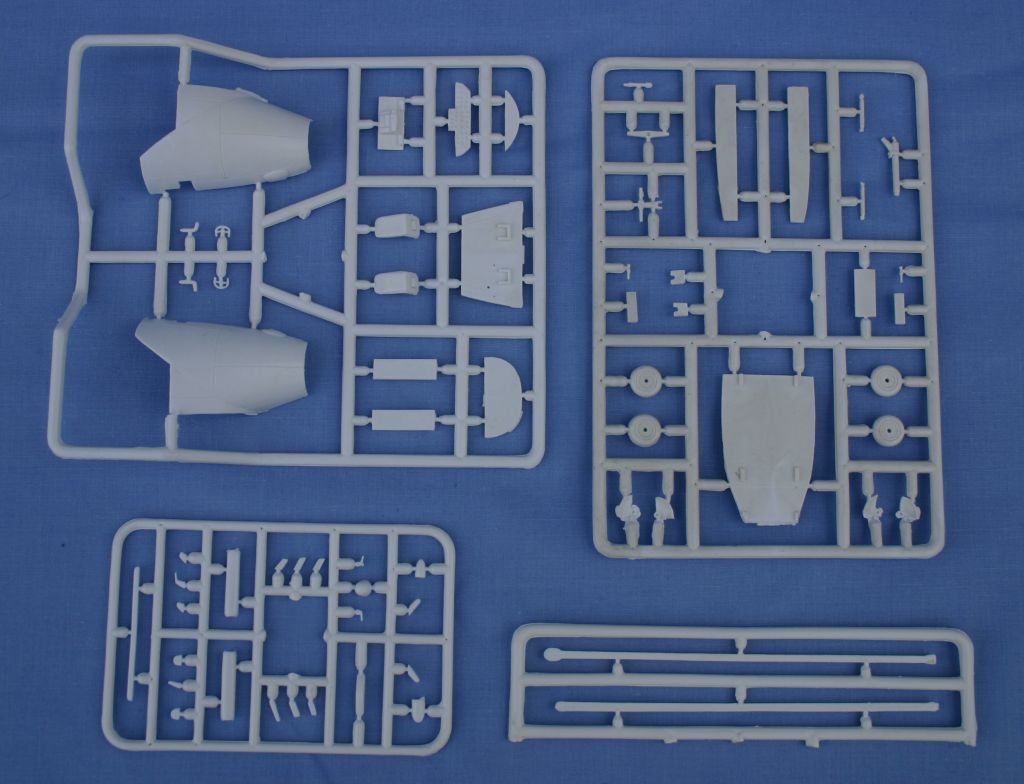
The nose and cockpit parts including the nosewheel bay and wheels.
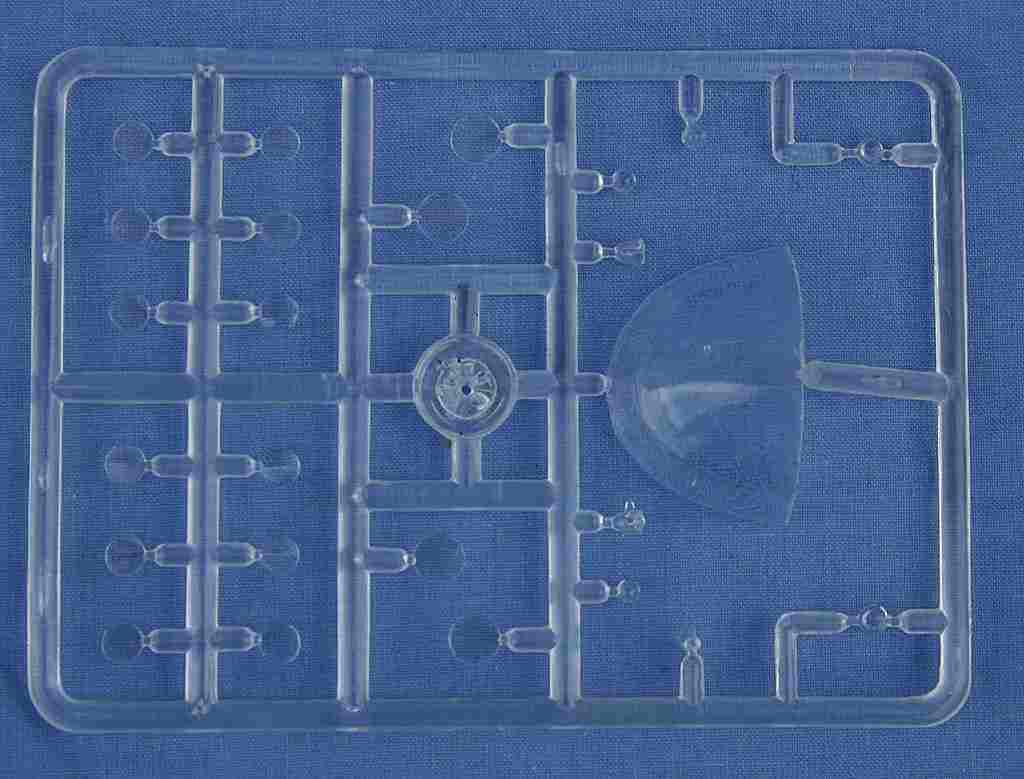
The clear parts.
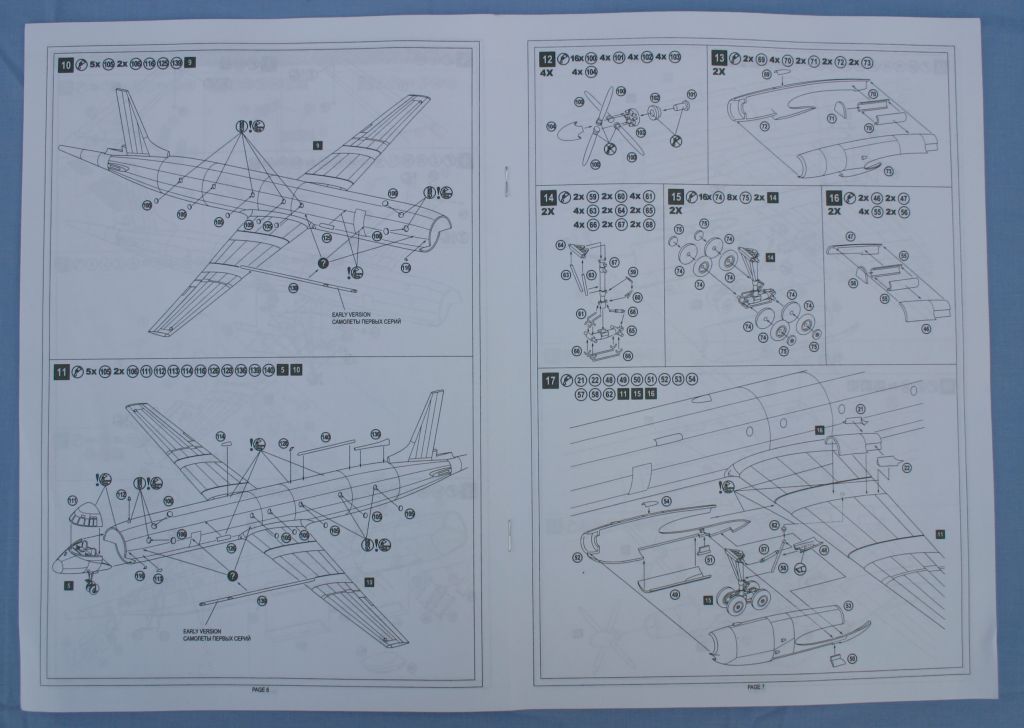
An example page from the comprehensive instruction sheet.
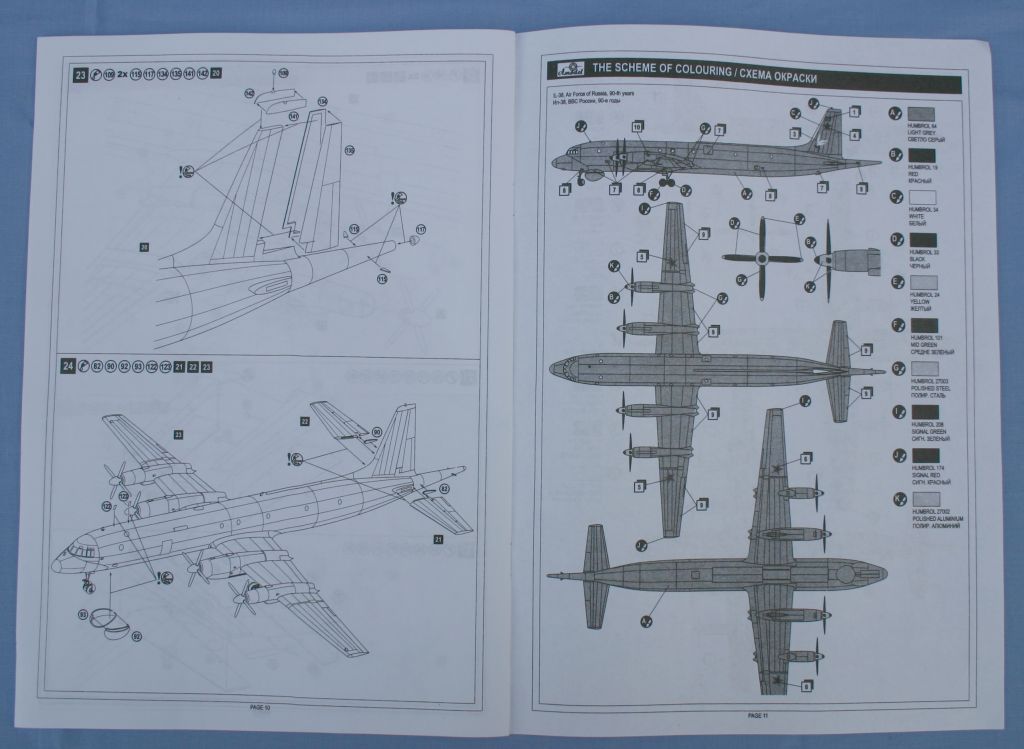
Another page from the instructions showing the paint scheme for bort 22. Humbrol paint refs are used throughout.
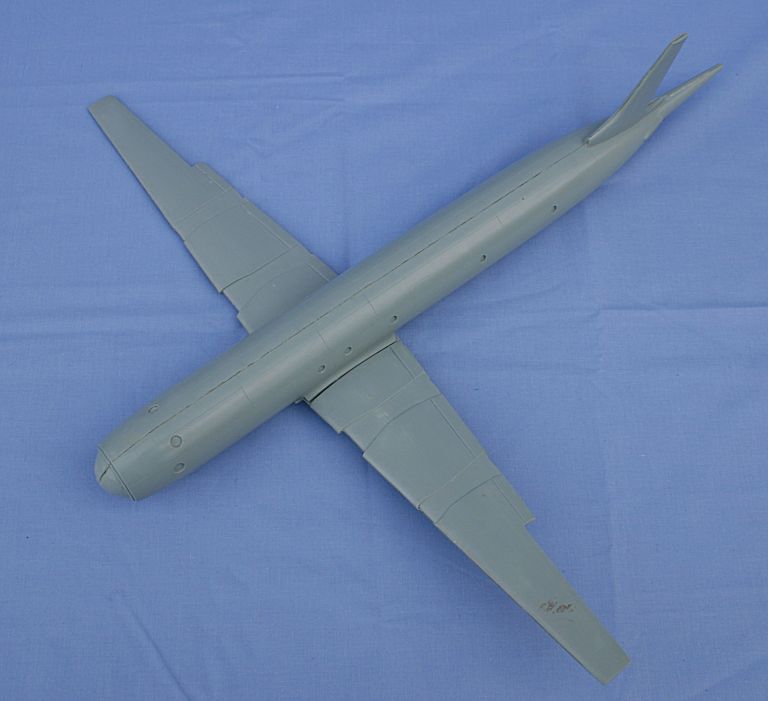
The fibreglass fuselage & wings placed together.
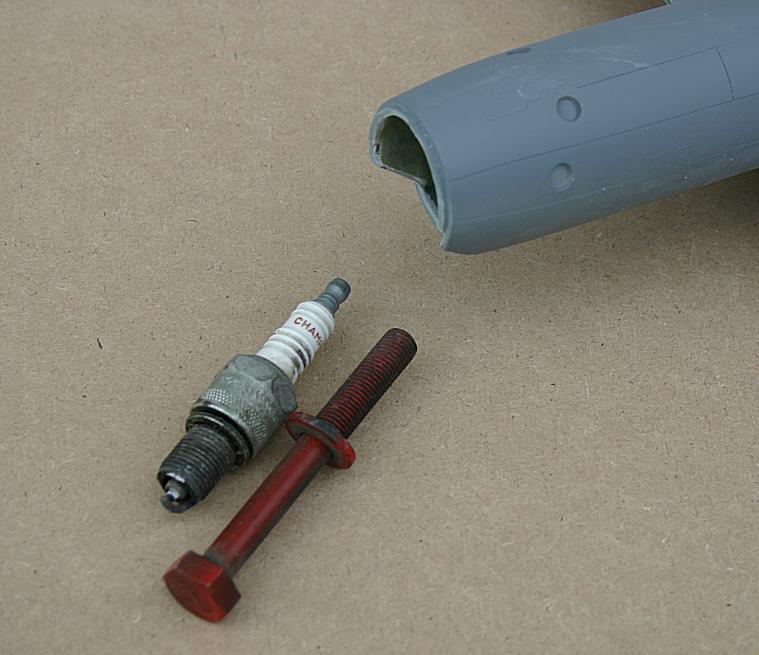
Realising that, with the wings so far forward, the model was going to be a tailsitter, I added lots of weight into the capacious
fuselage - including a large metal bolt and a spark plug!
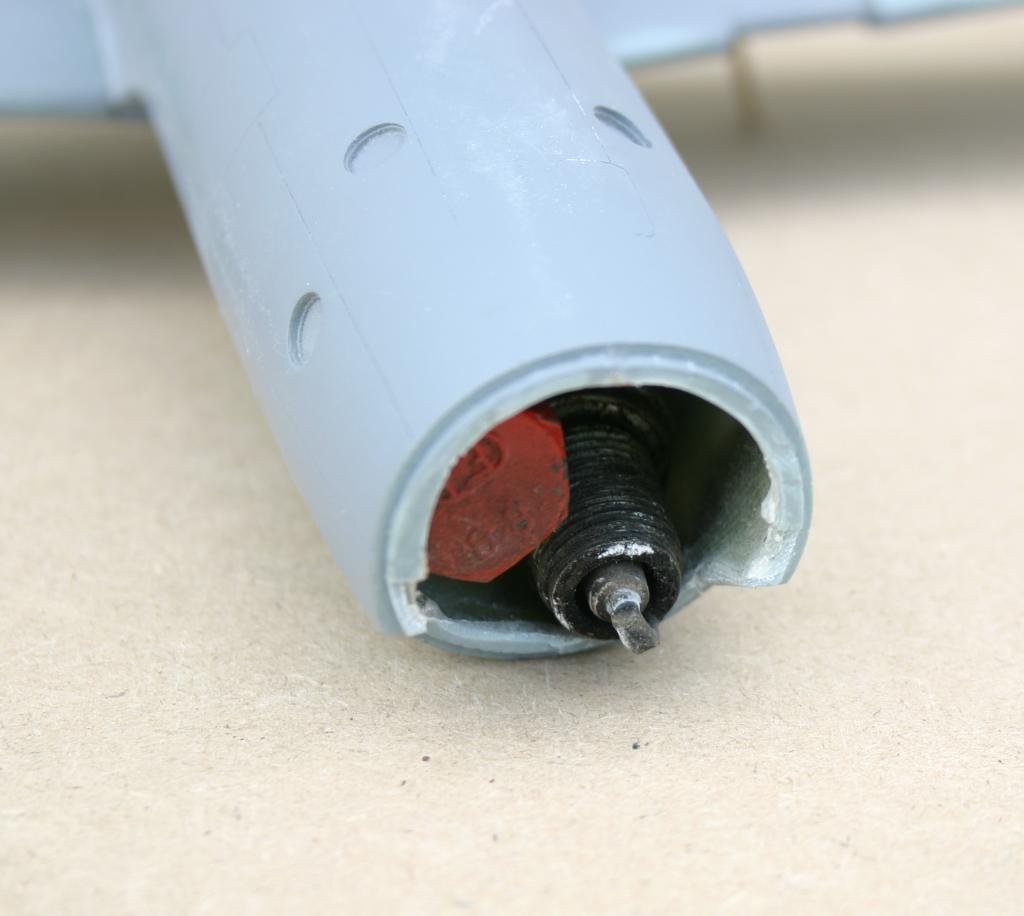
There is plenty of room for the weights - but even this wasn't enough - as I later found!
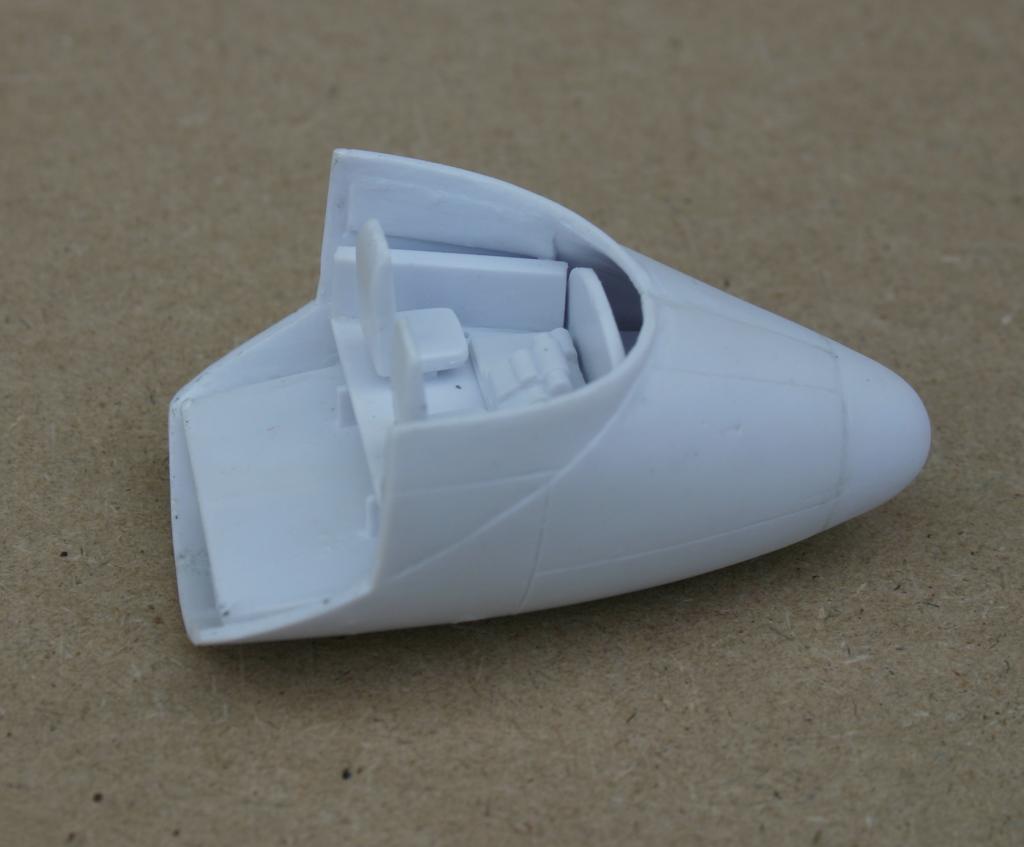
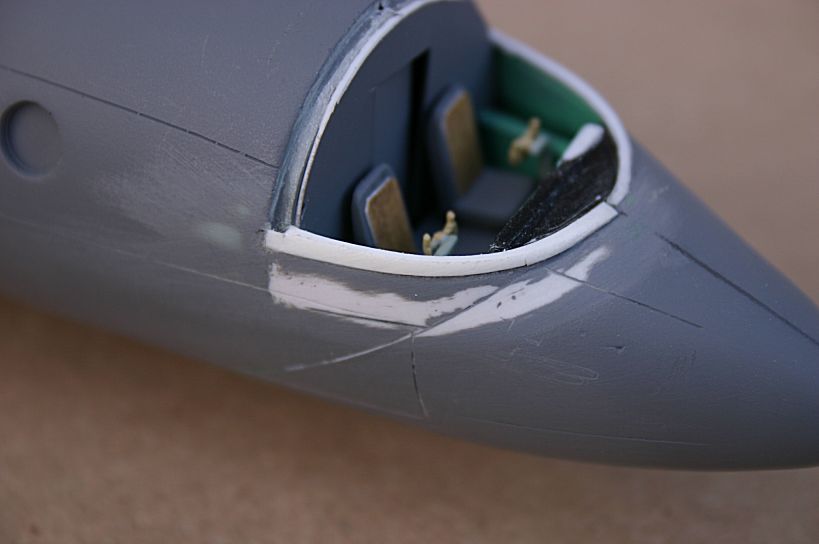
The cockpit section is made from injection-moulded plastic and consists of a floor, seats and side consoles
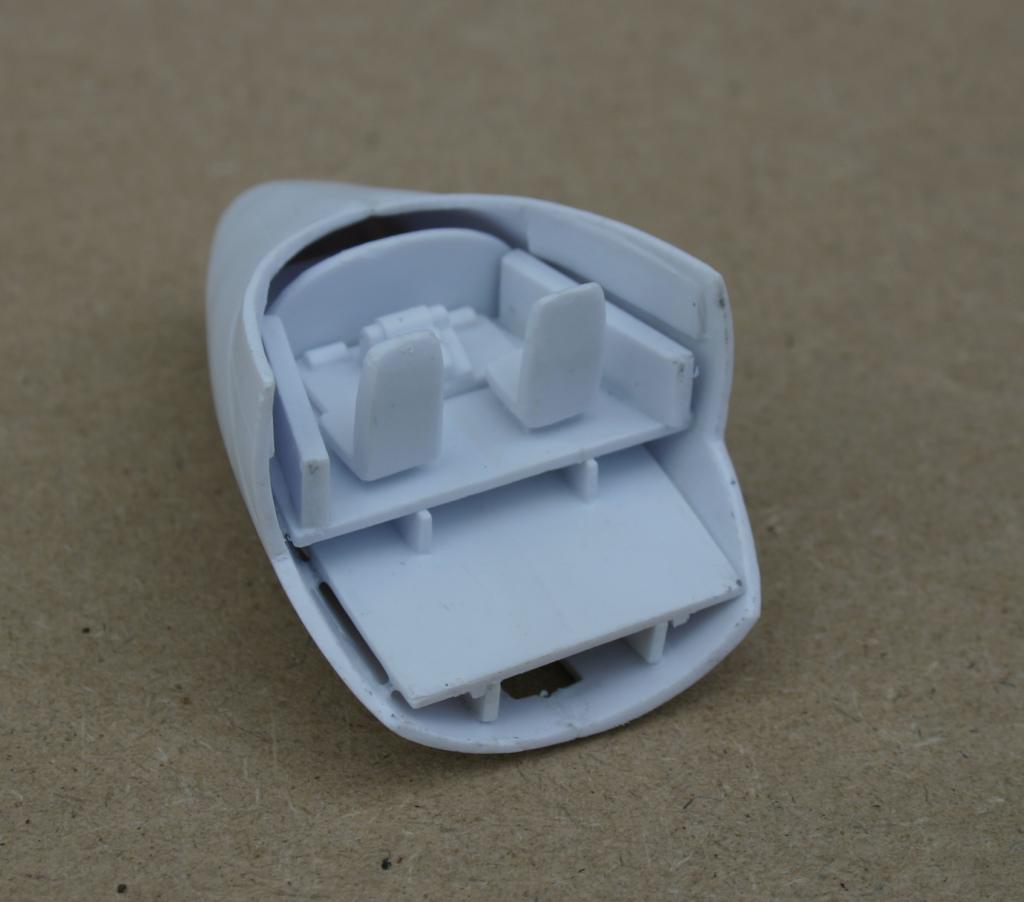
Underneath the cockpit floor is the roof of the nosewheel bay.
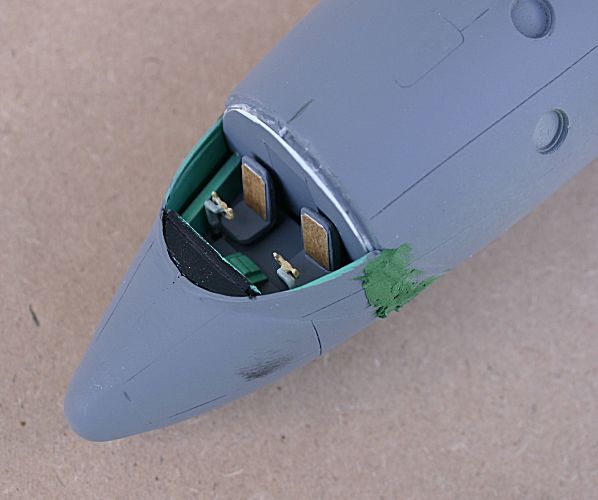
The cockpit after painting and cementing to the fuselage. The floor and seats are grey, the control
columns are light grey with cream yokes, the side consoles and instrument panel is typical Russian
turquoise green. I added coloured card to the seat backs to represent cushions and added a
bulkhead with a door behind the seat to fill the gaping hole!
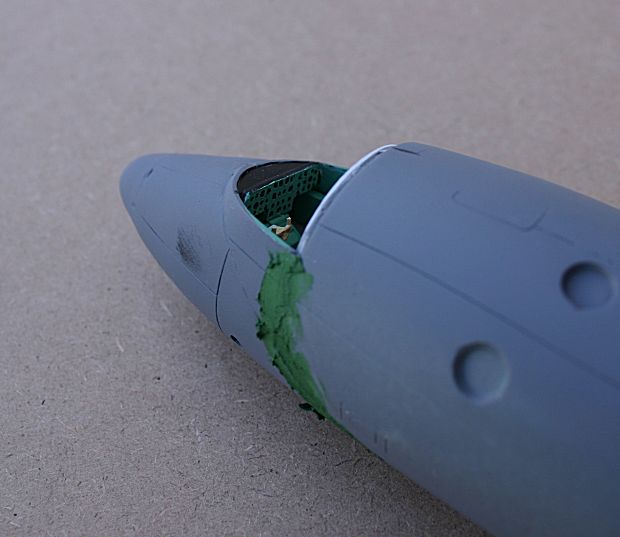
I added a piece of plastic card, painted black, on top of the instrument panel to make a coaming.
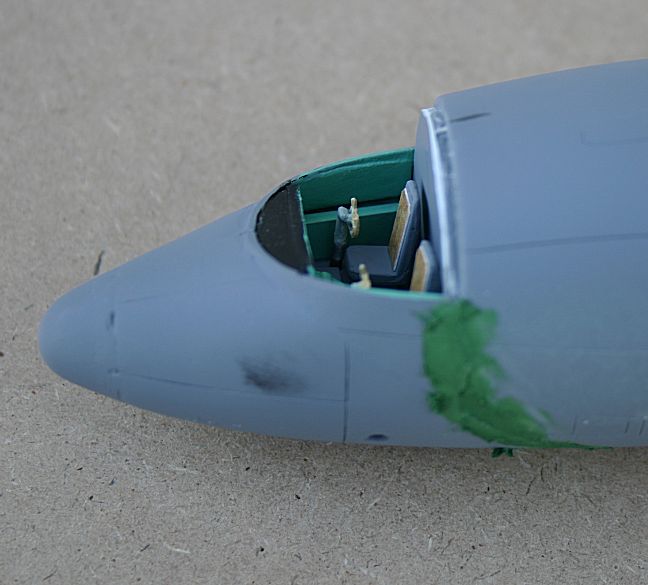
I didn't bother with too much cockpit detail - not a lot can be seen through the glazing. Note the copious
amounts of filler to hide the join.
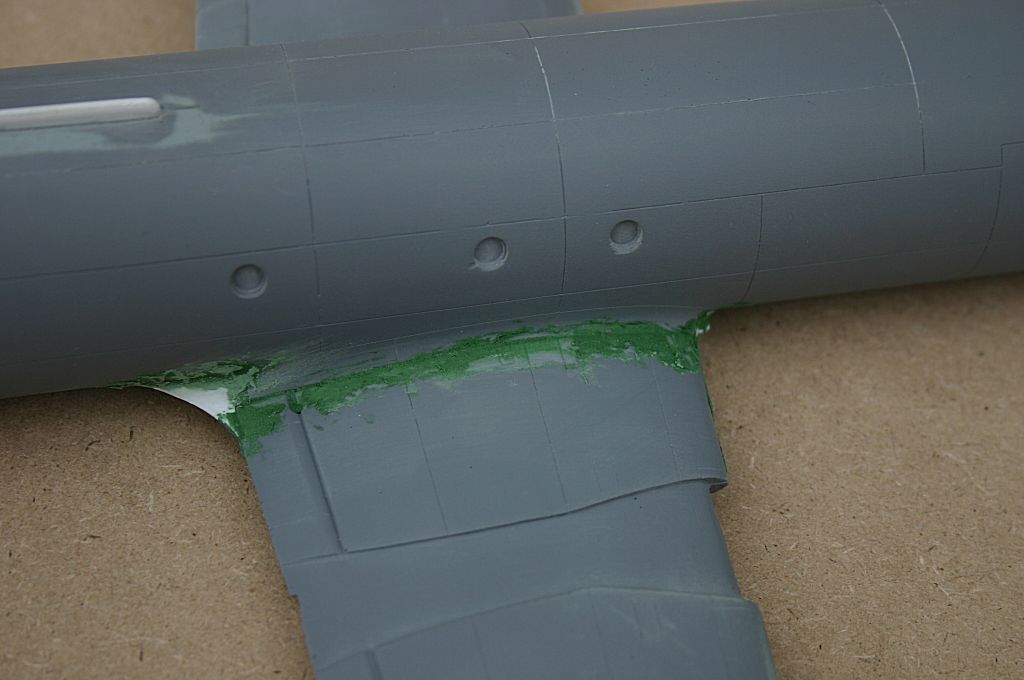
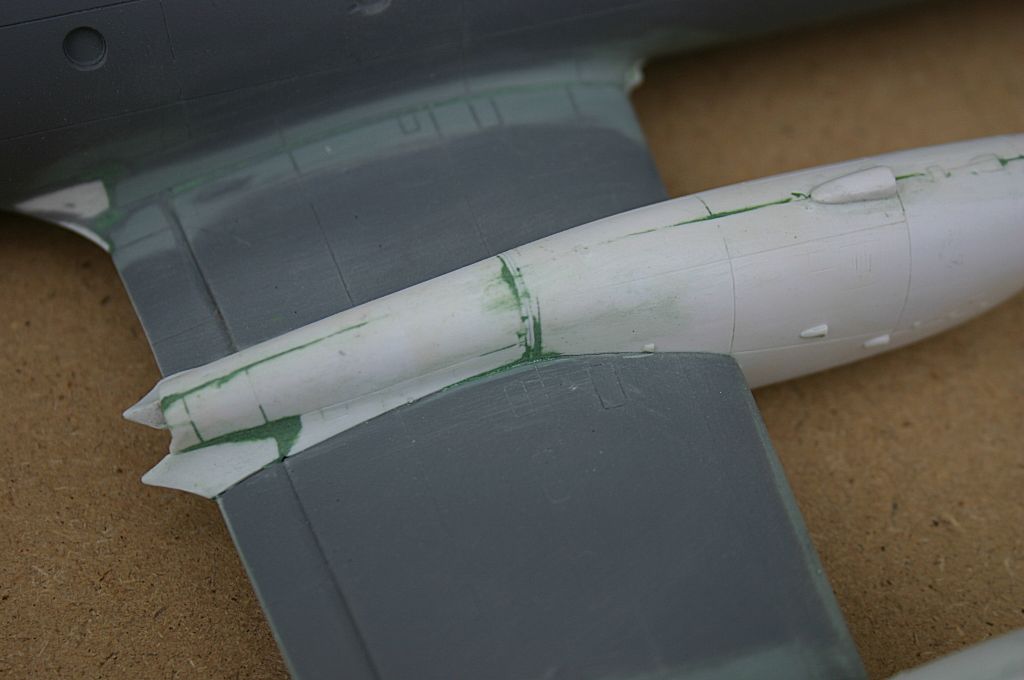
The fibreglass wings slot into the fuselage quite well - after a little sanding . They then have plastic fillets added at front and rear. Quite a bit of filler is needed....
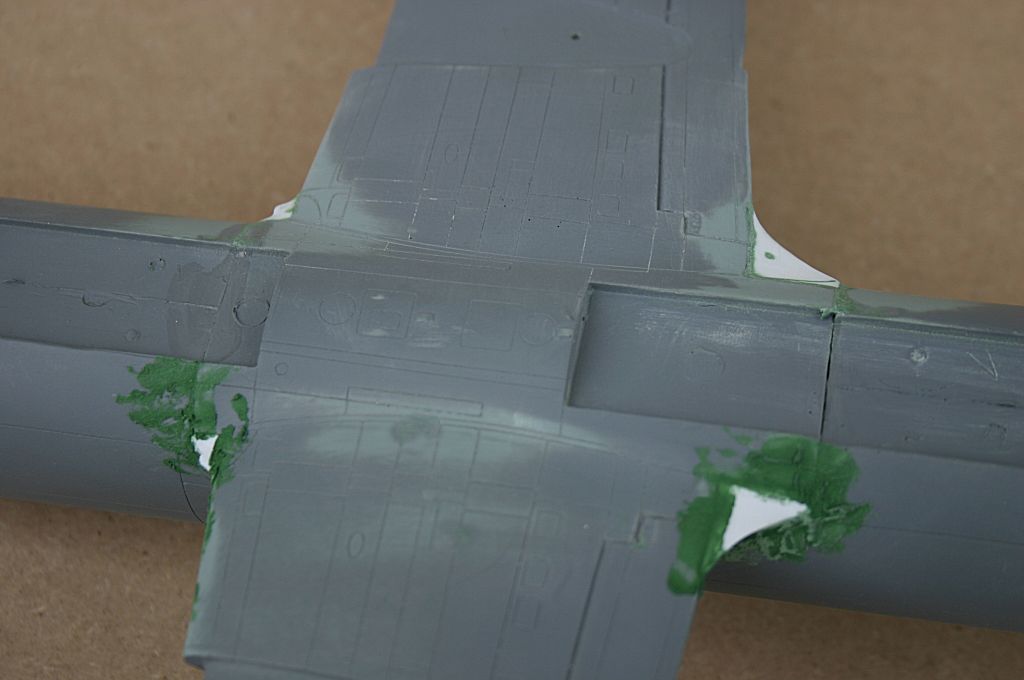
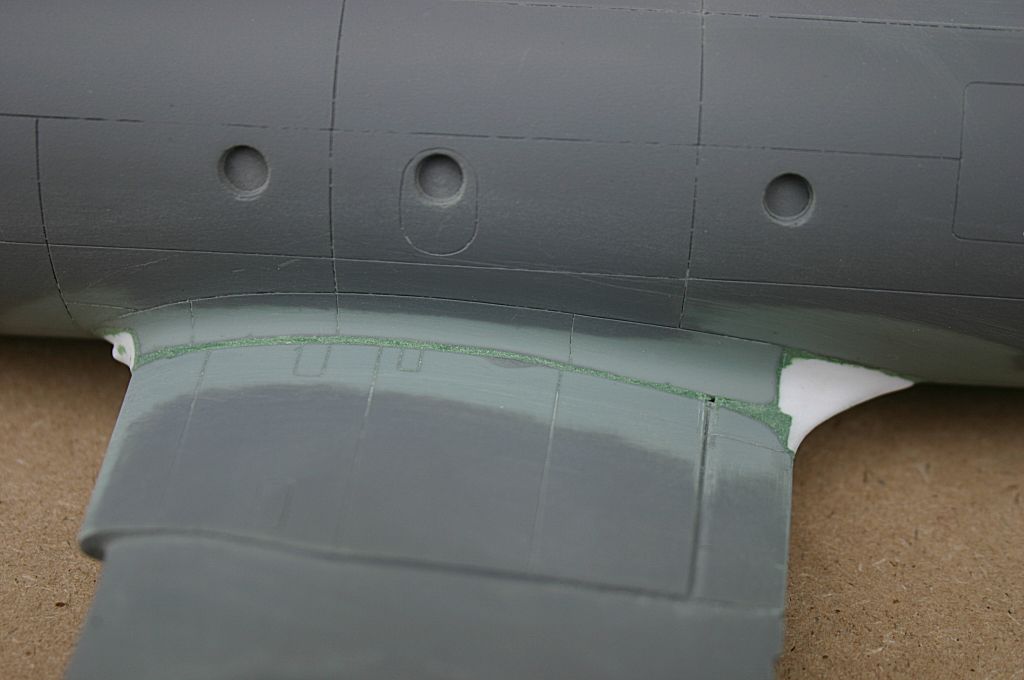
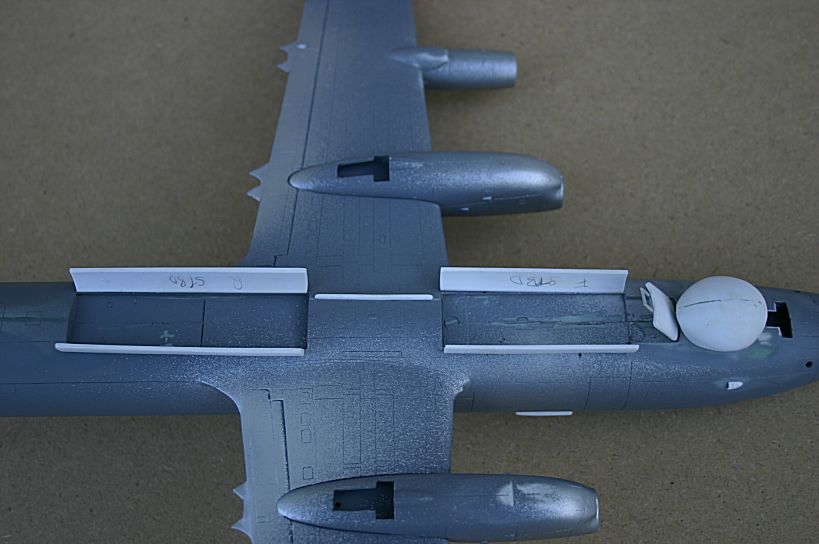
Here are the fillets on the wing root underside. Note the weapons bay recesses in front of and behind the wing. If you want a 'proper' weapons bay you would
need to cut out these recesses and make walls and a roof - if you could get some details of what the bays look like!
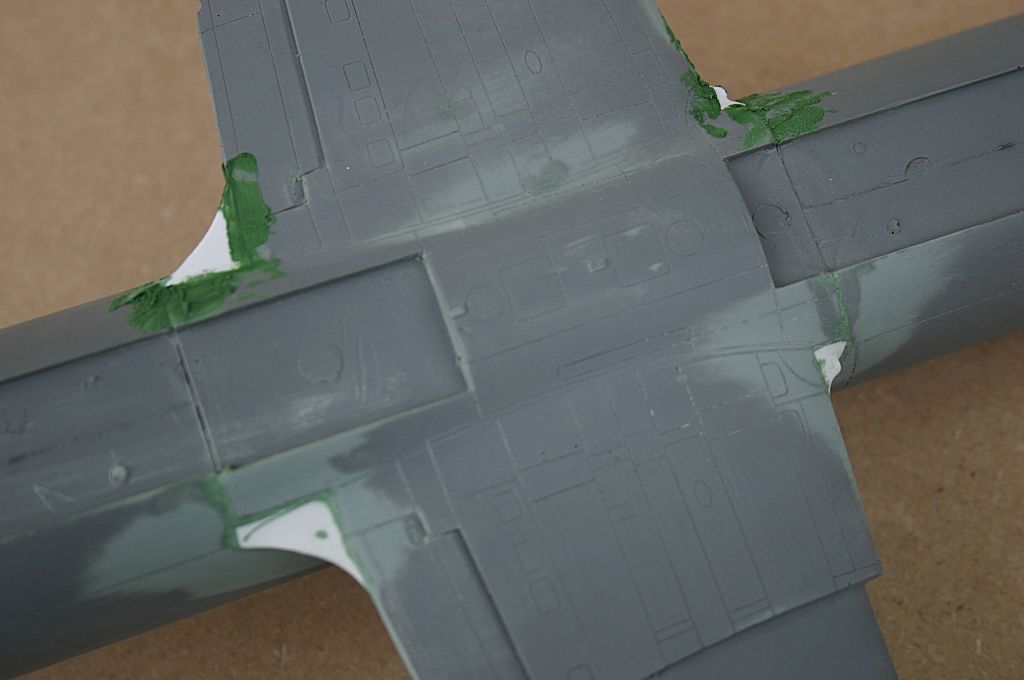
The fillets at the bottom have been sanded smooth, those at the top still need to be done.
The port wing root in its (almost) finished state.
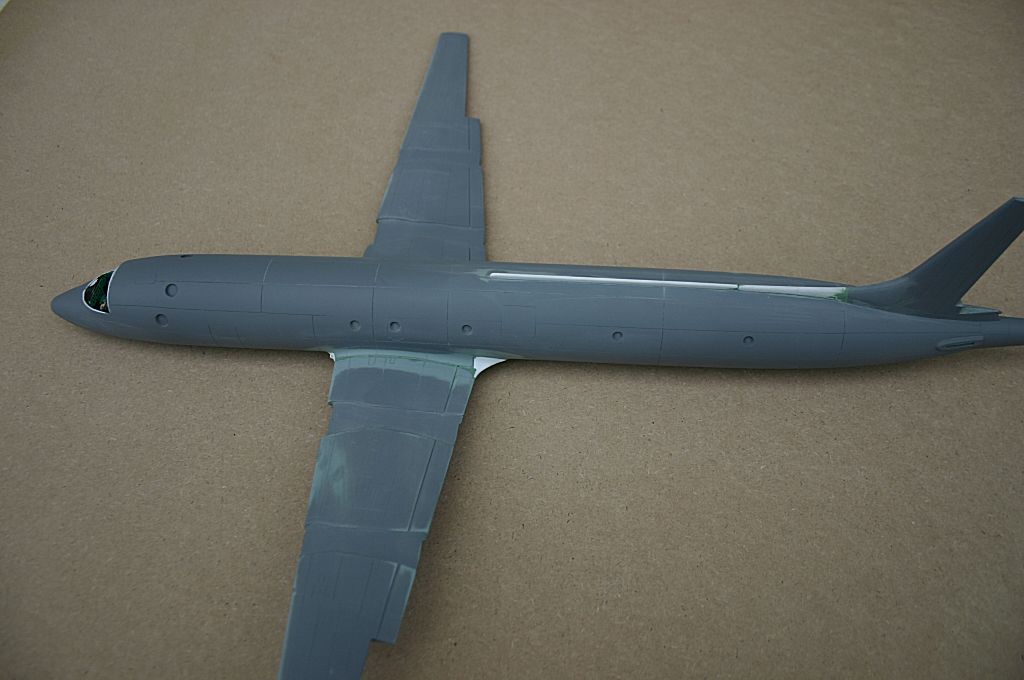
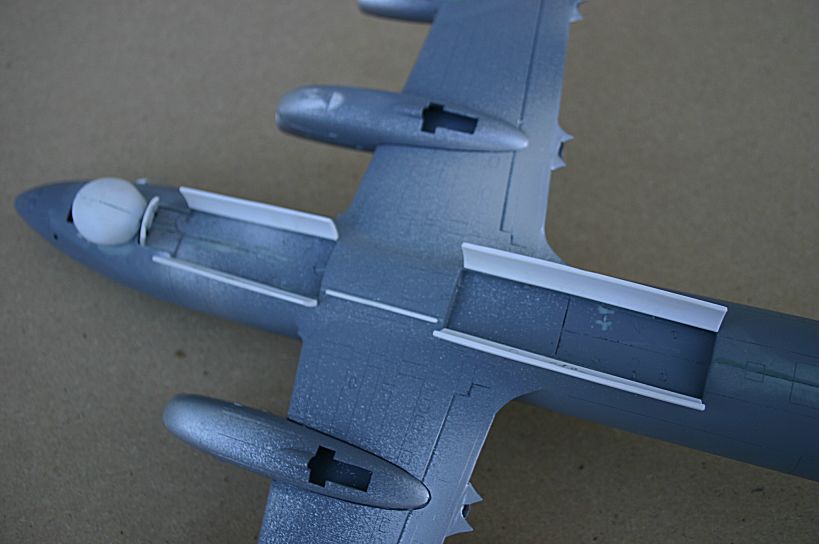
The completed wing-to-fuselage assembly. I have also added the plastic spine and tailplane fillet and blended it in with filler.
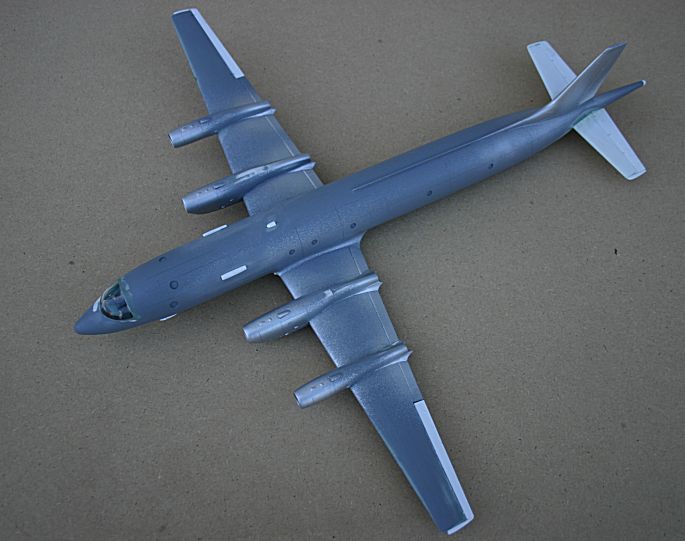
Note how far forward the wings are on the fuselage - a feature of the Il-38 that differs from its brethren - the Il-18/20/22.
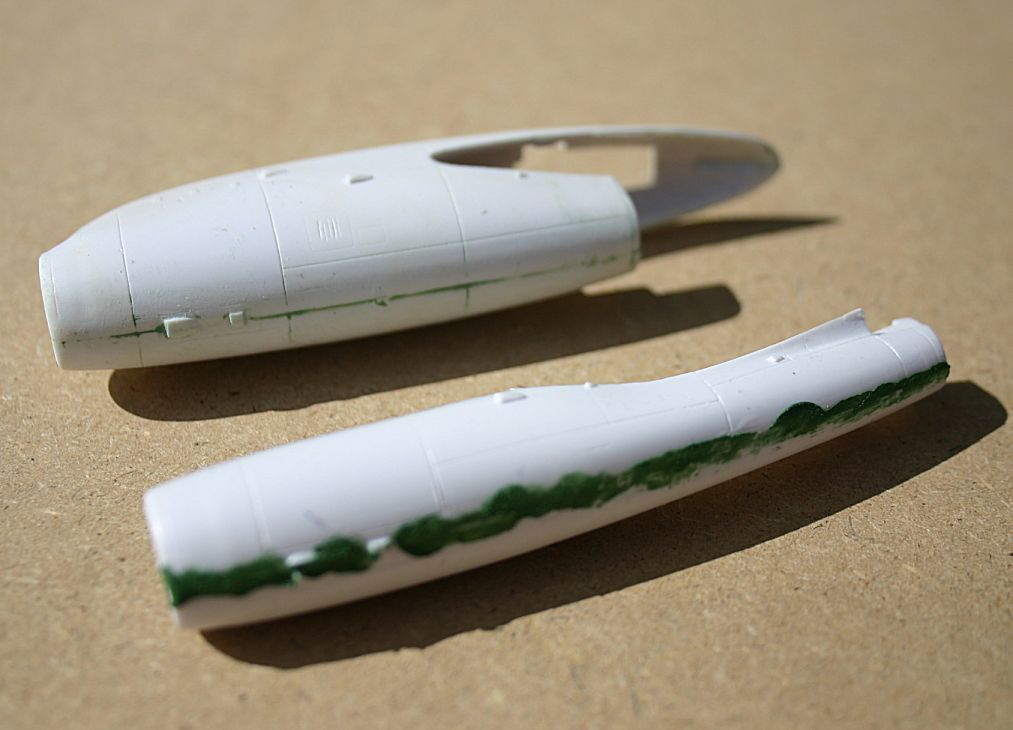
The inner (top) and outer engine nacelles joined together. This view shows the tops of the nacelles.
This is the bottom of the nacelles - note that the main undercarriage doors are closed after extension - therebye saving having to make a wheelbay!
Amodel provide a two-part jetpipe to go inside the rear of each nacelle, but they were so mis-shapen, I made my own from brass tubing and added them later..
The inner and outer engine nacelles viewed from the side.
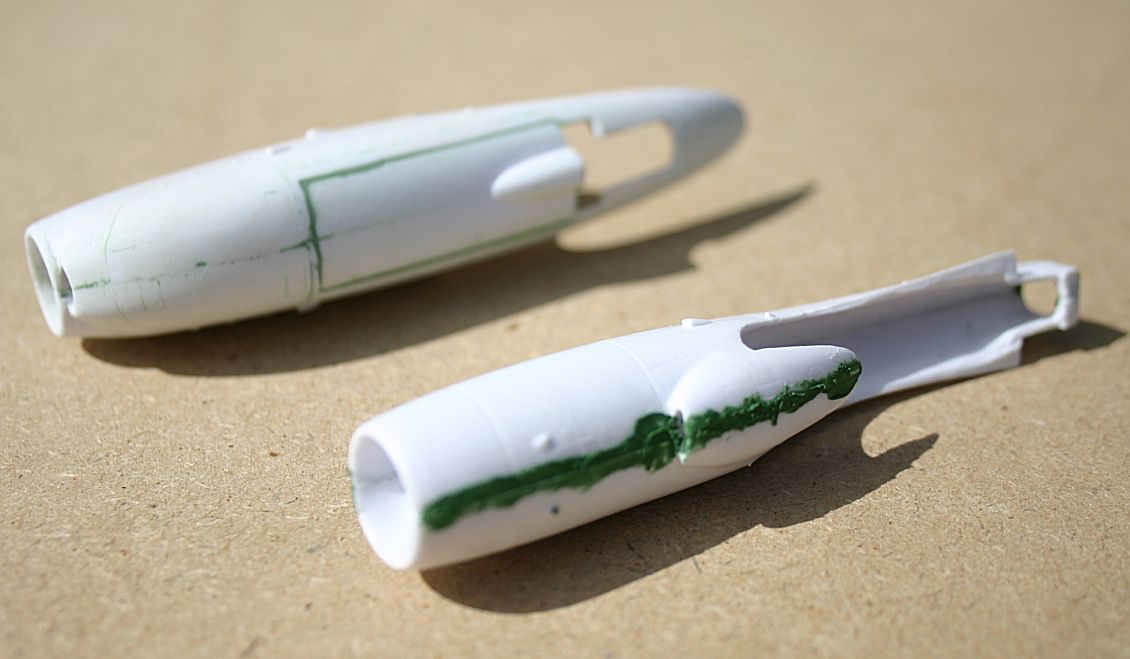
The injection-moulded nacelles fit into recesses in the fibreglass wings - the fit is not too bad. The inner nacelle has a separate rear end incorporating the jetpipe....
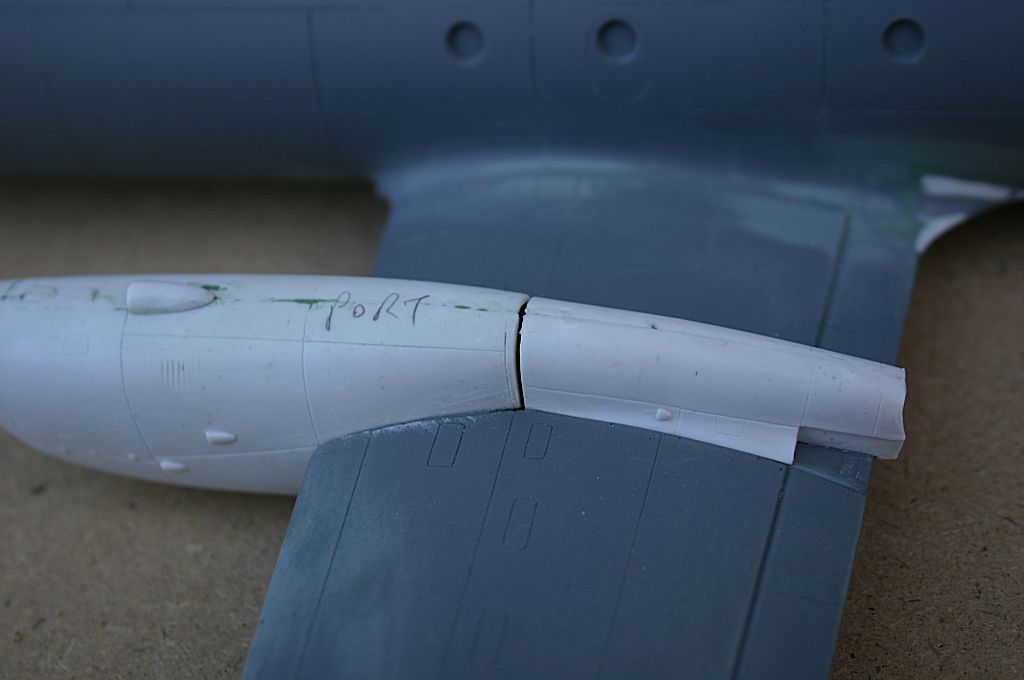
....but the fit is terrible !! I added a thick piece of plastic card and sanded it smooth. Note the recess at the trailing edge for the fillet/exhaust
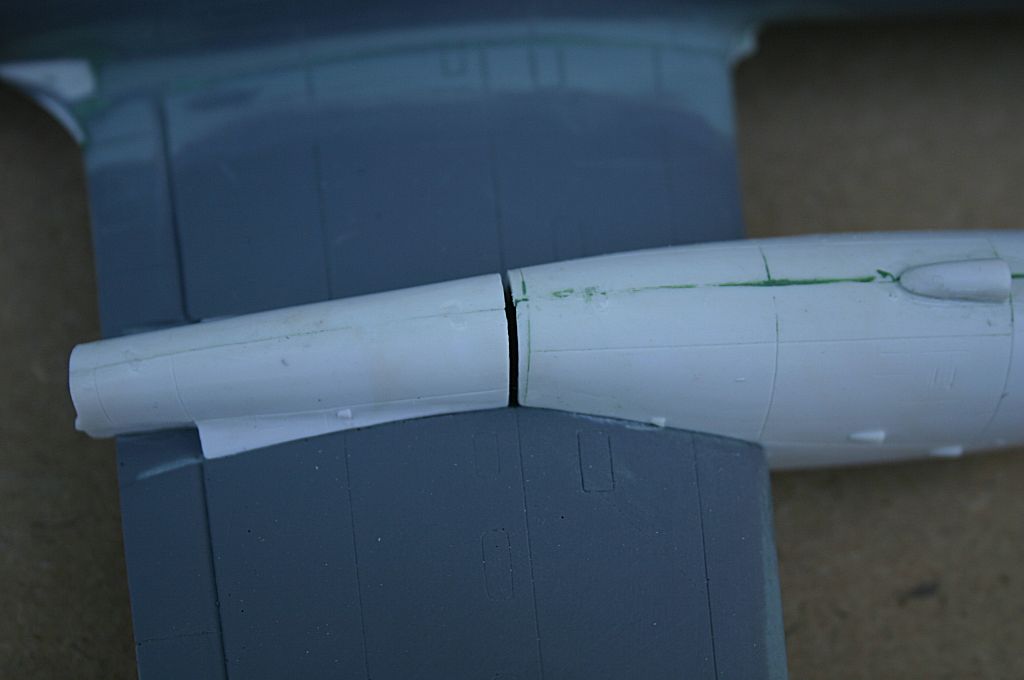
The starboard inner nacelle has the same gap between front and rear.
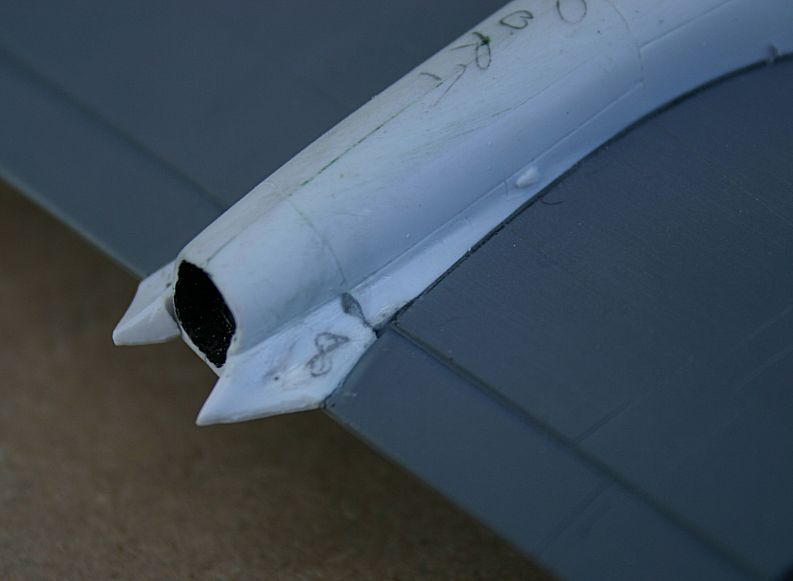
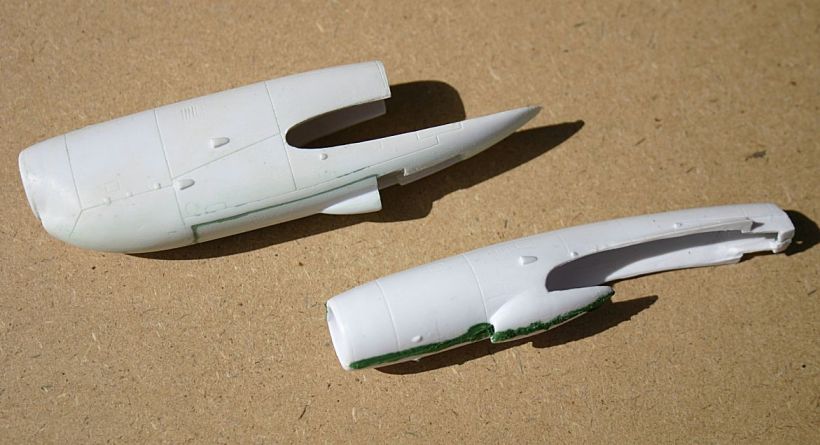
There are two wedge-shaped fillets to be added to the rear of each engine nacelle - they are ill-fitting and need care getting
them the right way round!
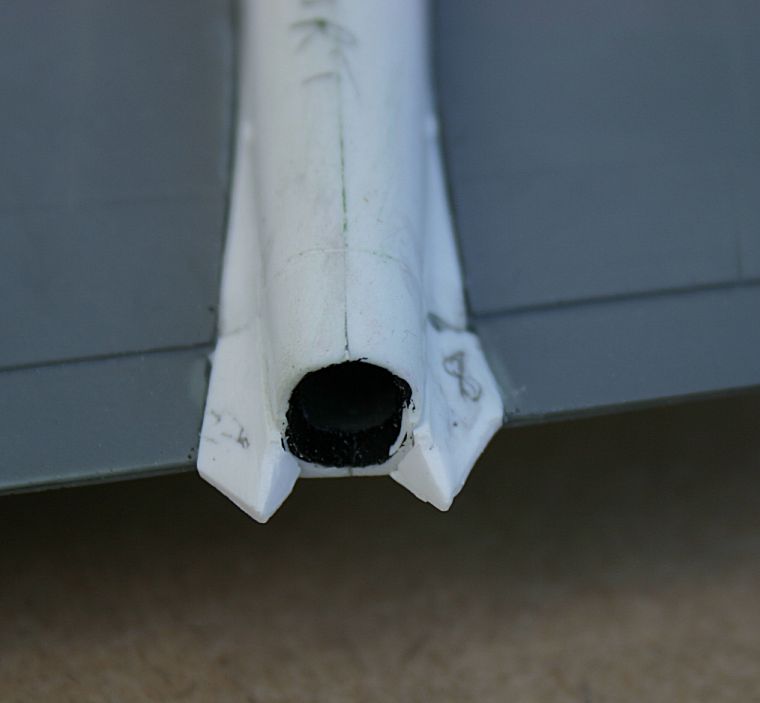
This view shows the exhaust end of the Ivchenko AI-20K turboprop. The fillets are in place and I added a jetpipe from brass tubing
The starboard inner nacelle filled, sanded and cleaned up.

The starboard outer after the same treatment.
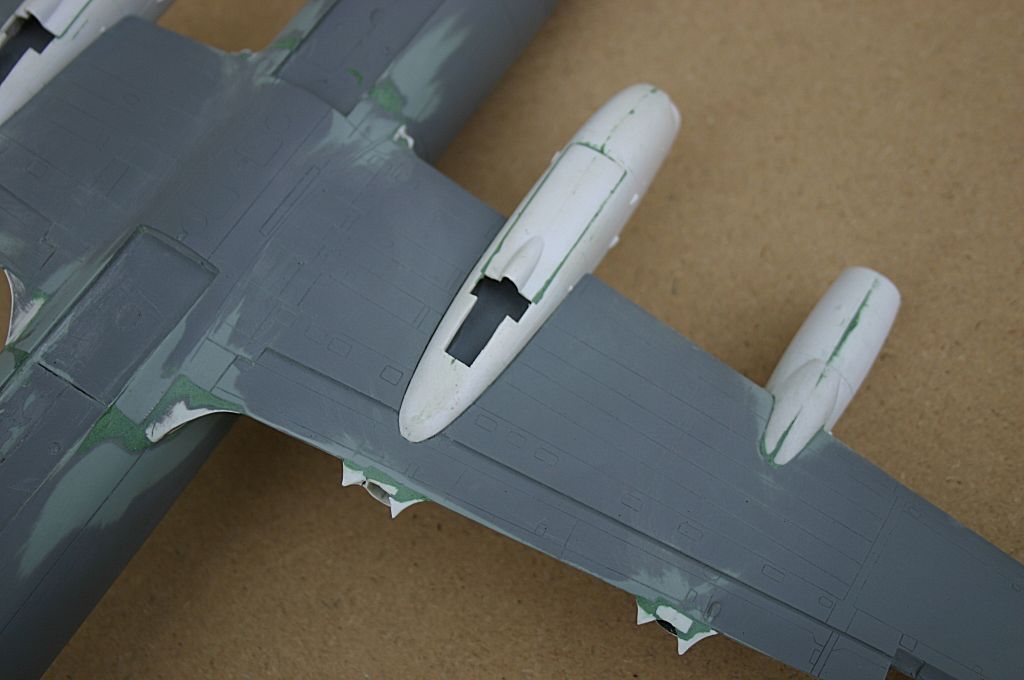
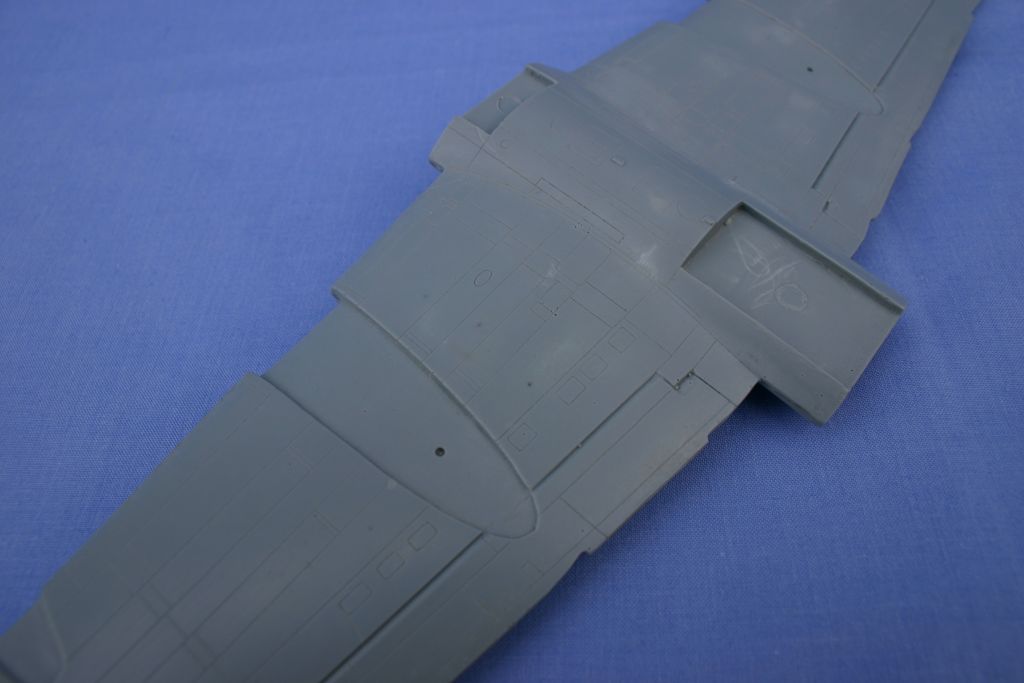
The underside of the starboard wing - note the cutaway wheel well in the inner nacelle - the roof of which is the lower wing surface.Not much can be seen
when the undercarriage and doors are added, so I did not add any detail to the wheel bays.

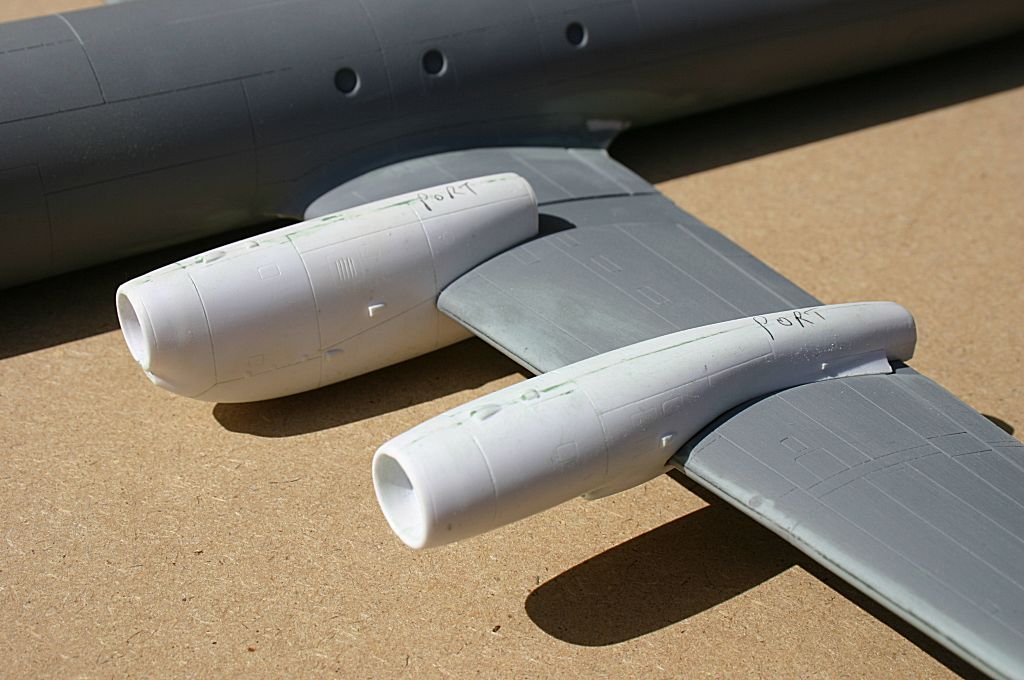
This view shows the wings and nacelles in place and the fillets added to the outer nacelles.
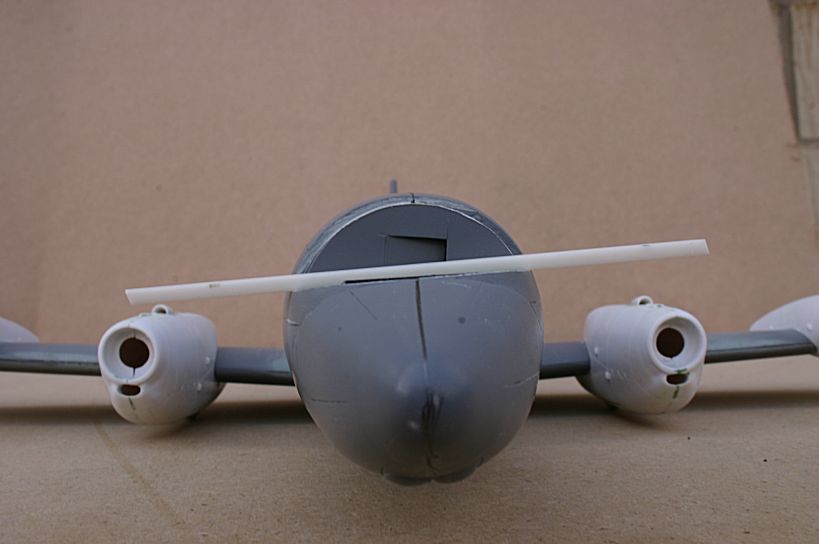
Just as I was about to tackle the canopy/windscreen, I noticed this glaring error in Amodel's moulding. I don't think it was me -
I lined up the injection moulded nose section when glueing it to the fibreglass fuselage. I have corresponded with other modellers who
are making this kit - and they report the same problem - the 'sill' on which the canopy sits is not parallel to the ground - it is lower
on the starboard side than the port.
I decided to solve the sloping sill problem by scraping away some plastic on the port side - and adding plastic card to build it up level
on the starboard side.....
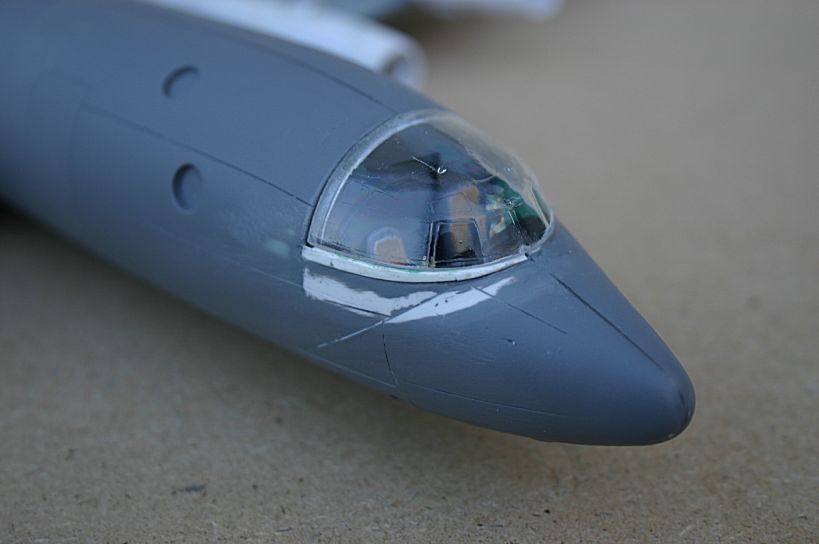
... until I was satisfied that the canopy was level when viewed from the front. Here the canopy is glued in place.
The canopy now looks a lot better - the central frame on the canopy lines up with the fuselage vertical axis.
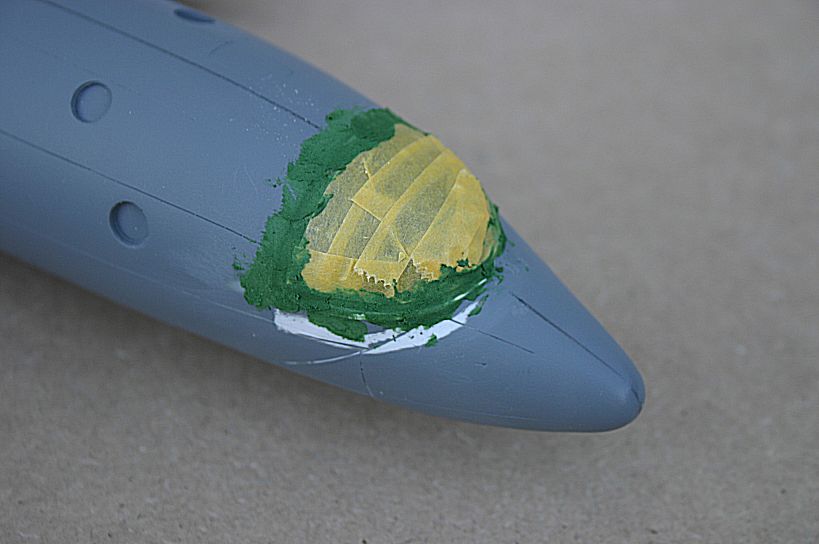
Mask of the clear area and add copious amounts of filler.
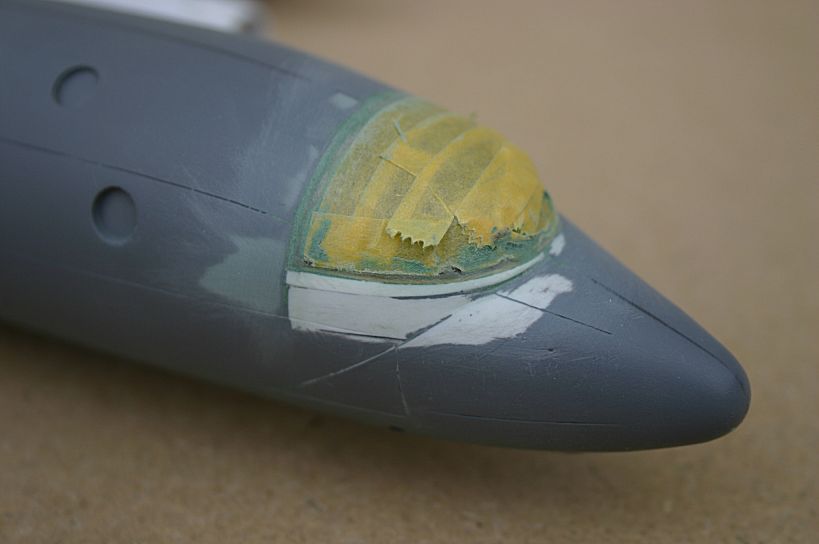
Here the joint between canopy and fuselage is filled and sanded smooth.

The injection-moulded tailplane consists of upper and lower fixed section and elevator, separate tips and two hinges.
The finished article is at the left.
On the home run now.... Injection moulded ailerons, tailplanes, rudder, wingtips and numerous intakes have
been added - the white additions. The fronts of the engine nacelles and exhausts and the leading edge of
the fin have been sprayed silver. Amodel's instruction say the fin L/E is white - but it looks silver in the
photographs I have - and that is a much more logical colour for a de-icing boot !
Here's another view showing the white plastic additions.
The two-part radome is added under the forward fuselage.
This underside view shows the white radome, a tail bumper and a long aerial between the weapons bays.
I decided to show the weapons bay doors open. Amodel provide separate, injection-moulded doors that can be cut in half
and attached in the open position. The weapons bays themselves are just shallow recesses, but as I could find no details of what
the interior looks like, I decided to cheat and pretend that they are blanked off by canvas covers to stop snooping photographers
looking inside while this particular machine was visiting the International Air Tattoo at RAF Fairford.
The same goes for the crew access hatch behind the radome. Amodel provide some steps for this - but they look like a massive
set of solid steps, so I replaced them with a ladder taken from a Trumpeter Tu-16 kit.
Here is another view of the (blanked off) weapons bays - a chance for some enterprising resin manufacturer to provide a set
of fully detailed bays complete with torpedos and depth charges ??
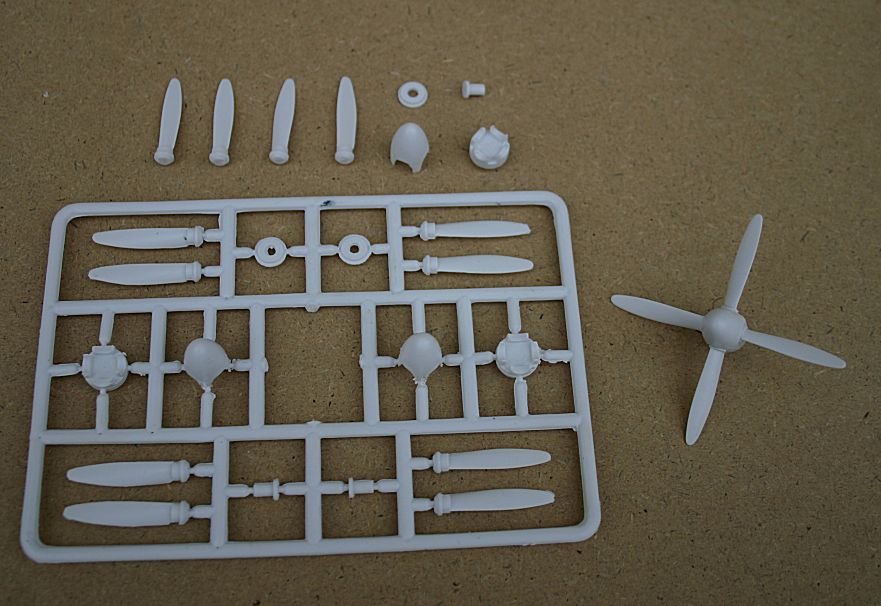
The sprue and the component parts of the propeller at top, with a completed assembly at right.
All of the injection-moulded parts require a good clean-up - scraping and sanding all 16 blades takes some time!!
Note the bevelled roots of the propeller blades and the recesses in the backplates.

The blades are placed into recesses in the hub backplate and the spinner is attached to the front. If it is done carefully, each blade
can be made to rotate - so you can change the pitch! The join between backplate and spinner needed some filler.
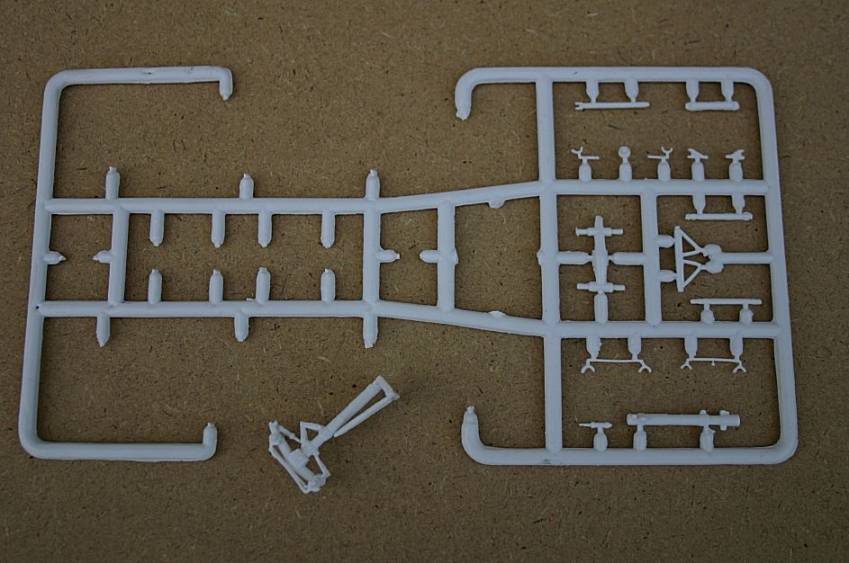
Here are the components of the main undercarriage legs - together with a completed assembly. Agian, lots of sanding and scraping off flash .
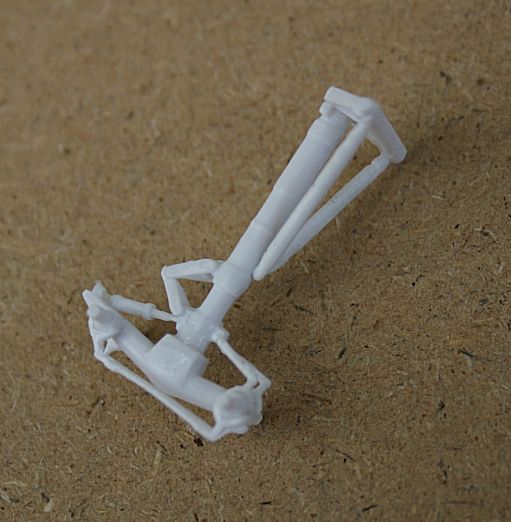
A closer view of a finished main leg.
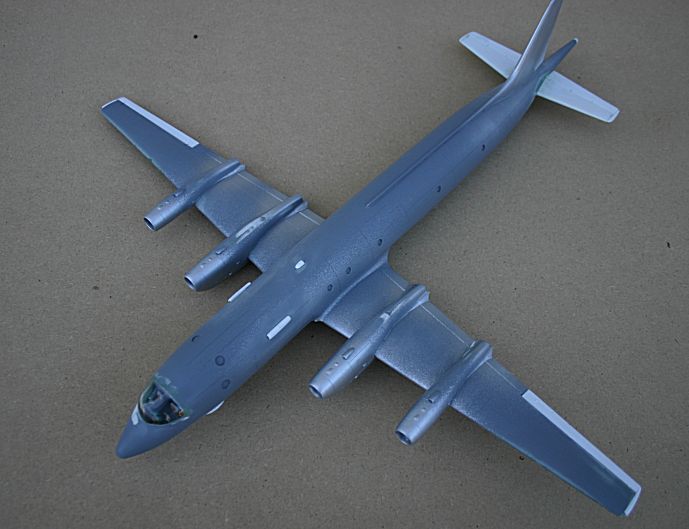
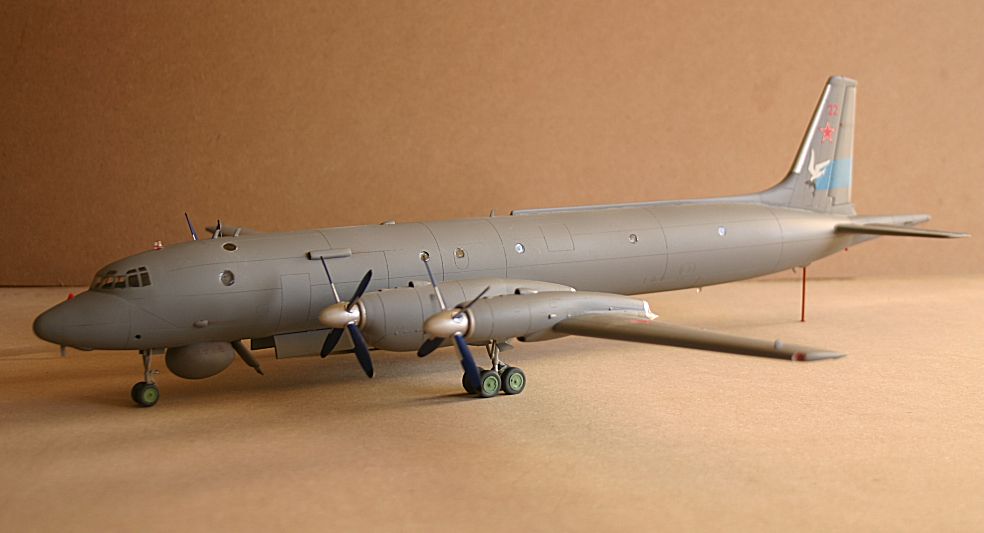
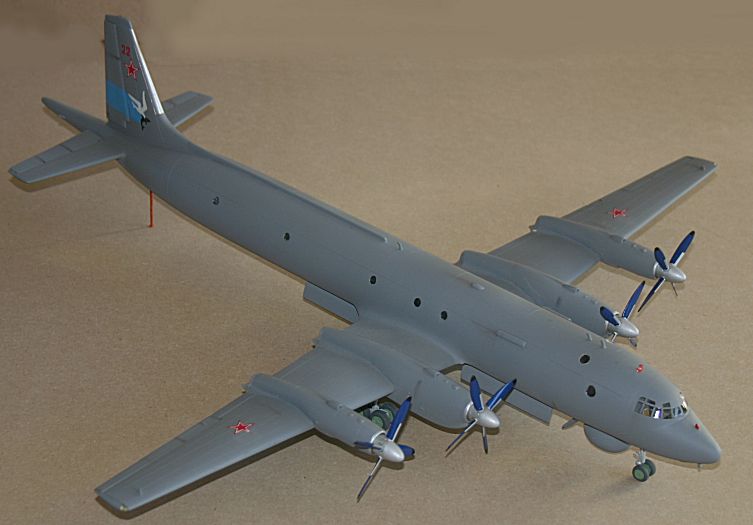
The finished Ilyushin Il-38 'May'
Worms eye view. Despite all the weight I added in the nose, the model is still a tail sitter. So I did what they do on the real thing - and provided a tail support.
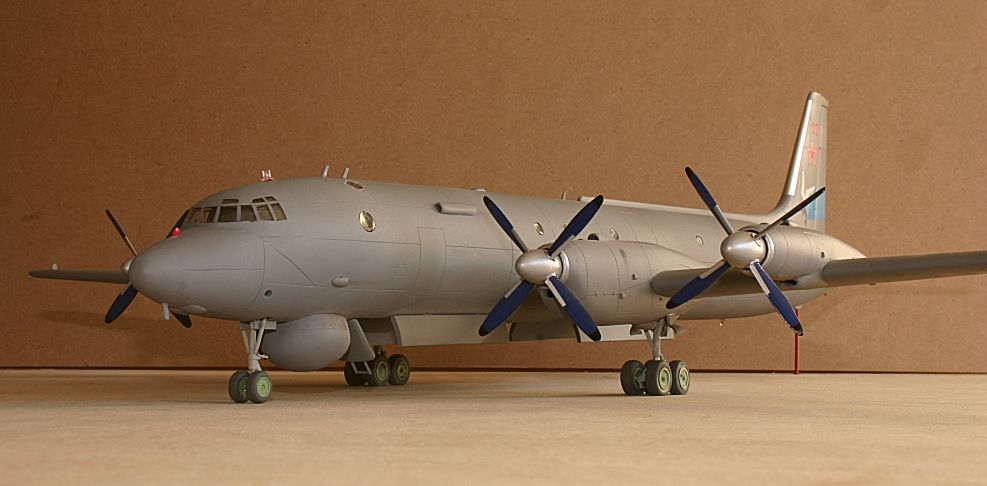
Another shot of the finished model. The model was sprayed overall with Halfords Grey Plastic Primer - which I think is a good match for the dark grey
worn by AVMF Il-38's. After the decals had been applied, the model was given a coat of acrylic matt varnish - sprayed from a can of 'Purity Seal' from
Games Worshop.
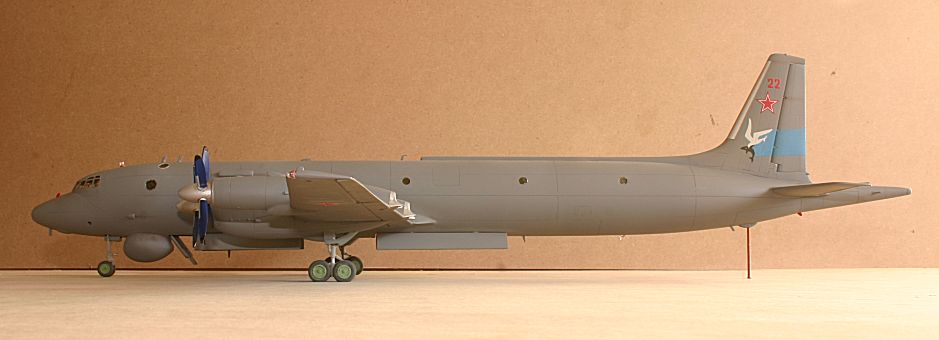
Side view of the Il-38 - note how far forward the wings are. Most Soviet-era AVMF Il-38's are devoid of any flamboyant markings, but this example
coded 'red 22' is from the 240th GvOSAP that visited the RIAT airshow at RAF Fairford in the UK in 1996.
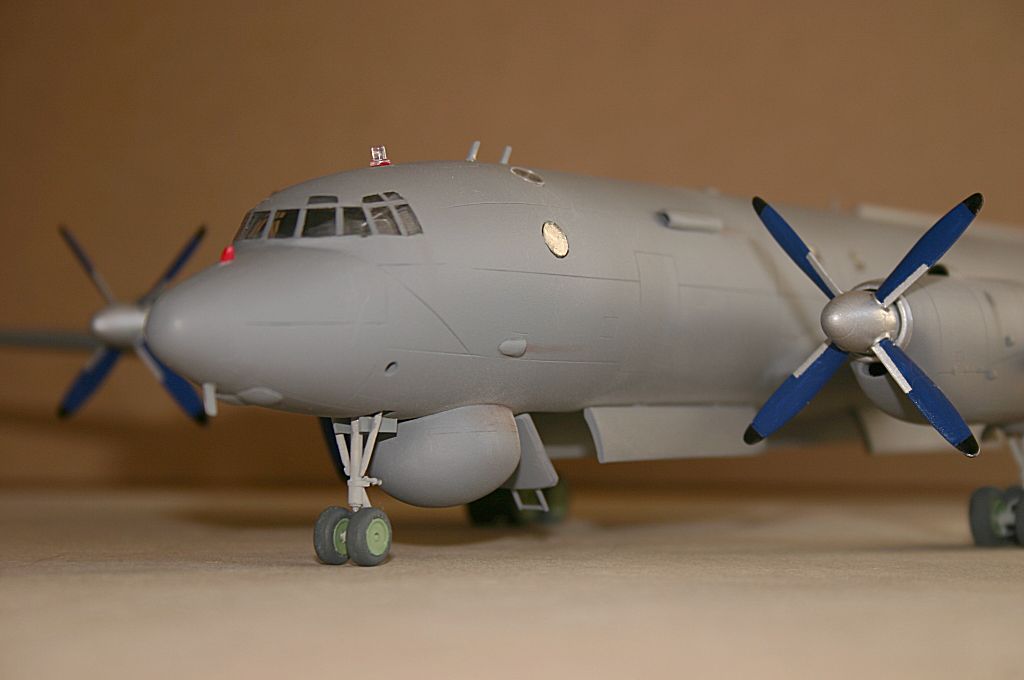
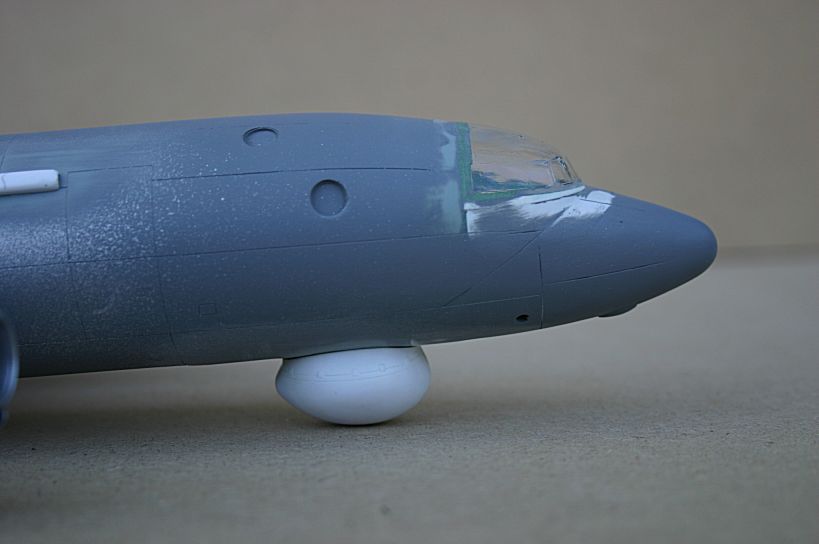
Close up of the nose area showing the nosewheel, radome and open crew access hatch. The nosewheel should have a debris guard - Amodel supply one - but it doesn't
fit over the wheels, so I left it off for now. I need to find a replacement.
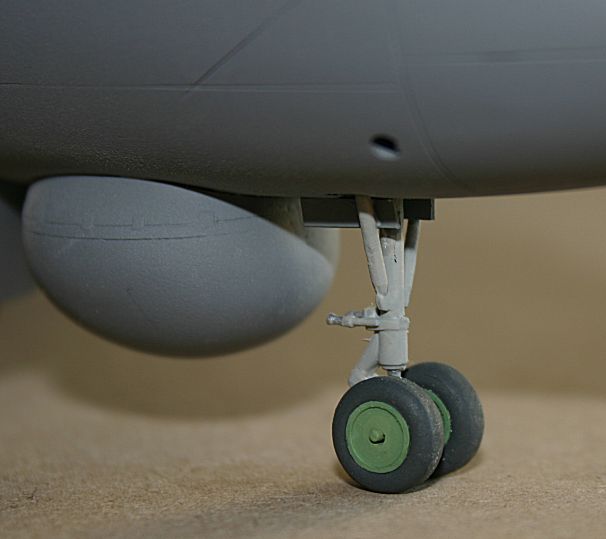
A closeup of the nosewheel with its missing debris guard
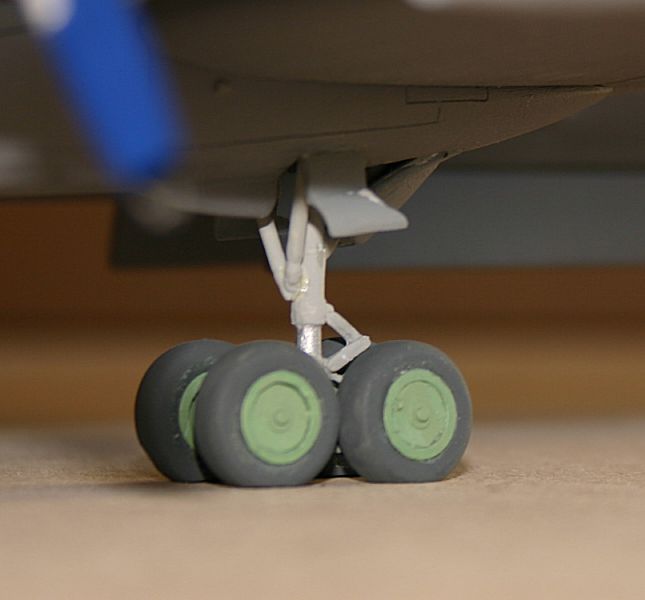
Closeup of the main landing gear. I filed flats on the wheels to give the impression that they
were carrying some weight.
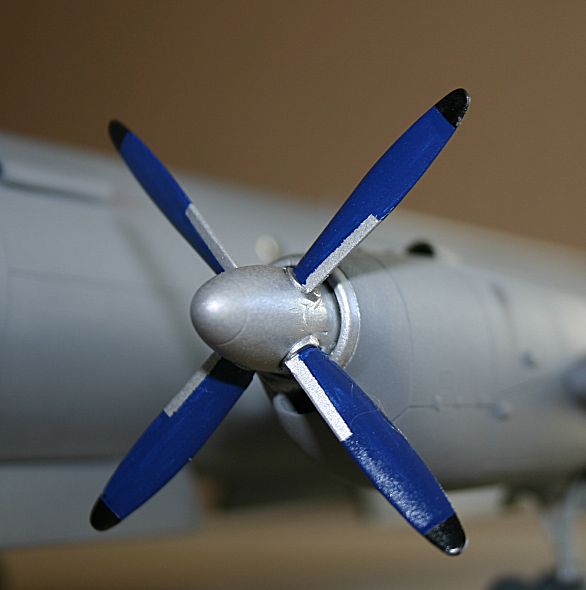
Propeller - Amodels instructions state that this should be painted black with yellow tips,
but a glance at colour photos show that the blades are blue with black tips.
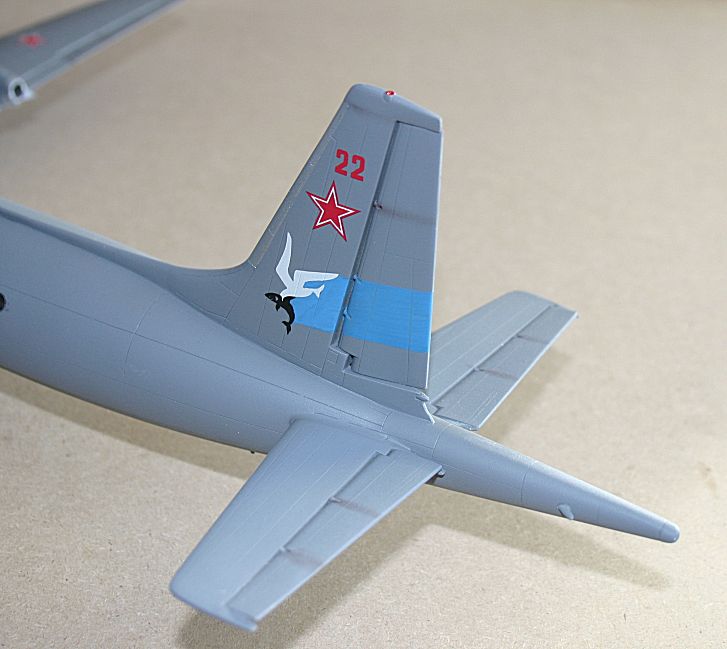
Amodel provide the 240th GoSAP's 'Seagull catching a Shark' logo - but fail to add the blue flash. I didn't notice
the mistake until I came to add the decal - so I had to carefully brush-paint the blue around the body of the
shark and seagull on the decal - and then added the blue flash directly onto the rudder to the rear of the logo.
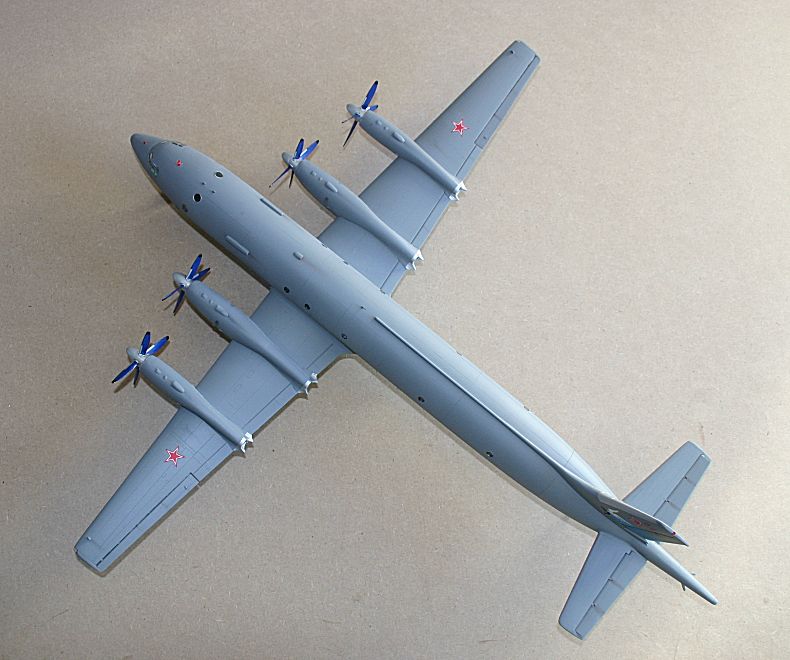
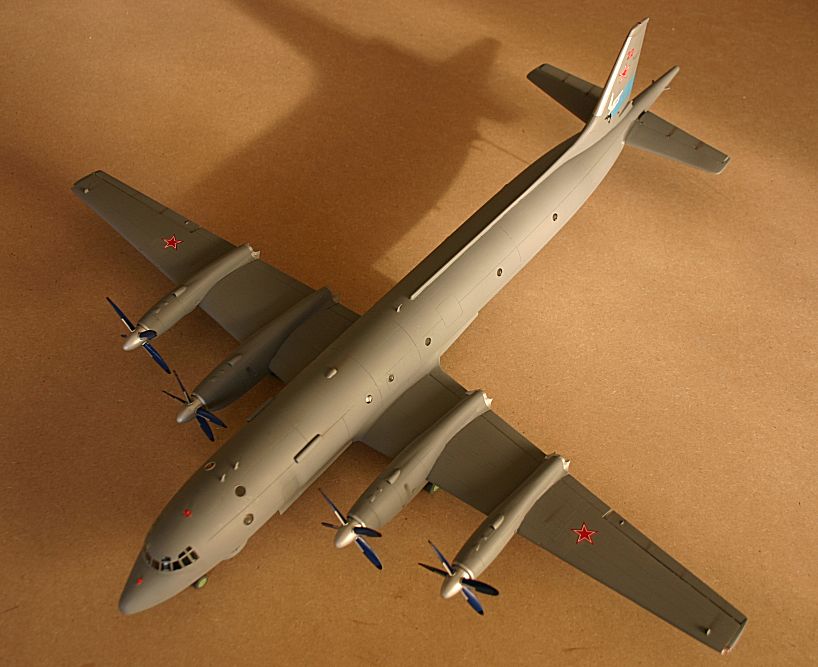
An overhead shot showing the forward-located wings. Converting the Il-38 to an Il-18/20/22 would require major surgery - as
the wing on these variants is much further back.
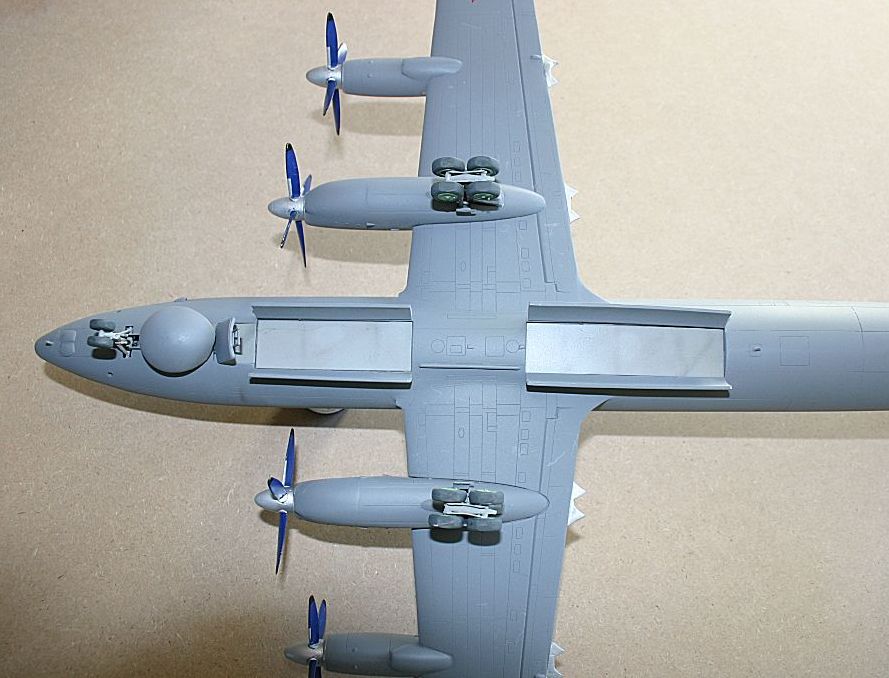
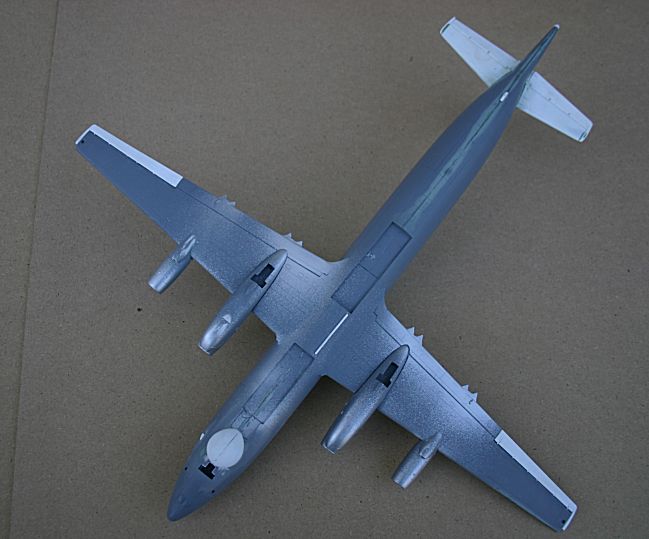
Underside view showing the open weapons bays - with 'pretend' covers blanking them off from prying eyes!
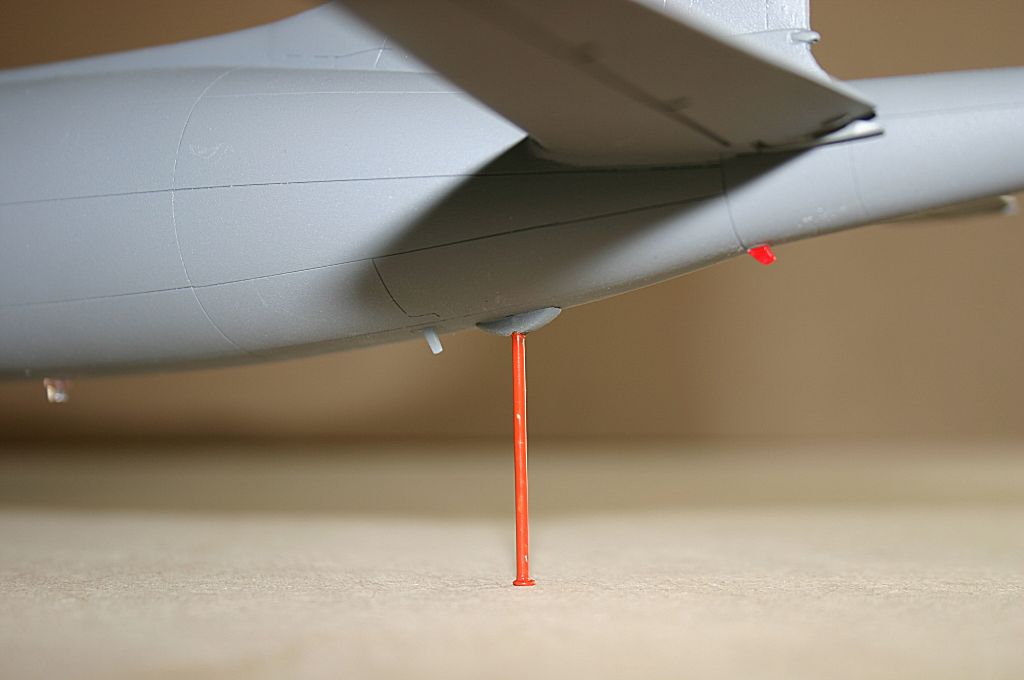
The tail support - a substantial item, made from brass rod.
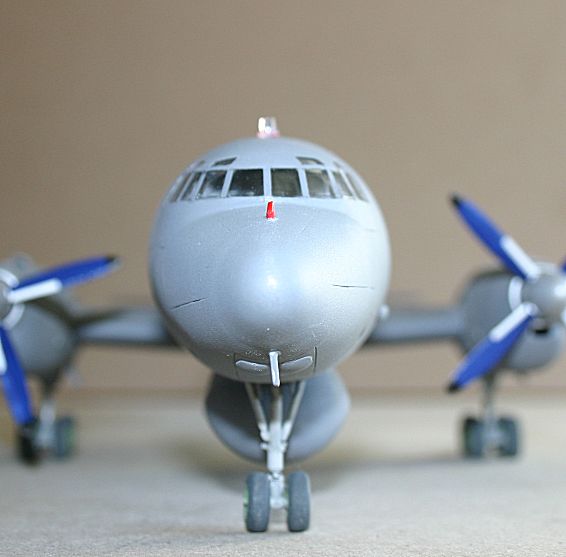
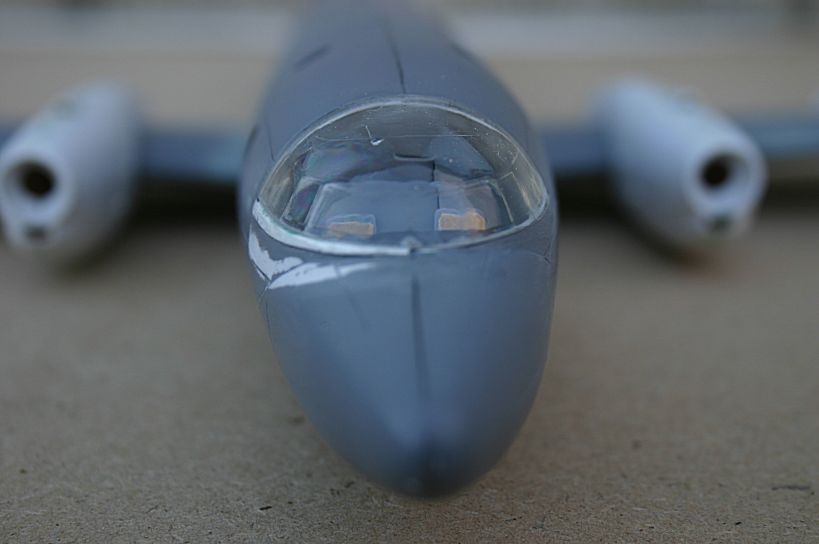
Head on view showing the corrected windscreen - but I have just noticed that the panel
lines do not match up !!!! I won't tell anyone if you don't !!
Another shot of the completed model. It makes into a decent representation of an Il-38 and I doubt if any other kit
manufacturer would have the courage to produce one - so Amodel's kit is the way to go if you want one of these
important Russian ASW machines in your collection.
For references I used the Aerofax book on the Il-18/20/22 (which also covers the Il-38 and has some good colour shots)
I also have a Ukrianian magzine - Aviatsiya i Vremya - and a Russian monograph that both cover the Il-38.