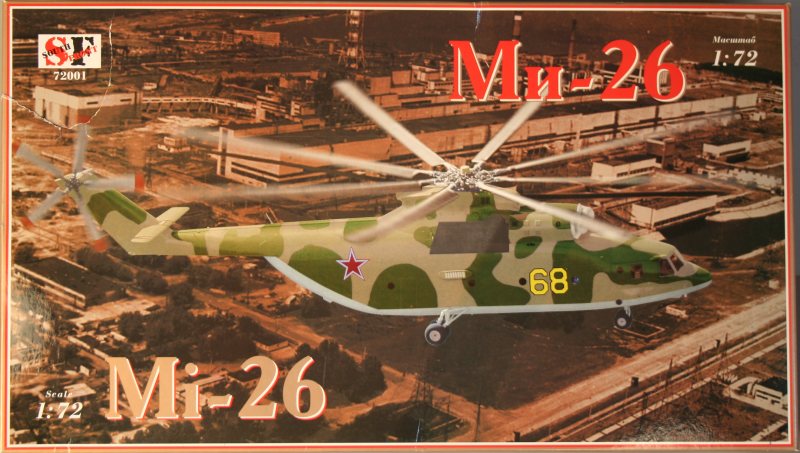
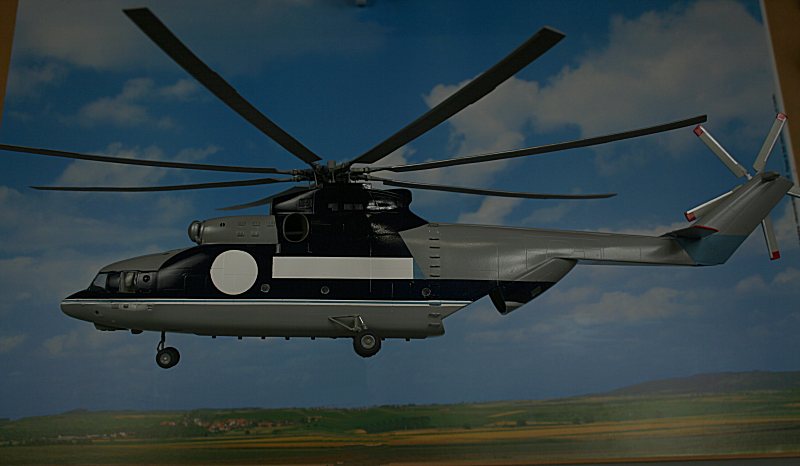
Impressive box art of a Mi-26 overflying the reactor at Chernobyl
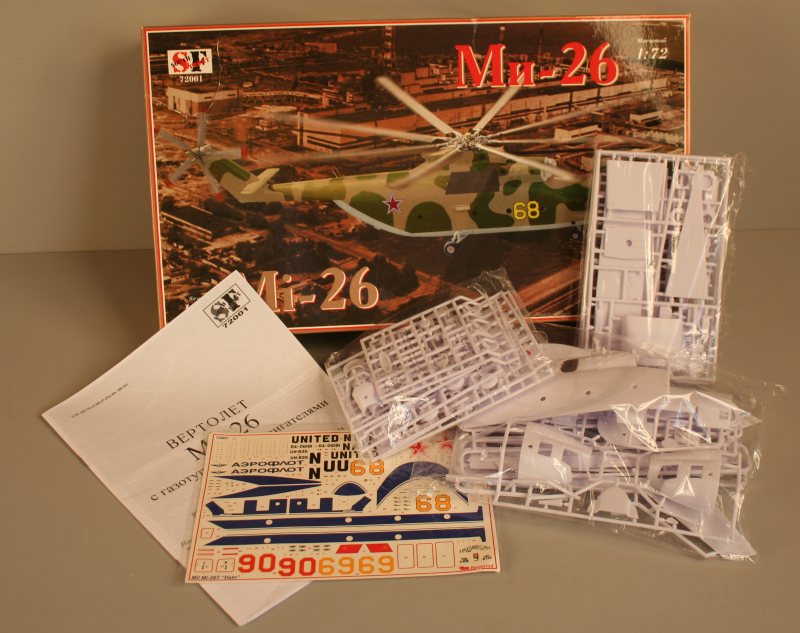
Here's what you get for your money - three tightly packed bags of
sprue, an excellent decal sheet and instruction sheet - in Russian
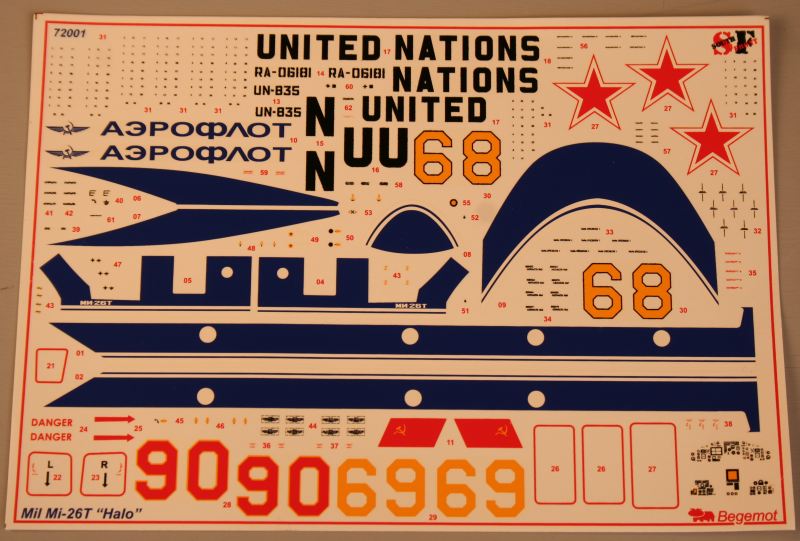
The excellent decal sheet is printed by Begemot - and includes options
for five machines - with FULL stencils.
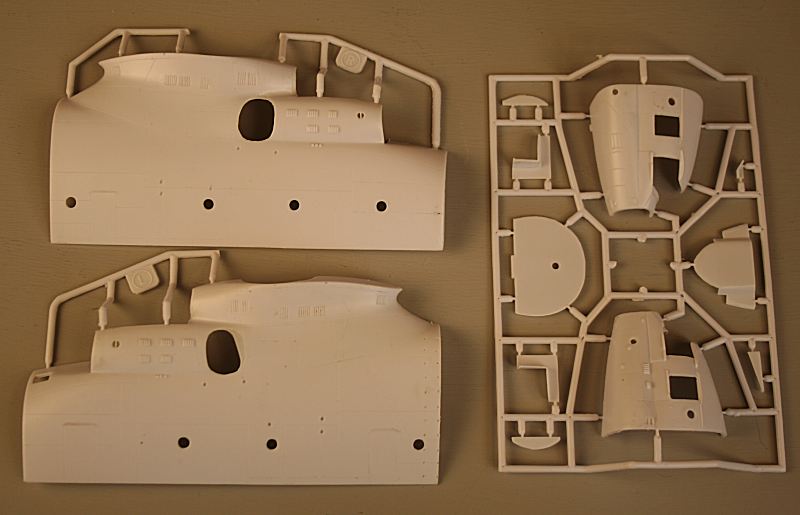
Fuselage sprues.
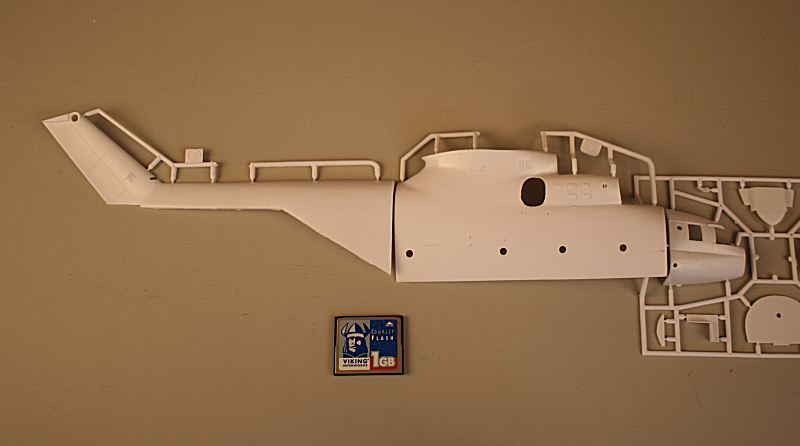
This is how big it is going to be - that is the size of a C-130!!
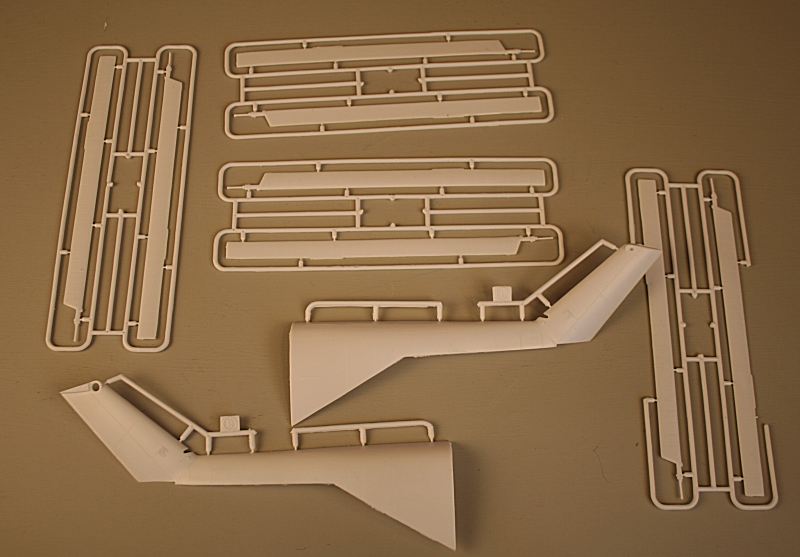
Rear fuselage and eight-blade rotors.

Some more components.
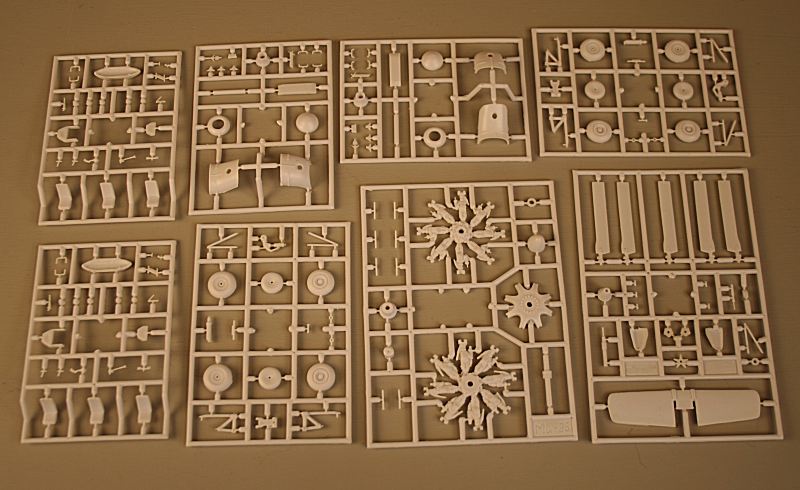
Smaller parts - just look at that massive rotor hub!
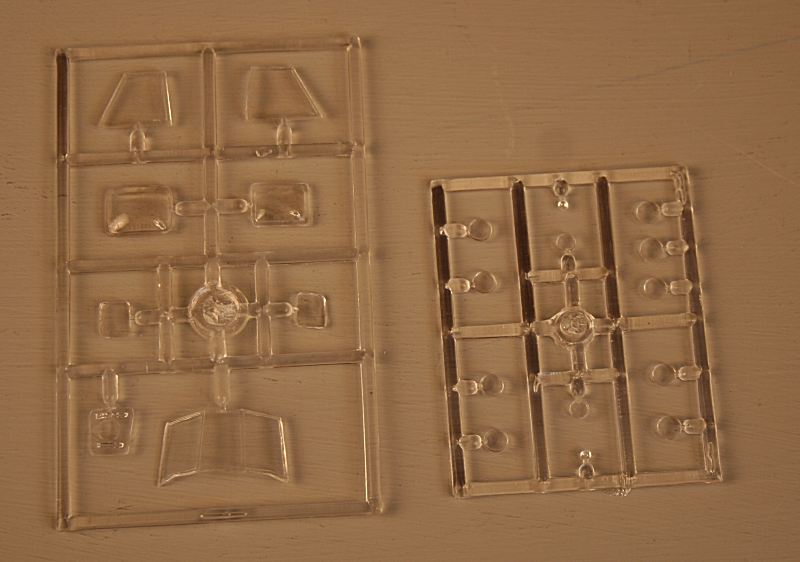
Clear sprue.
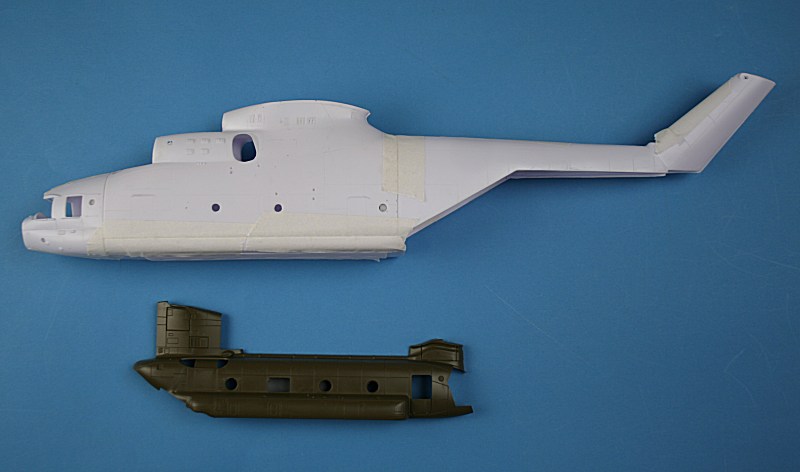
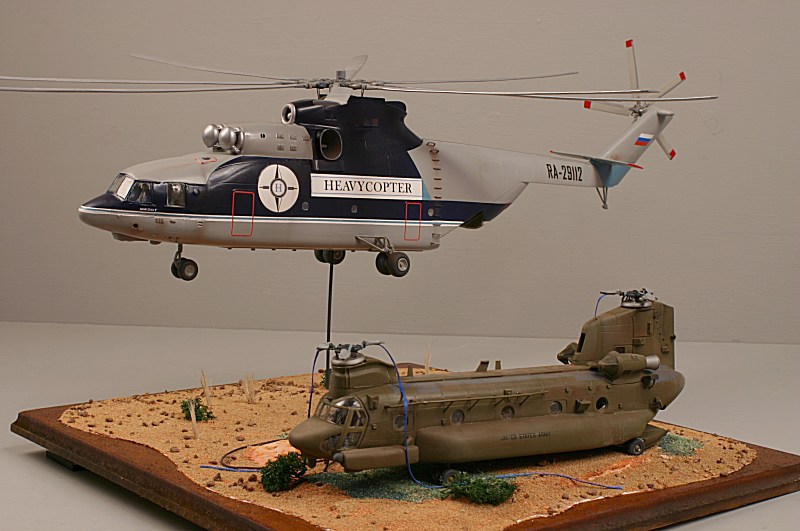
This is the South Front kit taped together - with an Italeri Chinook
for comparison.
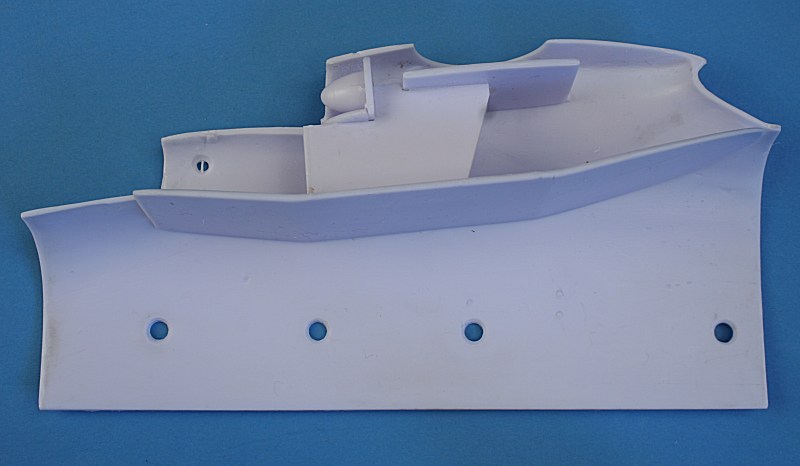
The starboard centre fuselage half - with the false 'roof' mounting the
gearbox intake centrebody and rotorhead platform.
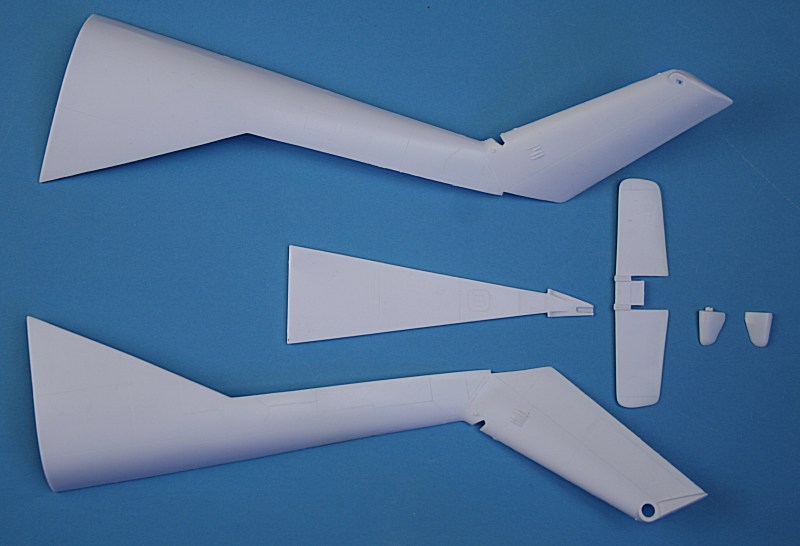
The components of the rear fuselage/tailboom.
The centre fuselage partly glued together. I cemented the rear section
first and taped it together.
When that was set I cemented the front part - and held it together with
tape.
The sentre section has still to be pinched together for cementing. I
have also added thin plastic card to the rear to provide a more
positive key for the rear section.
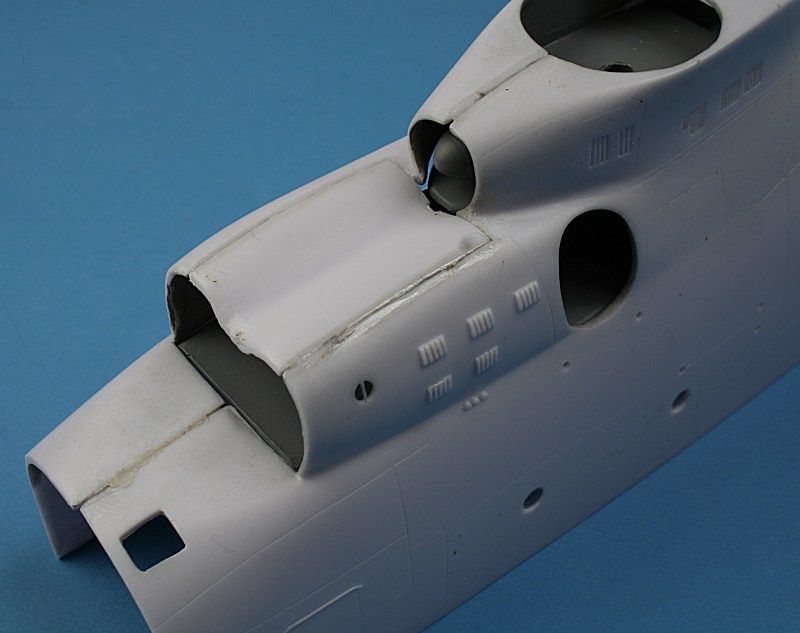
The centre and rear sections cemented together - and the upper section
of the intakes added.
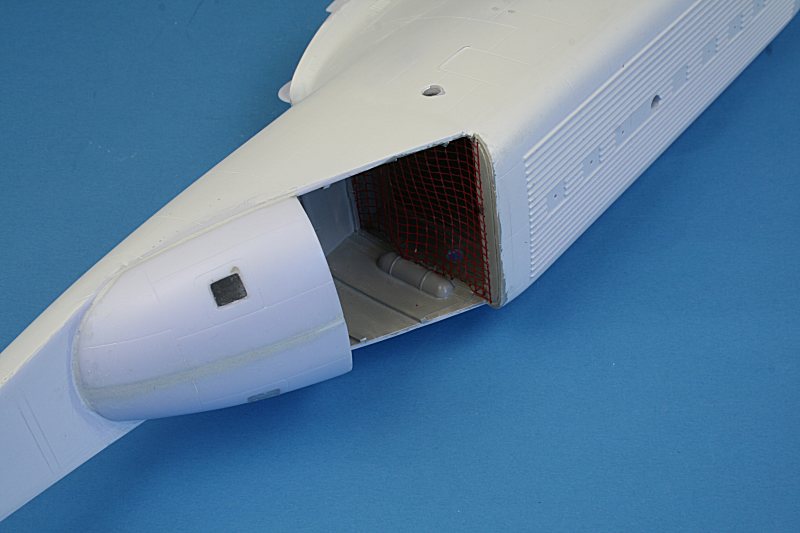
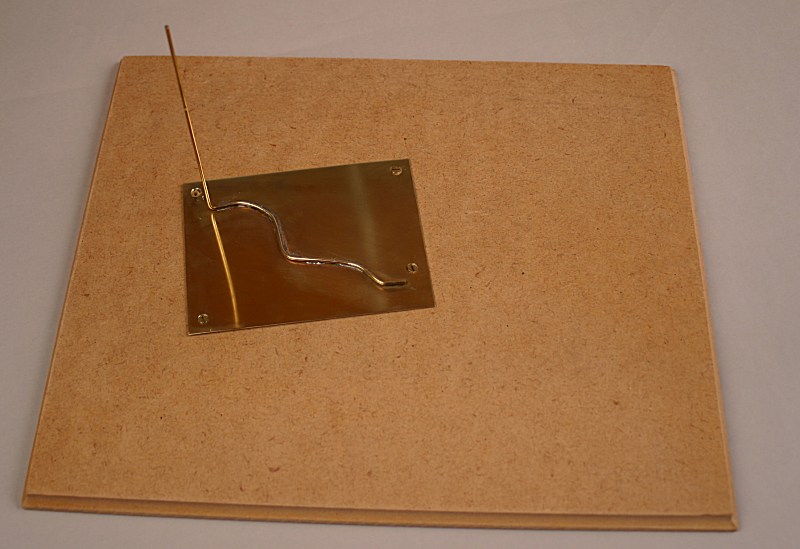
The cargo bay floor and underside is lying upside down at the bottom -
the hole in the centre is to allow me to
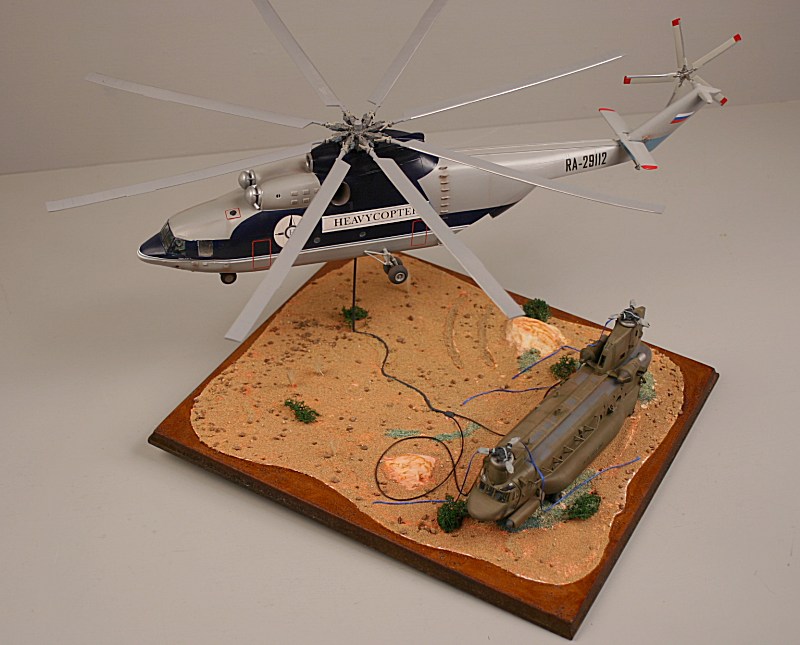
mount the Mi-26 'in flight' picking up the Chinook.
The fit of the parts is not brilliant - but nothing that a bit of
filler can't fix.
The circular intakes for the engines and gearbox have still to be added
- as do the exhausts.
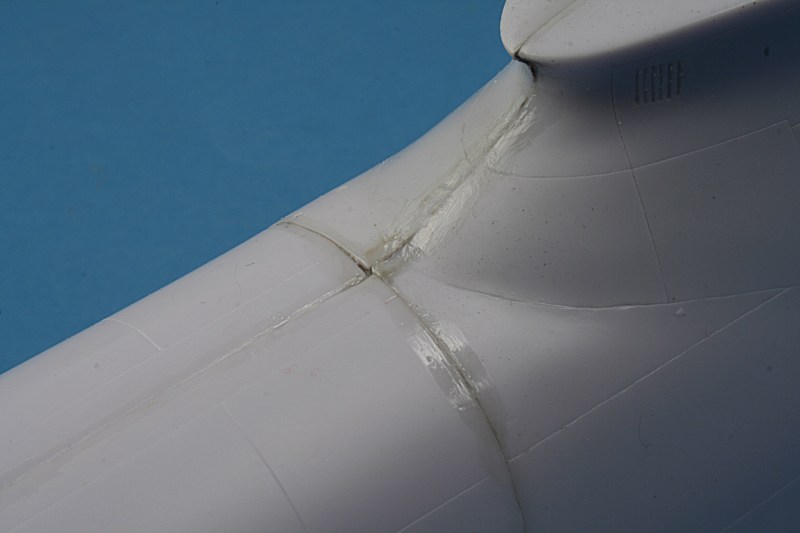
This close-up looks worse than it actually is - filler will soon hide
that joint between the rear and centre fuselage sections.
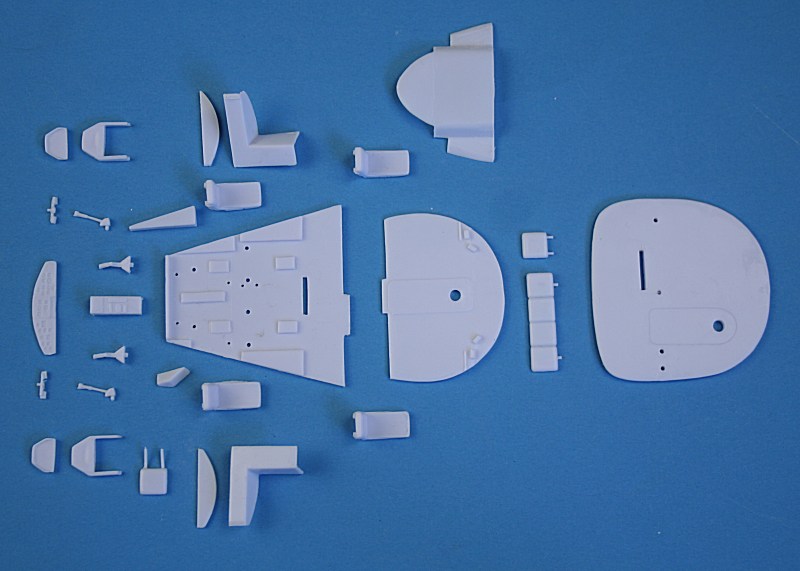
The components of the well-detailed flight deck. Because my Halo will
be 'in flight' - I will be adding crew figures.
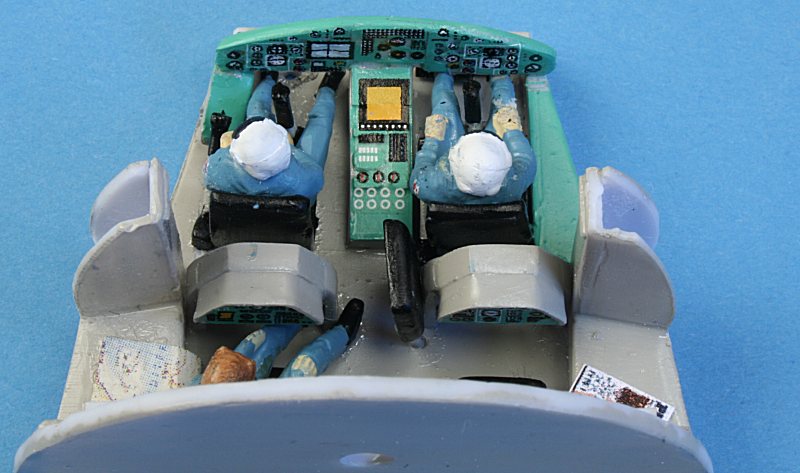
Overhead view of the cockpit - decals are from the Begemot sheet, the
map and Playboy magazine are mine!
In this shot I have not yet added any seatbelts.
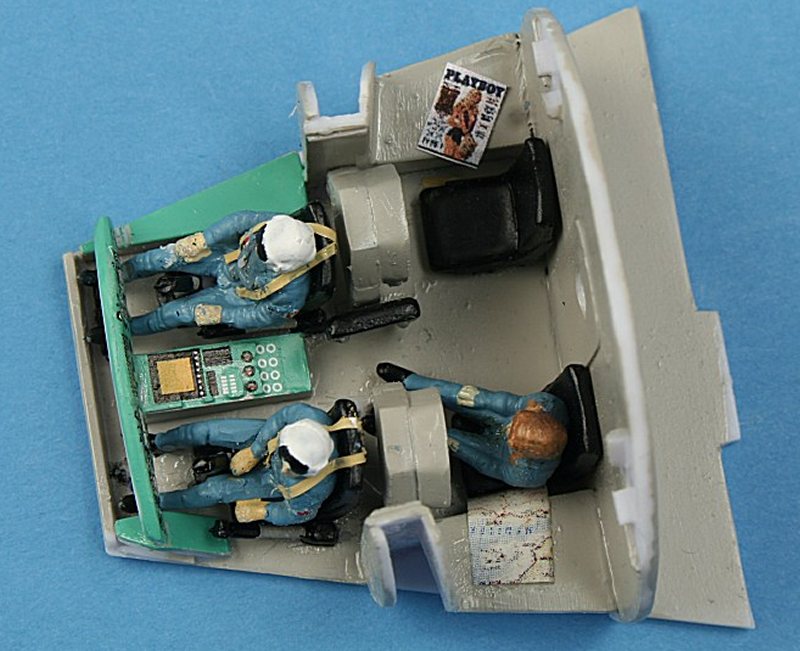
Shoulder harnesses added to the pilot & co-pilot - the fourth
crewman is down the back looking over the ramp.
The figures are from a Su-27UB - with their oxygen masks removed. The
pilot also has his arms & head moved.
The flight engineer is from a WWII kit - with a leather flying
helmet.
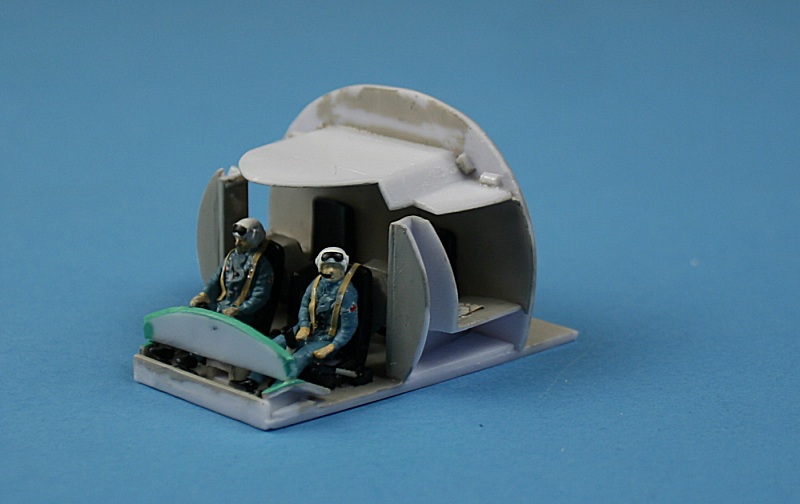
The cockpit now has its internal roof in place and the whole assembly
is ready to go inside the forward cockpit halves....
There is a slight mis-match between the two cockpit halves - but the
plastic is pliable - so it shouldn't be a problem to sort out.
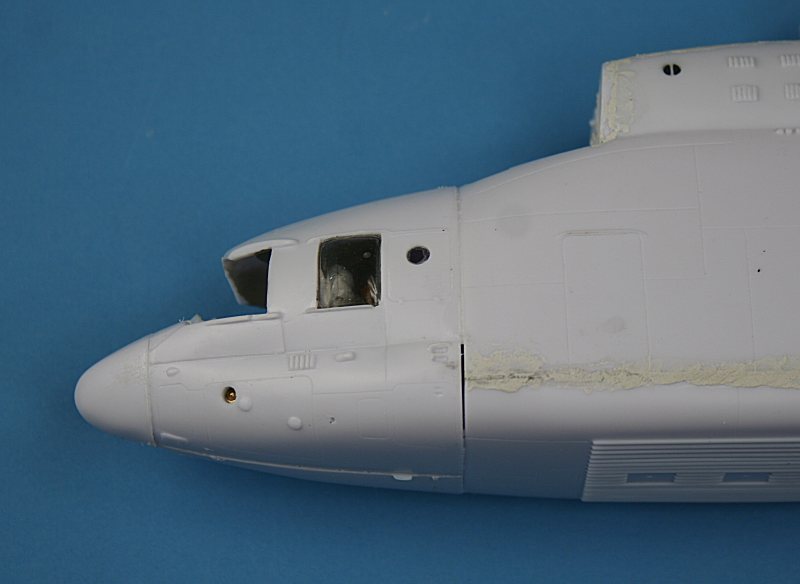
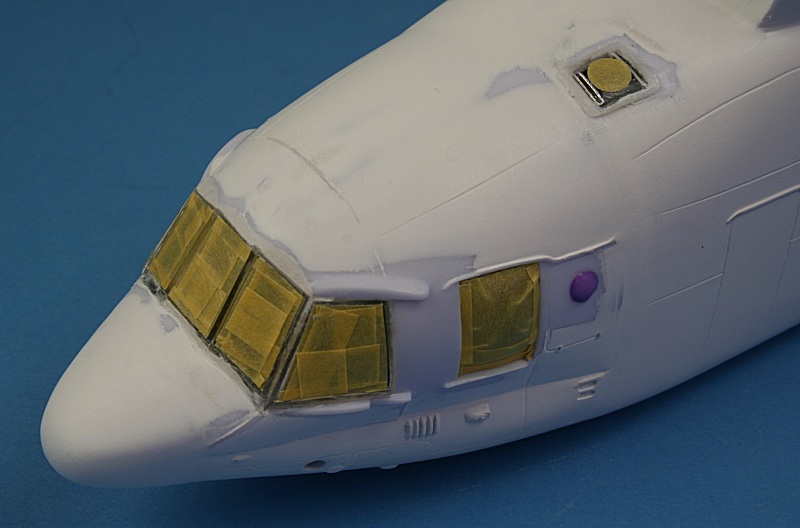
The nose section proved to be the most difficult to attach - due to the
differences in cross-section between the two parts.
A lot of clamping at squeezing was required to get the parts to fit
together.
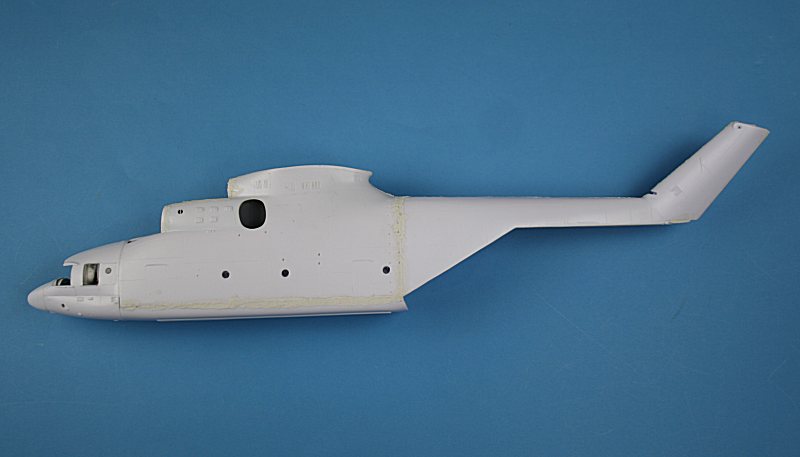
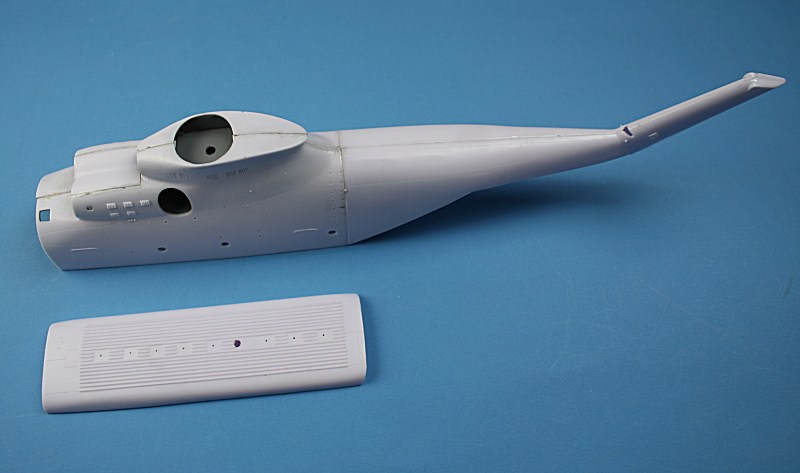
At long last all the major airframe parts are glued together - ready
for a marathon sanding session....
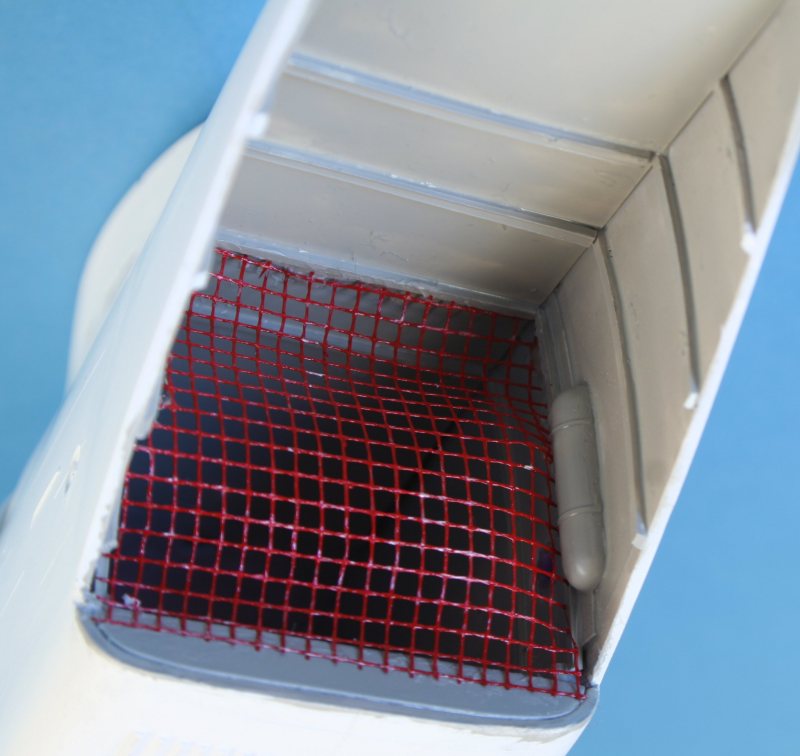
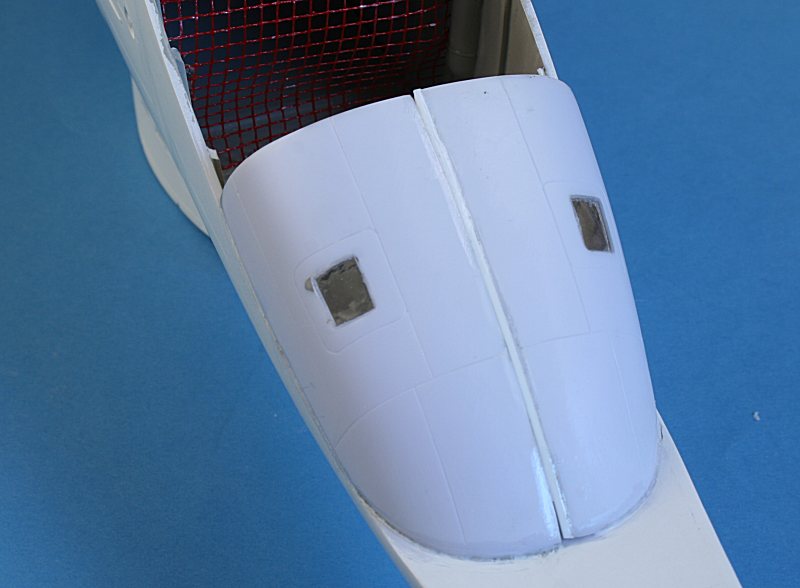
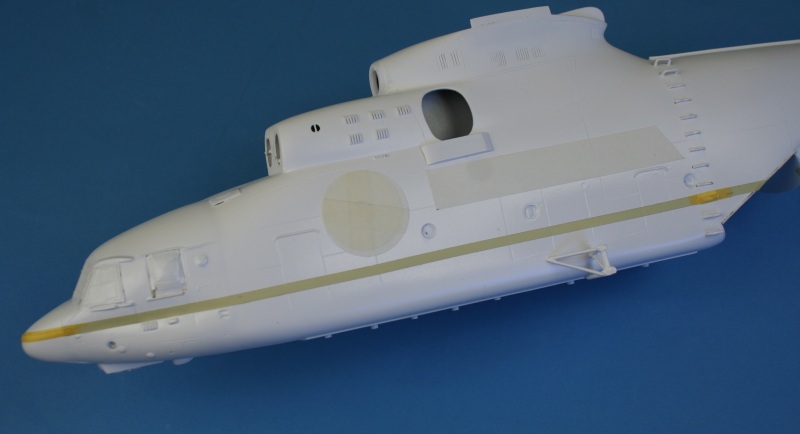
Because the Halo I am modelling has the rear ramp removed, I had to add
some interior detail to the very visible area inside
the rear fuselage. To hide the lack of other interior detail, I have
added a mesh barrier - purely conjectural!
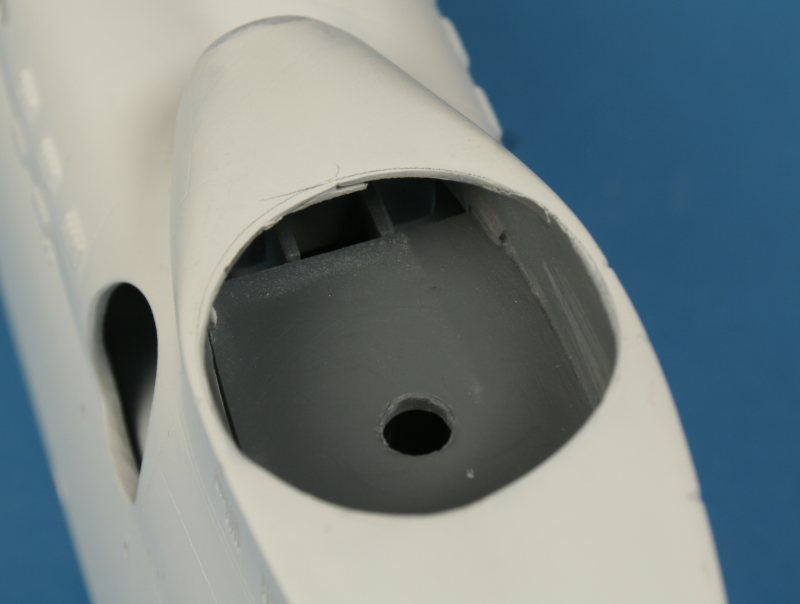
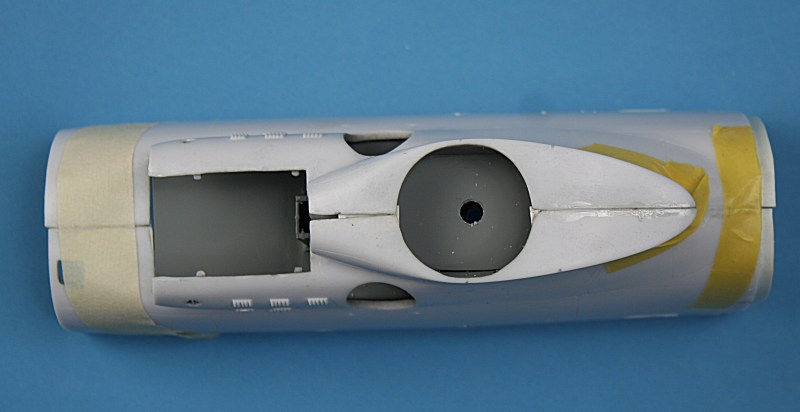
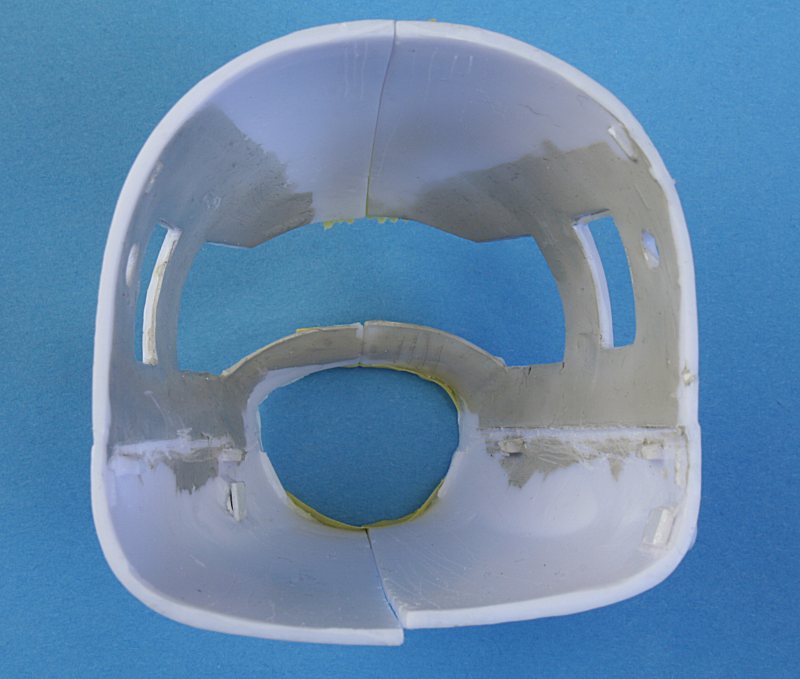
The area inside the main rotor housing is bare - and open.........
....so I have boxed it in with thin plastic card. I don't know if the
real thing is like this - but it looks a lot better than having
daylight show through. The main rotor hub covers most of this anyway.
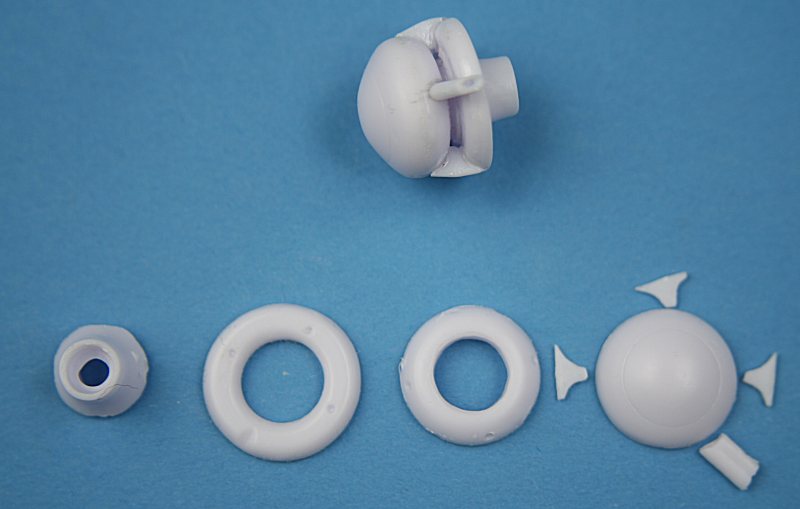
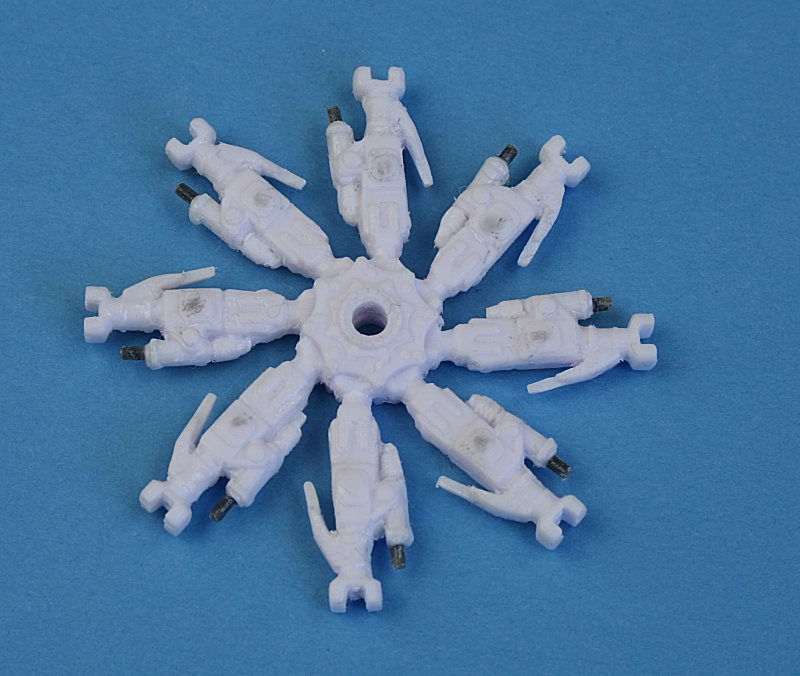
The complex main intake particle separator consists of eight pieces -
the made-up version is at top.
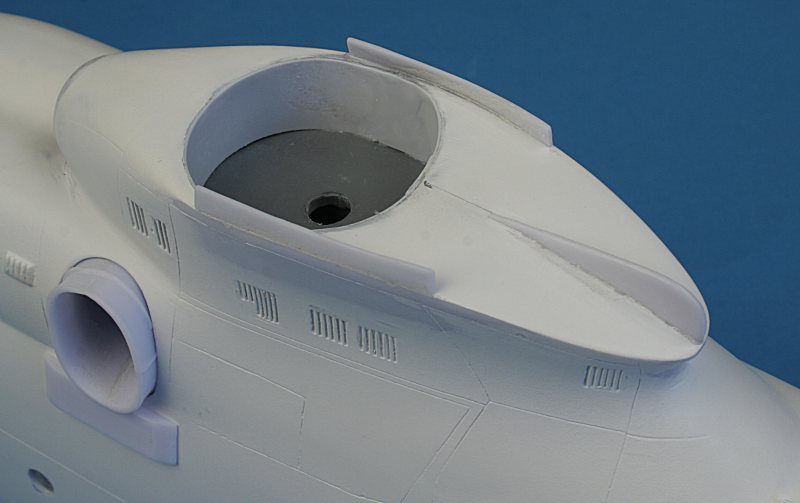
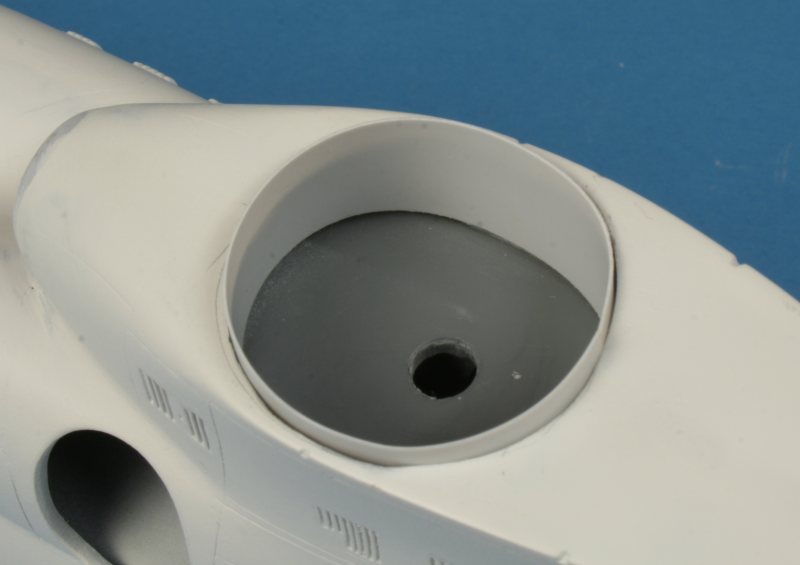
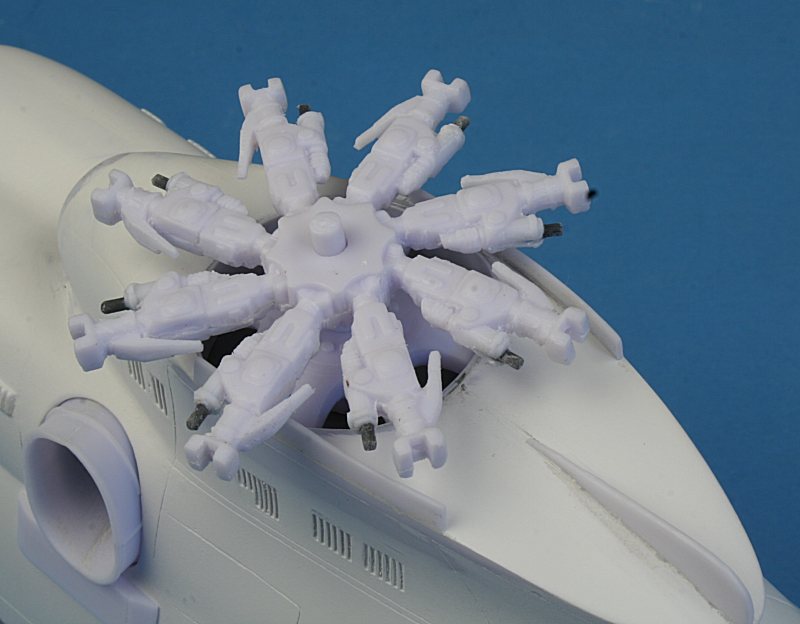
The boxed-in hub area with the addition of various bits of strakery.....
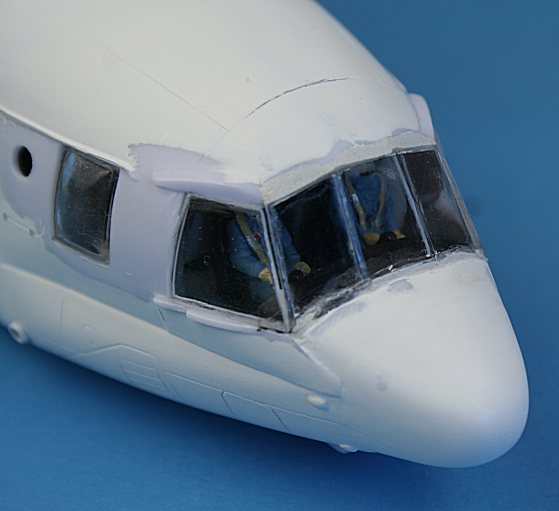
The starboard side window does not fit perfectly - easily fixed with
filler.
The rear clamshell doors needed a sliver of plastic card down the
centre to widen them to fit the fuselage opening...
....but with a bit of filler, it all begins to look OK.
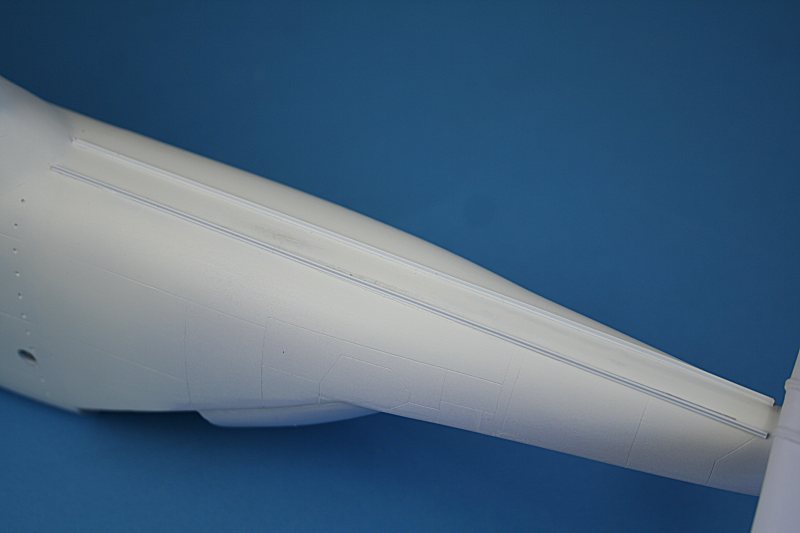
One thing that isn't present on the kit are the two strakes on top of
the tailboom. I added them from inverted T-section Plastruct.

The massive eight-bladed main rotor hub is not the sharpest of
mouldings - I have started to clean up the shaft at the bottom.......
....it starts to look better with the addition of black plastic rod.
Careful painting should help bring out the detail.
This is the rotor hub temporarily in place - note how it hides the
boxed-in well.
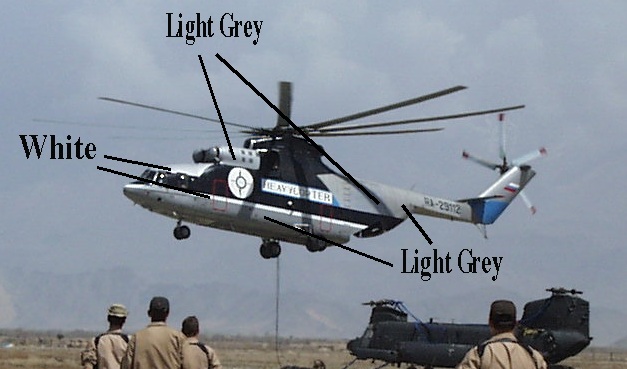
Time for a marathon masking session - no Eduard mask with this kit -
it's all do-it-yourself....
.....after a coat of white primer, followed by gloss white, the white
areas were masked off and the light grey applied......
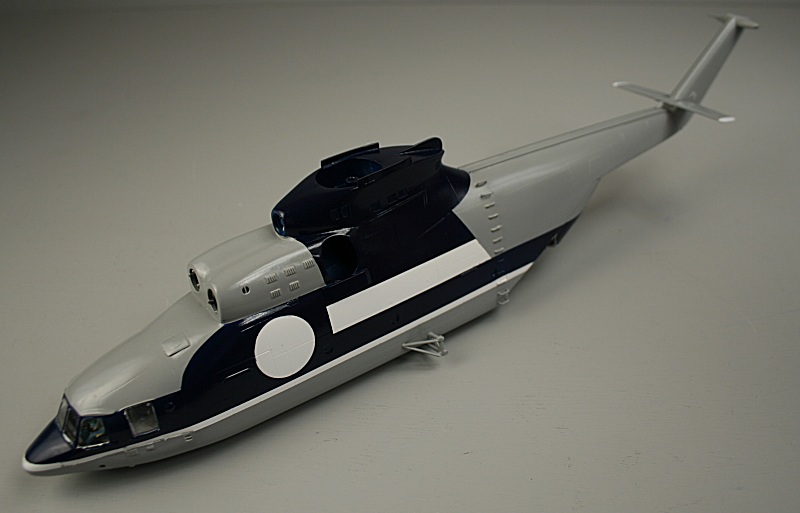
....followed by the dark blue. After de-masking I am quite pleased with
the result - only a couple of areas need touching up.
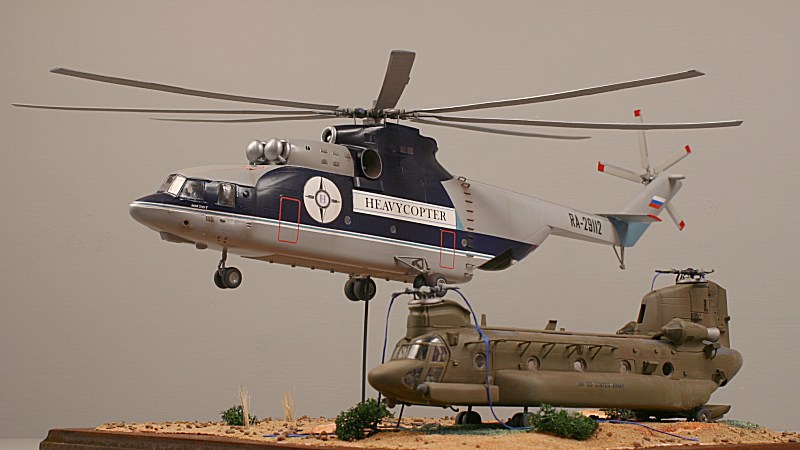
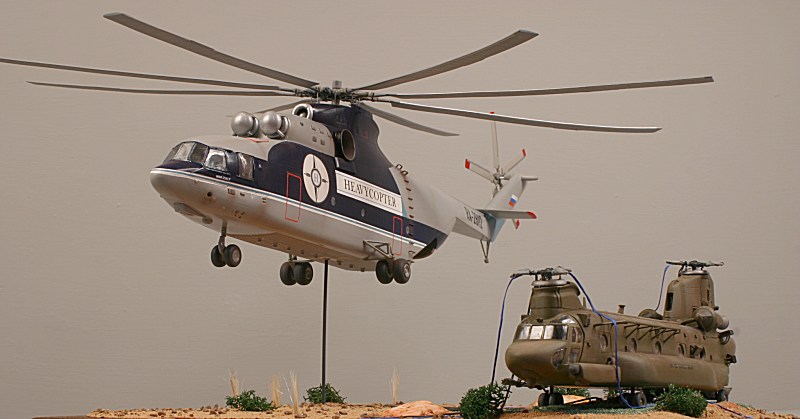
She flies !! ............
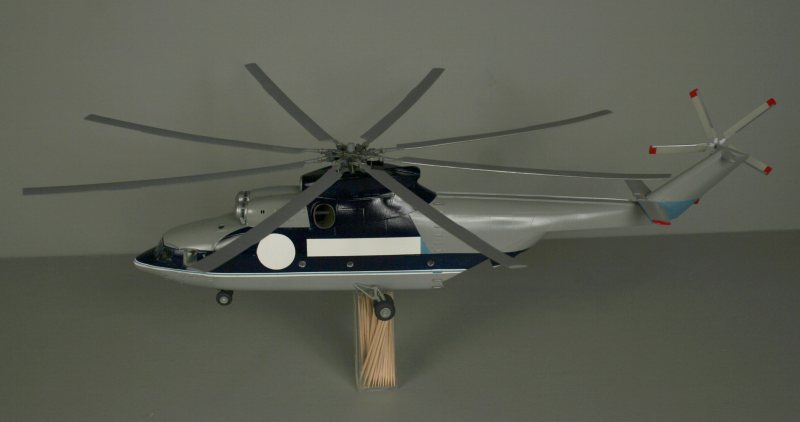
...well - at least she rests on a box of cocktail sticks...
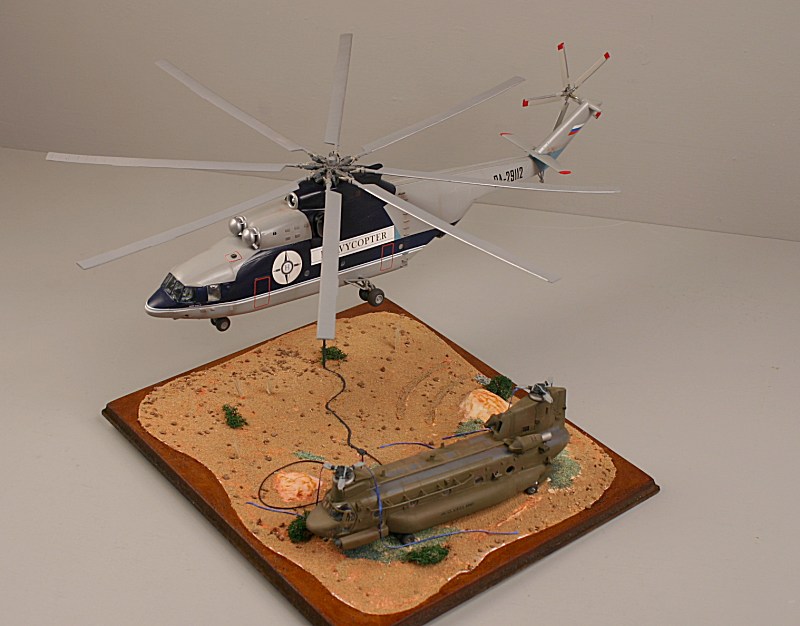
Finished Model
Vertical-T
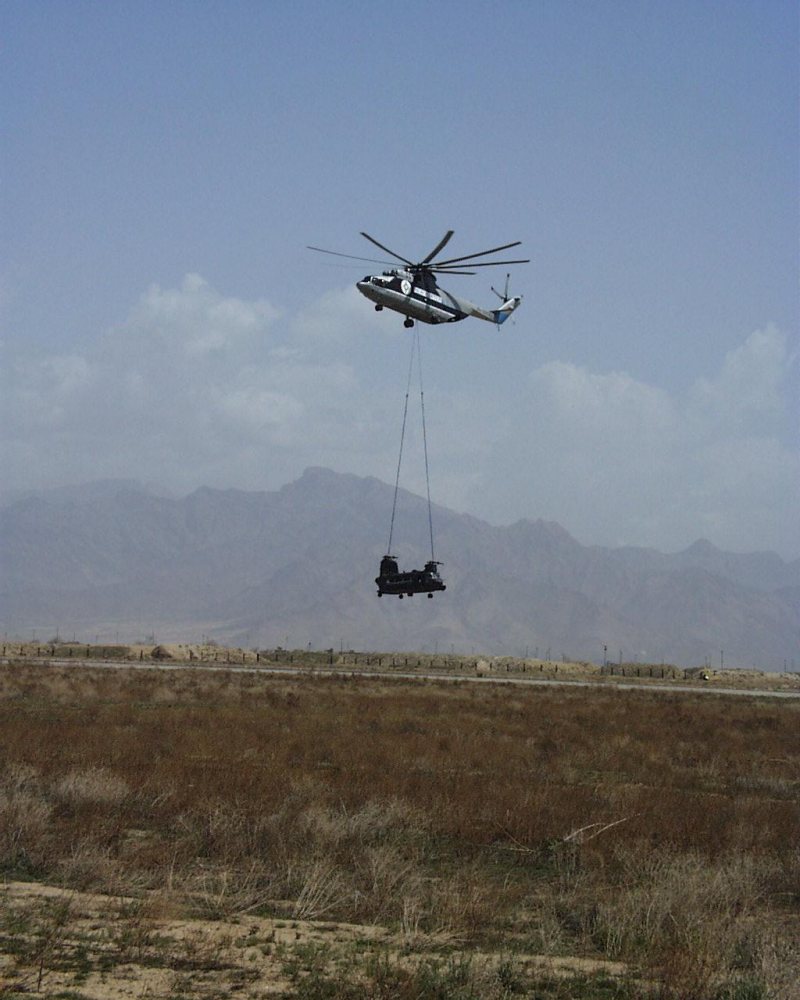
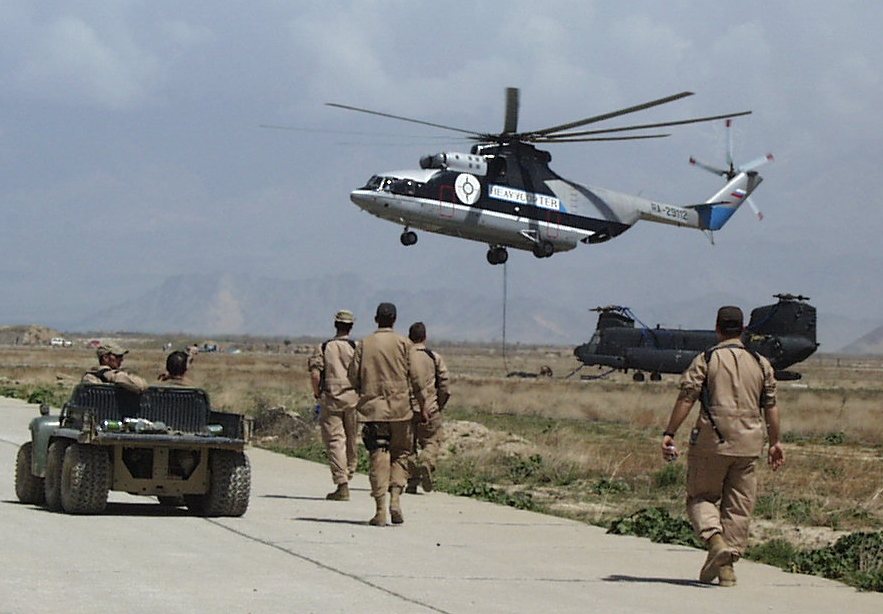
I e-mailed Vertical-T -
never expecting a reply. But a nice lady named Ludmila sent me some
photos of the
Mi-26 recovering the Mh-47E in Afghanistan. There is nothing new - I
had already found them on the web,
but I though it was decent of her to take the time to dig them out and
send them to me!
This is the Halo - after having just deposited the MH-47E.