Su-34
Updating the Italeri kit...
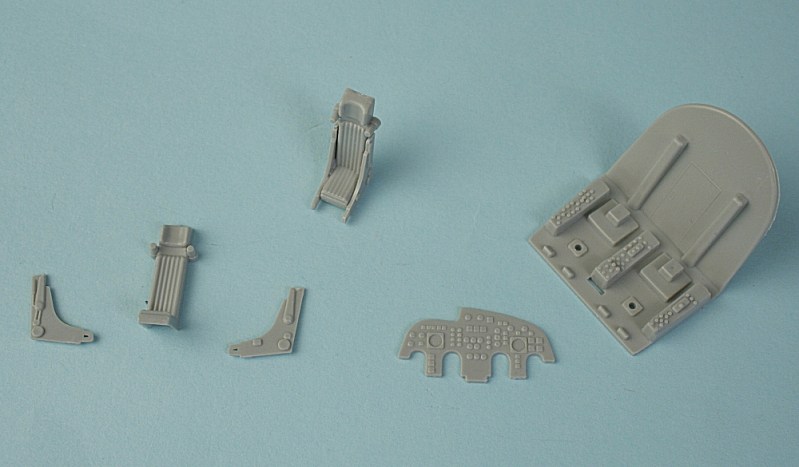
Cockpit parts from the kit.
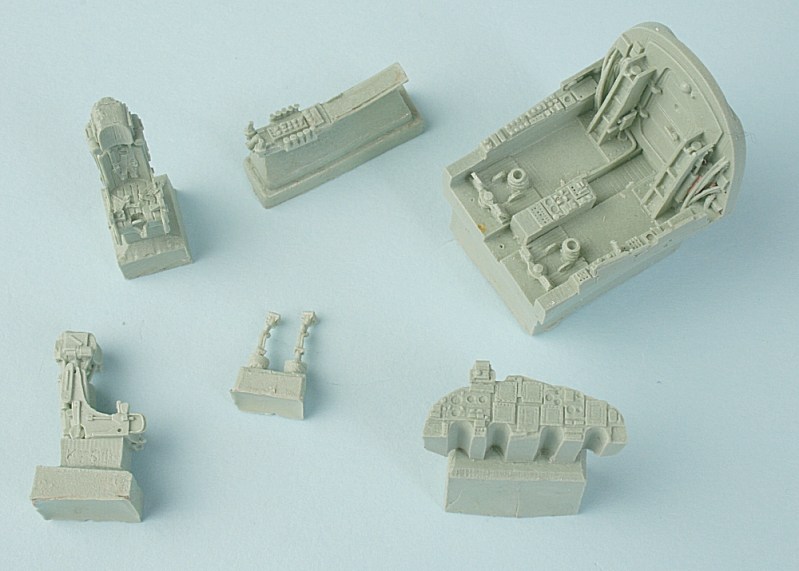
NeOmega resin replacement parts.

A slot needs to be cut into the kit coaming to accomodate the resin part.
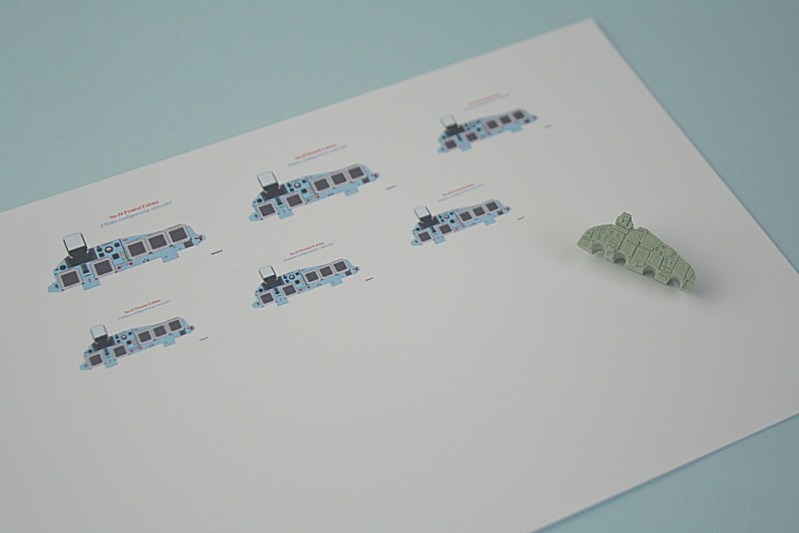
New instrument panel from a web image printed onto photo paper. The detail on the resin panel has to be sanded off.
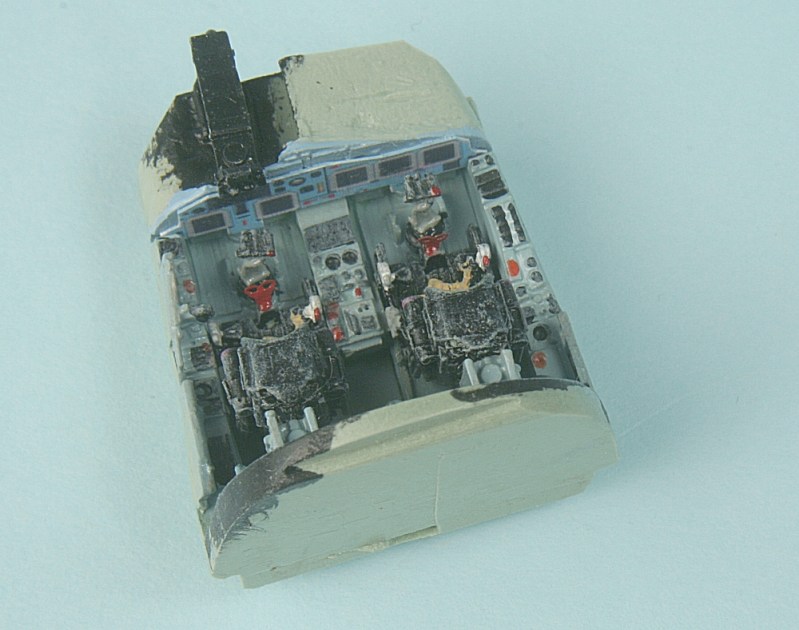
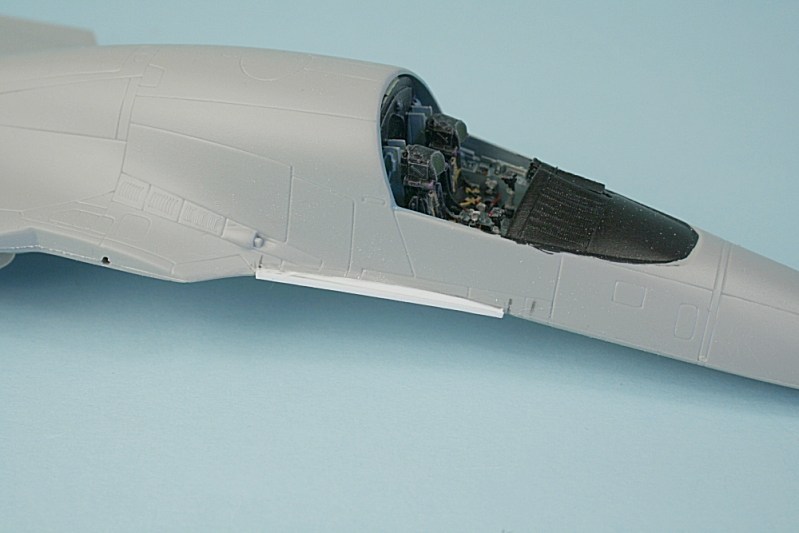
Assembled and painted resin cockpit.
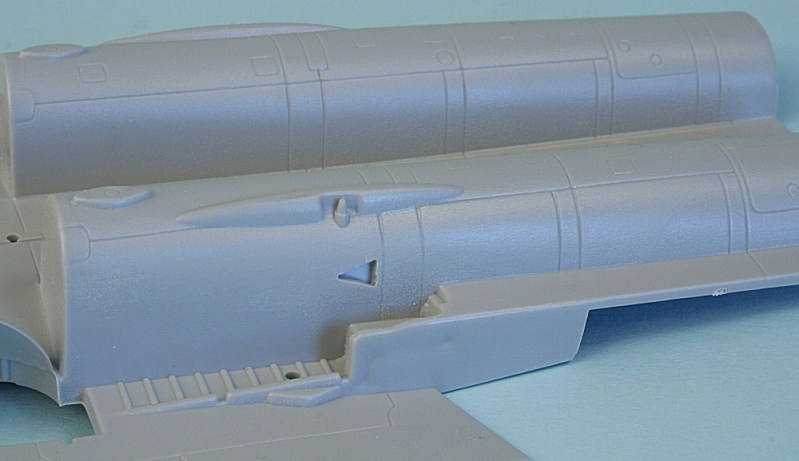
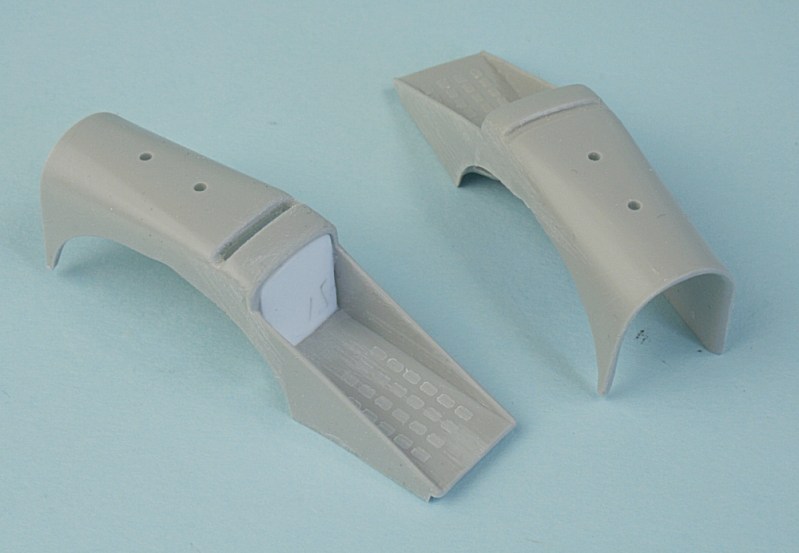
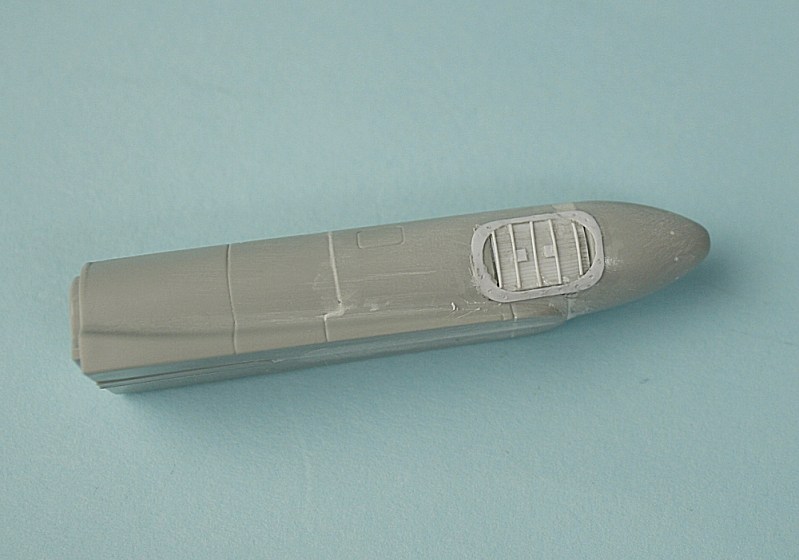
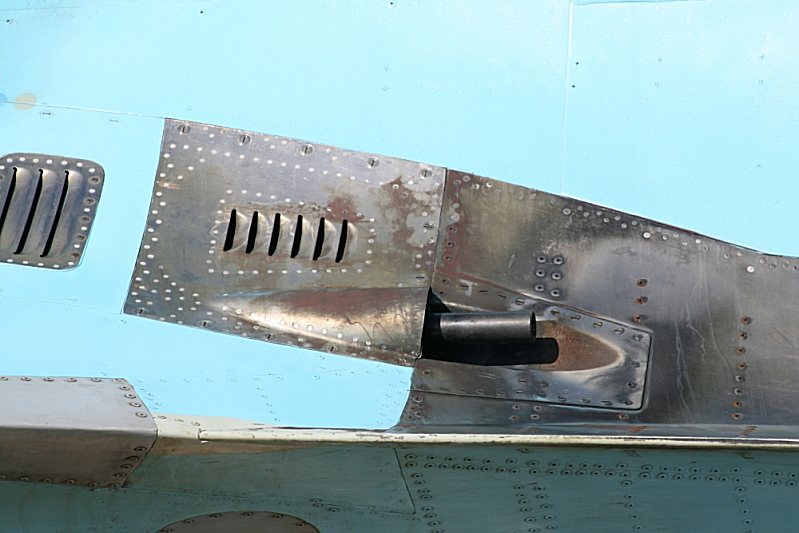
NACA-style intake in the engine trunking.
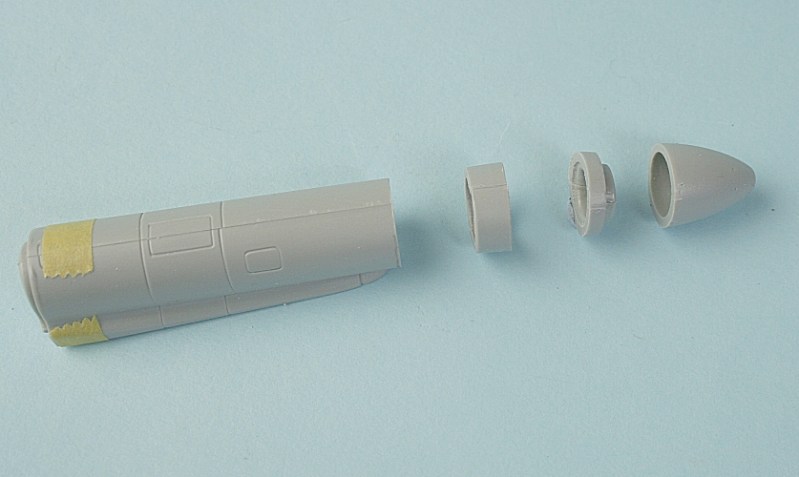
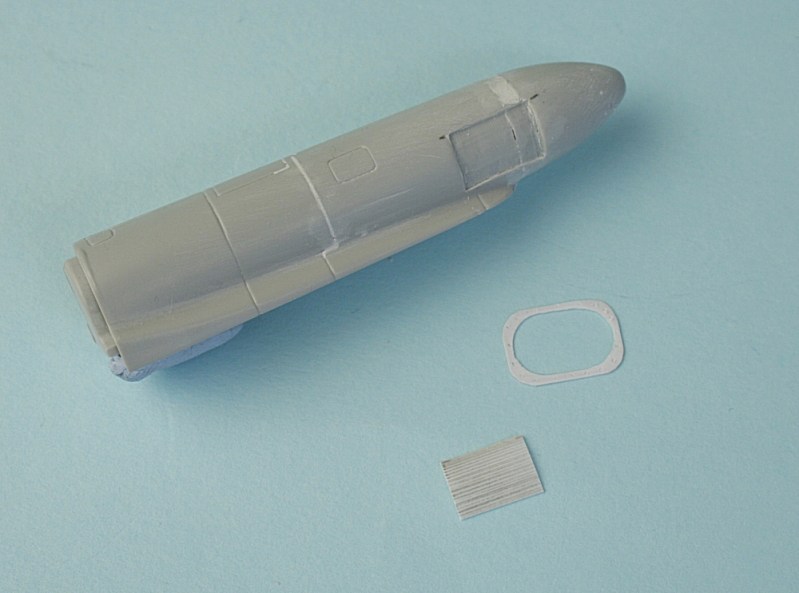
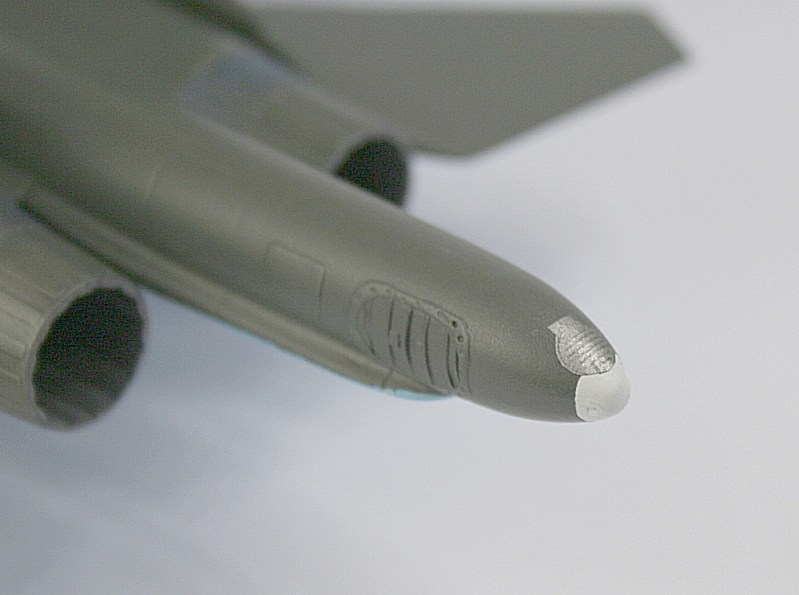
The tailcone needs to be shortened by 6mm.
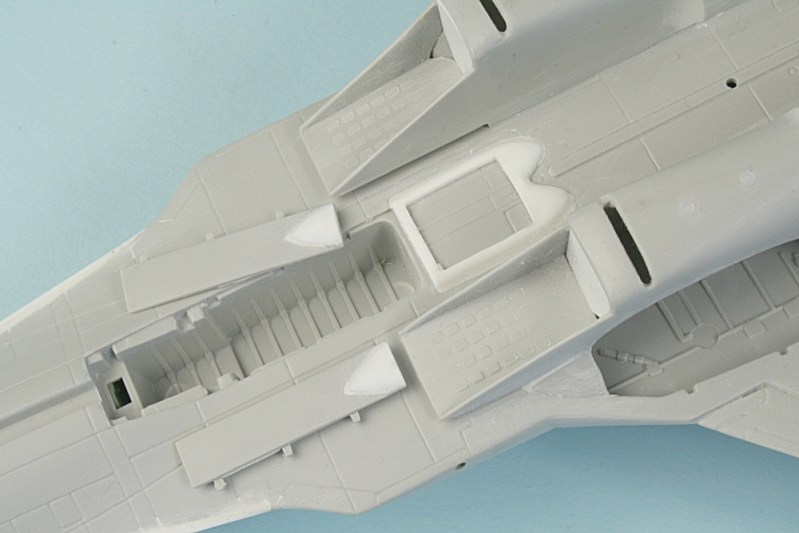
Plastic card used to make the recess for the UOMZ ‘Platan’electro-optical targeting system.
New LERX before being blended in.
Intakes – with underside slots opened and fronts blanked off.
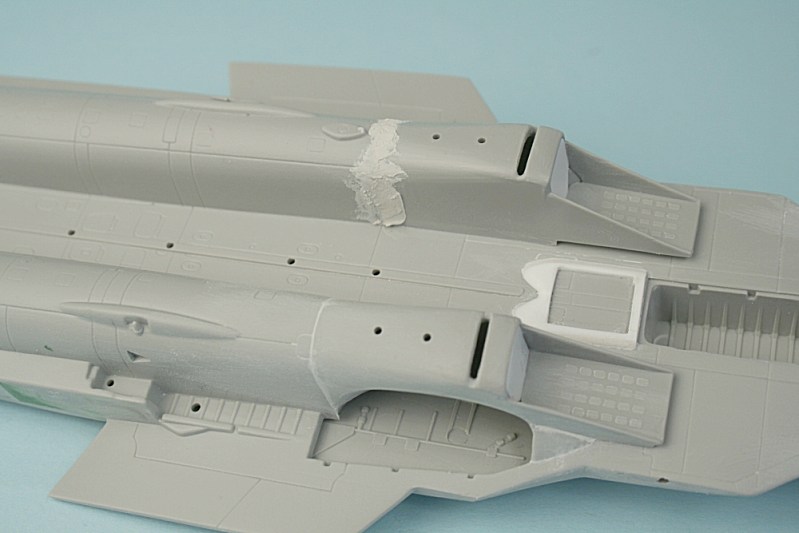
Filler is needed on the intakes.
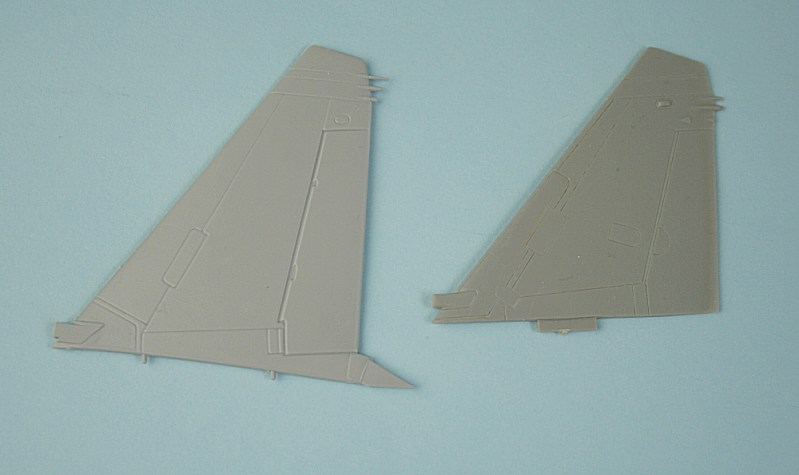
The Su-27UB-style kit fins (left) are incorrect - they should be replaced by single-seater fins (right).
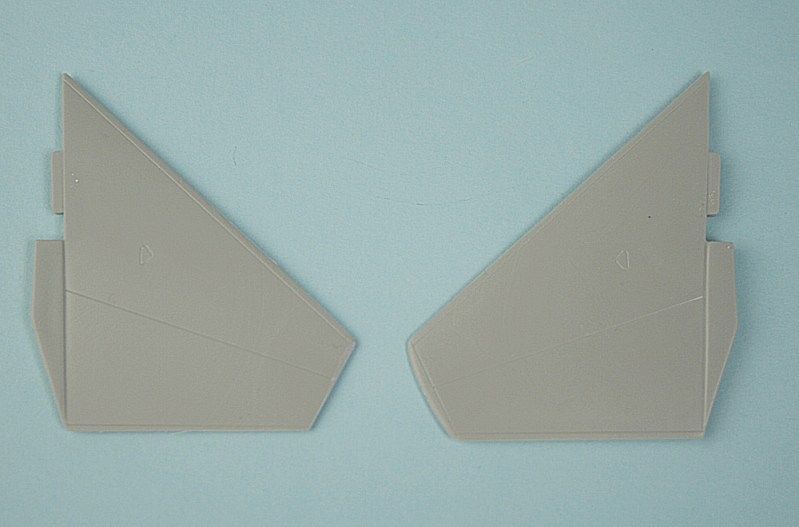
The horizontal stabilators should have a straight tip (left).

Single-seat fins grafted onto kit fin base - but they are too far inboard.
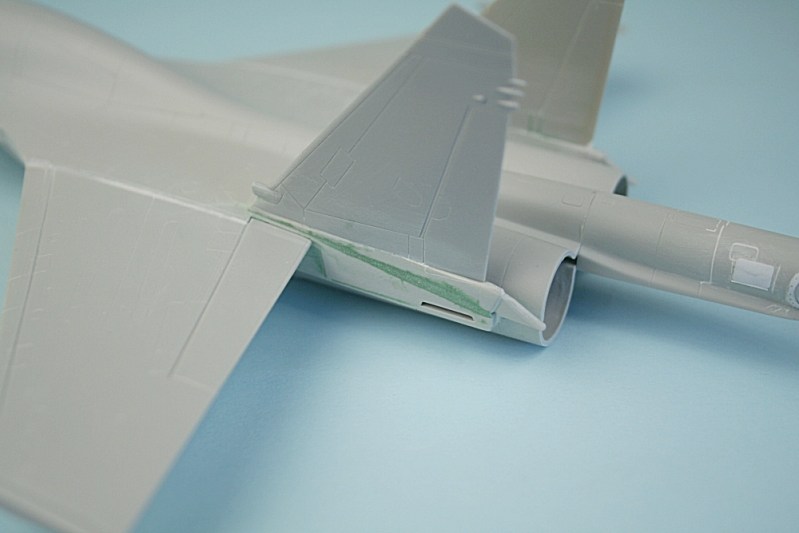
Fins moved outboard and blended in with filler.
Scratch-built APU intake.
A bit crude - but it's OK.
New intake and strake from plastic card - on both sides.
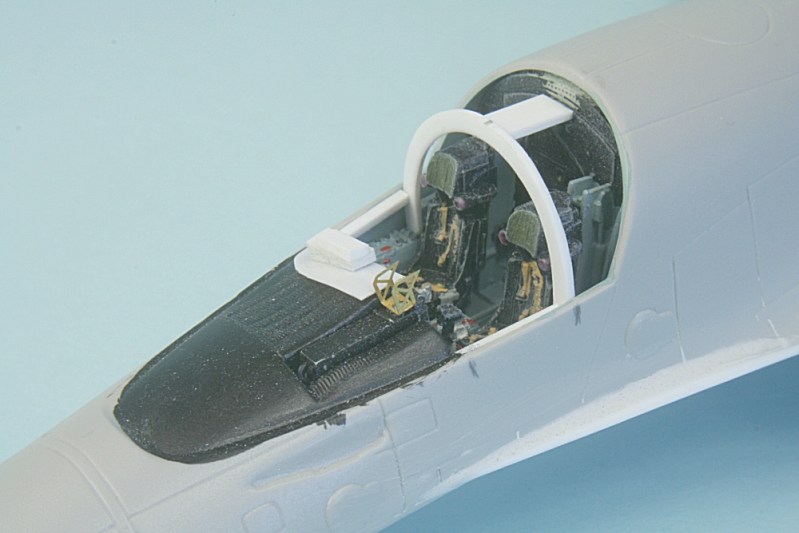
Making the cockpit interior – note the blended-in LERX.
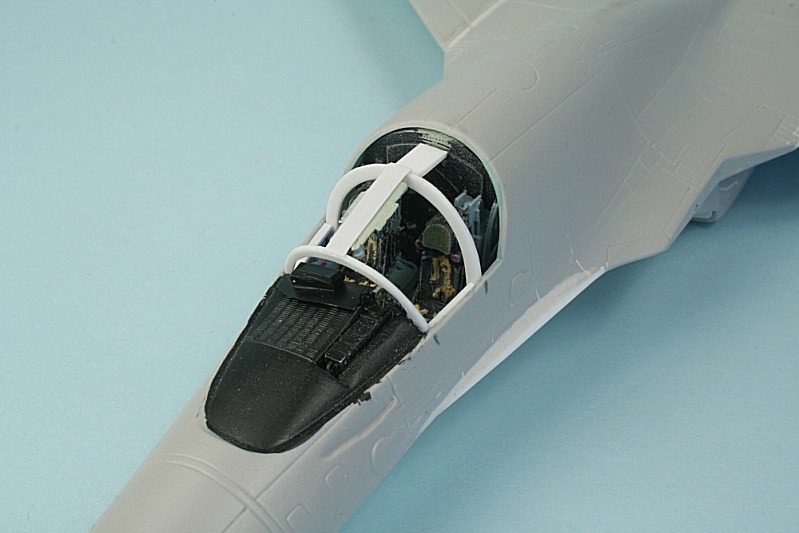
Front interior arch added.
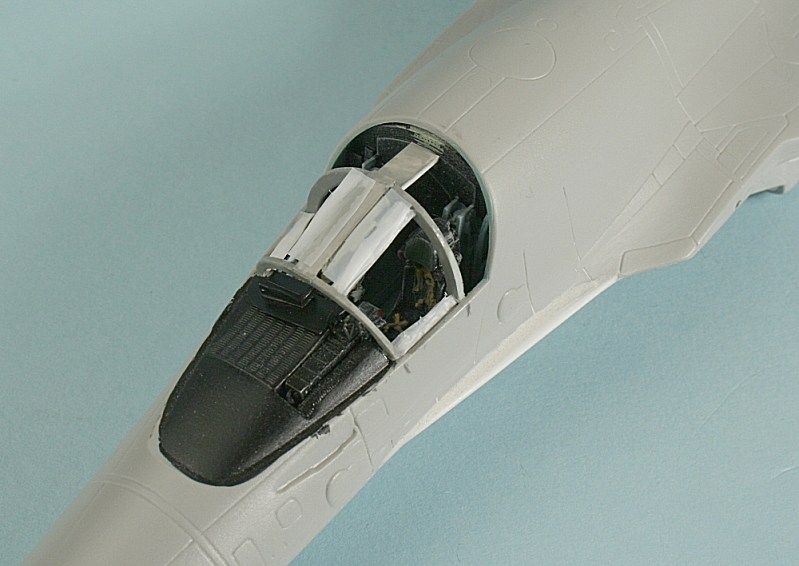
Shutter blinds made from folded plastic
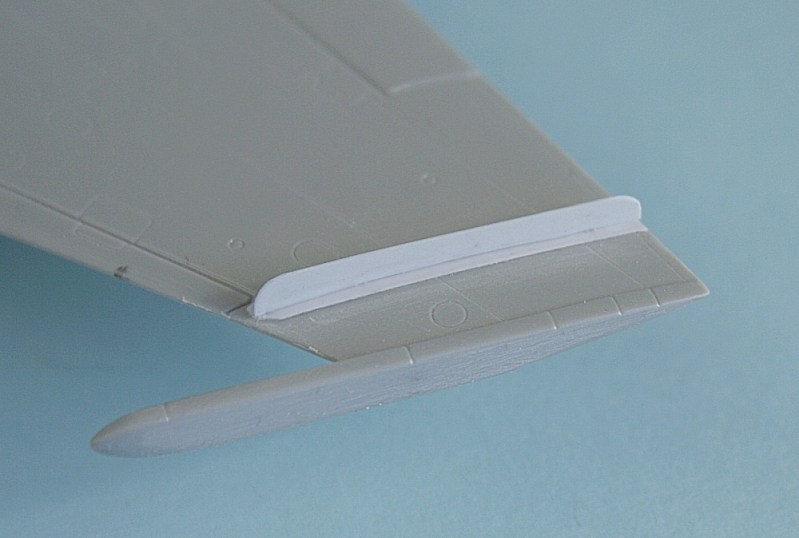
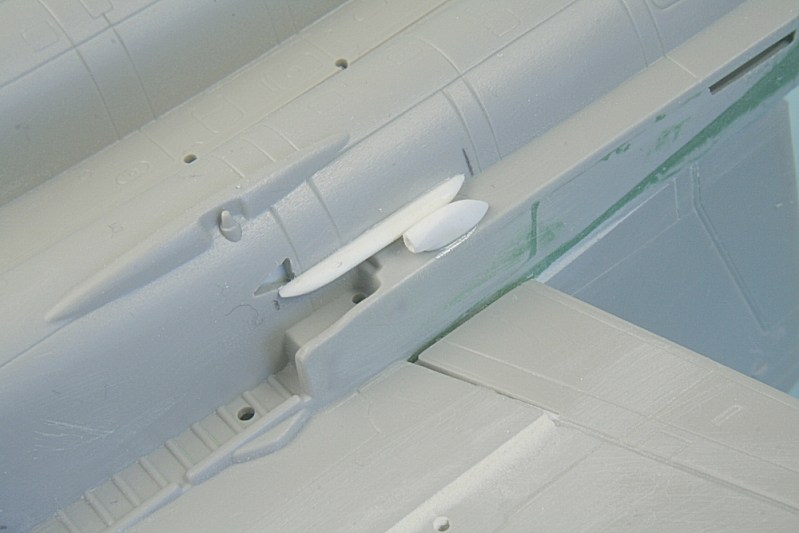
New wing fence from plastic card.

Strengthening strap and LERX.
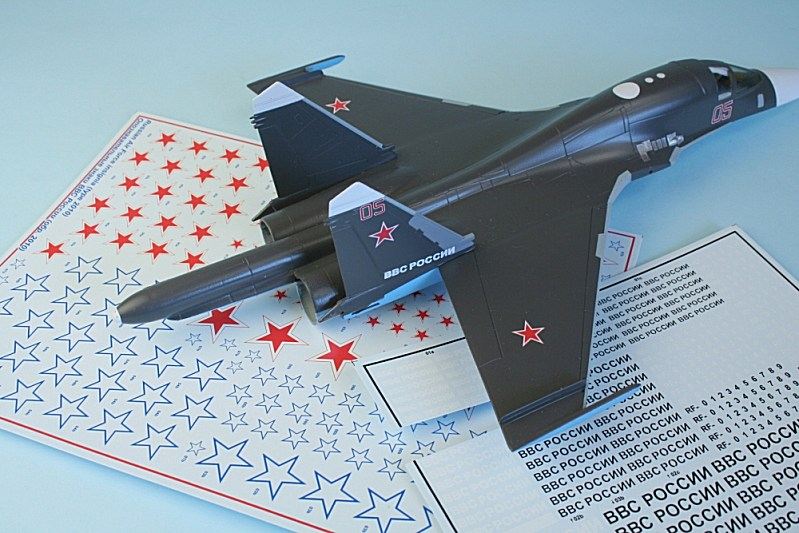
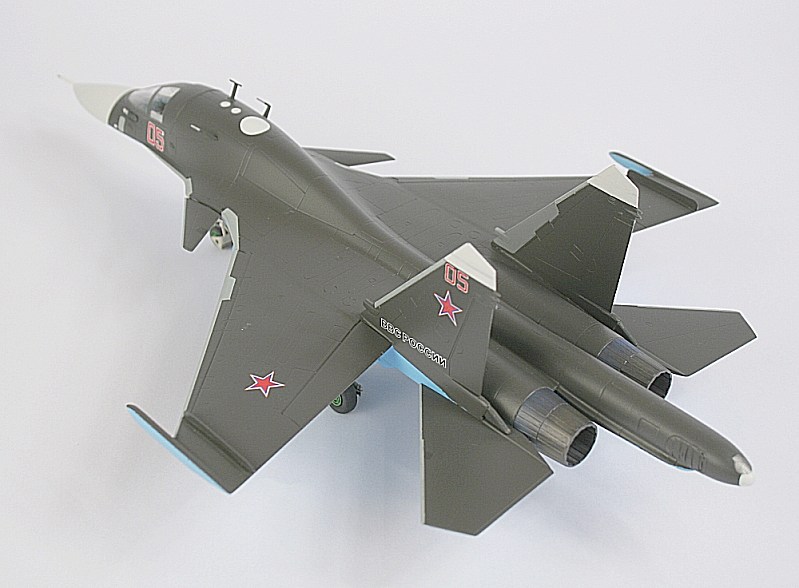
Begemot decal sheets for new 3-colour stars and 'VVS Rosiya' logo.
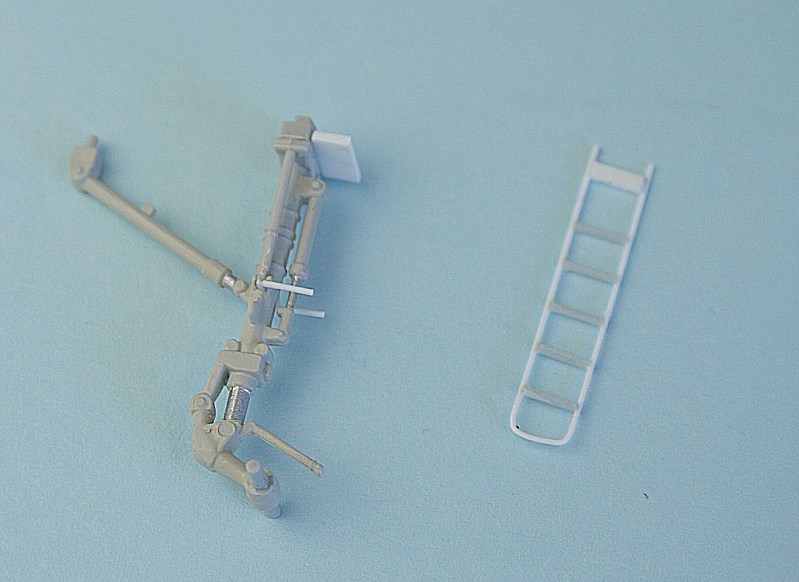
New scratch-build boarding ladder.
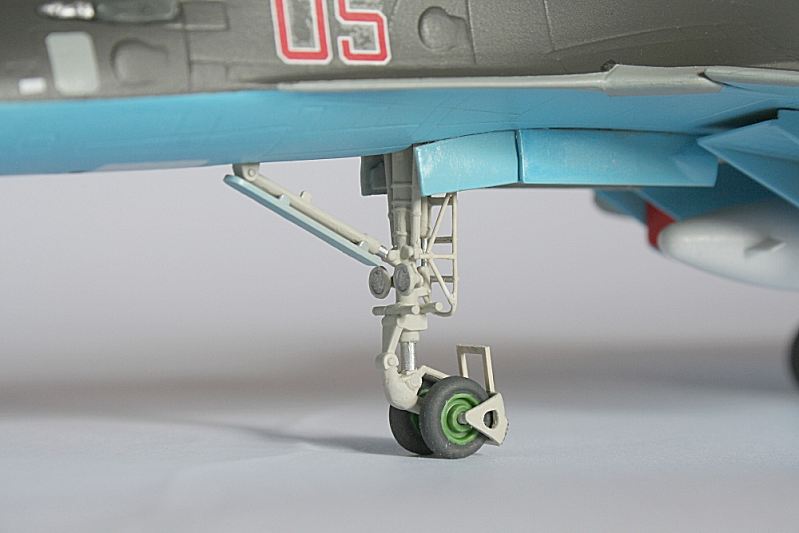
Finished ladder – note the modified mudguard with step
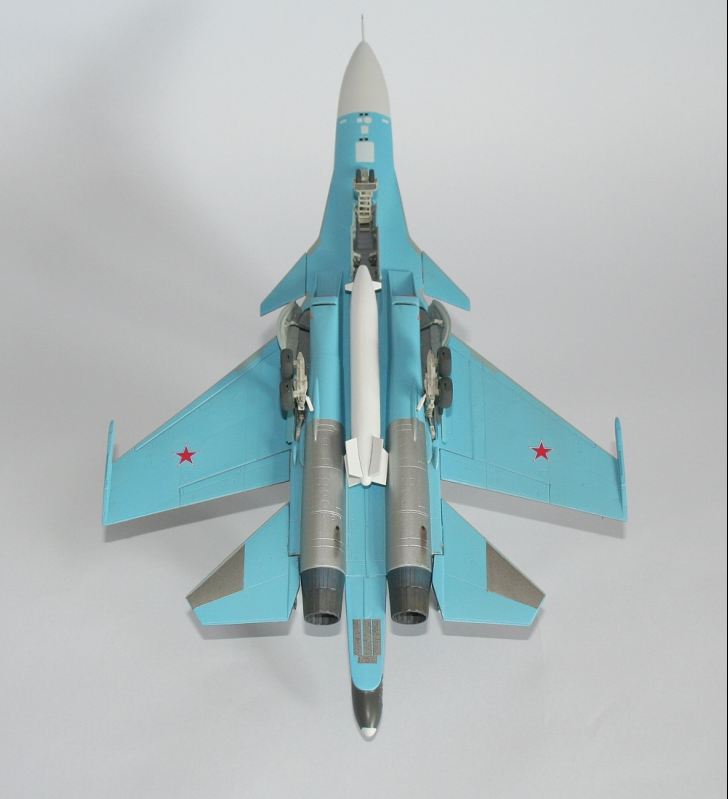
Underside view showing drop tank from a Su-24 kit.
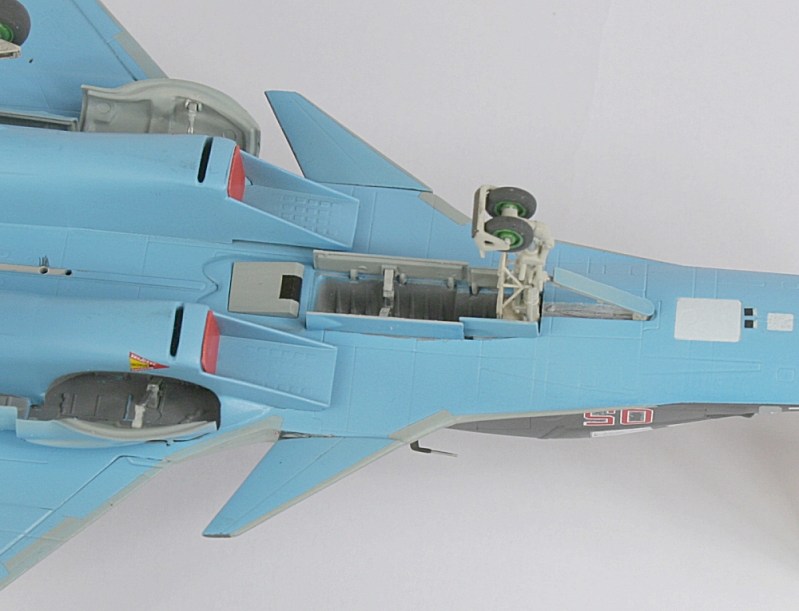
The Platan targeting pod deployed.
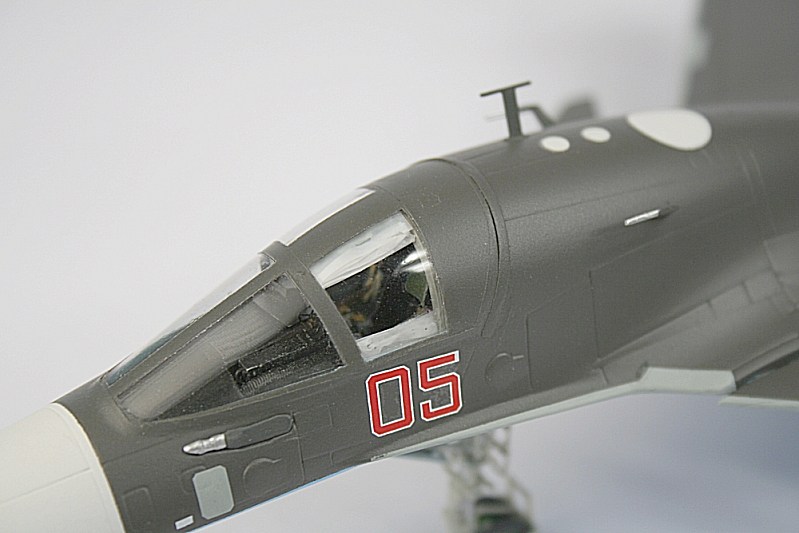
Close up of the shutter blinds
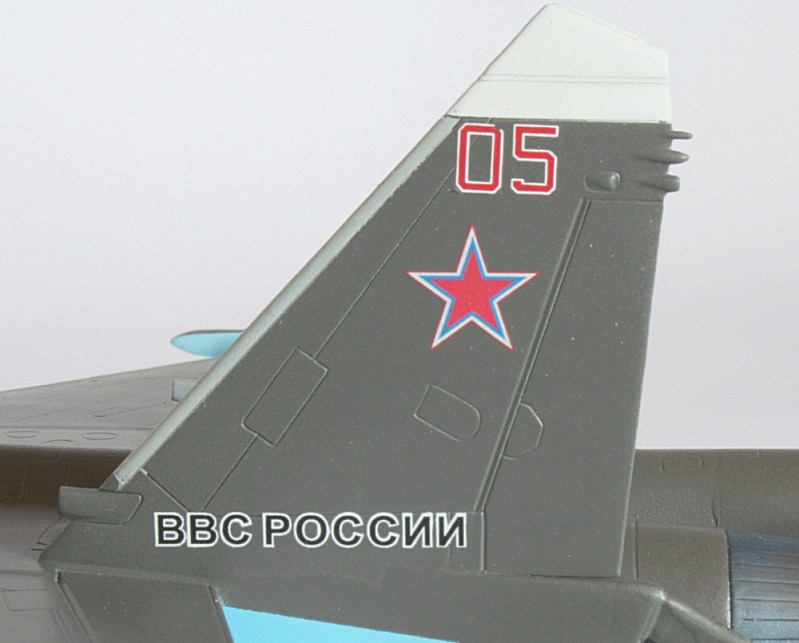
New 'VVS Russia' titles.
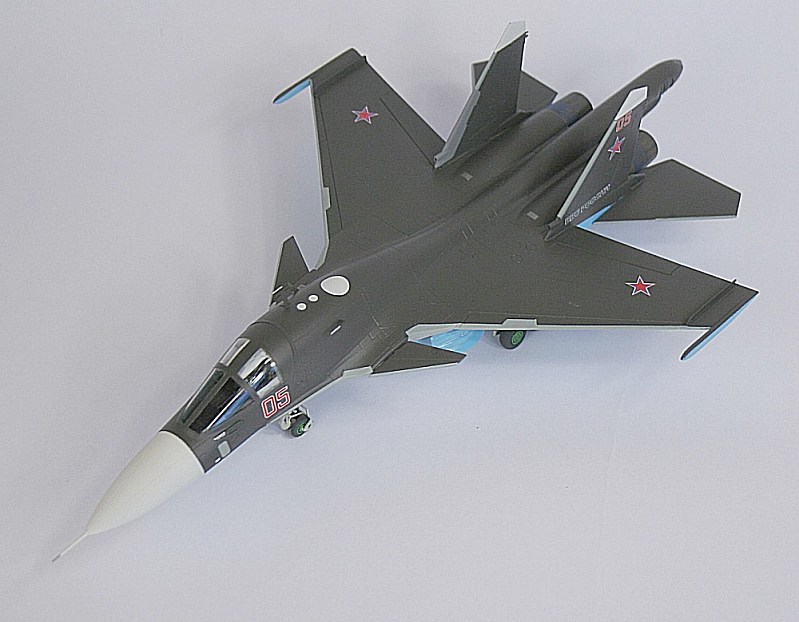
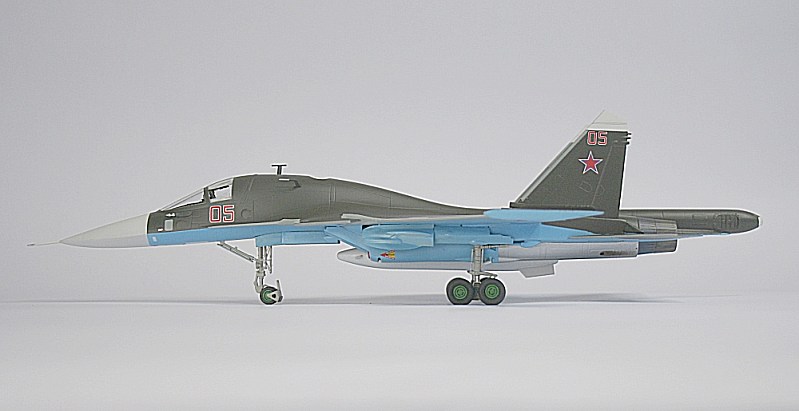
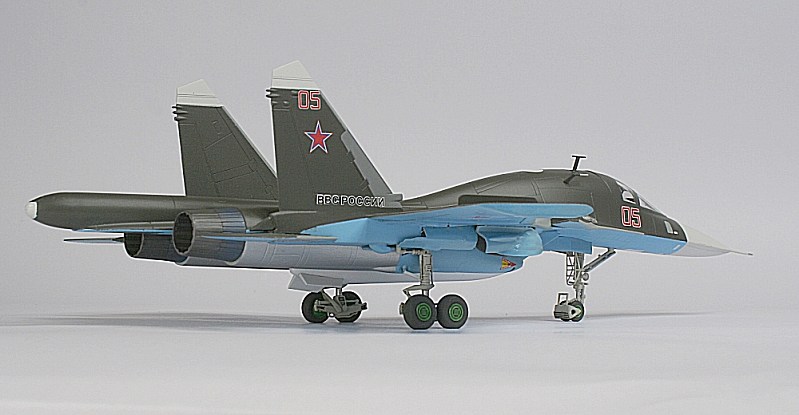
Some photos of the finished model.......

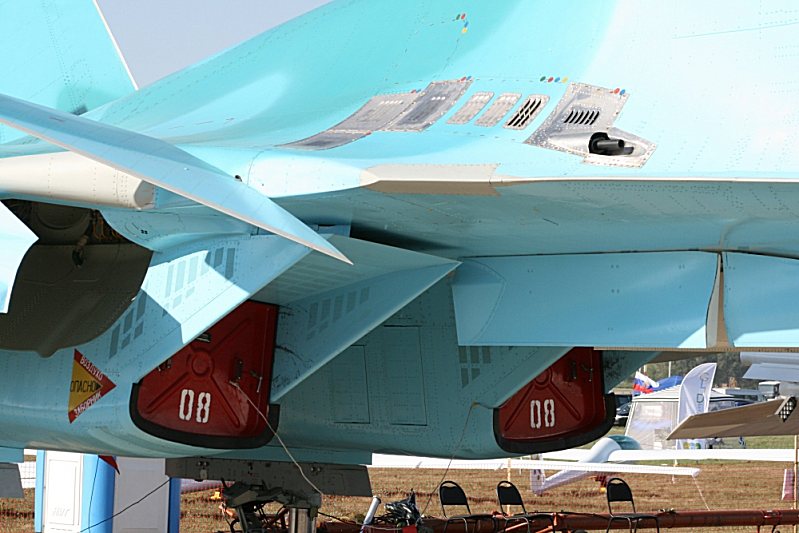
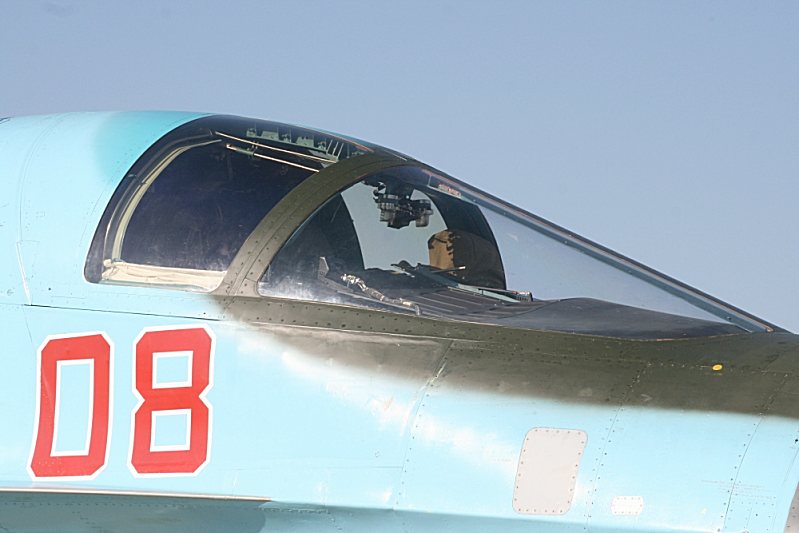
The Real thing...
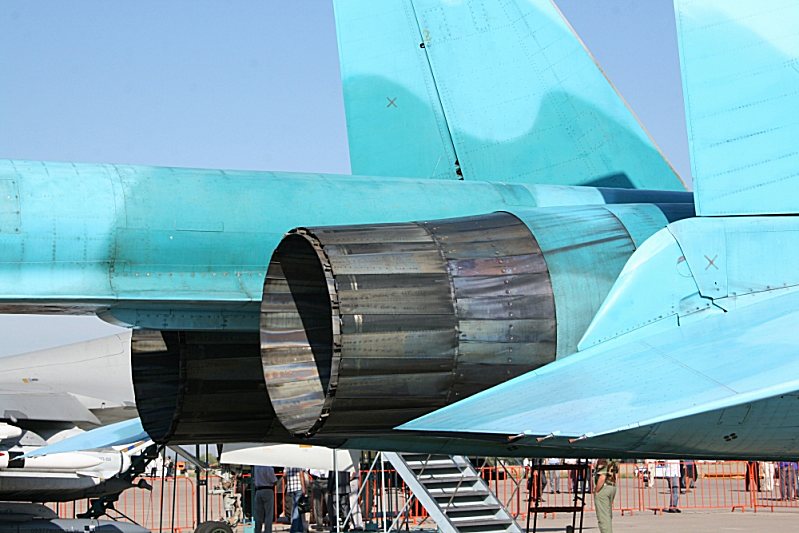
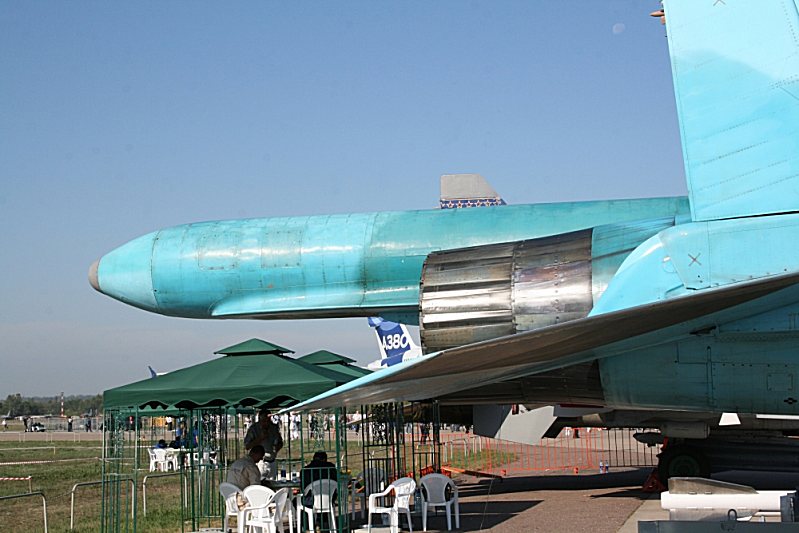
This is a test machine - and is not fitted with the APU in the tailboom.
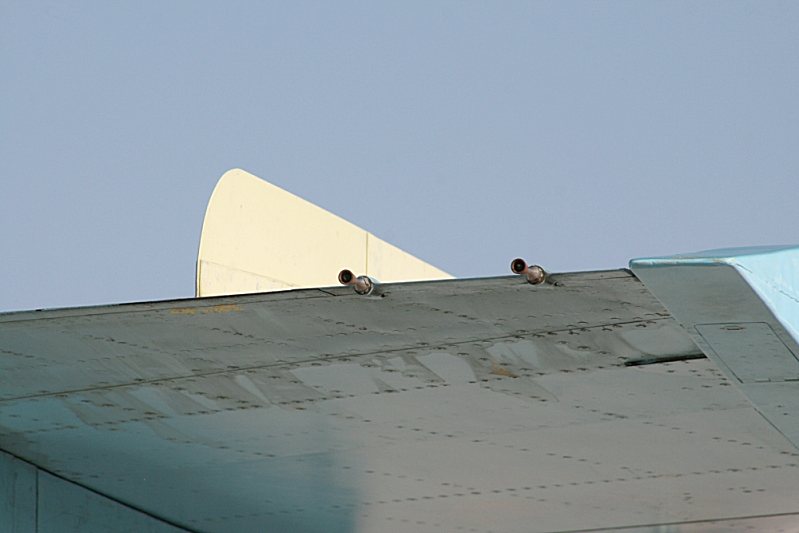
New wing fence.
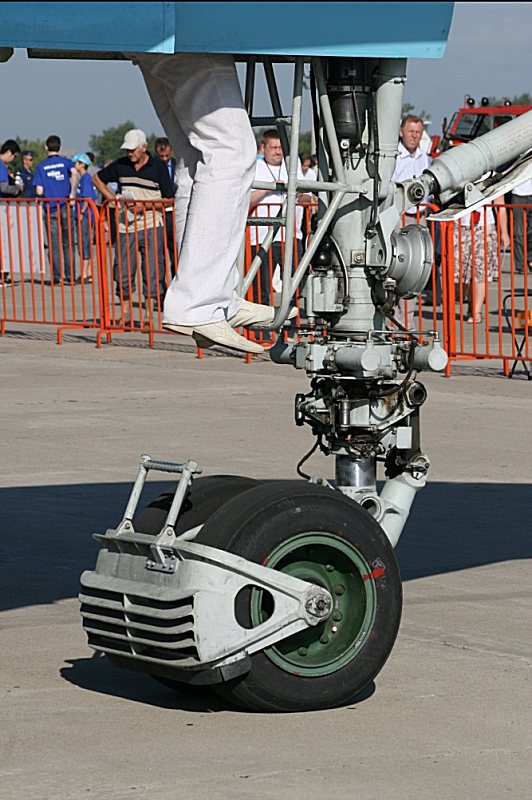
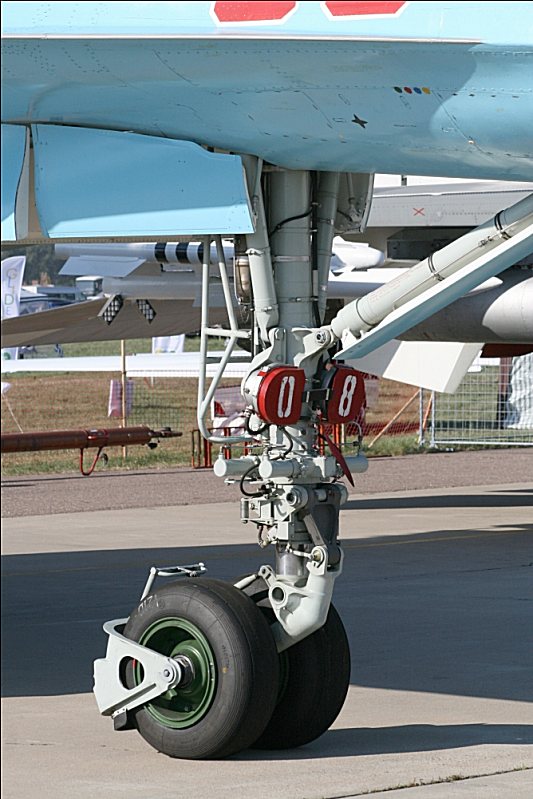
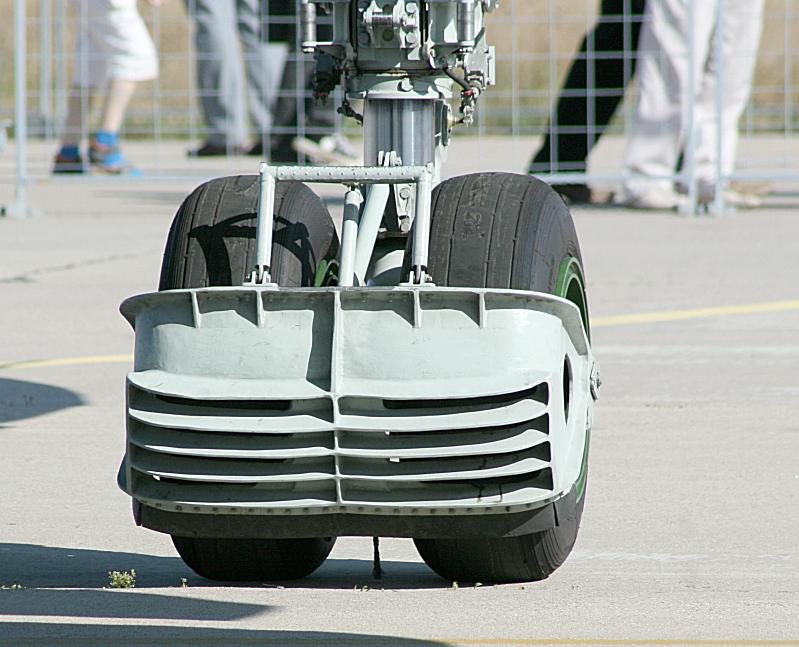
Note the fairing at the rear of the nose gear door for the ‘Platan’electro-optical targeting system.

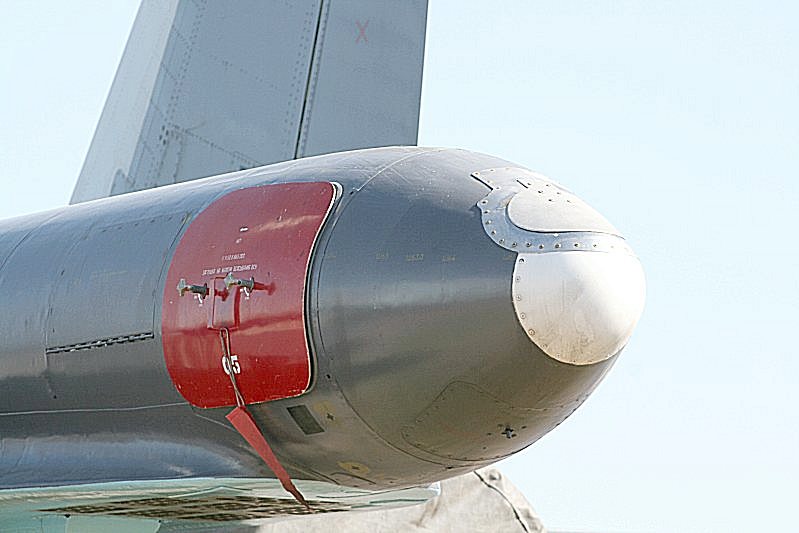
If you don't want to scratch-build the APU intake - you can always fit its cover!
Ken Duffey
June 2013