Sukhoi Su-35
4++ Generation Flanker
Now that there are some good photos showing the top and bottom camouflage patterns,
I thought I'd have a go at making a model of the brand new Su-27BM/Su-35 Flanker using the Airfix kit.
What I am aiming for.....
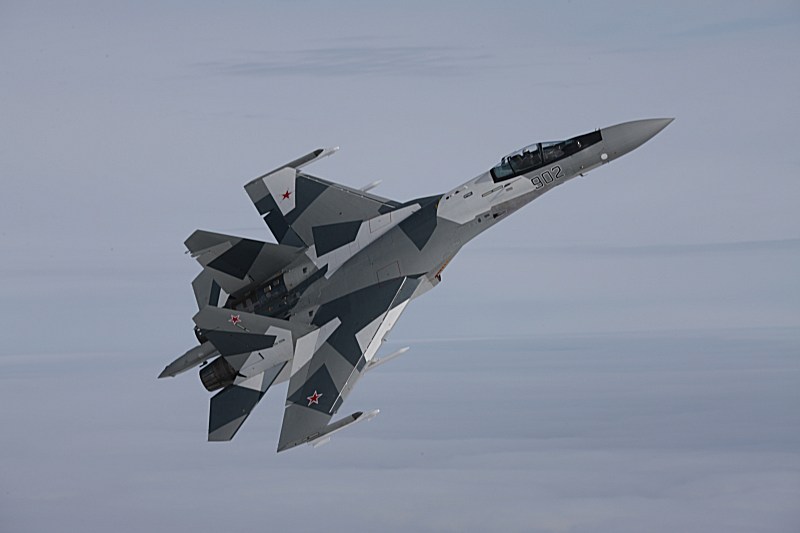
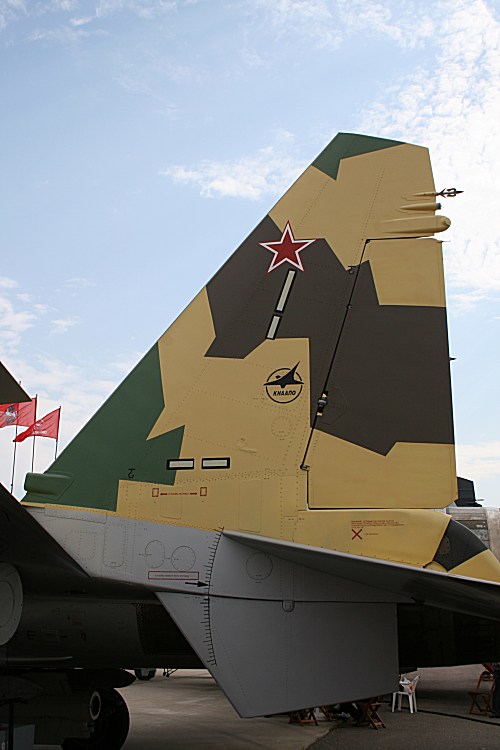
The second prototype Su-35 in its distinctive 3-colour splinter camo..
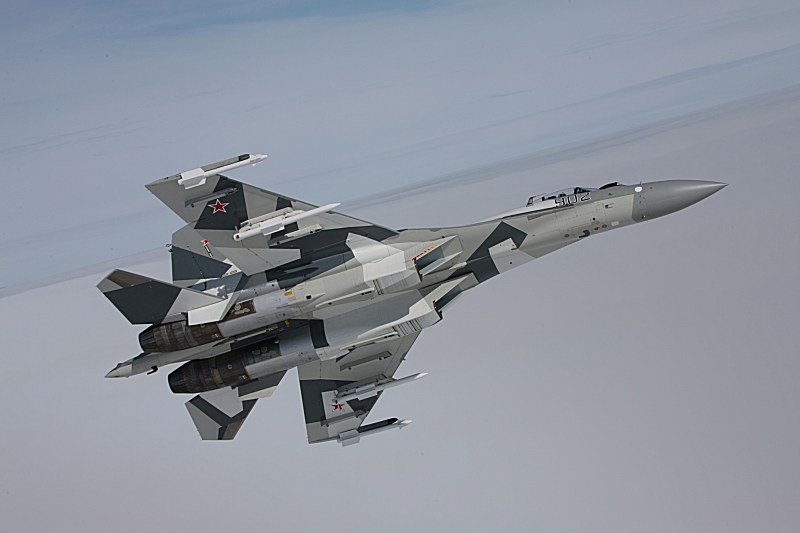
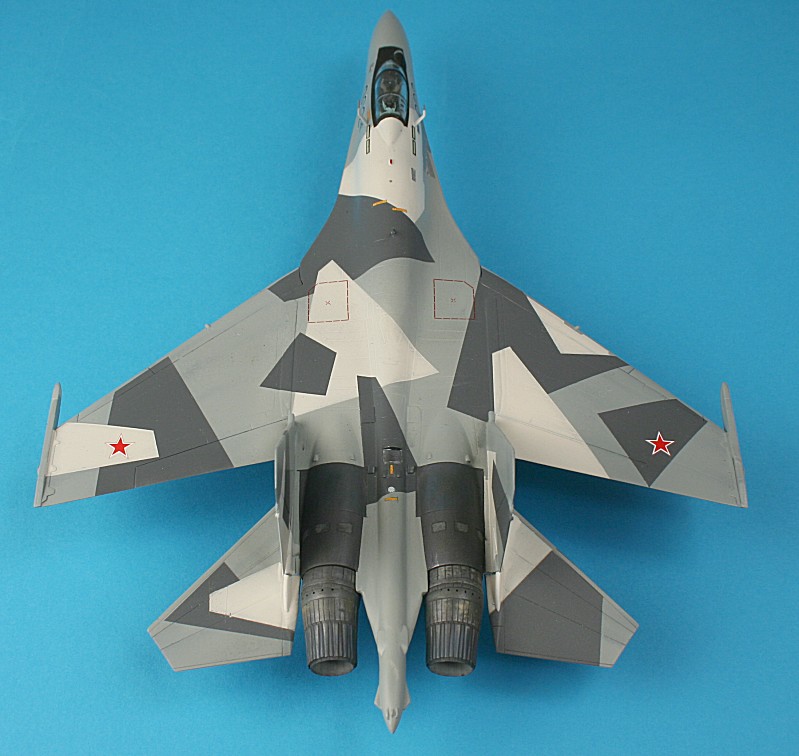
Underside view of the camo pattern.
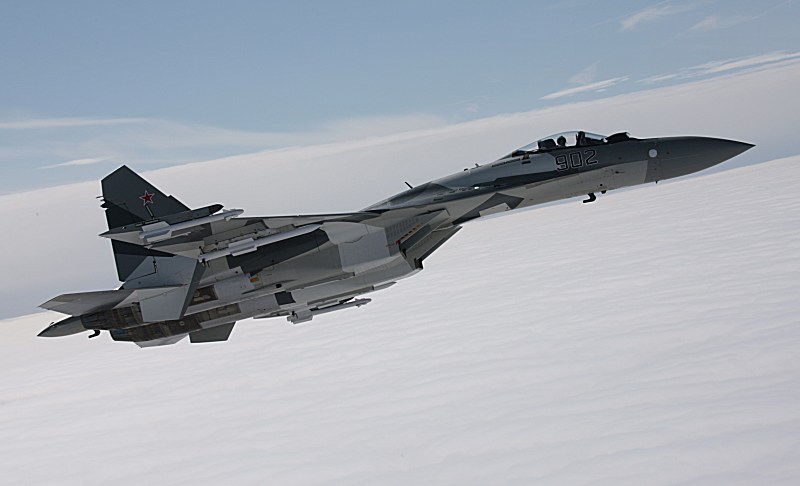
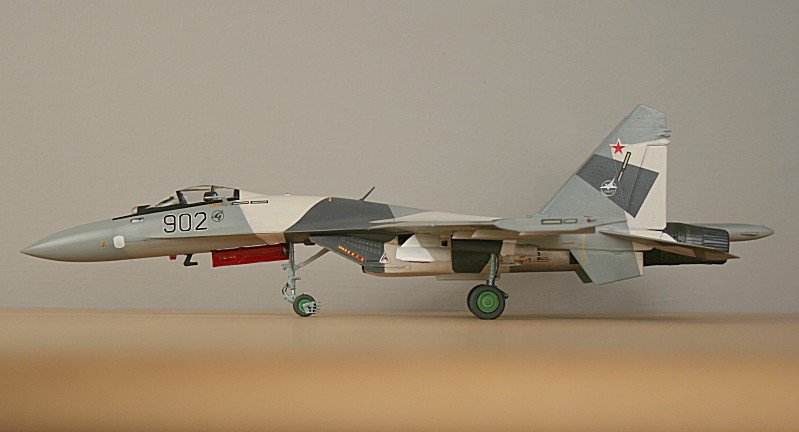
Side profile.
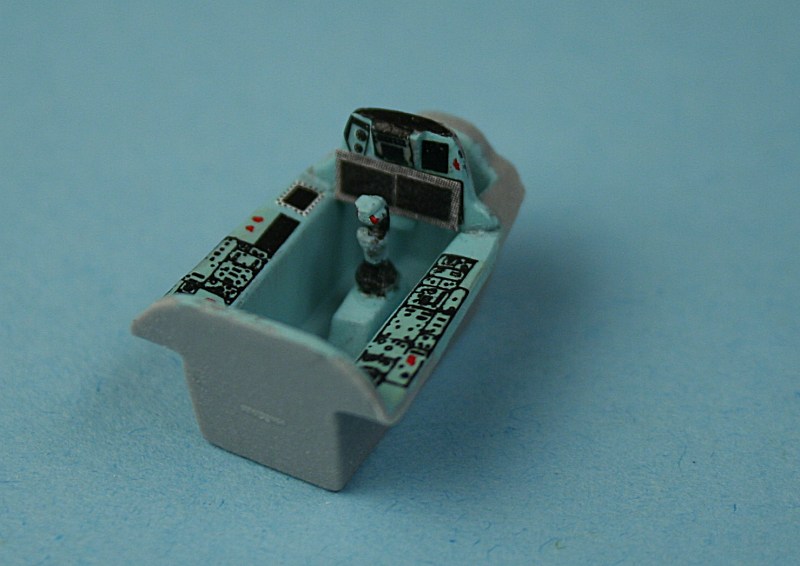
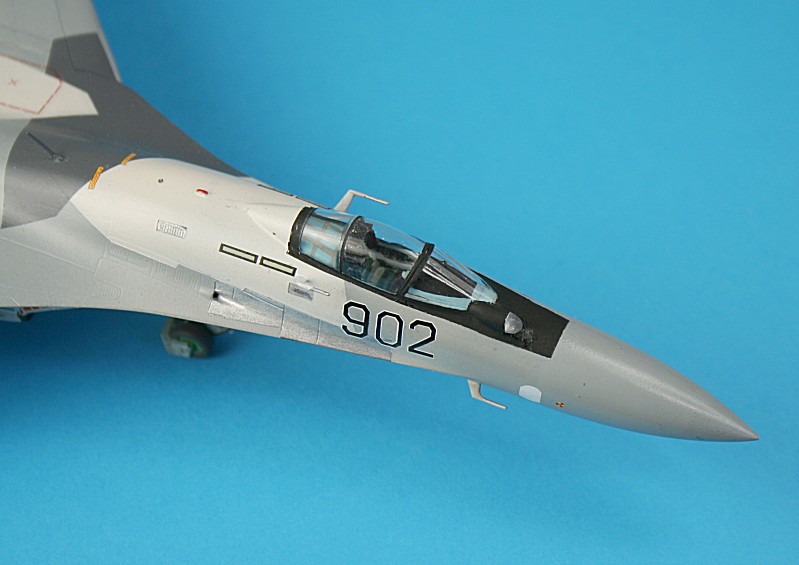
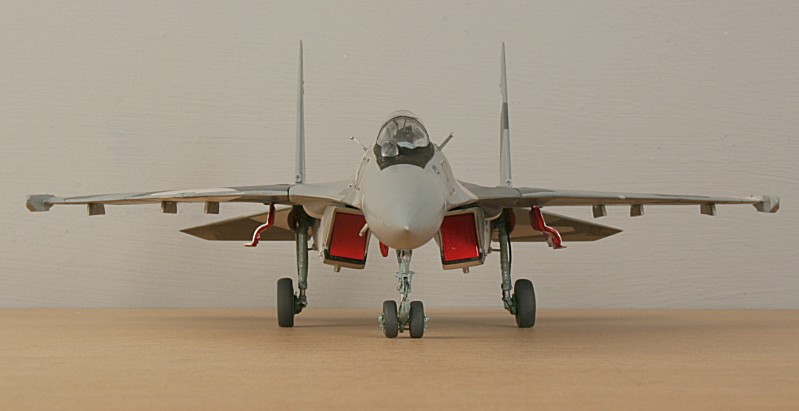
I modified the Airfix cockpit 'tub' to create the two large MFD screens.... I am not too worried about detail - the canopy will be closed.
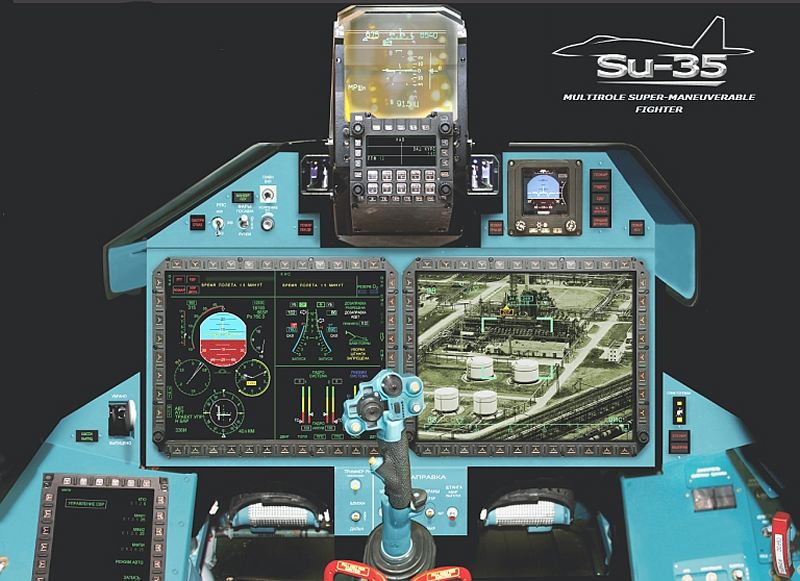
Graphic showing what the real thing should look like.
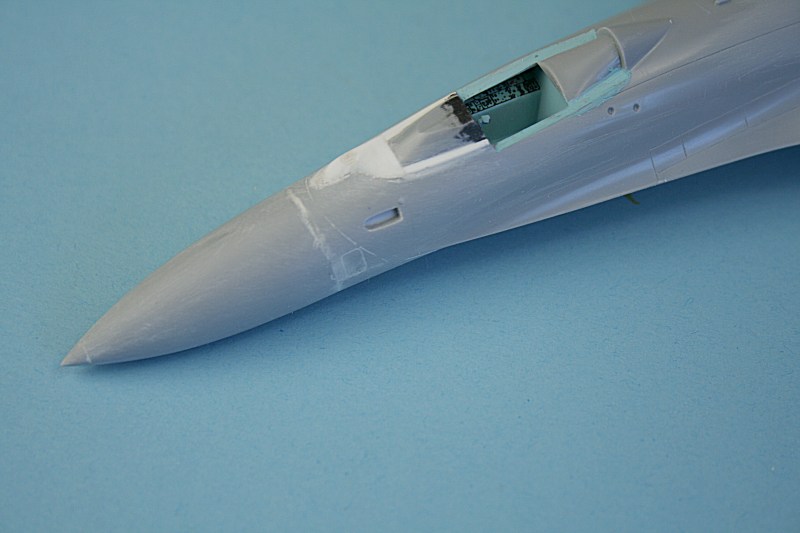
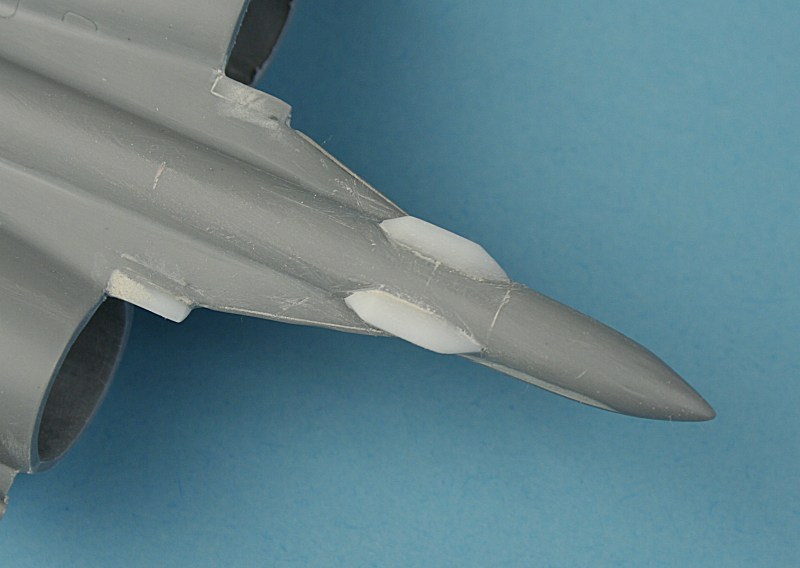
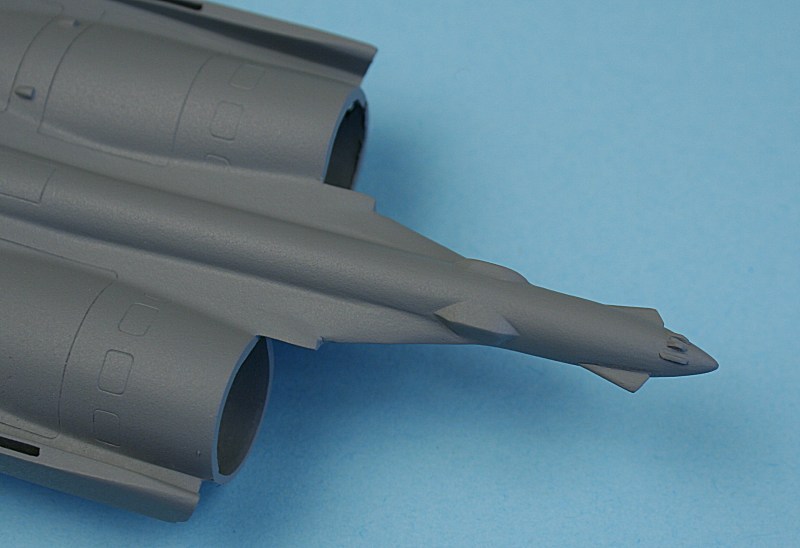
I remembered to open up the slot for the IFR probe before joining the fuselage halves.
I have also sanded the radome to a more pointed shape.- it has no pitot probe.
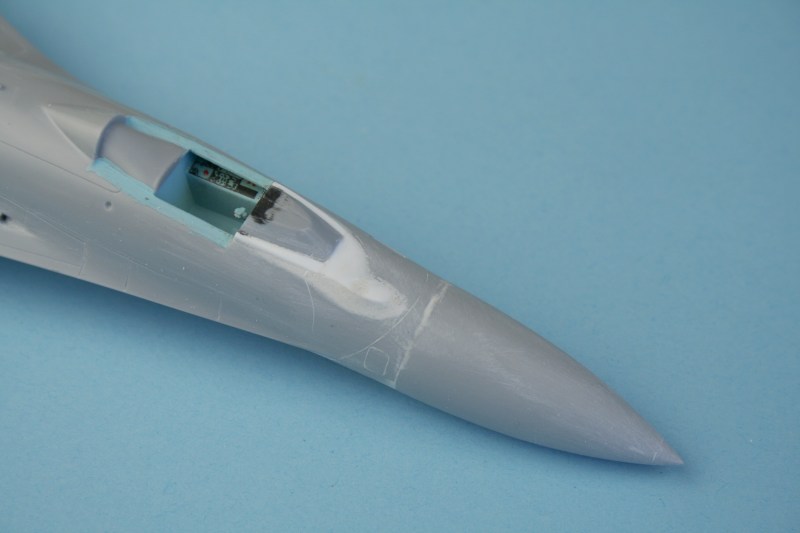
I have built up the base for the offset IRST probe - and added plastic card to raise the windscreen slightly.
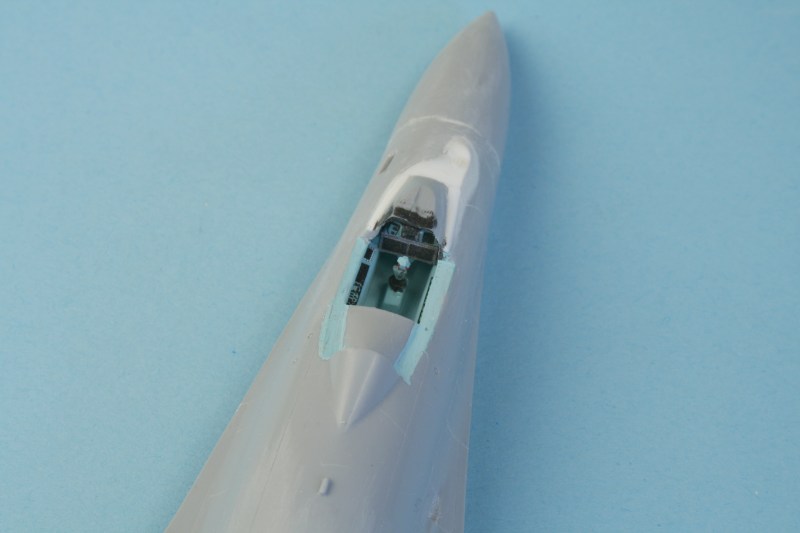
The cockpit tub in place.
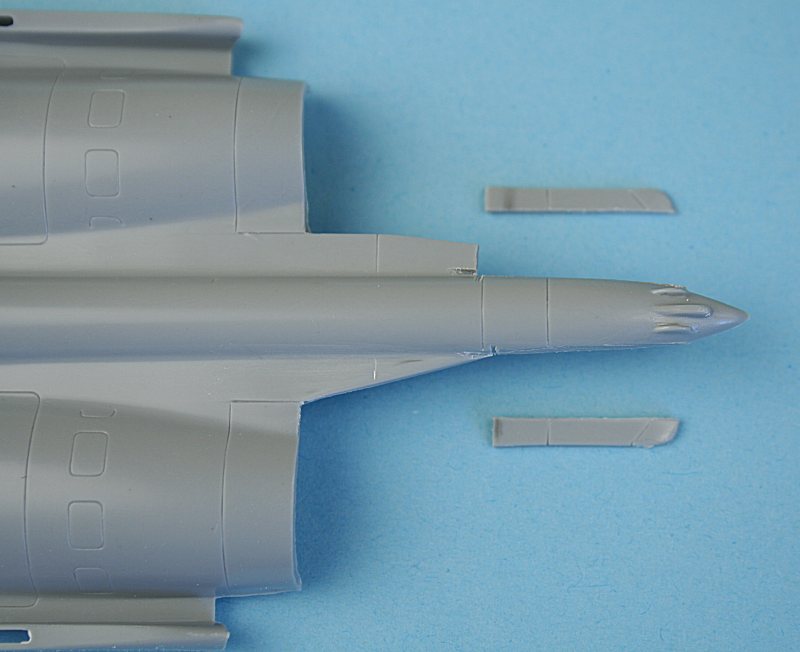
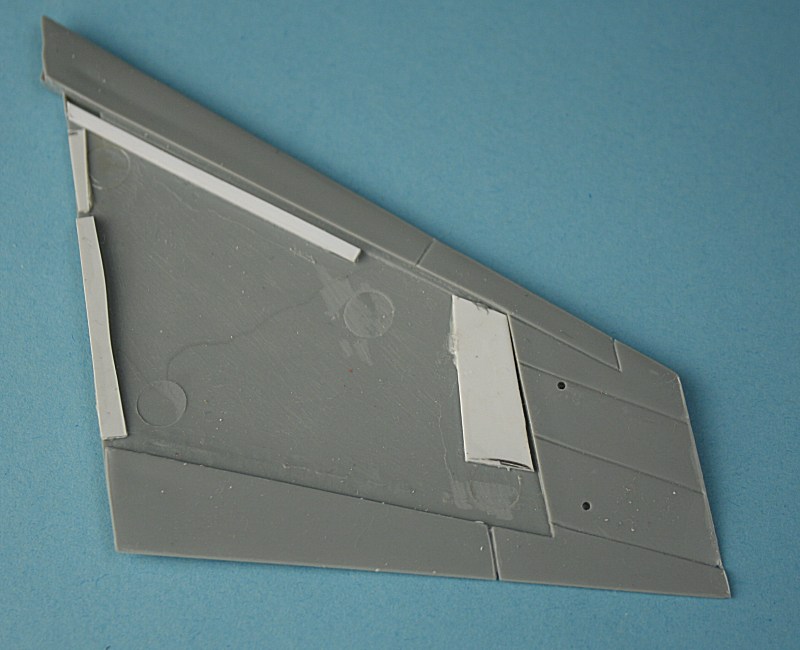
At the back end, the 'boxes' on either side of the tailboom are removed...and the remain section cut back....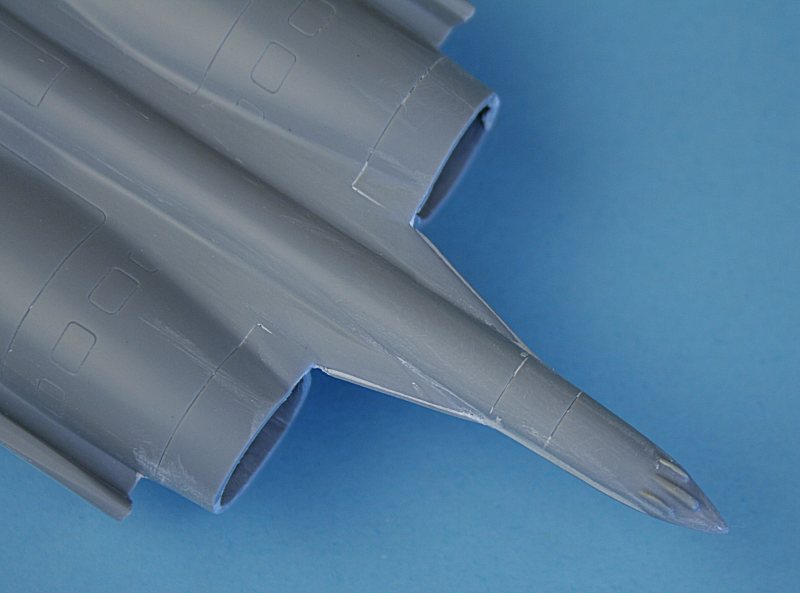
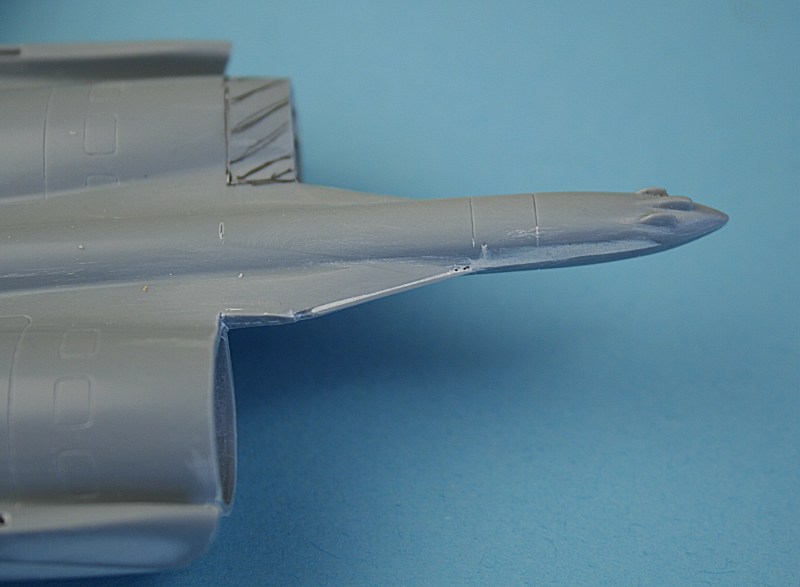
.....to make the 'arrowhead' style on the Su-35.
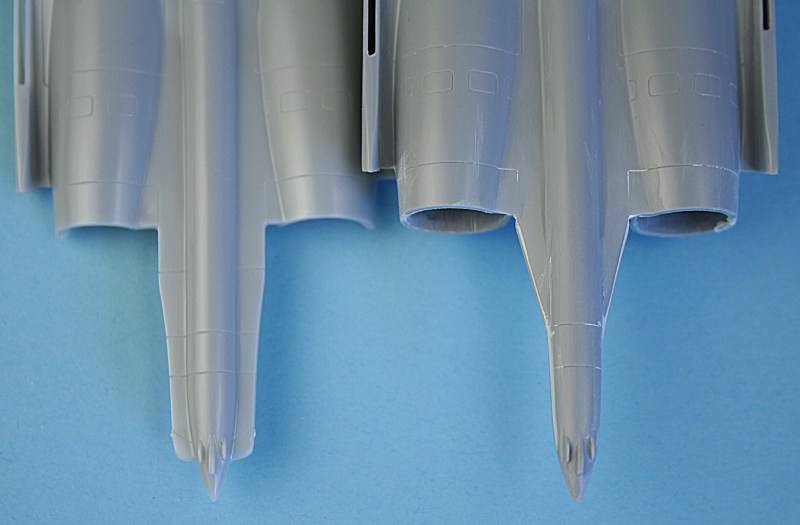
Comparison between a 'standard' Su-27 tailboom and the new Su-35 tailboom (right).
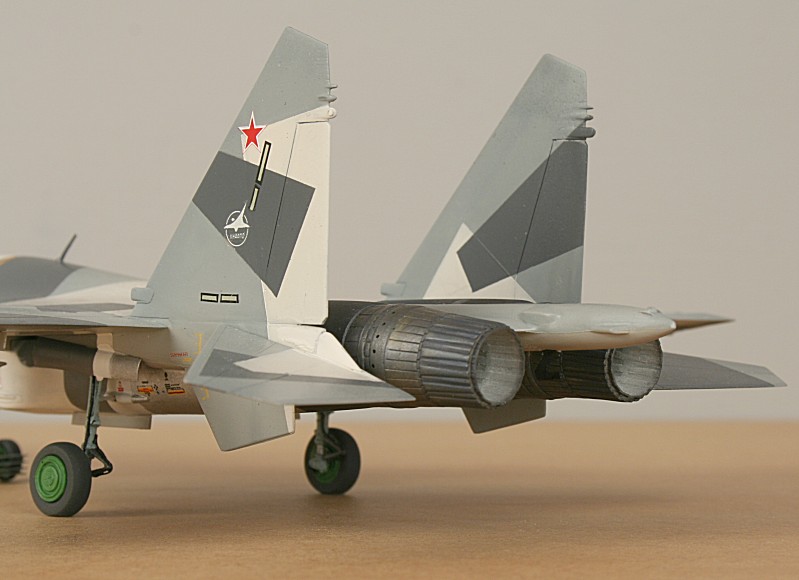
On Flankers with TVC engine nozzles, the area shown hatched also has 'feathers'...so I cut this section away..
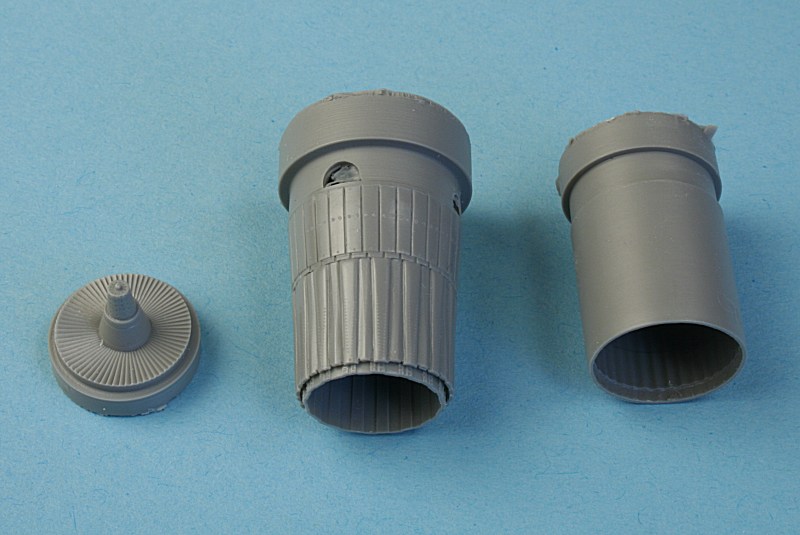
Aires have released a resin set of exhaust nozzles for the Italeri Flanker kit - but they also fit the Airfix kit.
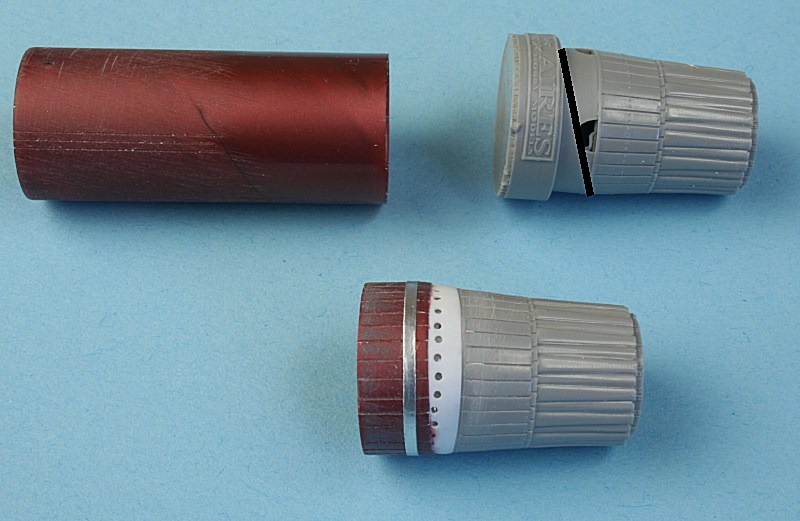
I used the Aires nozzles to make new, drooped, nozzles. The pouring block was carefully cut away at an angle
as shown by the black line and a new, bevelled section added from white plastic card glued over the top of the cutaway resin section.
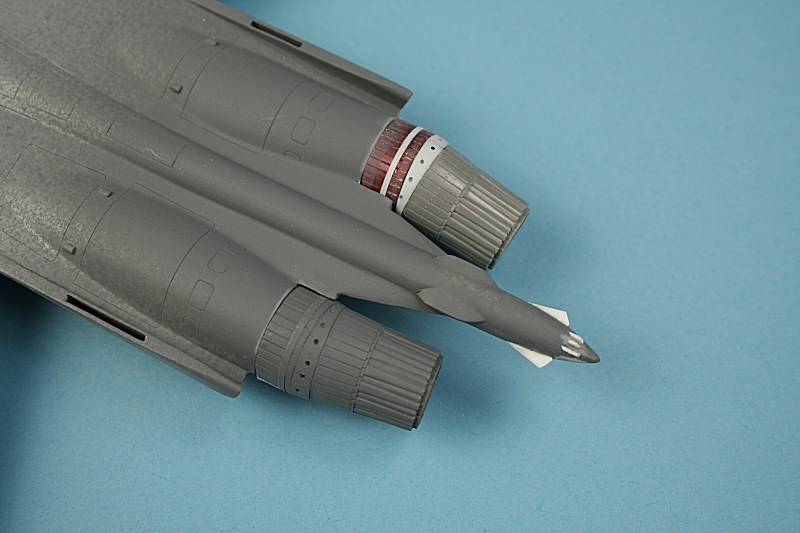
A new front section was cut from a suitably sized plastic tube, with grooves cut in and a chrome strip added..
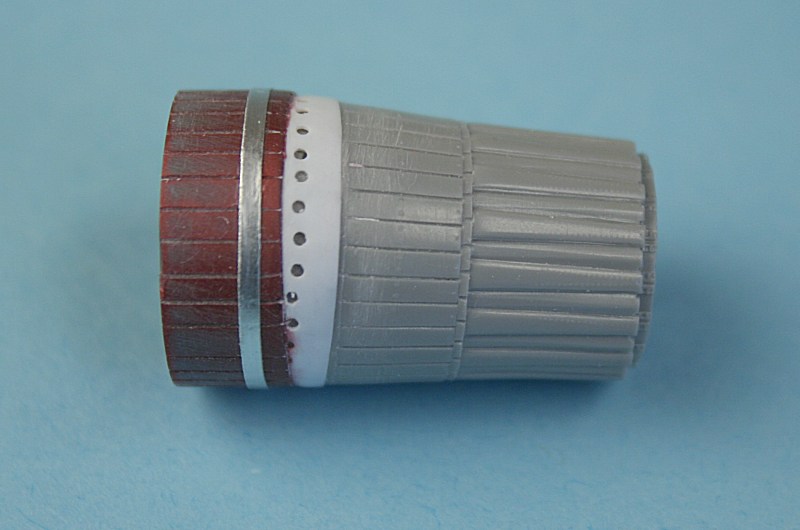
This is the result - the holes are a bit too big. I am going to try casting a resin copy.
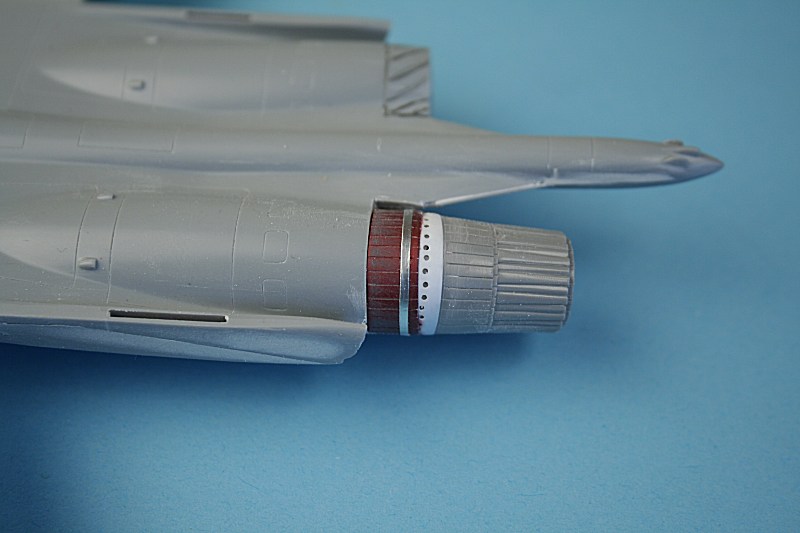
The new, drooped TVC nozzle temporarily in place.......
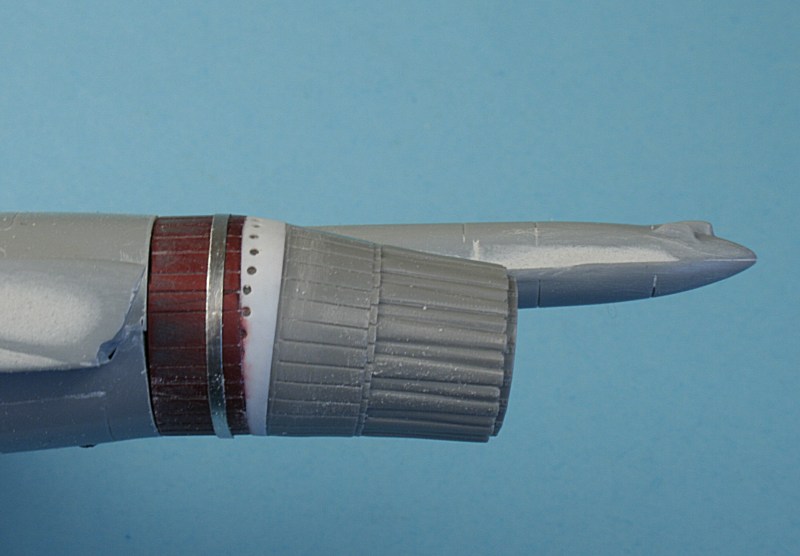
The new nozzle from the side...

This is what the real thing looks like.
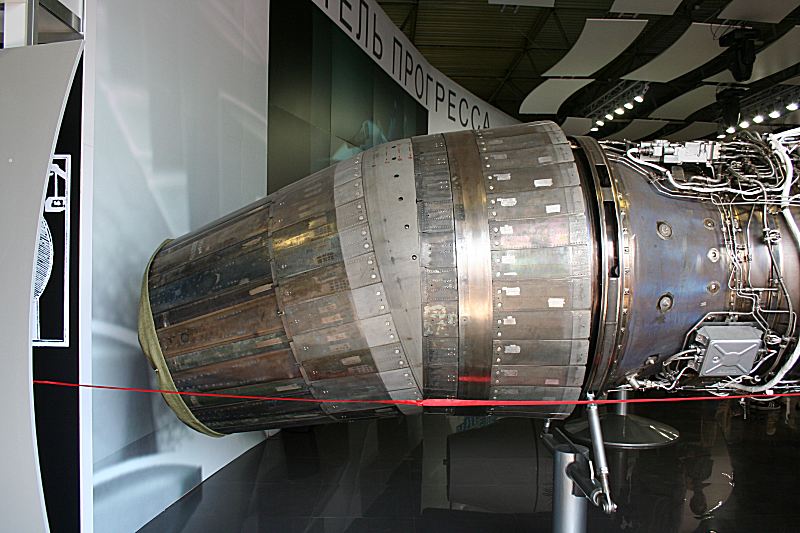
The AL-31FN TVC nozzle on a stand at MAKS 07.

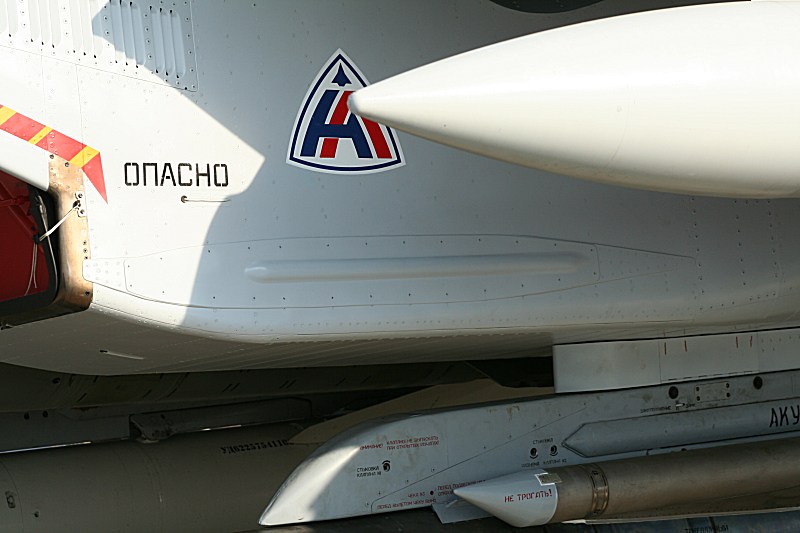
The tailboom has a new box-shaped fitting and rear-facing RWR aerials...
A closeup of the aerials - taken at MAKS 07.
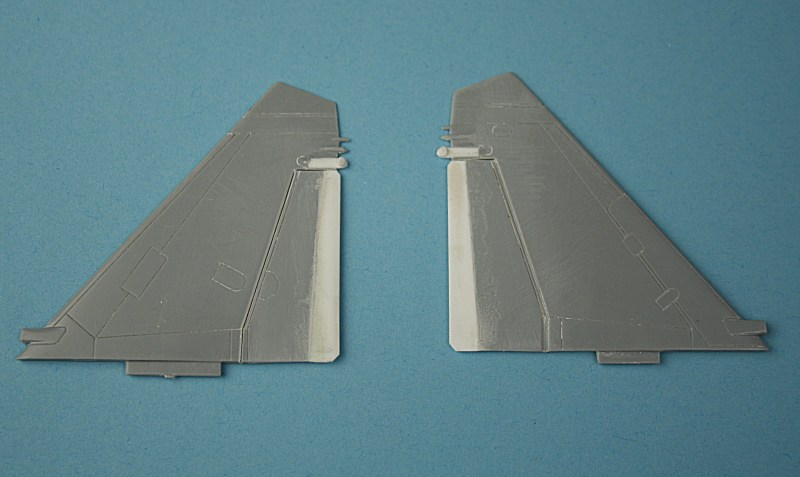
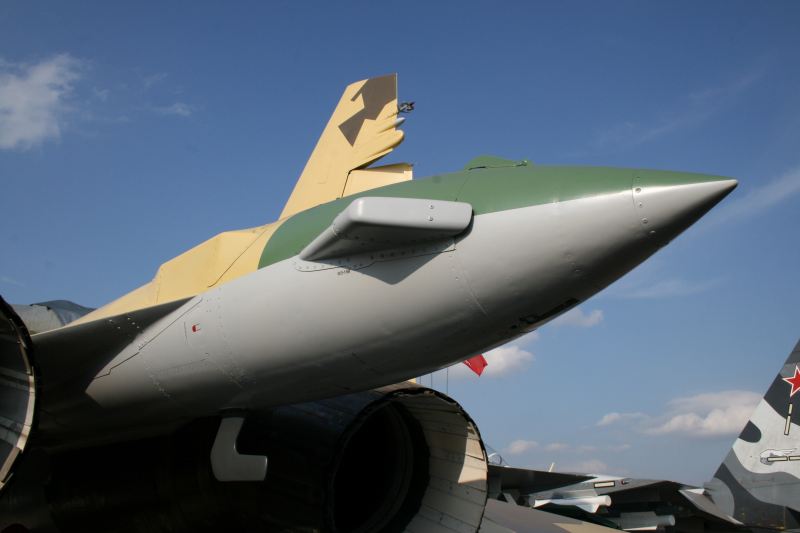
Fins altered - with wider chord rudders and RWR aerials. I will probably fill in the panel lines -
I think the structure is different to a Su-27 fin.
What the real thing looks like.
Side boxes added......
Followed by the rear-facing, triangular RWR aerials (in white). I have also re-instated the hinge mechanism for the parachute 'lid'.
The two home-made TVC nozzles are temporarily taped in place.
Modified (shortened) side boxes.
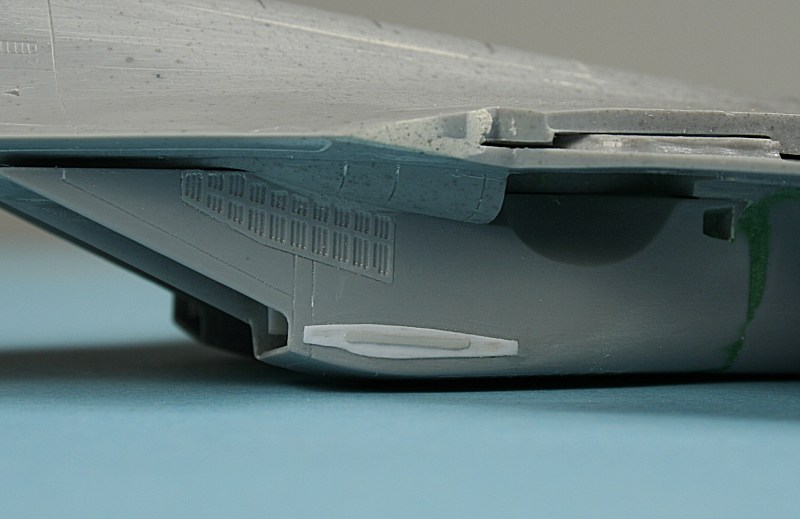
The new Su-35 has this large box-shaped intake under the rear fuselage ......
This is a photo of it that I took at MAKS 2007.
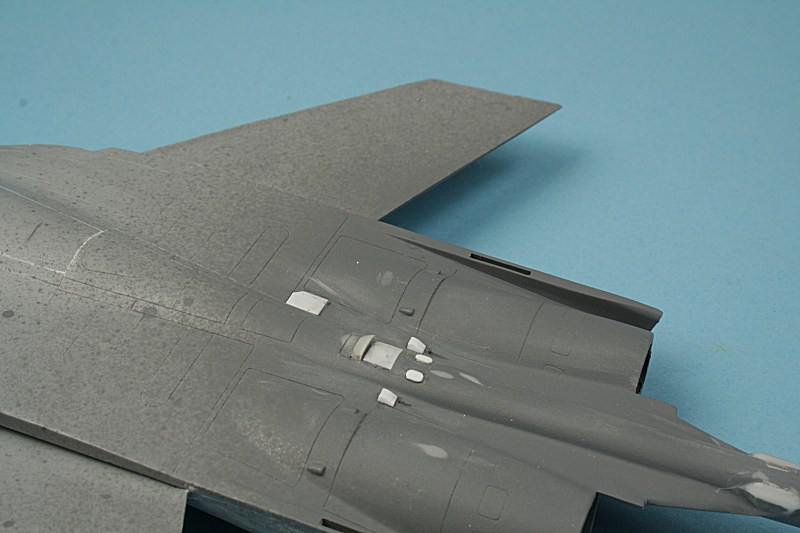
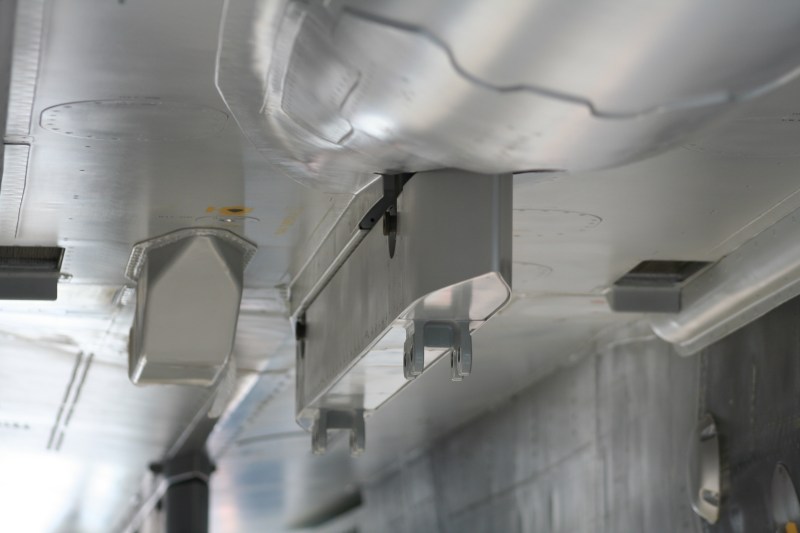
There are also some mods on the upper fuselage - the most prominent of which is a large outlet with a steel plate behind it
- presumably a heat exchanger. To its rear are two small 'bumps' and flanking them are two intakes.
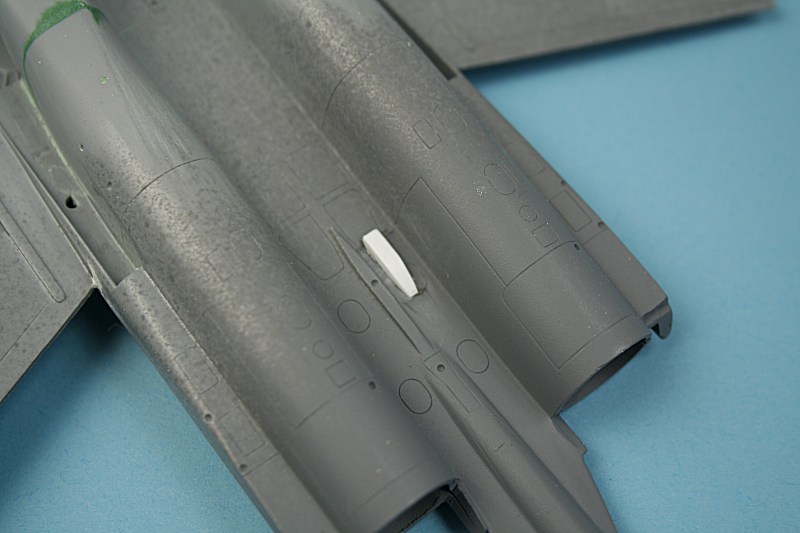
There is also what appears to be a strengthening plate - which I made from a square of white plastic card.
There are strengthening plates on the intakes - where the 'old' RWR antenna used to be.......
This is it on the real thing.
The Airfix wing is a poor fit so packing was added - the inaccurate wingtip missile rails are also removed...
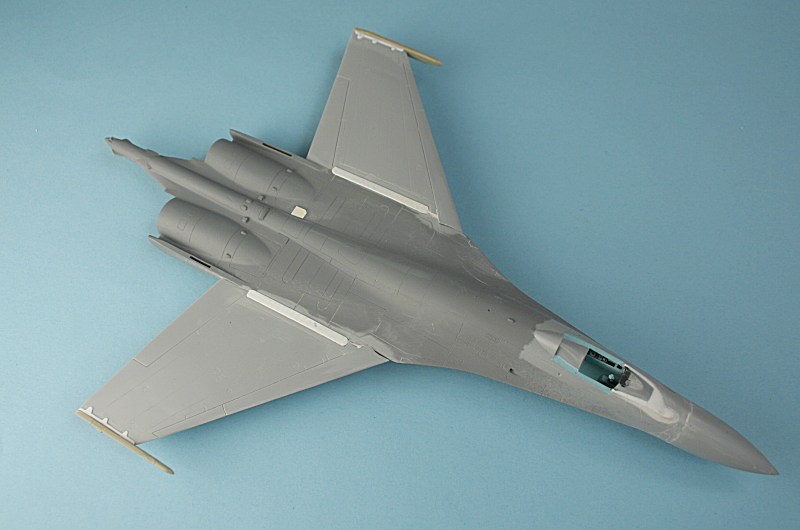
...and replaced with resin copies from the Hasegawa kit. I have also added strengthening plates at the wingtips
and over the wing roots - which also serve to hide the join.

Closeup of the resin missile rail and the strengthening plate.
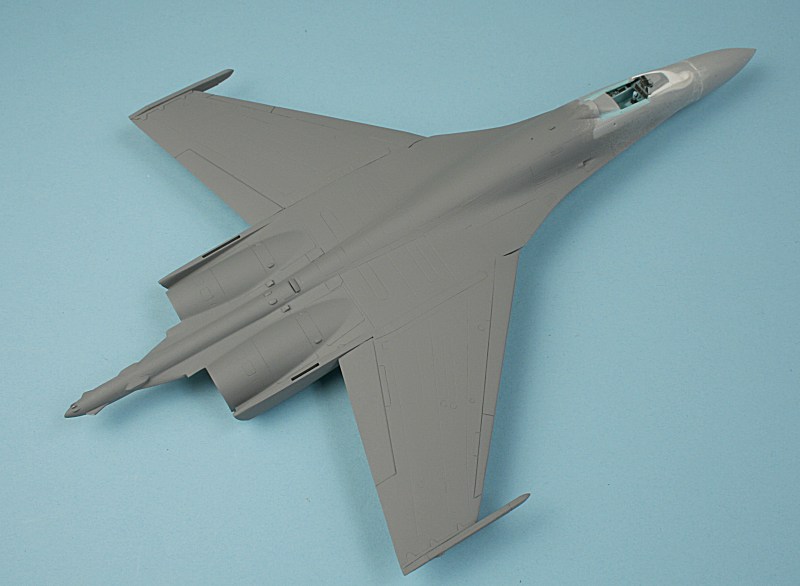
A quick coat of primer to check progress. I have also attached and blended in the dorsal airbrake and re-scribed panel lines over it.
It is not fitted to the Su-35 - the space is used for extra fuel.
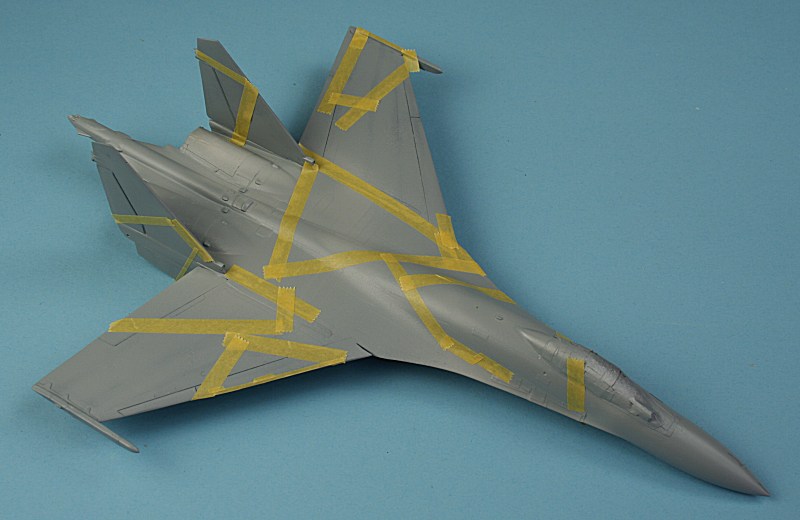
Tamiya masking tape outlining the white areas.....

.....filled in with household masking tape...
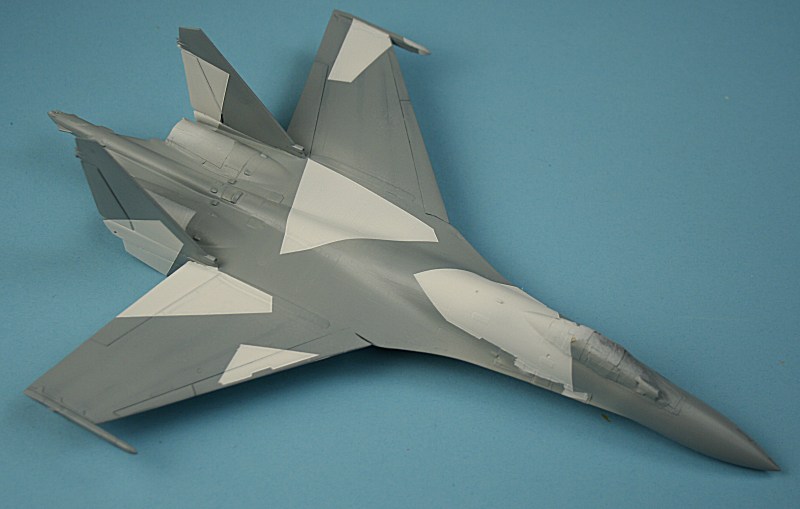
Masking removed after white paint applied.
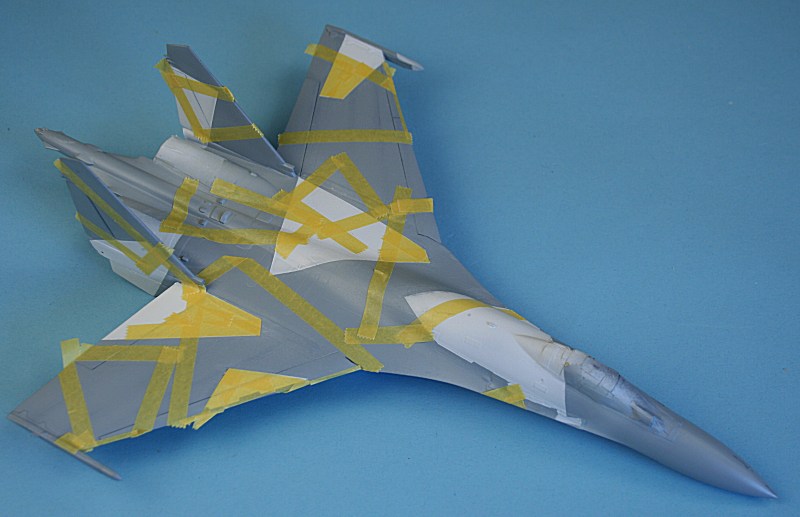
Tamiya masking for the dark grey...
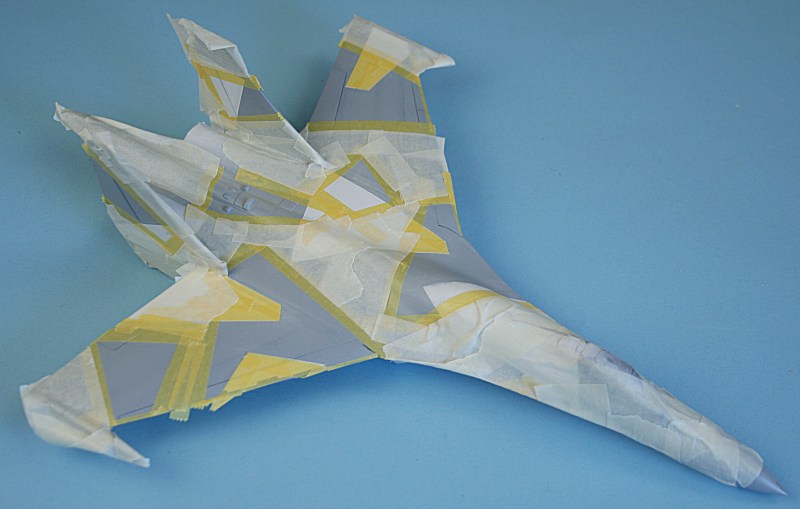
....filled in with household tape....
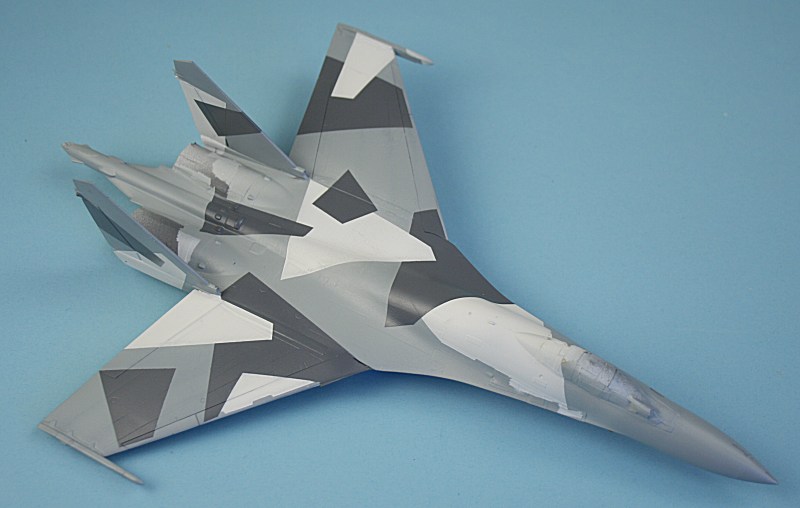
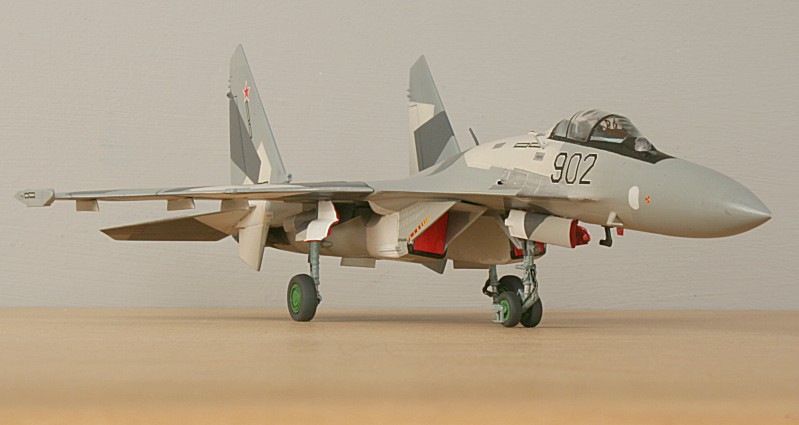
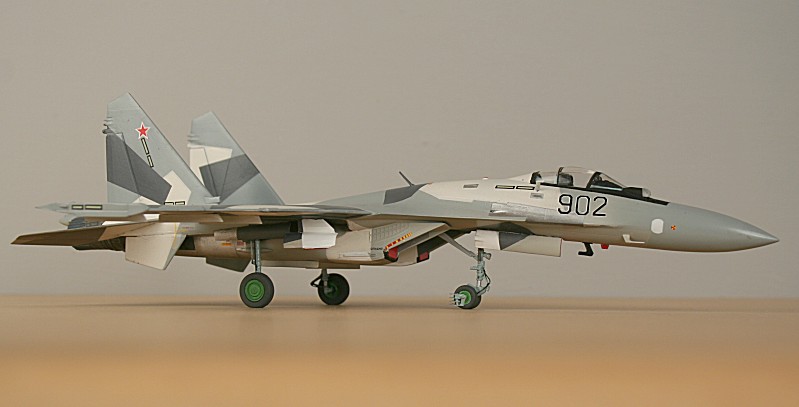
Painted dark grey and unmasked.
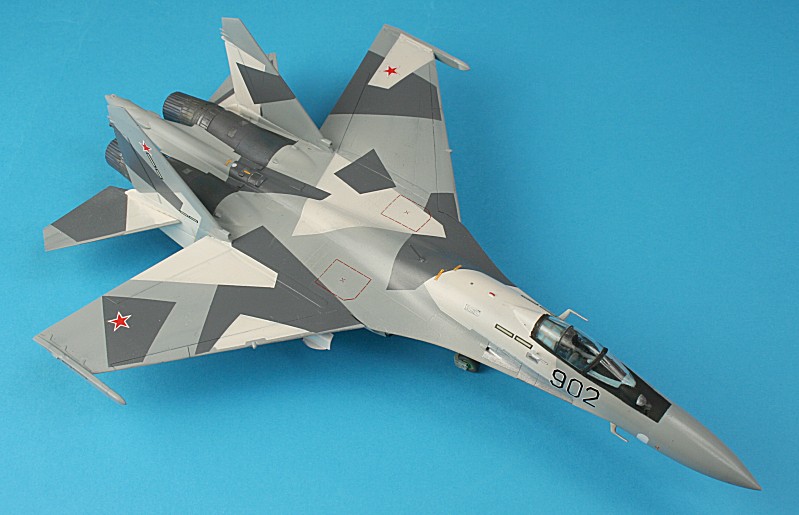
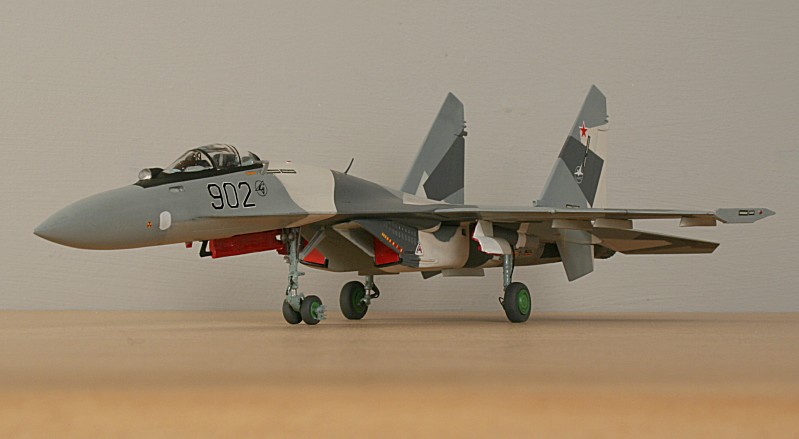
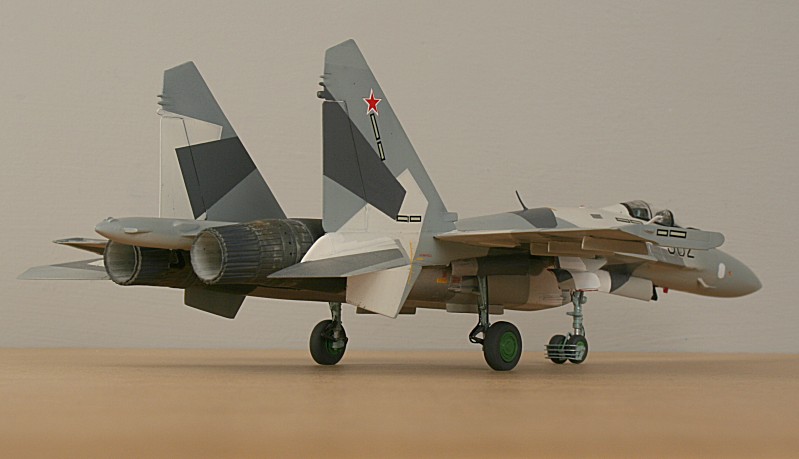
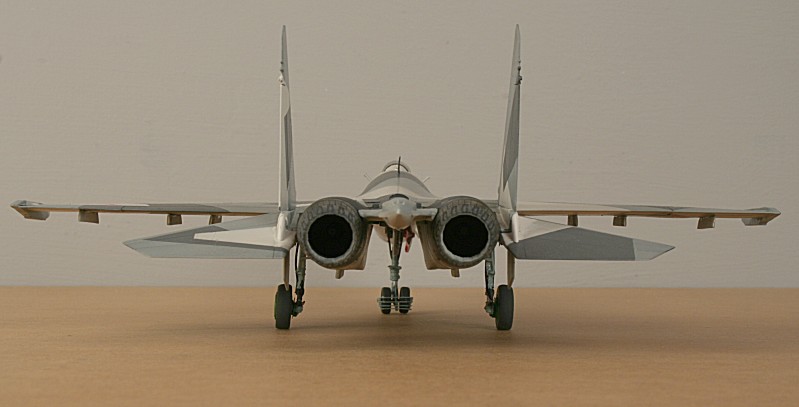
Finished Model...
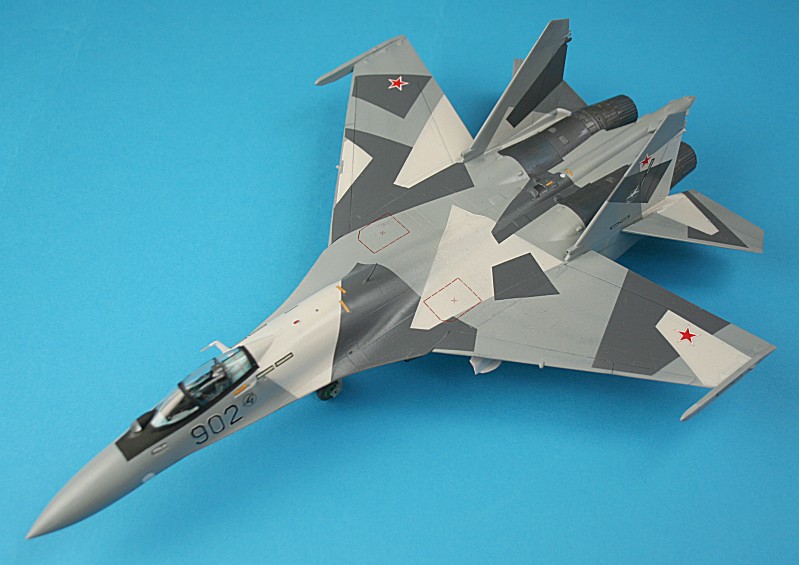

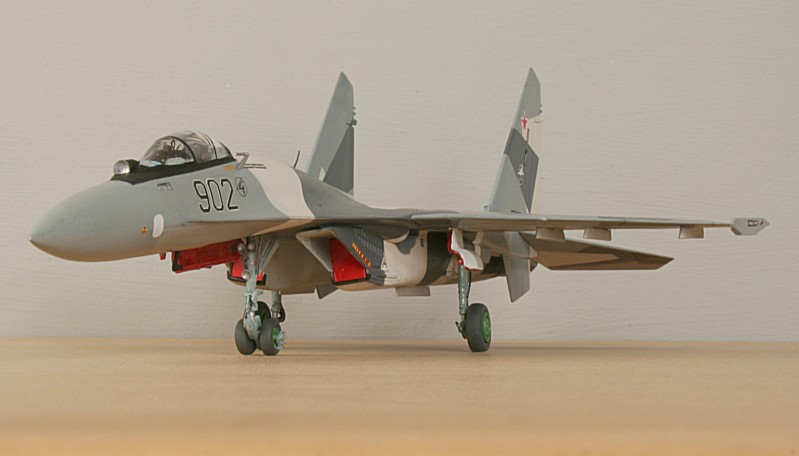
Ken Duffey
October 2009