
What you get in the kit - well cast resin upper & lower fuselage halves, one-piece wings, tailplanes & fins plus all the smaller parts
and clear vacform canopy shrink-wrapped for protection. A small well-printed decal sheet offers two marking options and the instruction
sheet gives a potted history of the real thing, an exploded parts diagram, a painting guide and a very useful photo of the engine and translating nozzle.
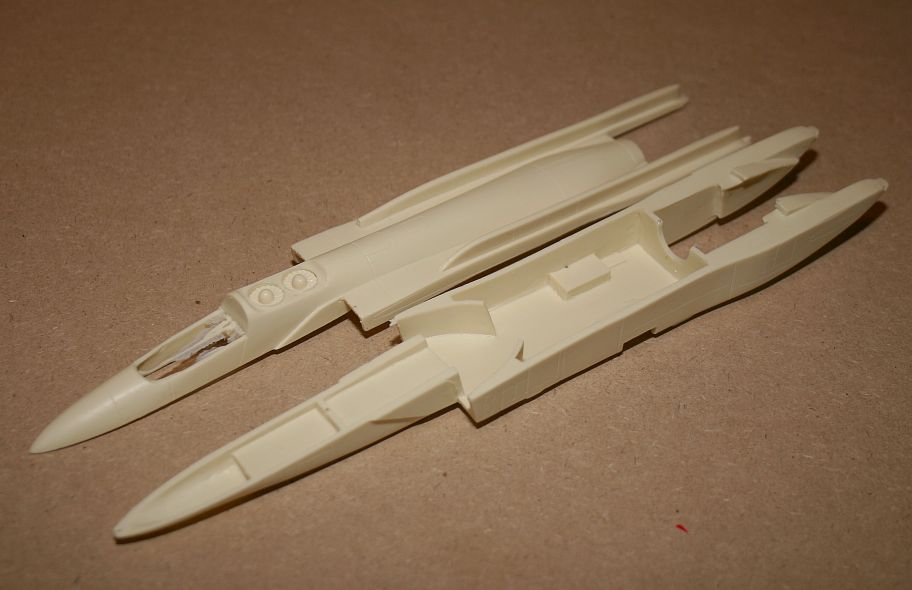
The upper and lower fuselage halves - complete with moulded-in lift engines - and their nozzles on the underside.
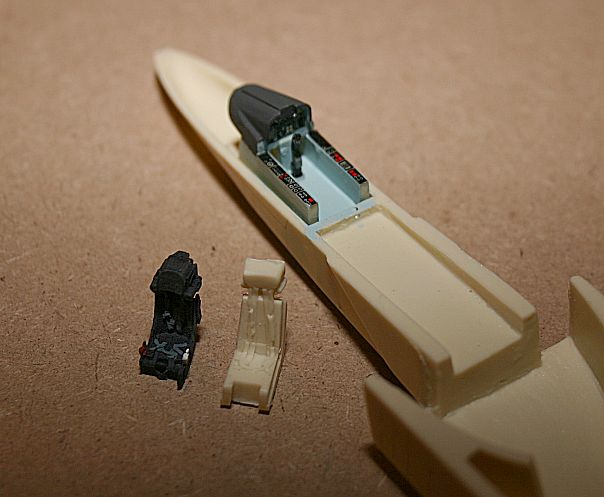
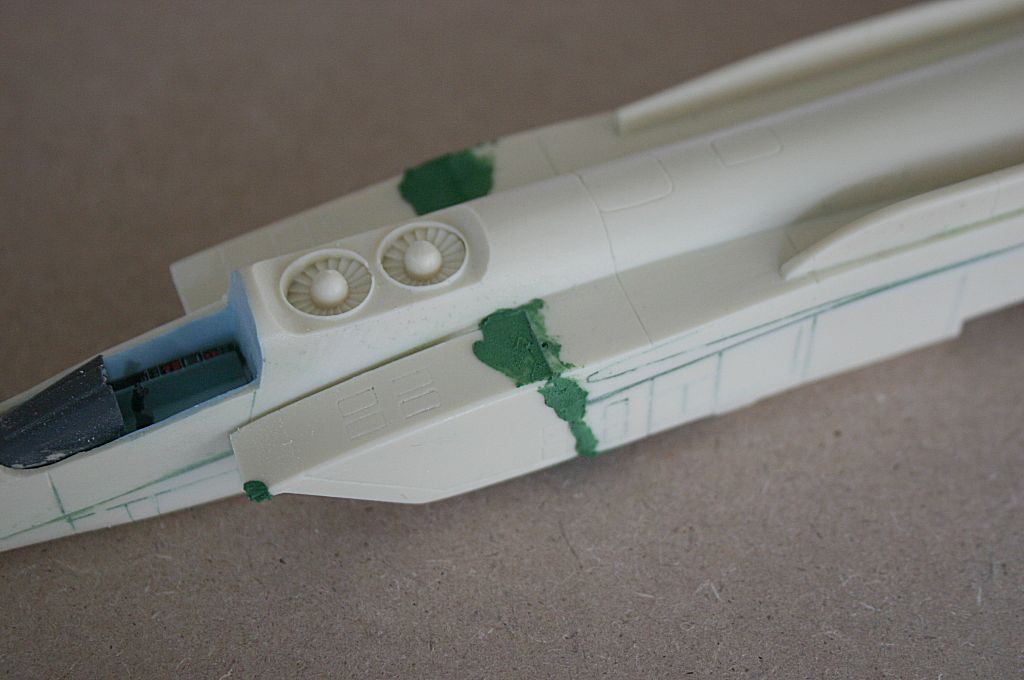
I replaced Anigrand's K-36 ejection seat (shown at right) with a NeOmega offering.
The cockpit is blue-grey with instrument decals from the spares box.
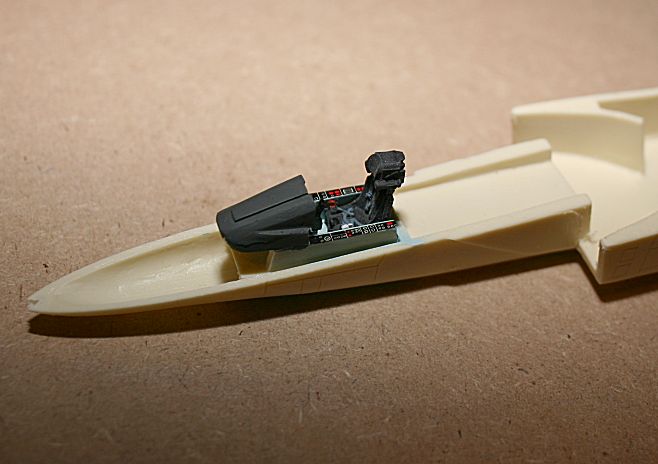
The NeOmega seat is tried out for fit...
The upper and lower fuselage halves placed together to check the fit....
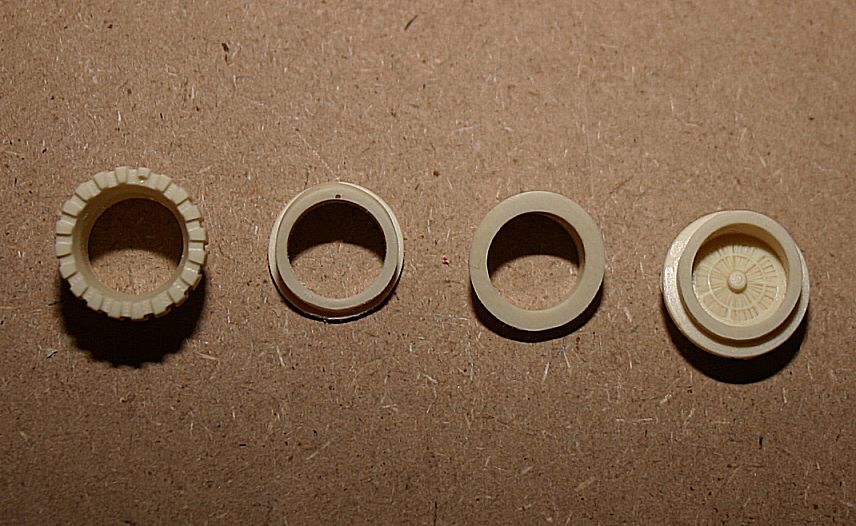
The main lift/cruise engine is moulded in four parts - and, depending on which way round they are cemented together
can be made to represent the engine in either lift or cruise mode.
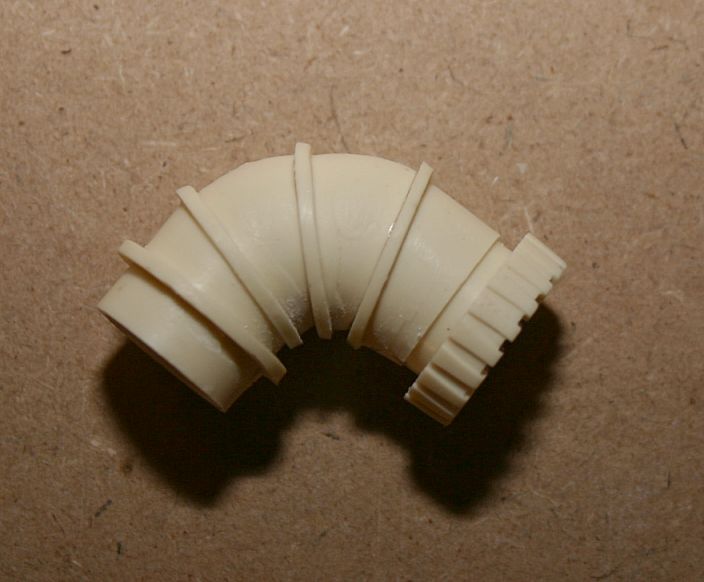
I chose to make the model in VTOL configuration. Anigrand's photos show that there are small motors on each
section to drive the translating gearing. I didn't, but they could be added by scratchbuilding.
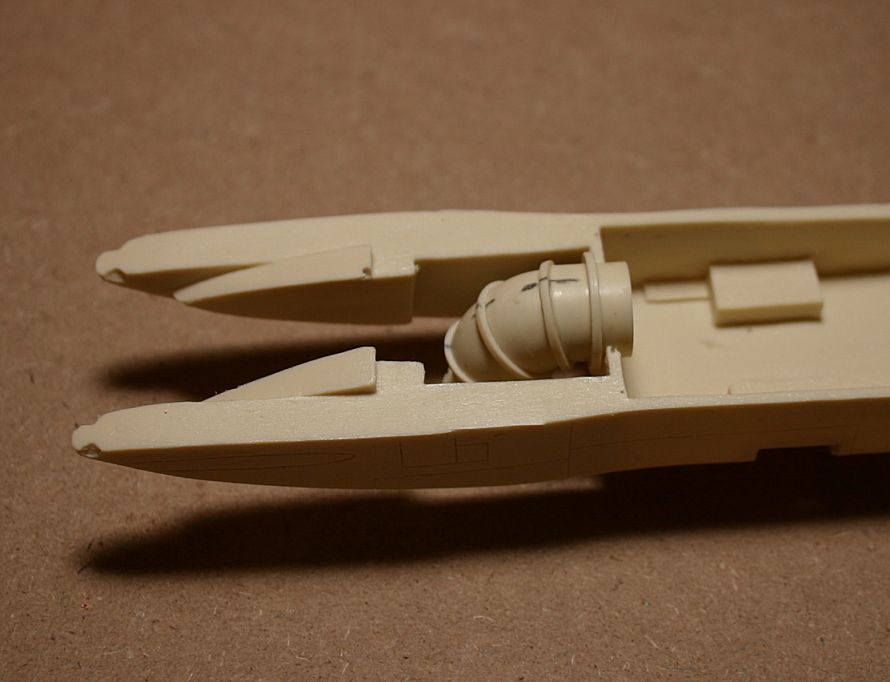
The jet nozzle fits into a circular hole in the rear of the fuselage. In this photos it is just slotted in place, but not cemented until later.

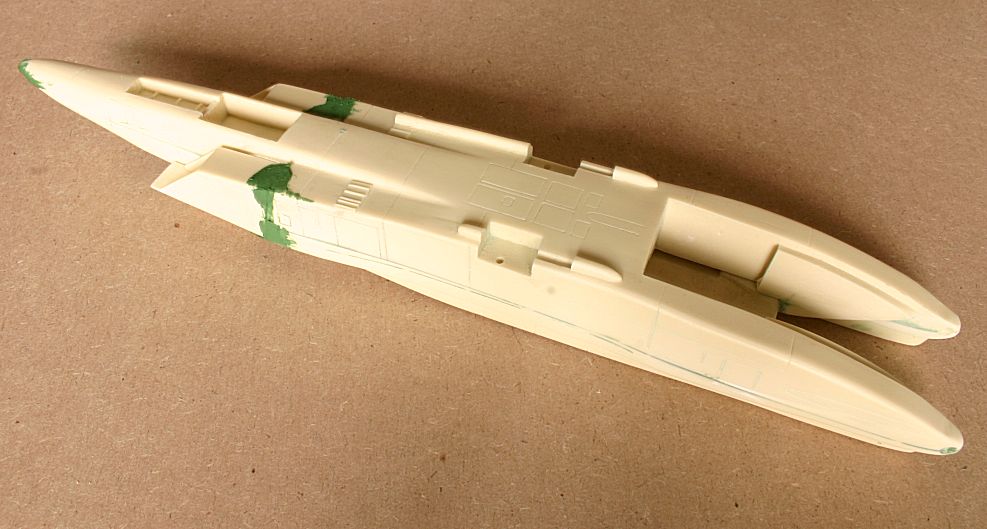
The fuselage halves are joined and filler has been applied.
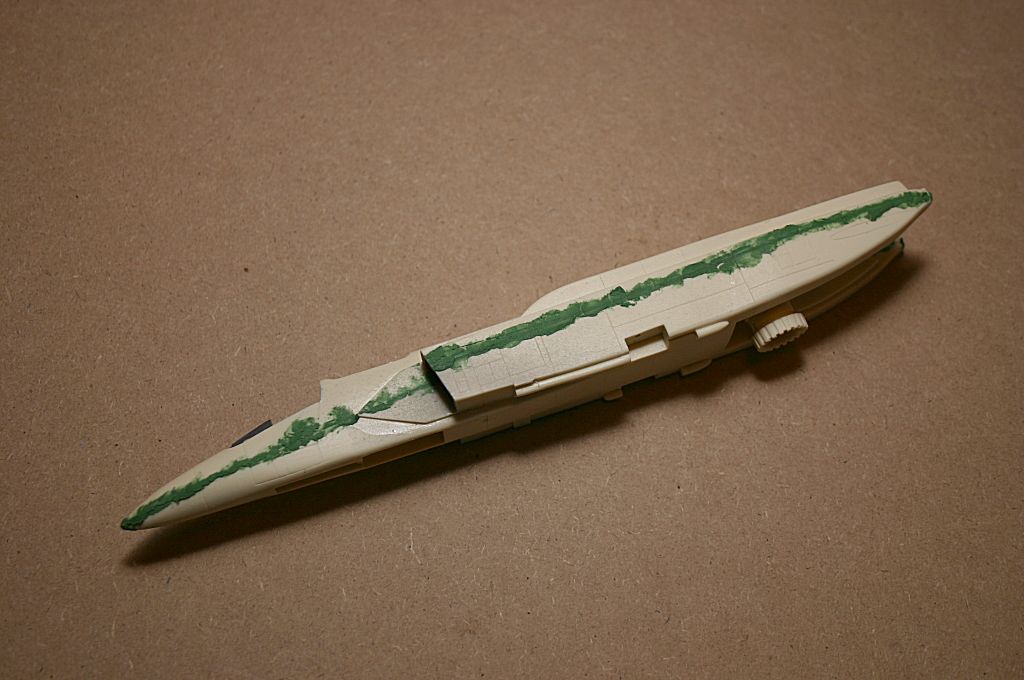
Port side view showing the extent of the filler.
The intakes are added and faired in - my example had a nasty air bubble right on the upper lip of the intake.
A view of the underside with the intakes in place.
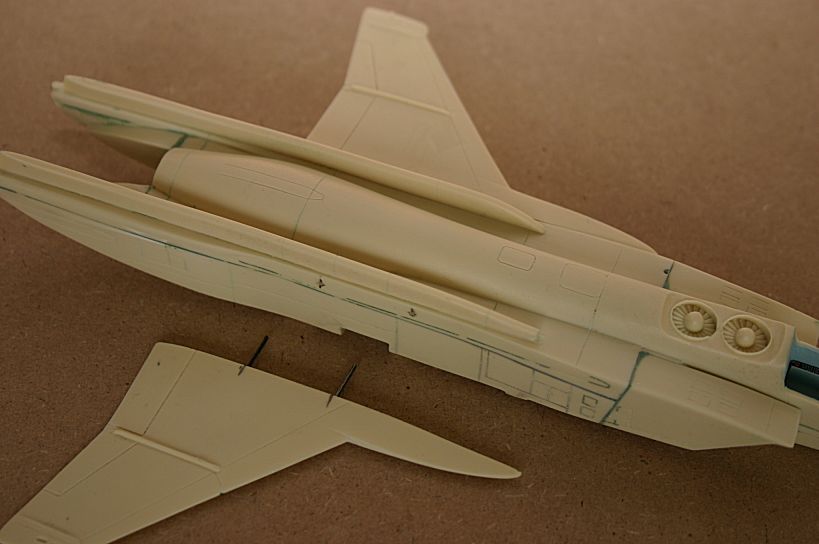
I drilled holes into the one-piece wings and added metal rods for strength.
Most of the major structural assembly is now in place. I decided to add the tailplanes after painting.

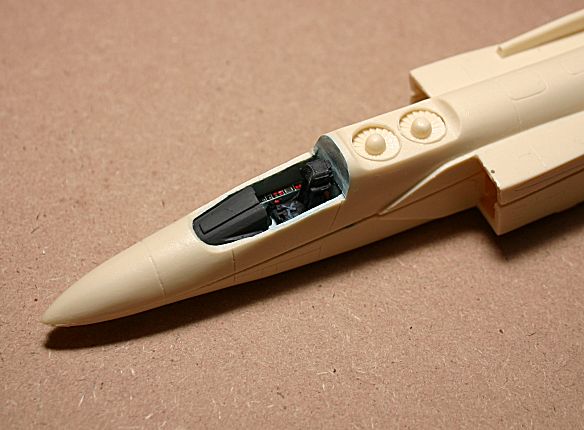
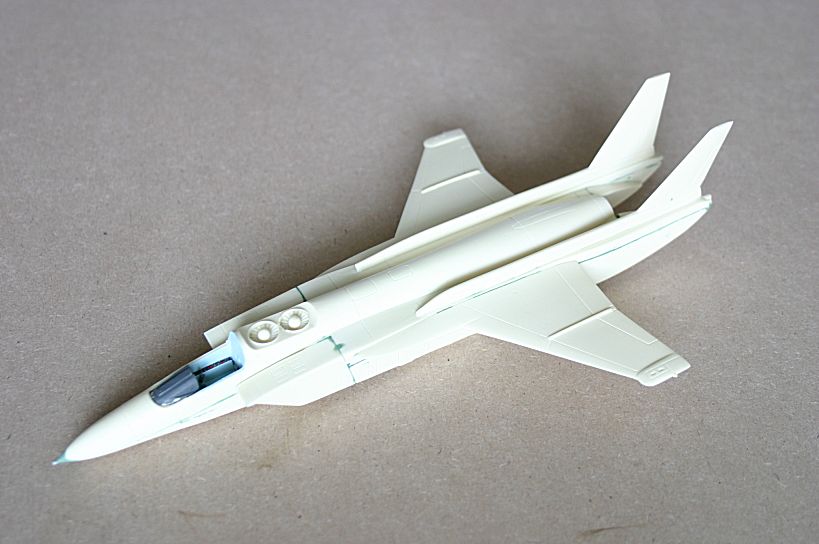
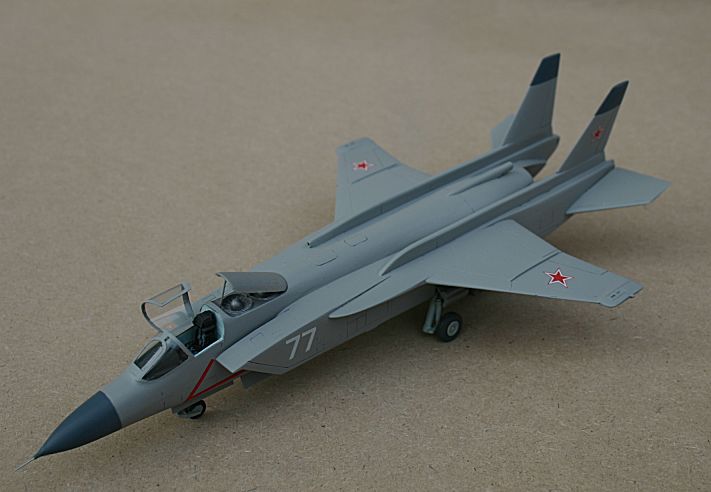
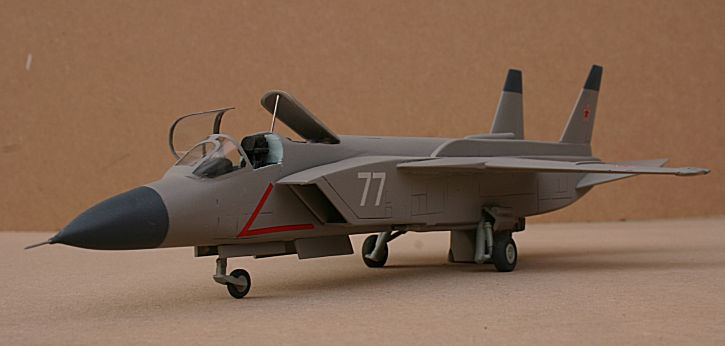
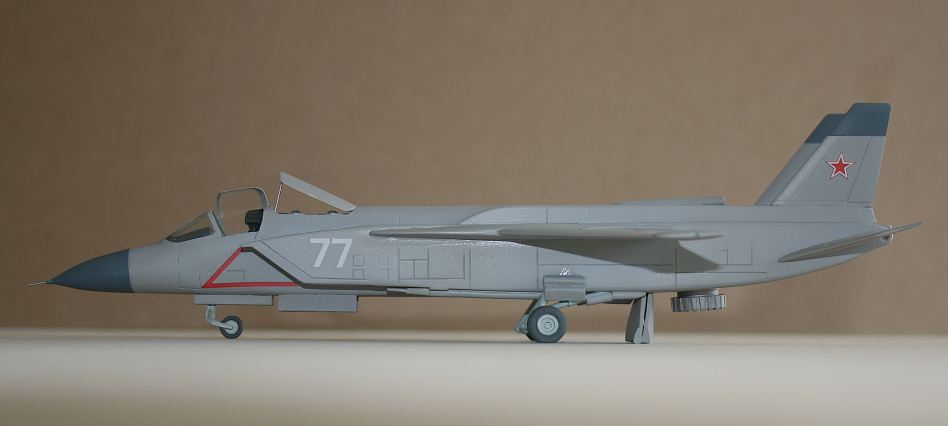
The completed model. I carefully cut the canopy into two parts to show the interior cockpit detail.
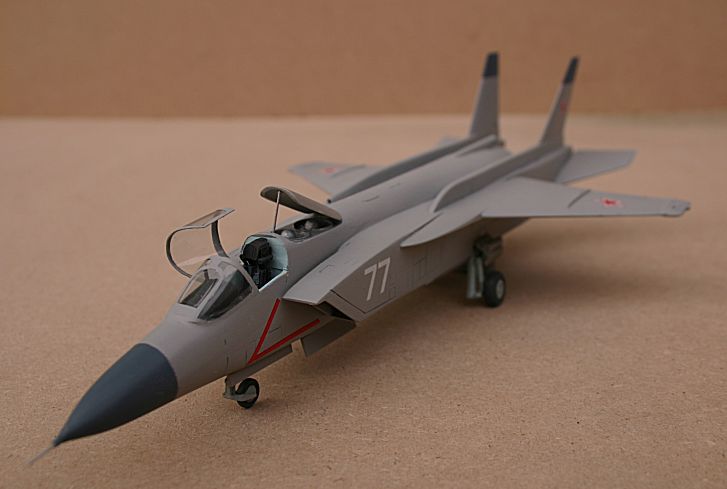
It was only after painting and decalling that I noticed the depth of the panel lines. I really should have filled them in.
To allow the engine to translate into VTOL mode, a set of doors is incorporated into the rear underside of the Yak-141.
They open in a concertina fashion - two halves with a central hinge. On Anigrand's kit they are slightly too long and there
is no clearance below them.
On some photos of the real thing, the open door to the forward lift engines has a set of openings with
mesh grilles. They are depicted as solid rectangles in the kit - but I think they can open or close
independently of the main door, so I left them as moulded.
It doesn't look too bad from this angle, but the panel lines on the fuselage sides are a bit too deep.
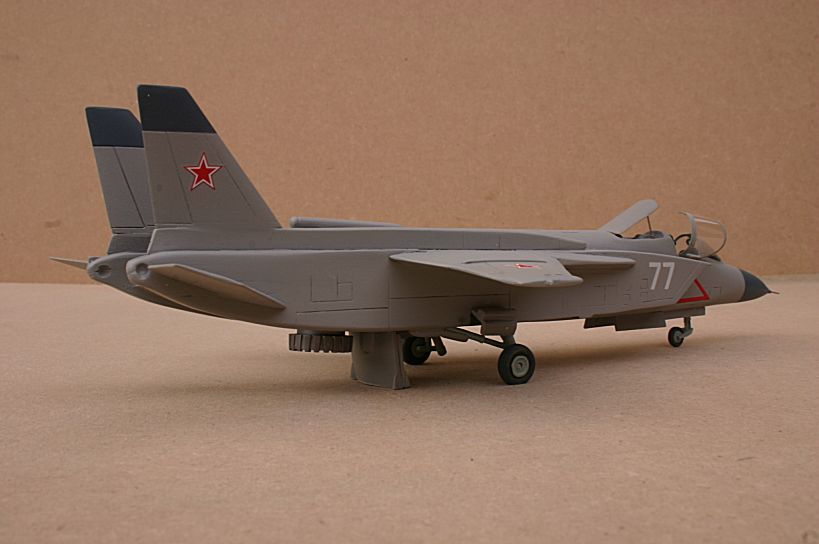
You can see those panel lines in this view....
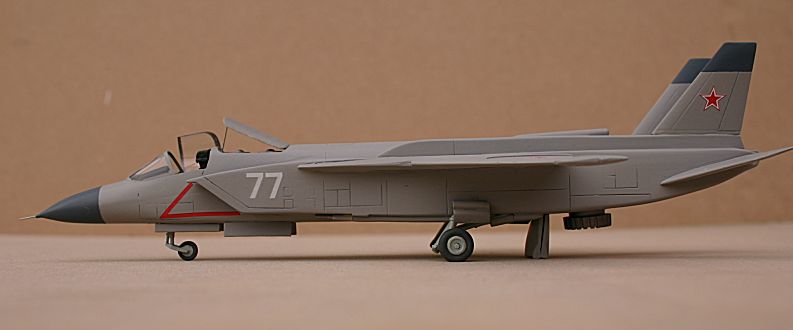
Note the open doors forward of the engine nozzle.
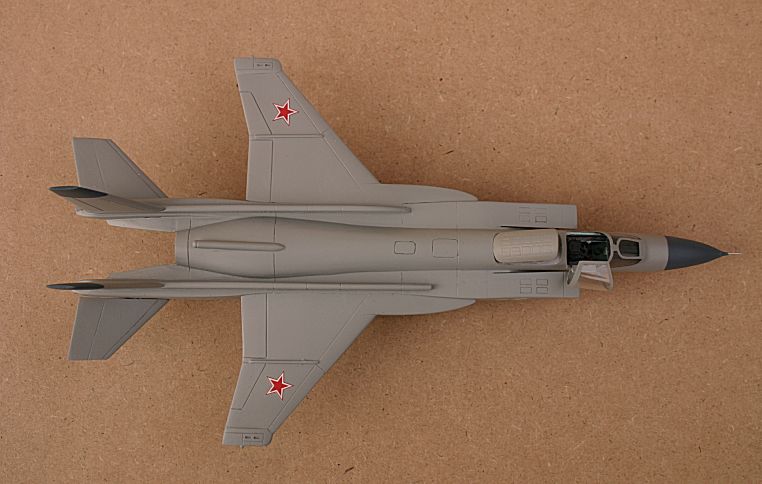
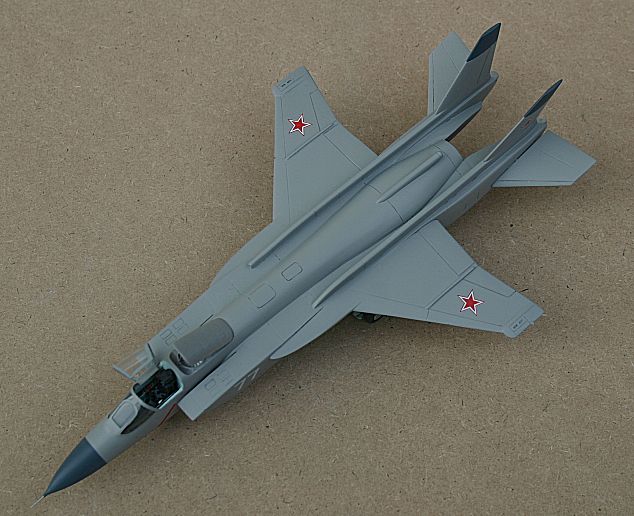
View from directly above.......
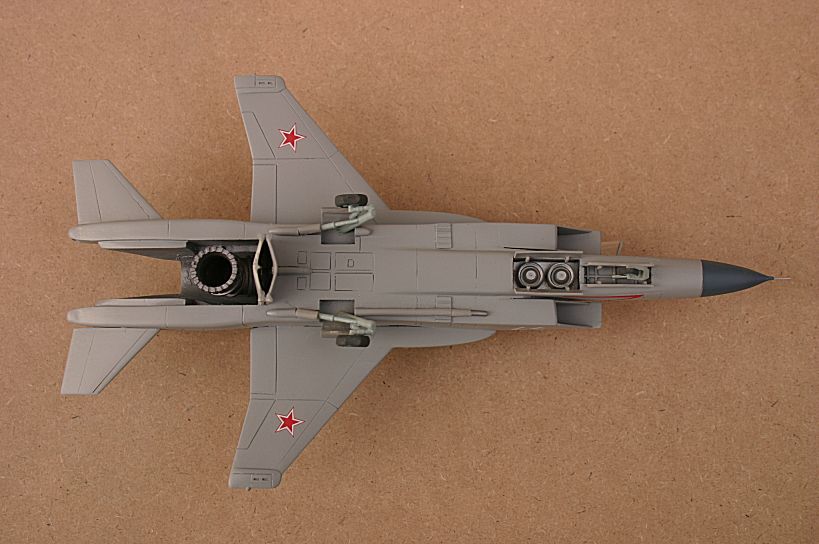
and below. Note the door forward of the main nozzle and the exhausts of the two lift engines behind the nosewheel bay.
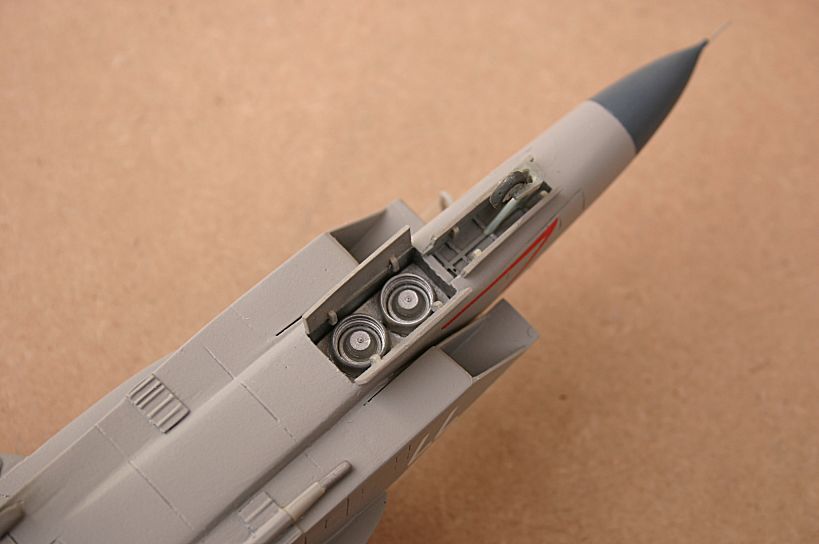
A closer view of the exhausts of the two Rybinsk RD-41 lift turbofans. Note the 30mm GSh-30 cannon muzzle under
the port intake trunk.
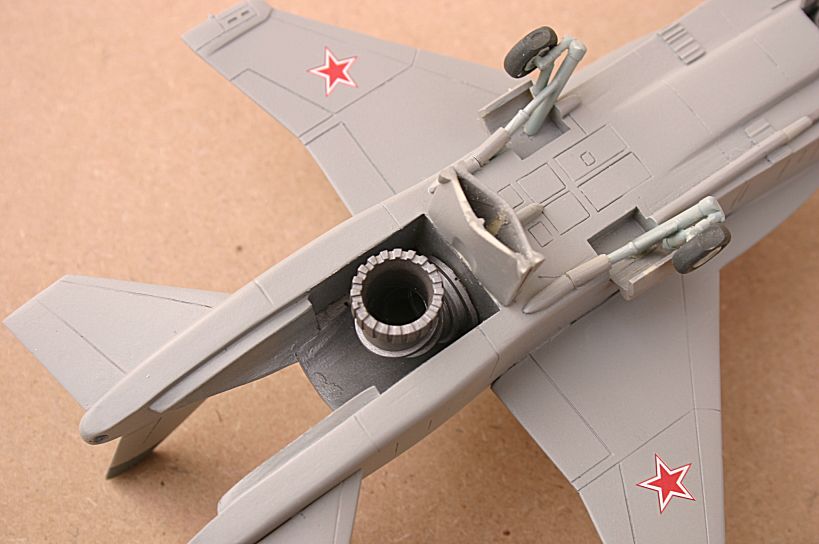
The main nozzle of the Soyuz R-79-300 turbofan with its translating exhaust. In forward flight the nozzle points
straight aft and the rectangular hole is covered by the two halves of the open door.
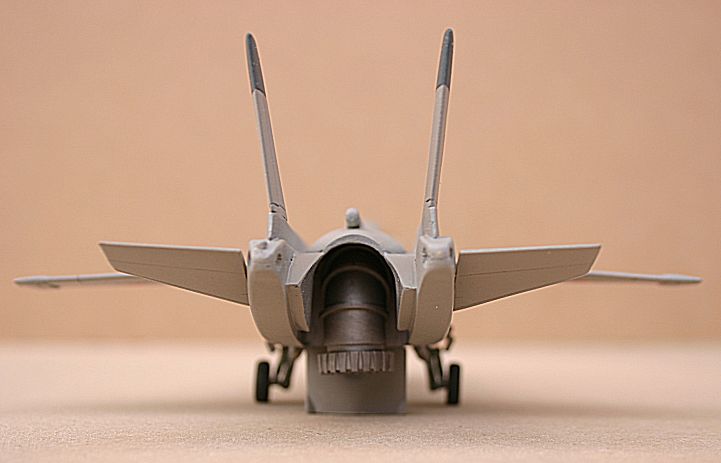
Rear view showing the VTOL nozzle and those too-long doors.
Anigrand are to be congratulated for producing such a fine kit of the Yak-141 Freestyle. I rushed it to meet a deadline - with a bit more care
a much better model can be made.
Link to my Yak-141 scratchbuild article - here
Link to Anigrand's website - here
Ken Duffey
November 2004
November 2004